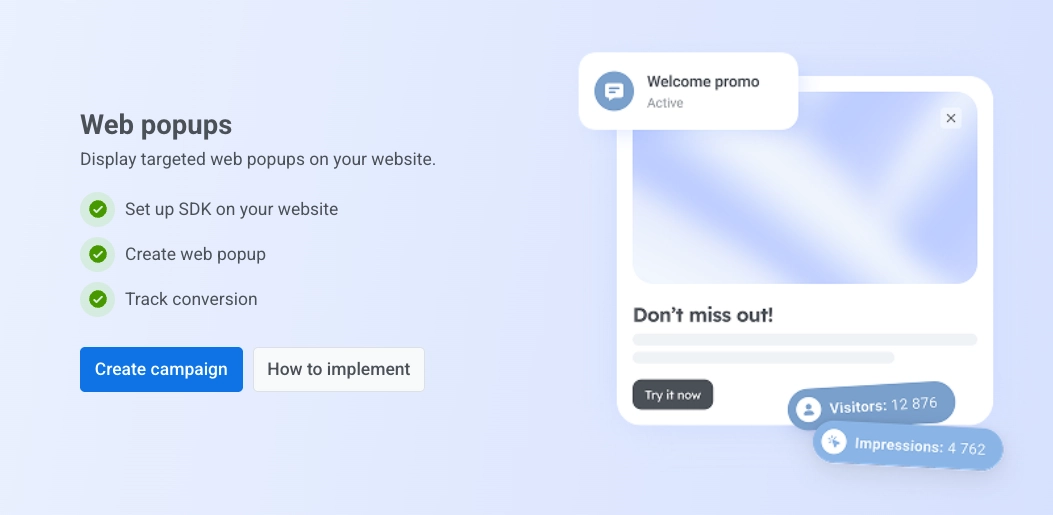
สร้างแคมเปญ Web popup
แคมเปญ Web popup ช่วยให้คุณสามารถวางเนื้อหา Web popup ที่คุณสร้างขึ้นบนเว็บไซต์ของคุณ และควบคุมได้อย่างแม่นยำว่าจะให้ปรากฏเมื่อใดและใครจะเห็น
เริ่มแคมเปญใหม่
Anchor link to- ไปที่ Campaigns → Web popups
- คลิก Create campaign
เลือกเนื้อหา Web popup
Anchor link toเลือกเนื้อหา Web popup ที่แคมเปญนี้จะแสดงให้ผู้เข้าชม เลือกรายการที่มีอยู่จากรายการ หรือคลิก Create new เพื่อเปิดตัวแก้ไข (ดู เนื้อหา Web popup) กลับมาที่แท็บนี้เมื่อเนื้อหาของคุณพร้อมแล้วและเลือกจากรายการ
หากต้องการเปลี่ยนลำดับของเนื้อหาในรายการ ให้คลิกปุ่มเรียงลำดับเหนือดรอปดาวน์ แล้วเลือก อัปเดตล่าสุด, ชื่อ A→Z หรือ ชื่อ Z→A รายการจะเรียงตาม ชื่อ A→Z จนกว่าคุณจะเลือกลำดับ Pushwoosh จะจดจำตัวเลือกของคุณและนำไปใช้กับตัวเลือกเนื้อหา Web popup ทุกตัวที่คุณเปิด ทั้งในข้อความแบบครั้งเดียวและใน journey รายการเพิ่มเติมจะโหลดเมื่อคุณเลื่อน
คลิก Next เมื่อเลือกเนื้อหาที่ถูกต้องแล้ว
กำหนดกลุ่มเป้าหมาย
Anchor link toเลือกผู้ที่จะเห็น popup
- All users: แสดง popup ให้กับทุกคนโดยไม่มีตัวกรอง
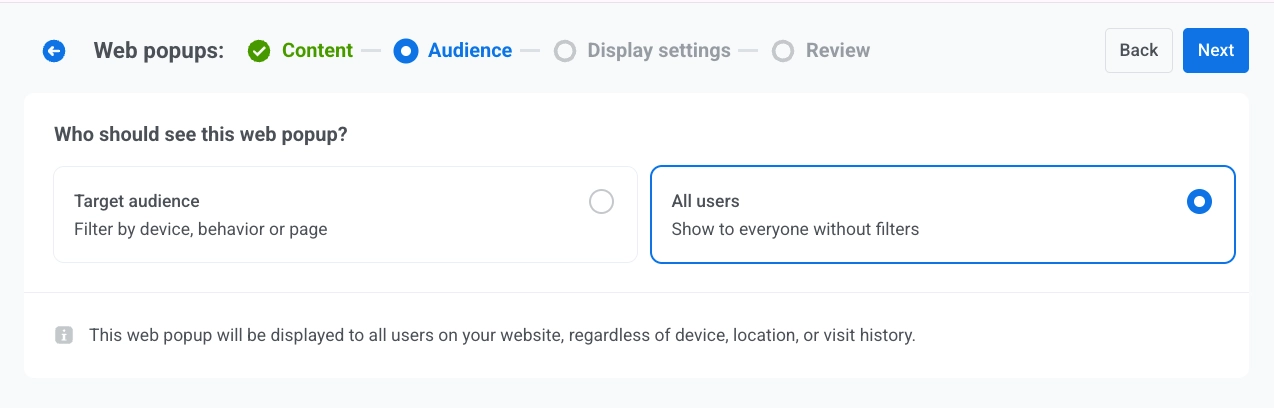
- Target audience: แสดง popup เฉพาะผู้ใช้ที่ตรงกับ segment หรือเงื่อนไขที่กำหนดเอง จะมีสองตัวเลือกย่อยปรากฏขึ้น:

เมื่อเสร็จแล้ว คลิก Next
กำหนดการตั้งค่าการแสดงผล
Anchor link toตั้งค่าว่าจะแสดง Web popup นี้เมื่อใด บ่อยแค่ไหน และที่ไหน
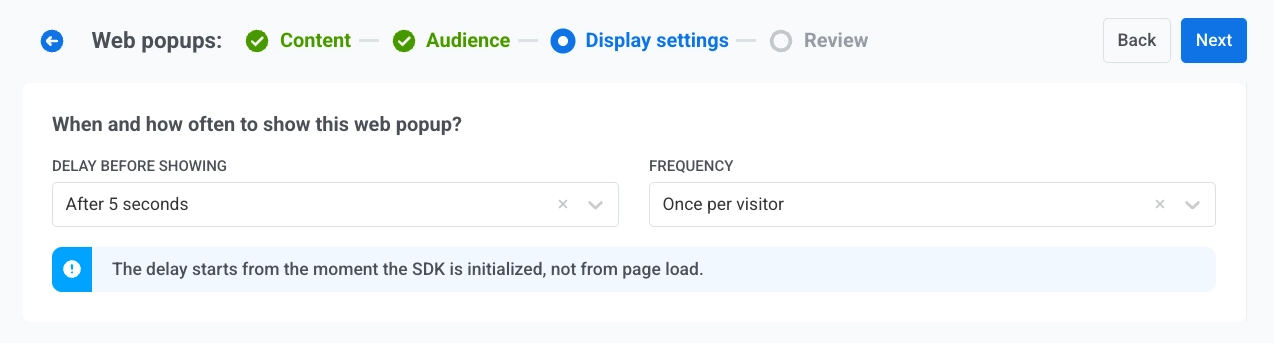
ความล่าช้าในการแสดงผล
Anchor link toเลือกเวลาที่ Web popup จะปรากฏขึ้นครั้งแรกหลังจากที่หน้าเว็บโหลดเสร็จ
- ทันที
- หลังจาก 3 วินาที
- หลังจาก 5 วินาที
- หลังจาก 10 วินาที
ความถี่
Anchor link toภายใต้ FREQUENCY เลือกความถี่ที่ผู้เข้าชมจะเห็น Web popup นี้:
- Once per visitor: ผู้เข้าชมจะเห็น popup สูงสุดหนึ่งครั้งในเบราว์เซอร์นั้น แม้จะเปิดในแท็บใหม่ก็ตาม
- Once per session: ผู้เข้าชมจะเห็น popup หนึ่งครั้งต่อเซสชันการท่องเว็บ หากพวกเขาปิดแท็บและกลับมาก่อนที่เซสชันจะสิ้นสุด popup จะไม่ปรากฏขึ้นอีก
- Every visit: popup จะปรากฏทุกครั้งที่ผู้เข้าชมโหลดหน้าที่ตรงกัน
อุปกรณ์
Anchor link toควบคุมสภาพแวดล้อมที่ Web popup จะปรากฏ
เลือก:
- All devices
- Desktop
- Mobile

แสดงบนหน้าเว็บ
Anchor link toควบคุมว่า URL ใดจะทำให้ Web popup ปรากฏ
ทุกหน้า
Anchor link toแสดง popup ในทุกหน้าของเว็บไซต์
สามารถเลือกที่จะยกเว้นหน้าเว็บที่ต้องการได้: คลิก + Add exclusion และป้อน path คุณสามารถเพิ่มข้อยกเว้นได้สูงสุด 10 รายการ
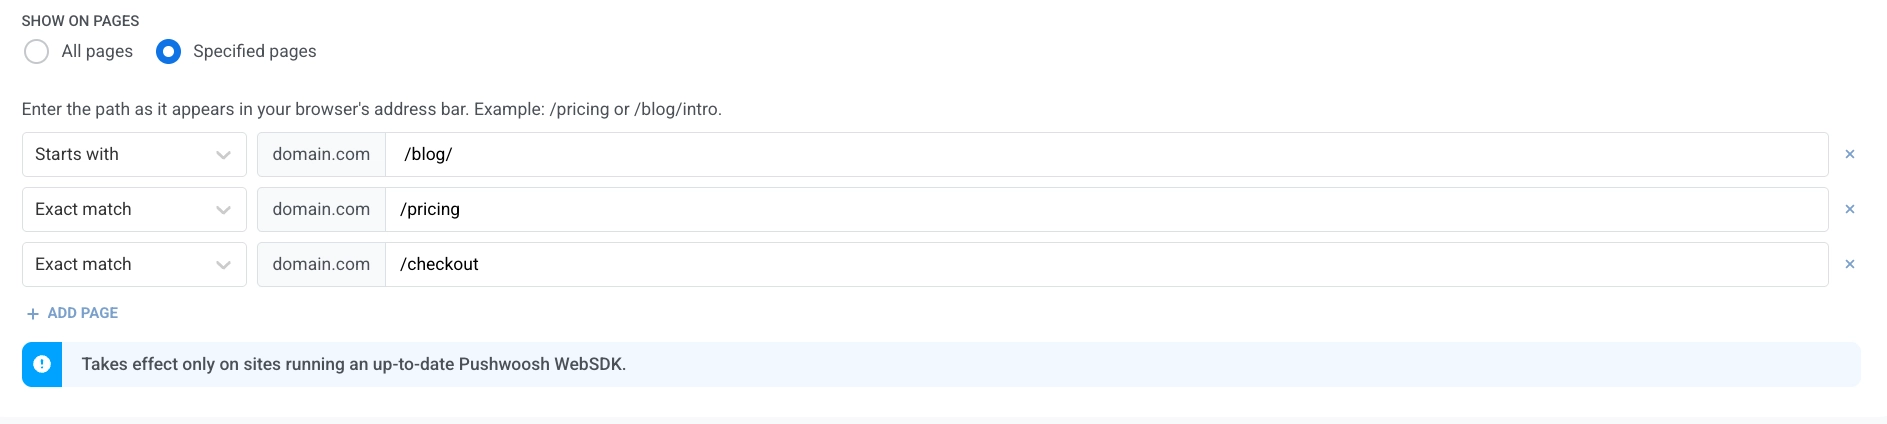
สำหรับแต่ละหน้าที่ยกเว้น ให้ป้อน path ตามที่ปรากฏหลังโดเมนของคุณ เช่น /pricing หรือ /blog/intro และเลือกวิธีการจับคู่:
- Exact match: path ที่เข้าชมต้องเหมือนกับที่คุณป้อนทุกประการ
- Starts with: popup จะมีผลกับ path ที่ป้อนและทุก path ที่อยู่ภายใต้นั้น
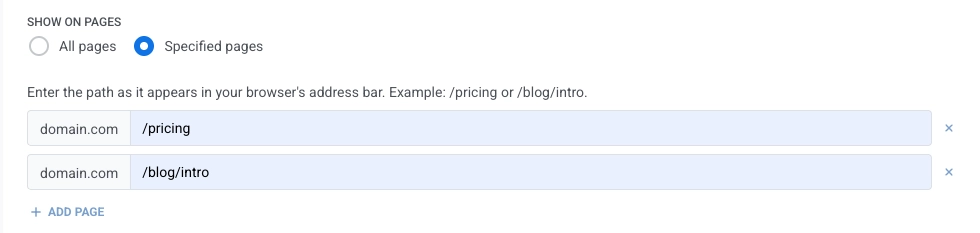
หน้าที่ระบุ
Anchor link toแสดง popup เฉพาะในหน้าที่คุณระบุ คลิก + Add page เพื่อเพิ่มแถว หรือ × เพื่อลบออก คุณสามารถเพิ่มได้สูงสุด 10 หน้า ป้อนและจับคู่แต่ละ path ในลักษณะเดียวกับ ข้อยกเว้นในหน้าทั้งหมด
คลิก Next เพื่อดำเนินการต่อ
ตรวจสอบแคมเปญ
Anchor link toหน้าจอ Review จะสรุป:
- Content: เนื้อหา Web popup ที่แนบมา ดู เลือกเนื้อหา Web popup แคมเปญที่ยังคงเชื่อมโยงกับแบบฟอร์มการสมัครสมาชิกแบบเก่าแทนที่จะเป็นเนื้อหา Web popup จะแสดงชื่อของแบบฟอร์มนั้นที่นี่แทน
- Audience: All users หรือ Target audience พร้อมชื่อ segment ที่เลือกหรือเงื่อนไขที่กำหนดเอง
- Display settings: อุปกรณ์, หน้าที่ Web popup จะแสดง (รวมถึงประเภทการจับคู่และข้อยกเว้นใดๆ), ความล่าช้า และความถี่
ใช้ CHANGE OPTIONS ในบล็อกใดก็ได้เพื่อย้อนกลับไปแก้ไขส่วนนั้น
พื้นที่ Preview จะแสดงว่า Web popup มีลักษณะอย่างไรใน viewport ตัวอย่าง ใช้ EDIT CONTENT หากคุณต้องการปรับแก้เนื้อหาต้นฉบับ
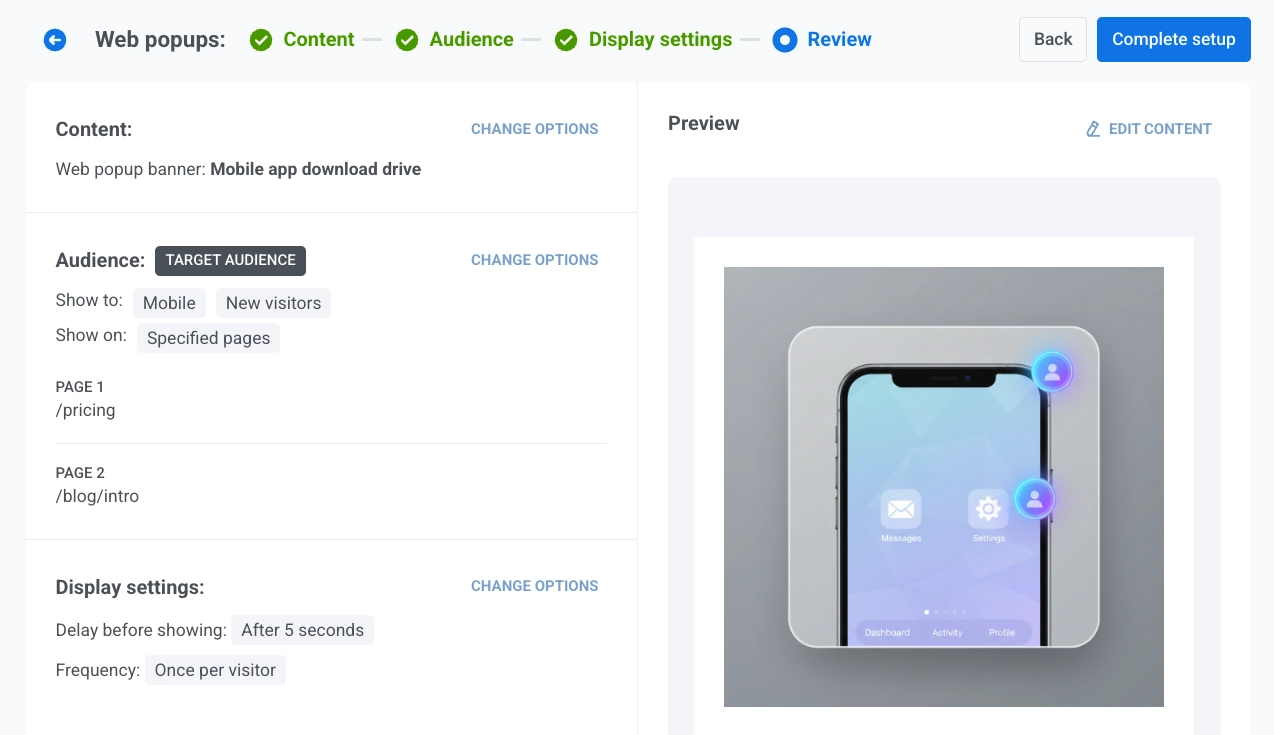
เมื่อทุกอย่างดูถูกต้องแล้ว คลิก Complete setup
จากนั้นเลือกตัวเลือกจากเมนู:
- Launch campaign เพื่อเปิดใช้งาน Web popup
- Save as draft เพื่อบันทึกแคมเปญโดยไม่เปิดใช้งาน เมื่อคุณพร้อมที่จะเปิดใช้งาน ให้ไปที่ Campaigns → Web popups ค้นหาฉบับร่างในตาราง และคลิก Activate ในแถวของมัน ใช้ Edit campaign ในเมนูการดำเนินการของแถวก่อน หากคุณยังต้องการเปลี่ยนแปลงการตั้งค่า
หากต้องการค้นหา, กรอง, และจัดการแคมเปญจากรายการ ดูที่ ดูและจัดการแคมเปญ