Connected content
เนื้อหานี้ยังไม่มีในภาษาของคุณ
Connected content is a feature in Liquid templates that allows you to dynamically retrieve and use data from an external source, such as a web service, directly within your email or push notification messages. This feature enables real-time personalization by fetching JSON data from a specified URL and saving it to a variable that can be utilized in your content.
Key use cases
Anchor link to-
Product recommendations: Display personalized product lists tailored to each user.
-
Promo codes: Insert unique promo codes generated by a backend service.
Prerequisites
Anchor link to- To use Connected Content, you must have your own backend service that generates and provides the required data (e.g., promo codes, product recommendations) based on User ID, HWID, or custom tags. Pushwoosh then fetches this data before sending a message.
Step-by-step implementation guide
Anchor link toStep 1. Set up backend service
Anchor link toThe backend service should:
- Accept a request containing user-specific parameters (e.g.,
userId). Connected Content supportsUserID,HWID, or any custom tags you’ve set up in your project. - Return a JSON response with the required data. This content can then be inserted dynamically into messages
Step 2. Create a preset with Connected content in Pushwoosh
Anchor link to- In the Push or Email content editor, insert the Connected Content syntax into the message field.
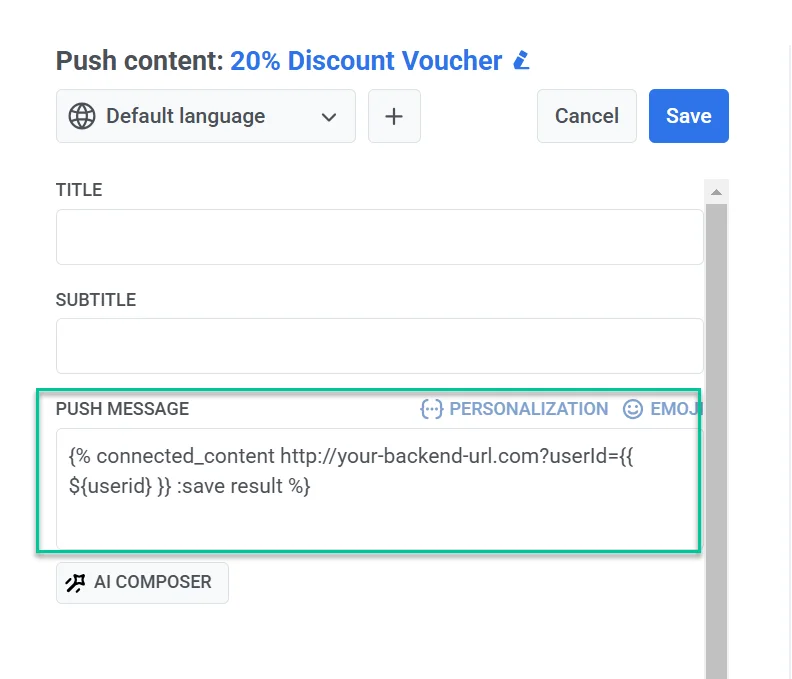
Example
{% connected_content http://your-backend-url.com?userId={{ ${userid} }} :save result %}Syntax breakdown
connected_content | Fetches JSON data from the specified backend URL. |
http://your-backend-url.com | The backend endpoint that returns required data in JSON format. |
userId={{ ${userid} }} | A dynamic query parameter that passes the user ID to the backend. Inside connected_content, wrap a variable in ${}. In the message text, write {{userid}} without it. |
:save result | Stores the fetched JSON response in the result variable for use in Liquid templates |
Authentication (optional)
If your backend service requires authentication, you can include an API key or token in the Connected Content request to ensure secure access.
{% connected_content http://your-backend-url.com?userId={{ ${userid} }}&auth=YOUR_API_KEY :save result %}You can also send authentication (or any other) data as HTTP headers using the optional :headers parameter — a JSON object of header names and values.
{% connected_content http://your-backend-url.com?userId={{ ${userid} }} :headers {"Authorization": "Bearer YOUR_TOKEN", "X-Api-Key": "YOUR_API_KEY"} :save result %}:headers {...} | A JSON object of HTTP headers sent with the request, e.g. Authorization: Bearer <token>. |
Using tags in Connected content
To include a tag value, add it to the URL as a query parameter in the same {{ ${tag_name} }} form. Written as {{ tag_name }} inside the connected_content tag, the value is sent empty.
{% connected_content http://your-backend-url.com?userId={{ ${userid} }}&lang={{ ${Language} }} :save result %}- Next, add the message text incorporating the retrieved data, like this:
Hey, {{userid}}, grab your personal promo code - {{result.code}}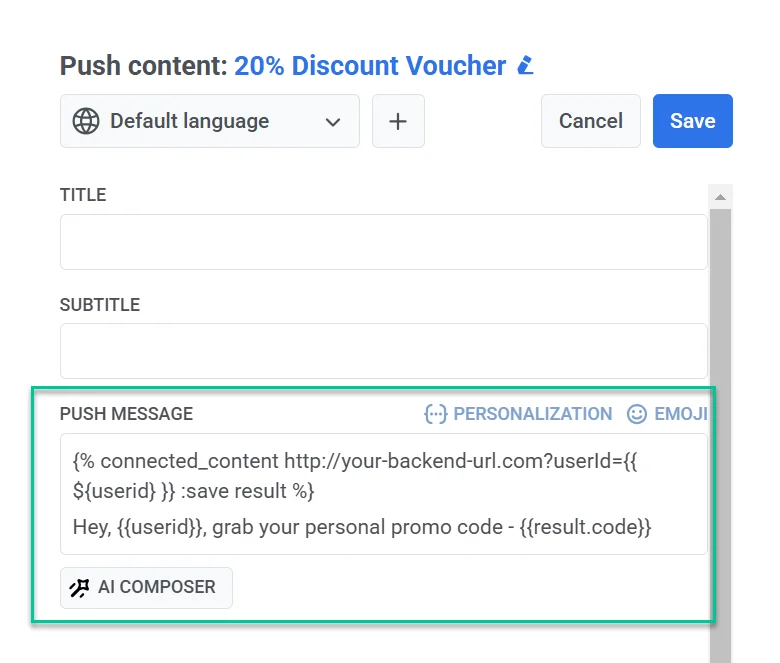
- After finalizing the message content and configuring the preset settings, save it for reuse in campaigns.
Step 3. Send a message using the configured preset
Anchor link toSend a message with this preset using the one-time push or email form or customer journey.