Enviar mensajes de Facebook Messenger
Para enviar un mensaje único de Facebook Messenger en Pushwoosh:
- Vaya a Campañas.
- Abra Mensajes únicos.
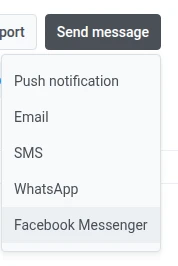
- Haga clic en Enviar mensaje → Facebook Messenger.
Redacte su mensaje
Anchor link toEn el paso Contenido, establezca el tipo de mensaje, introduzca el texto y elija una etiqueta de mensaje si la necesita.
Seleccione el tipo de mensaje
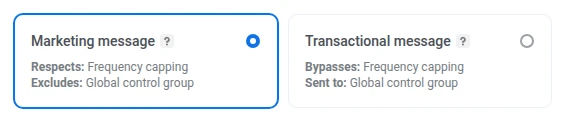
Anchor link toElija cómo se tratará este mensaje para las reglas de suscripción y entrega:
- Mensaje de marketing: Respeta el límite de frecuencia. No se envía a los usuarios del grupo de control.
- Mensaje transaccional: Se envía a todos los usuarios independientemente de su estado de suscripción. Omite el límite de frecuencia. Se entrega a los usuarios del grupo de control.
El tipo de mensaje no sustituye la ventana de 24 horas de Meta ni las reglas de etiquetas de mensaje. Aprenda cómo el tipo de mensaje afecta la entrega.
Introduzca el texto del mensaje
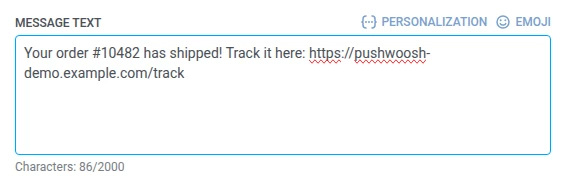
Anchor link toIntroduzca su mensaje en el campo Texto del mensaje.
Use una etiqueta de mensaje fuera de la ventana de 24 horas
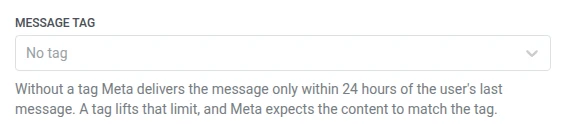
Anchor link toMeta solo entrega contenido de formato libre dentro de la ventana de 24 horas abierta por un mensaje entrante del usuario. Deje la Etiqueta de mensaje en Sin etiqueta cuando envíe dentro de esa ventana.
Fuera de esa ventana, seleccione una Etiqueta de mensaje que coincida con uno de los casos de uso aprobados por Meta, o el envío fallará:
- CONFIRMED_EVENT_UPDATE: un recordatorio o actualización sobre un evento al que el destinatario tiene previsto asistir.
- POST_PURCHASE_UPDATE: una actualización relacionada con una compra que el destinatario ya ha realizado.
- ACCOUNT_UPDATE: una actualización no recurrente sobre un cambio en la cuenta del destinatario.
- HUMAN_AGENT: un mensaje de un agente humano que responde al destinatario.
Elija una etiqueta que coincida con el motivo real del mensaje. Aprenda más sobre las etiquetas de mensaje y las ventanas cerradas.
Seleccione la audiencia para su campaña de Facebook Messenger
Anchor link toEn el paso Audiencia, defina quién recibirá su mensaje.
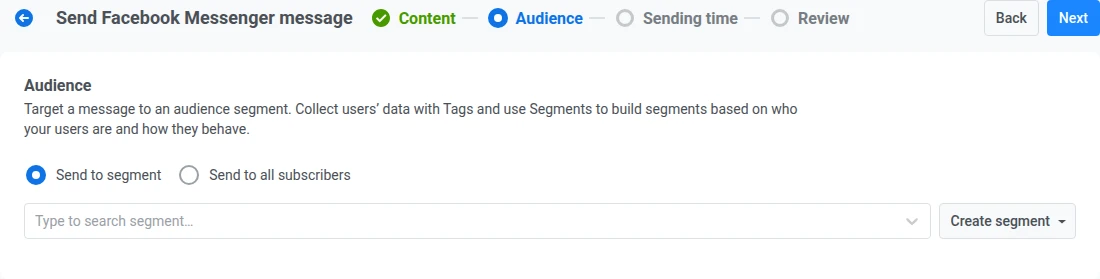
Enviar a segmento
Anchor link toDiríjase a un segmento predefinido de su audiencia basado en etiquetas, eventos o comportamiento. Seleccione un segmento del menú desplegable, o haga clic en Crear segmento para construir o importar uno.
Enviar a todos los suscriptores
Anchor link toDiríjase a toda su audiencia accesible por Facebook Messenger.
Una vez que haya definido su audiencia, haga clic en Siguiente para pasar al paso Hora de envío.
Programe el mensaje de Facebook Messenger
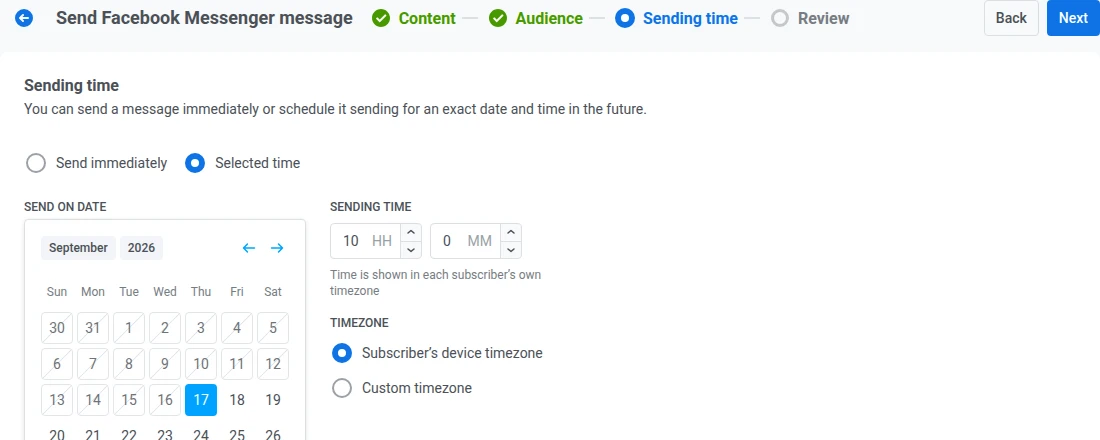
Anchor link toEn el paso Hora de envío, elija cuándo enviar su mensaje de Facebook Messenger.
Enviar inmediatamente
Anchor link toEnvíe el mensaje tan pronto como se complete la configuración de la campaña. Esto es ideal para mensajes urgentes o sensibles al tiempo.
Hora seleccionada
Anchor link toPrograme su mensaje para una fecha y hora específicas.
- Establezca la fecha y la hora: use el calendario para elegir la fecha, luego especifique la hora en horas y minutos (formato de 24 horas).
- Seleccione la zona horaria:
- Zona horaria del dispositivo del suscriptor: el mensaje se envía a la hora local especificada para cada destinatario.
- Zona horaria personalizada: el mensaje se envía a la misma hora para todos los destinatarios, útil para dirigirse a una región en particular.
Establecer límite de frecuencia
Anchor link toUse el Límite de frecuencia para limitar la frecuencia con la que los usuarios reciben mensajes de Facebook Messenger, evitando el exceso de mensajes. Elija una de las siguientes opciones:
-
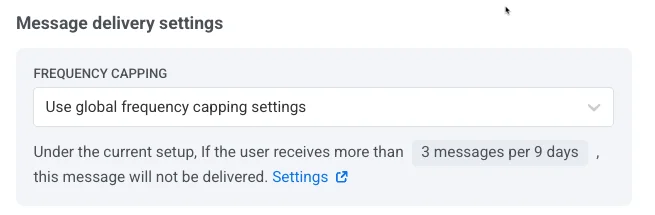
Usar la configuración global del límite de frecuencia
Aplique los límites de todo el proyecto configurados en su configuración global del límite de frecuencia. Por ejemplo, si el límite global es de 3 mensajes en 9 días, los mensajes adicionales que excedan este límite se omitirán.
-
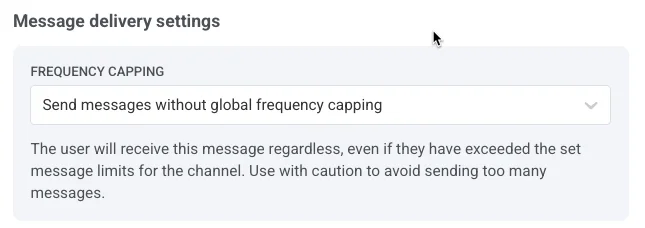
Ignorar el límite de frecuencia global
El usuario recibe este mensaje incluso si ha excedido los límites de mensajes del canal. Úselo con precaución para evitar el exceso de mensajes.
-
Usar límite de frecuencia personalizado
Establezca un límite de mensajes personalizado para este mensaje. Si el usuario excede este límite personalizado, el mensaje se omite.
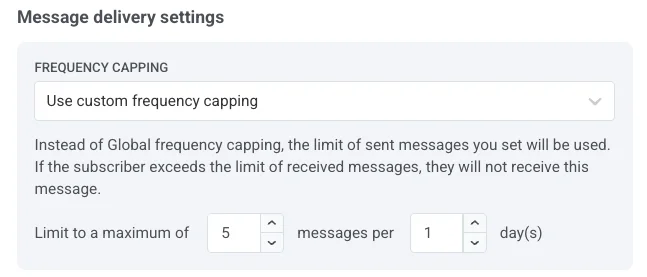
Elija un modo de conteo para este límite personalizado: Ventana móvil o Día calendario.
Establecer límites de velocidad de envío
Anchor link toLa configuración de Velocidad de envío controla la rapidez con la que se envían los mensajes. Úsela cuando desee un envío más constante en lugar de entregar a toda la audiencia lo más rápido posible.
Elija una de las siguientes opciones:
-
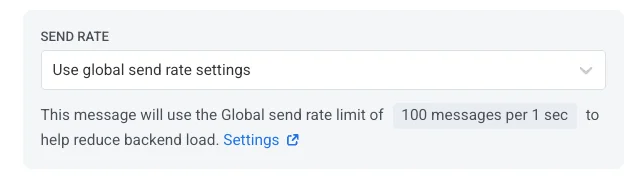
Usar la configuración global de velocidad de envío
Aplica los límites de velocidad de envío configurados en los ajustes de entrega de mensajes de su proyecto. Si no se establecen límites, todos los mensajes se envían inmediatamente. Aprenda más sobre los límites globales de velocidad de envío
-
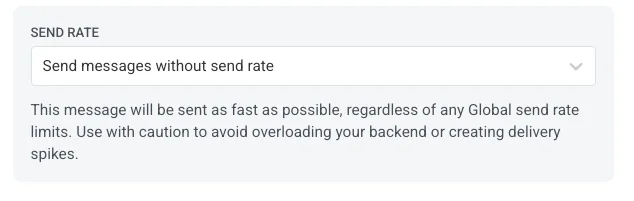
Enviar mensajes sin límite de velocidad
Envía los mensajes lo más rápido posible, ignorando cualquier límite de velocidad de envío global. Úselo con precaución para evitar picos de entrega.
-
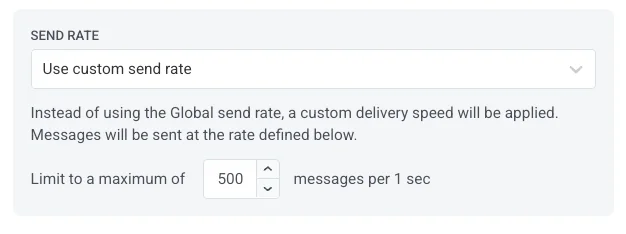
Usar velocidad de envío personalizada
Anula la velocidad de envío global solo para este mensaje. Especifique el número de mensajes enviados por minuto para un control total sobre la velocidad de entrega.
Revisar y enviar
Anchor link toEn Revisar, verifique la vista previa y los resúmenes de contenido, audiencia y programación. Actualice todo lo que necesite cambiar antes de enviar.
Si programa un envío sin una etiqueta de mensaje, la campaña solo llegará a los usuarios que escribieron a la Página dentro de las 24 horas anteriores a su activación.
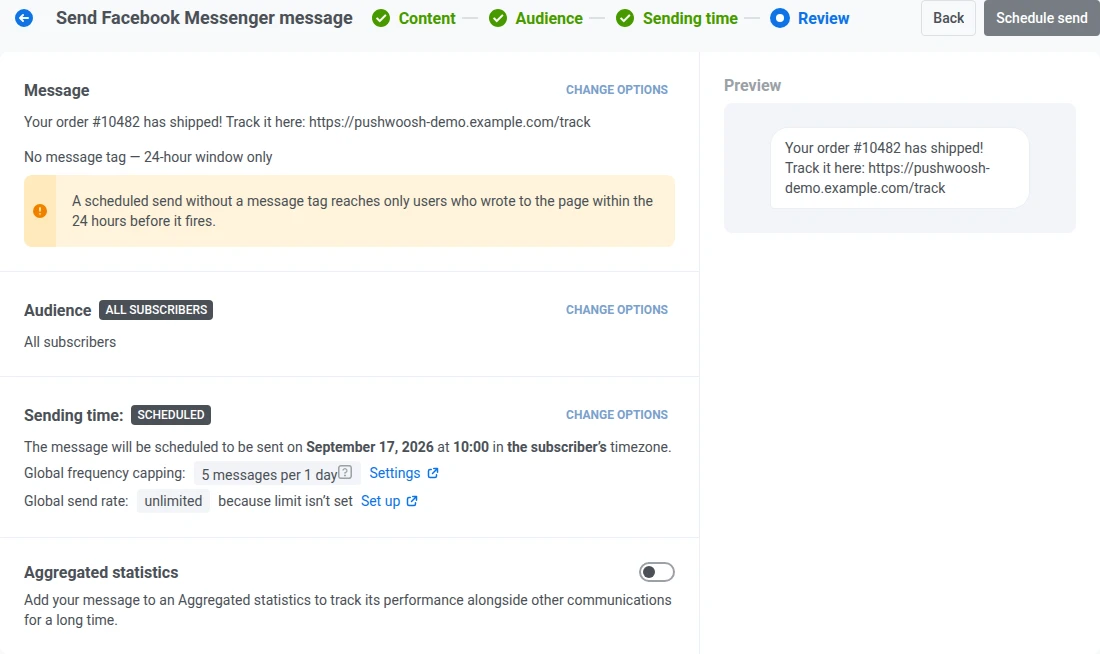
Una vez que todo esté verificado, haga clic en Programar envío para configurarlo para una entrega posterior o en Enviar ahora para enviarlo inmediatamente, dependiendo de las opciones de programación seleccionadas.
Gestionar un mensaje programado
Anchor link toPara los mensajes de Facebook Messenger que están programados y aún no se han enviado (estado PENDIENTE), puede cambiarlos o cancelarlos. Abra la lista de mensajes en Campañas → Mensajes únicos, luego abra el menú de acciones (⋮) para el mensaje:
- Editar mensaje: abre el formulario de Facebook Messenger con los datos del mensaje cargados. Puede actualizar el contenido, la etiqueta del mensaje, la audiencia, la programación y la configuración de entrega.
- Eliminar mensaje: cancela la entrega programada y cambia el estado a Cancelado.