How to show delivery progress on the lock screen
Este contenido aún no está disponible en su idioma.
Let customers follow the courier on the lock screen from order placed until delivery. This guide builds that journey with the Live Activity element.
Prerequisites
Anchor link to- Your iOS app supports Live Activities. See the iOS SDK Live Activities guide.
- A delivery widget schema is published for this app. See iOS Live Activity schemas configuration.
Create the events
Anchor link toThese are example event names for this guide. When your app or backend sends a name for the first time, Pushwoosh creates that event automatically. Create the events in the Control Panel first only if you want to set attribute types yourself before the first send.
Create (or reuse) the events OrderPlaced, CourierStatusChanged, and OrderDelivered.
Learn more about creating events
Build the journey
Anchor link toOpen Customer Journey Builder, create a campaign, and build everything below on one canvas.
- Go to Campaigns → Customer Journey Builder.
- Click Create campaign.
- Click Build a journey from scratch.
Set the entry
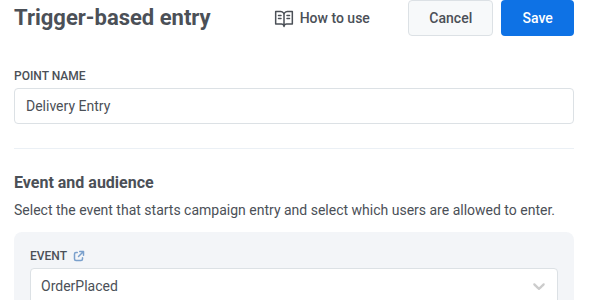
Anchor link to- Add a Trigger-based entry element to the canvas.
- Set it to
OrderPlaced.
Start the order card
Anchor link to- Add a Live Activity element after the entry.
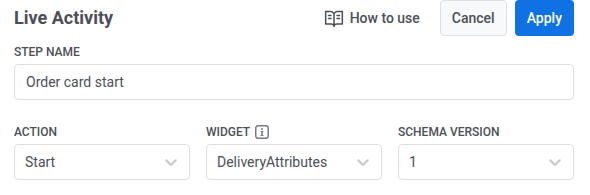
- Name it
Order card start. - Set Action to Start.
- Select the delivery Widget and Schema version.
- Set Card key: event to
OrderPlaced.

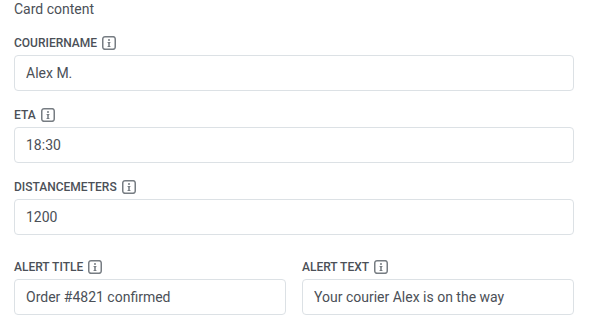
- Fill Card content (
courierName,eta,distanceMeters) and the alert fields.
- Click Apply.
Wait and update the card
Anchor link toContinue on the same canvas after the Start element.
- Add a Wait for Trigger element.
- Wait for
CourierStatusChanged. - Set a waiting period that fits your delivery updates.
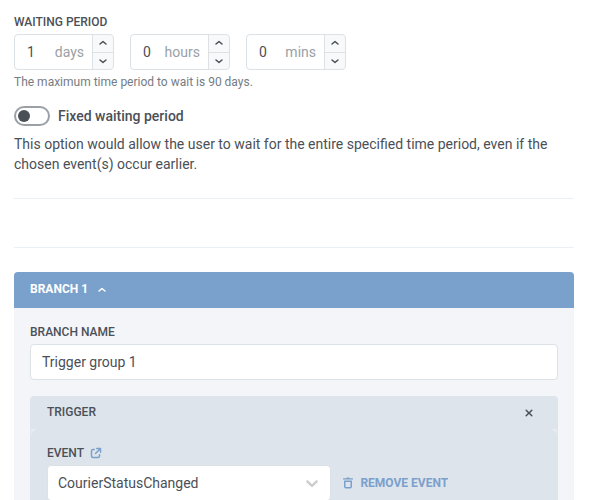
- On the branch that fires when the event happens, add a Live Activity element.
- Name it
Order card update. - Set Action to Update.
- Choose the same Widget and Schema version.

- Select
Order card startin Card created by.

- Update Card content.
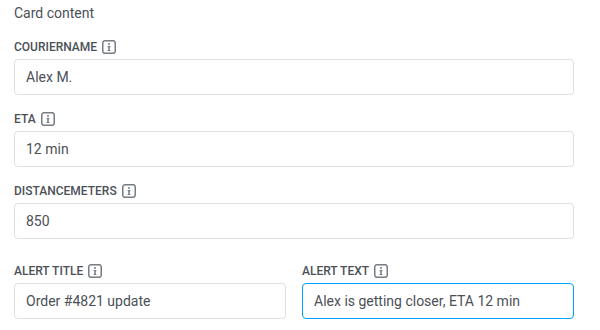
- Click Apply.
Wait and end the card
Anchor link toContinue on the same canvas after the Update element.
- Add another Wait for Trigger element.
- Wait for
OrderDelivered.
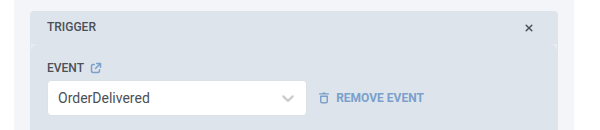
- On the branch that fires when the event happens, add a Live Activity element.
- Name it
Order card end. - Set Action to End.
- Choose the same Widget and Schema version.
- Select
Order card startin Card created by.
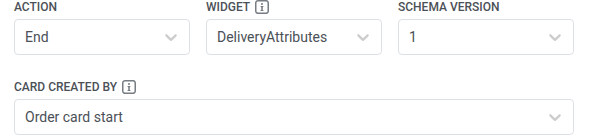
- Set alert and Dismiss after, min if needed.
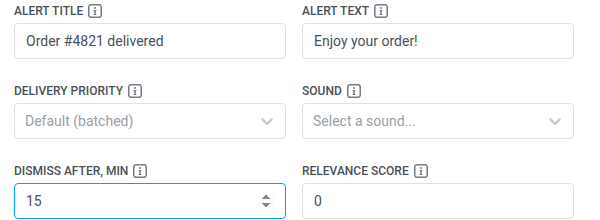
- Click Apply.

What the customer sees
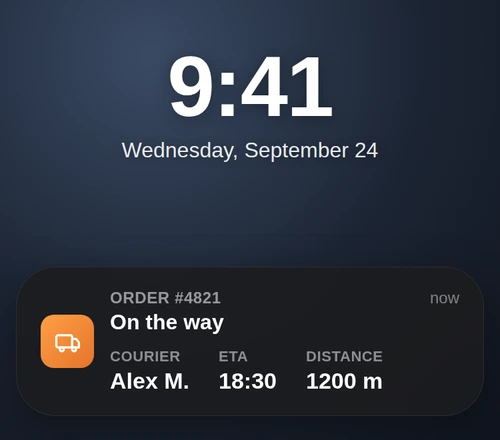
Anchor link toOn the lock screen, the customer gets one Live Activity card that changes as the delivery progresses. For example:
Courier Alex M., ETA 18:30, distance 1200 meters.
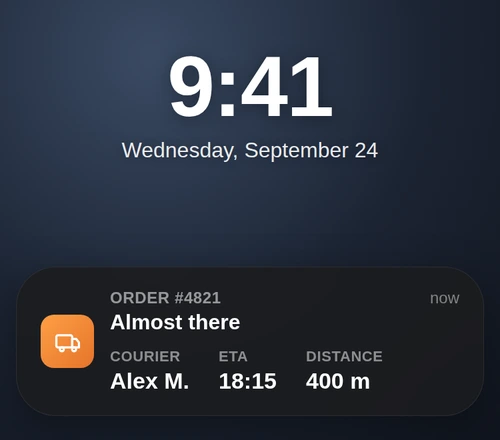
The same card updates, for example courier Alex M., ETA 18:15, distance 400 meters.
The card closes and leaves the lock screen.