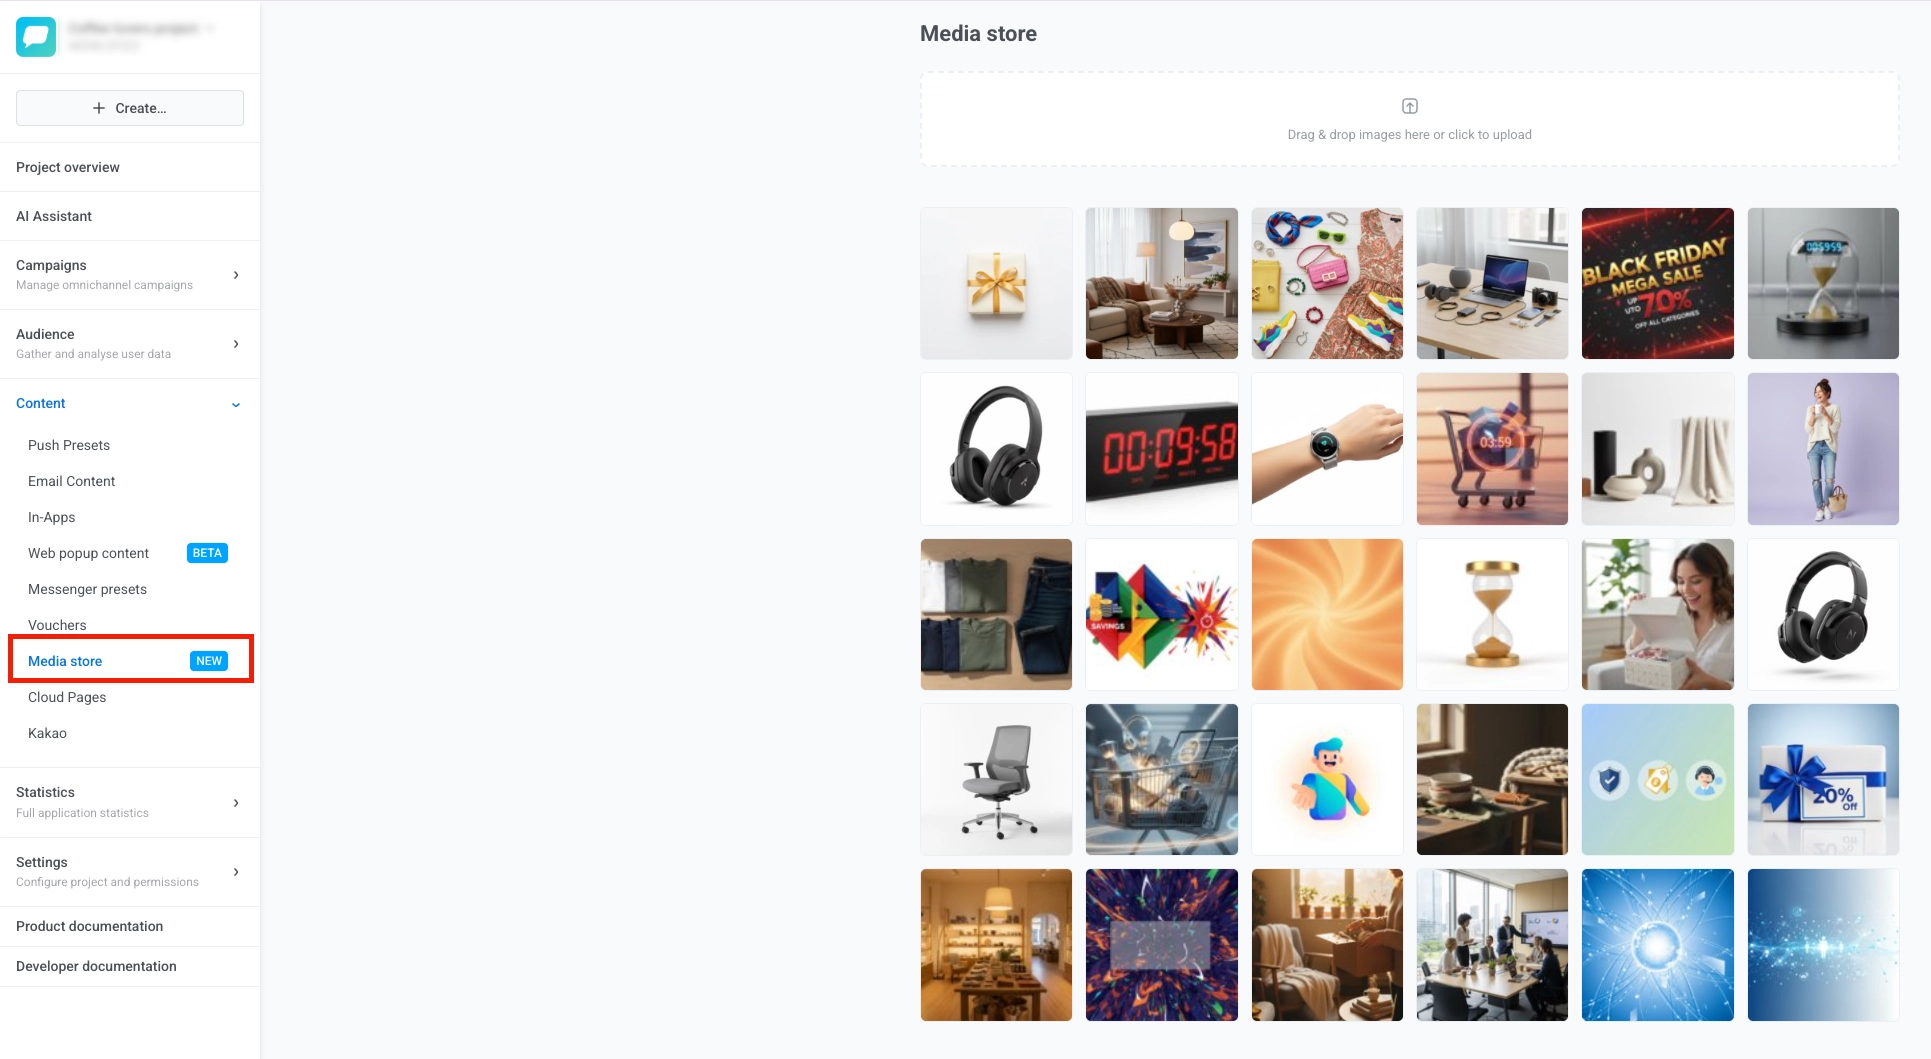
Galería de medios
La Galería de medios es la biblioteca de imágenes integrada de tu proyecto. Sube imágenes una vez y reutilízalas en notificaciones push, push web, correos electrónicos, mensajes in-app, Cloud Pages y otro contenido, directamente en el editor o a través de una URL estable.
Para abrir la Galería de medios, ve a Contenido > Galería de medios en el Panel de Control de Pushwoosh.
Subir imágenes
Anchor link toPara subir imágenes a la Galería de medios:
- Arrastra y suelta uno o más archivos de imagen en el área de subida.
- Haz clic en el área de subida para abrir el selector de archivos y seleccionar imágenes de tu dispositivo.

Cuando la subida finaliza, tus imágenes aparecen en la cuadrícula de abajo, con las más recientes primero, y puedes hacer clic en Anterior o Siguiente para navegar por páginas más antiguas si es necesario.
Crear variantes de imagen
Anchor link toUna variante es una copia redimensionada y recortada de una imagen original con una relación de aspecto específica. Las variantes son útiles cuando la misma imagen necesita diferentes proporciones para diferentes canales o ubicaciones.
Para crear una variante:
- Pasa el cursor sobre una imagen y haz clic en el botón Editar. Se abrirá el panel Crear variante.
- Elige una Relación de aspecto para establecer la forma de la imagen recortada de modo que se ajuste a la ubicación donde la usarás.
- Establece el Tamaño. Elige si tu valor define el Ancho o el Alto, luego introduce el número de píxeles. Pushwoosh calcula la otra dimensión a partir de la relación de aspecto seleccionada.
- Para imágenes JPEG, establece el valor de Calidad JPEG de 1 a 100. Un valor más alto conserva más detalles pero produce un archivo más grande.
- Haz clic en Crear variante.
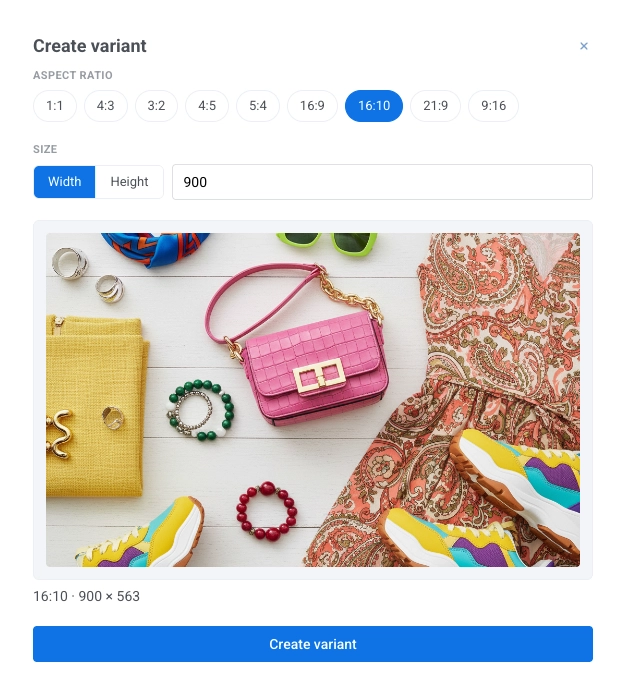
La nueva variante se guarda junto a la original. Puedes crear una variante por cada relación de aspecto para cada imagen. Si ya existe una variante con la relación seleccionada, Pushwoosh te lo notificará para que no crees un duplicado.
Eliminar imágenes
Anchor link toPuedes eliminar las imágenes que ya no necesites, ya sea una original junto con todas sus variantes, o una sola variante por sí misma.
Eliminar una imagen original
Anchor link to- Pasa el cursor sobre la imagen en la cuadrícula y haz clic en el icono de Eliminar.
- En la ventana de confirmación, haz clic en Eliminar.
Eliminar una sola variante sin eliminar la original
Anchor link to- Pasa el cursor sobre la imagen y haz clic en el botón Editar para abrir el panel Crear variante.
- En la lista de variantes existentes, busca la que quieres eliminar y haz clic en su botón de Eliminar.
- En la ventana de confirmación, haz clic en Eliminar.
Usar imágenes en tu contenido
Anchor link toLa forma de añadir una imagen de la Galería de medios depende del tipo de contenido.
Seleccionar una imagen en el editor
Anchor link toAlgunos tipos de contenido te permiten elegir una imagen de la Galería de medios directamente en el editor, sin copiar una URL. Los pasos difieren según el tipo de contenido:
- Contenido de notificaciones push y push web: Consulta Añadir contenido multimedia en Presets de Push.
- Popups web: Consulta Imágenes en Contenido de popups web.
- Correos electrónicos creados con el AI Email Builder
Copiar la URL de una imagen
Anchor link toCopia una URL de la Galería de medios y pégala en tu editor de contenido.
Para copiar la URL:
- Pasa el cursor sobre la imagen que desees en la cuadrícula de la Galería de medios.
- Haz clic en el botón Seleccionar (el icono de la marca de verificación) en la imagen.
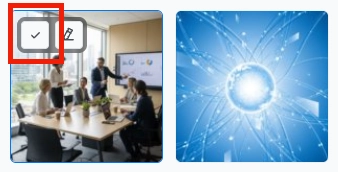
Una vez que la URL esté copiada en tu portapapeles, pégala en el editor que estés utilizando.
Dónde la pegues depende del editor:
- Campo de URL de imagen: Editor de correo electrónico de arrastrar y soltar, editor in-app, o editor de Cloud Page
- Atributo
srcde HTML: Consulta Añadir imágenes en el editor de código HTML
Seleccionar una original o una variante
Anchor link toPara copiar la URL de una original o de una variante:
- Pasa el cursor sobre la imagen en la cuadrícula. Si tiene variantes, su mosaico mostrará una insignia con el recuento (por ejemplo, 2 var.).
- Haz clic en el botón Seleccionar para abrir el menú.
- Elige Original para copiar la URL de la imagen a tamaño completo, o elige una variante listada por su relación de aspecto para copiar la URL de esa variante.