Send a message only to Inbox
App Inbox sends a message only to the in-app inbox. It does not send a push.
The message appears when the user opens the app, so they can read it later even if they never saw a notification. Use App Inbox when you want inbox content on its own, or when users might miss or ignore push.
The app needs the Message Inbox SDK module before users can receive Inbox messages.
To send a one-time Inbox message:
- Go to Campaigns > One-time messages.
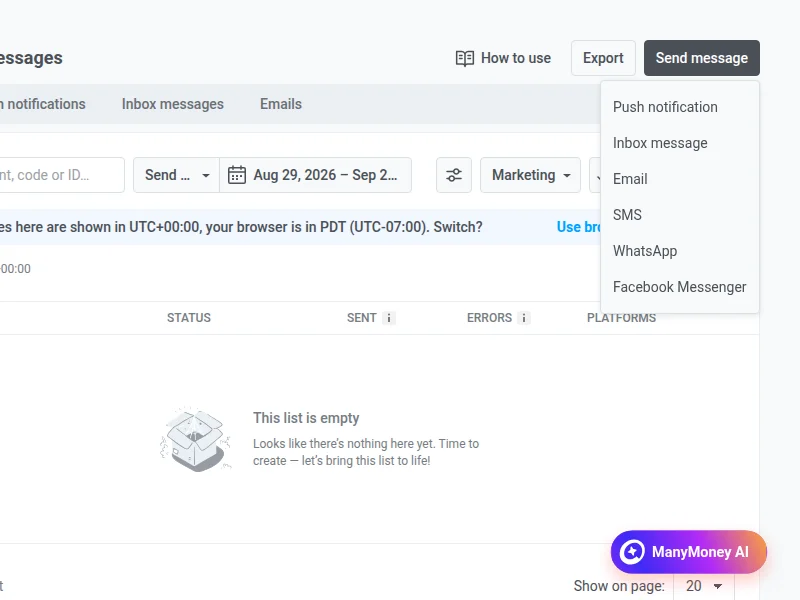
- Click Send message.
- Choose Inbox message.
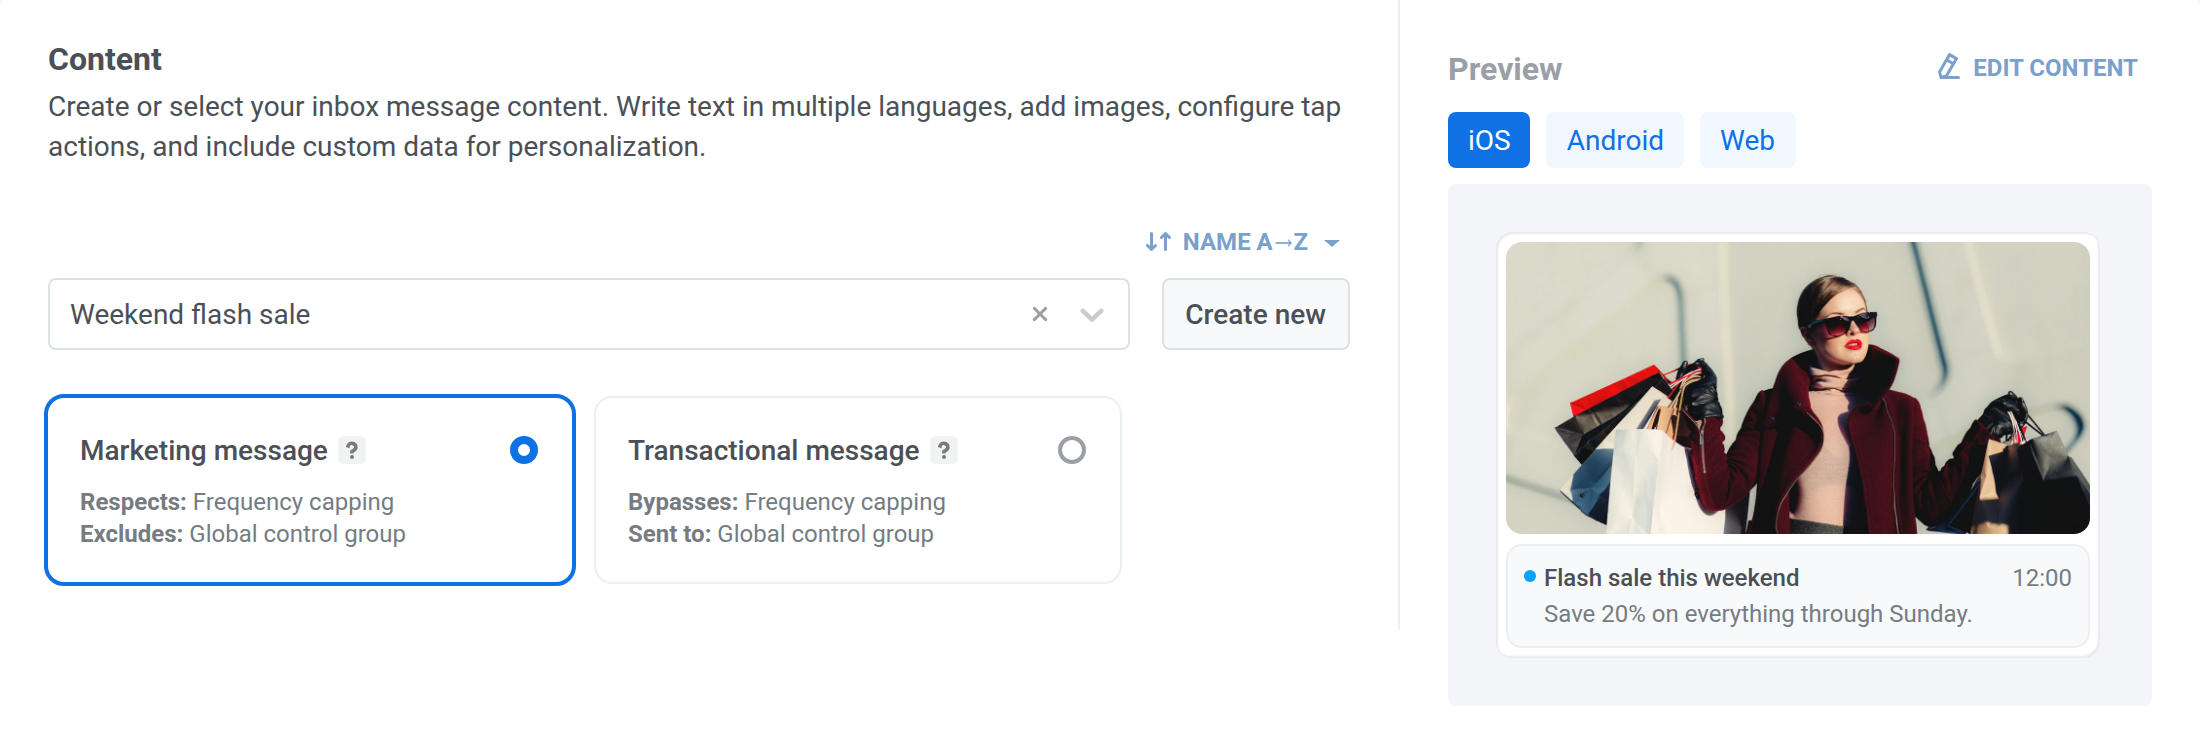
Content
Anchor link toSelect or create App Inbox content
Anchor link toSearch for an existing App Inbox preset, or click Create new to build content inline. Either way, the content editor is the same one used for App Inbox presets. Pick a layout type, then fill in the fields for that layout.
To change the order of presets in the dropdown, click the sort button above it. The dropdown is sorted by Name A→Z until you pick another order, and Pushwoosh remembers the order you pick and uses it in every App Inbox preset dropdown, in one-time messages and journeys alike.
Preview the message
Anchor link toThe Preview panel next to the form shows the message as an inbox cell. Choose iOS, Android, or Web above the cell to see how it looks on that platform. Web shows the cell as the Web SDK inbox widget draws it on your site. There’s no Huawei option, because Huawei devices use the Pushwoosh Android SDK. Choose Android to preview them.
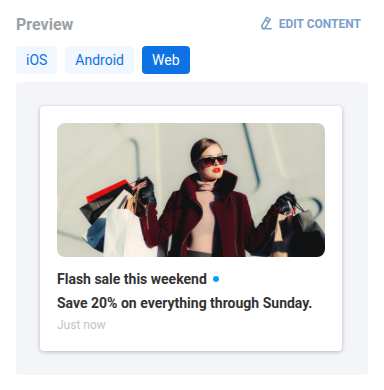
The preview platform doesn’t affect who gets the message. The platforms that receive it are set in Target platforms on the Audience step.
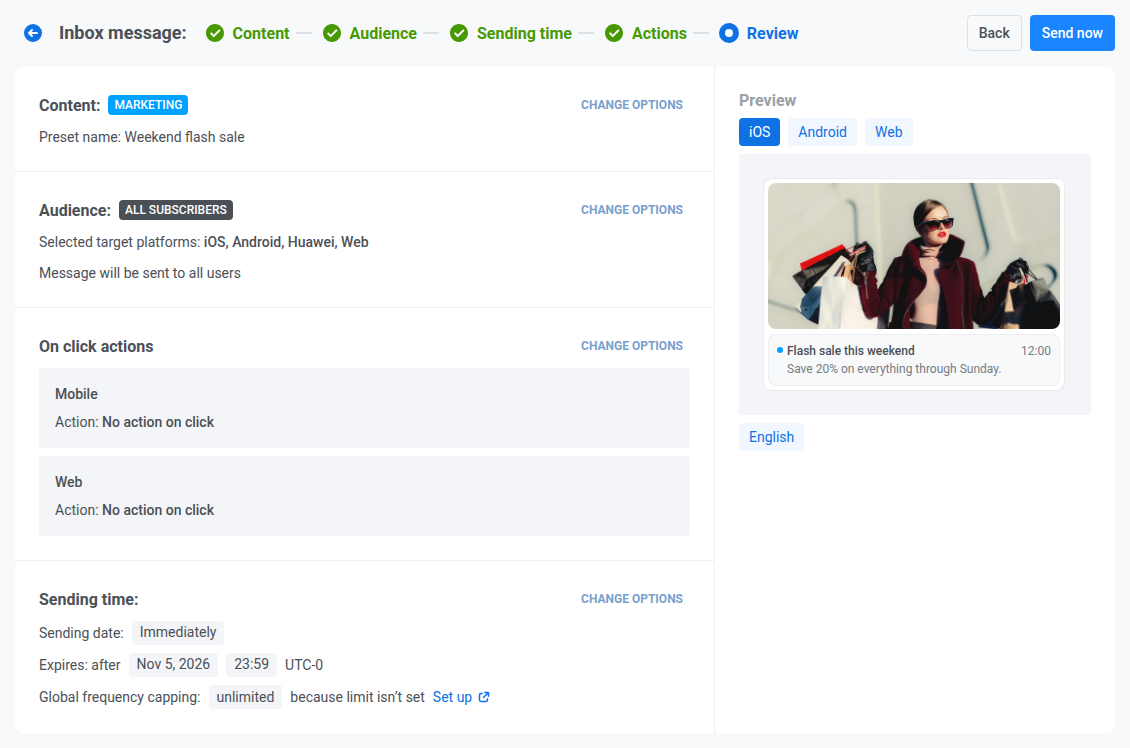
If the content has several languages, use the chips under the cell on the Review step to switch between them.
Select message type
Anchor link toChoose Marketing message or Transactional message:
- Marketing message: respects frequency capping. Excludes the global control group.
- Transactional message: bypasses frequency capping. Sent to the global control group too.
Audience
Anchor link toSelect audience for the Inbox message
Anchor link toChoose who receives the message:
- Send to segment: users in a saved segment.
- Send to specific users: named User IDs or HWIDs.
- Send to all subscribers: everyone with a registered device for the selected platforms.
In Target platforms, leave iOS, Android, Huawei, and Web selected, or narrow the list to the platforms you need.
Sending time
Anchor link toChoose when to send
Anchor link to- Immediately: the message is placed in the inbox as soon as you send.
- On chosen date: schedule the message for a specific date and time.

In Timezone for campaign schedule, choose the timezone used to interpret On chosen date.

Set expiration
Anchor link toIn Expires, choose how long the message stays in the inbox:
- After 7 / 14 / 30 / 90 days, or a specific date.
- Leave After 30 days unless you need a shorter or longer window.
The default is longer than the retention on the Save to Inbox toggle (max 30 days), because an Inbox message needs to survive until the user’s next app open, not just until the next day.

Set frequency capping
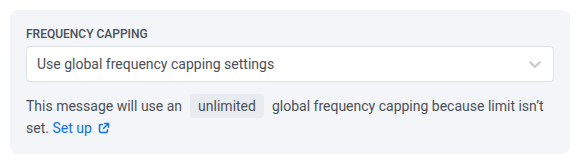
Anchor link toIn Frequency capping, choose how often this user can get App Inbox messages. Limits apply to the App Inbox frequency capping channel, separate from push, email, and other channels.
- Use global frequency capping settings: apply the project-wide App Inbox limit.
- Send messages without global frequency capping: send even if the user already hit that limit. Use with caution.
- Use custom frequency capping: set a limit only for this message.
Actions
Anchor link toOn the Actions step, set On click actions for each platform.
Mobile:
- No action on click: nothing opens when the user taps.
- Open Deep link: open a deep link in the app.
- Open URL in browser: open a URL in the device browser.
- Show in-app content: show an in-app message you select. The in-app list is sorted by Oldest first until you pick another order with its sort button.
Web:
- No action on click: nothing opens when the user taps.
- Open URL in browser: open a URL in the browser.
- Show web pop-up: show a web popup you select. The list starts with Recently updated until you pick another order with its sort button.
Review
Anchor link toReview and send
Anchor link to-
Review the summary.
-
Click Send now. If you set a specific date in Sending time, this button reads Schedule send instead.
-
In the dialog that opens (Confirm sending, or Confirm scheduling if you scheduled), set Campaign name: a free-text label for this one message. It’s prefilled with the Inbox preset’s own title, or its preset name if the preset has no title. Clear it and Message History falls back to the same default. Keep it to 255 characters or fewer. Typing past the limit truncates the text without a warning.
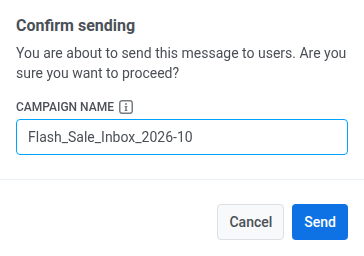
Once set, the campaign name becomes this message’s bold title in Message History and its CSV export, in place of the preset title.
-
Click Send to confirm, or Schedule send if you’re scheduling.
To change or clear the campaign name, or to cancel a message that’s still scheduled, open Campaigns → One-time messages or Message History. The actions menu (⋮) there covers Inbox sends the same way as other channels.
Send from a journey
Anchor link toUse a journey when the Inbox message should follow a trigger, wait, or another channel. Skip the journey if you only need a one-time send.
- Open a journey in Customer Journey Builder.
- From Channels, drag App Inbox onto the canvas where you want the message.
- Open the element and set content, message type, on-click actions, expiration, and frequency capping the same way as in the one-time flow above.
Full setup: App Inbox journey element.