Send one-time emails
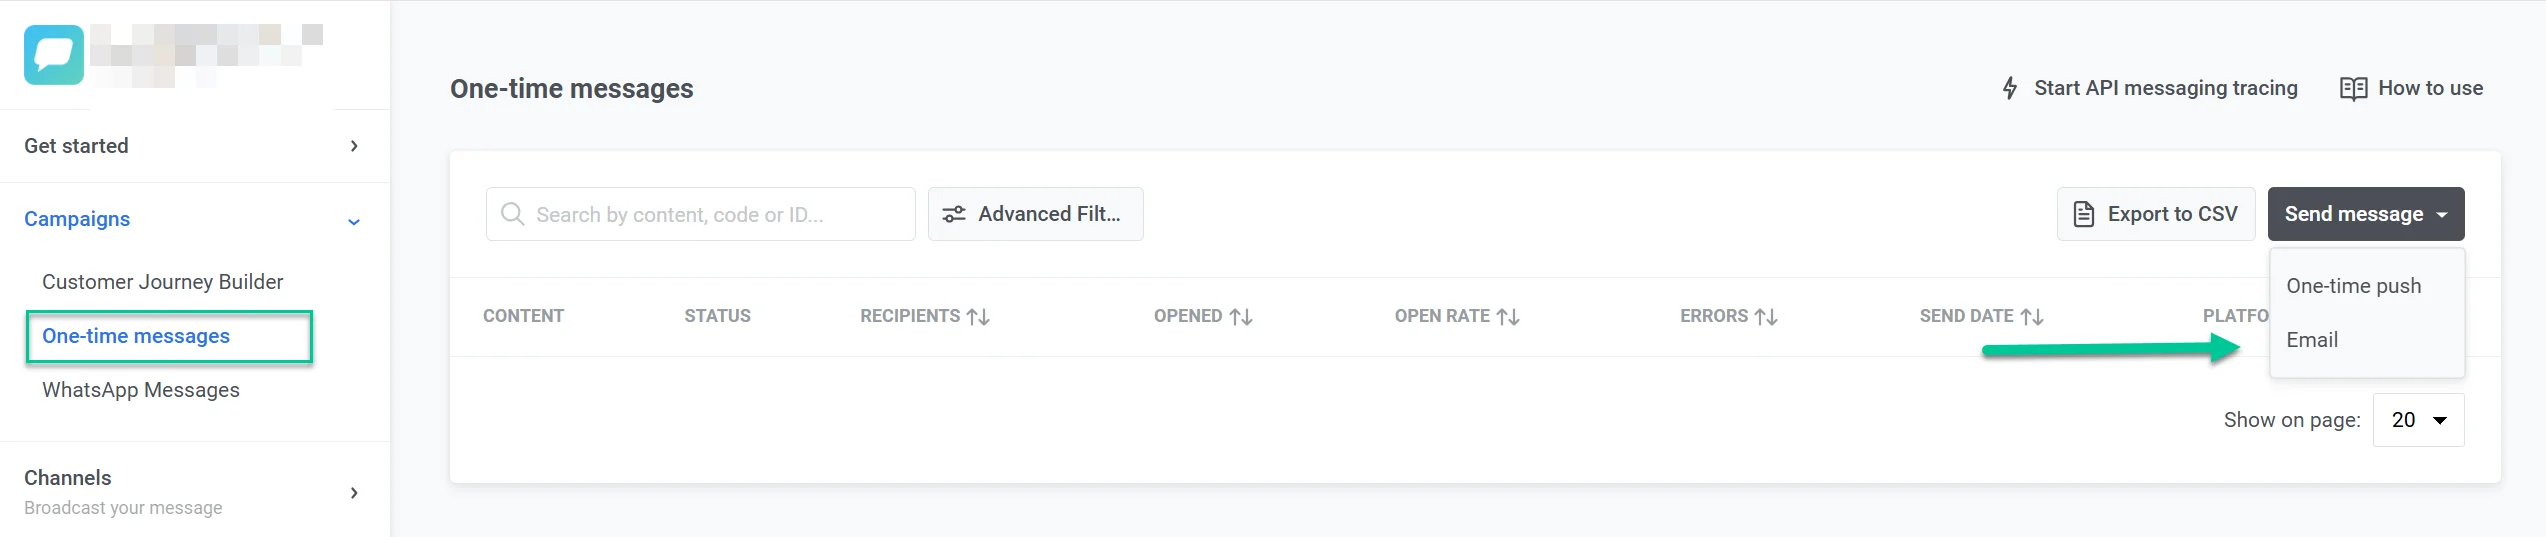
To send a one-time email in Pushwoosh, navigate to the Campaigns section, select One-time messages, and click Send message > Email.
Configure content
Anchor link toIn the Content step, select or create your email content. You can create content in multiple languages, either from scratch or using HTML code.
Select existing content
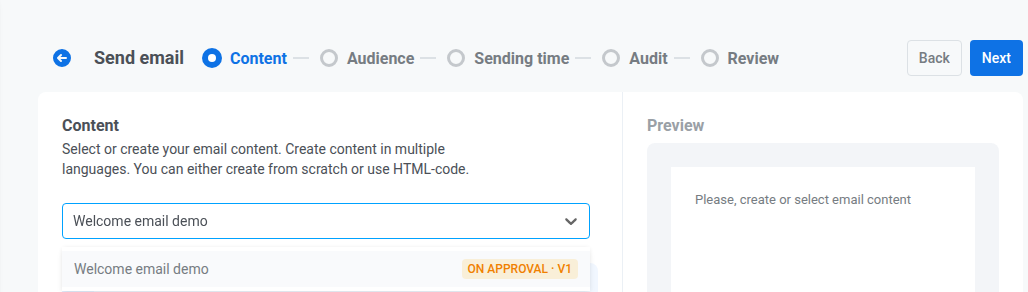
Anchor link toUse the Type to search… field or open the dropdown and select the desired email content.
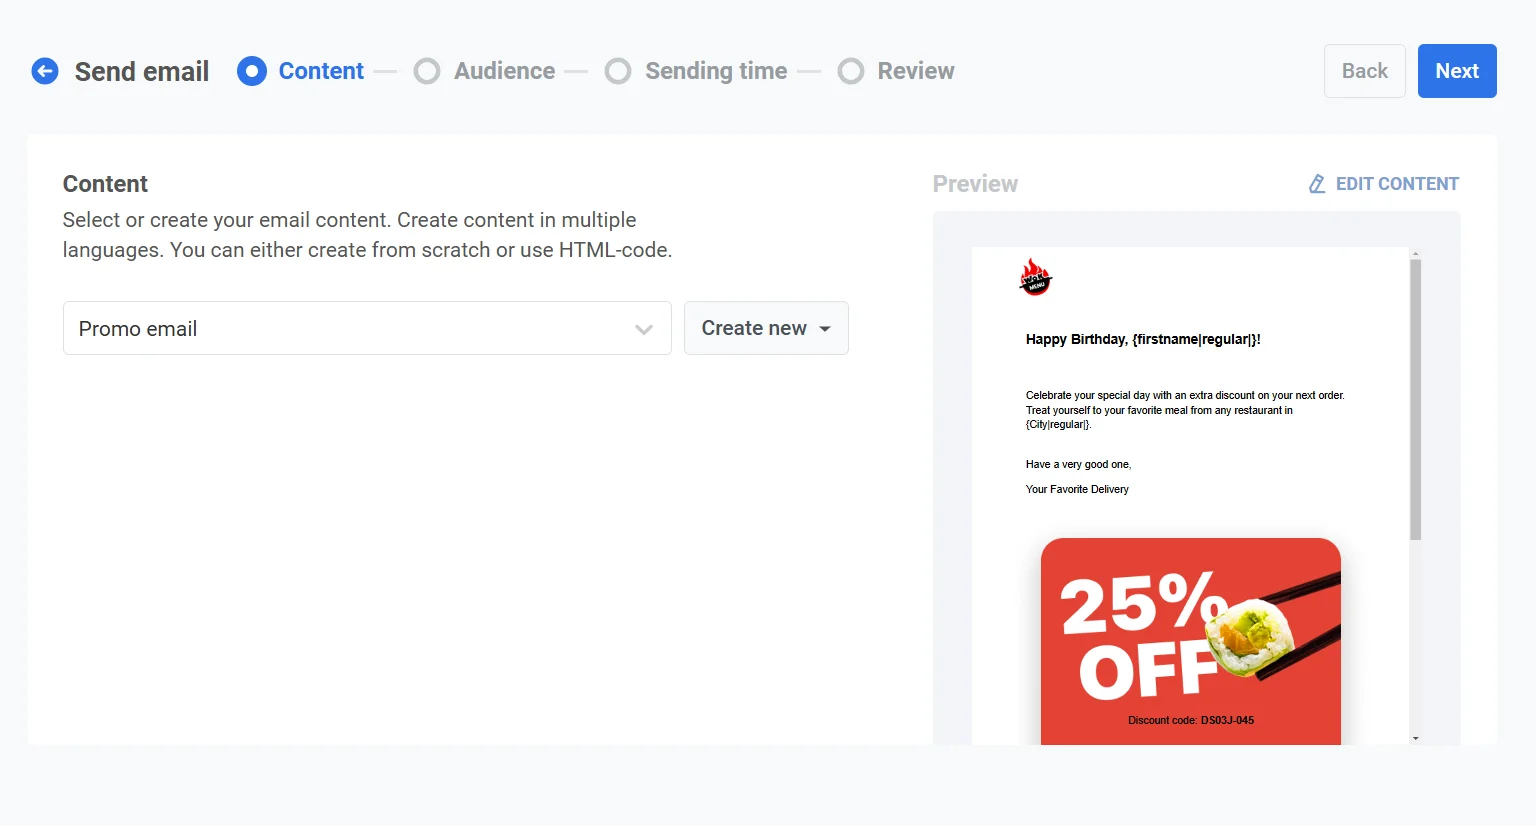
To change the order of email content in the dropdown, click the sort button above the dropdown and choose Newest first, Oldest first, Recently updated, Name A→Z, or Name Z→A. Until you pick an order, the list is sorted by Name A→Z. Pushwoosh remembers your choice and applies it to every email content picker you open, in one-time messages and journeys alike. More items load as you scroll.
Create new content
Anchor link to-
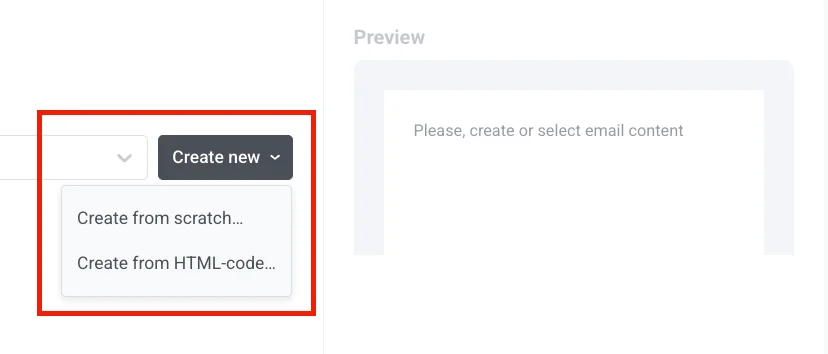
Click Create new and choose Create from scratch… (Drag and Drop Editor) or Create from HTML-code… (HTML code editor).
-
Create the email in the editor. It opens in a drawer over the campaign form, so you stay on the Content step.
-
Save your content, then click the back arrow at the top of the editor. The drawer closes, and the new content is selected in the Content step.
Learn more about creating email content
Edit content
Anchor link toClick Edit content above the preview to open the same drawer with the selected content loaded.
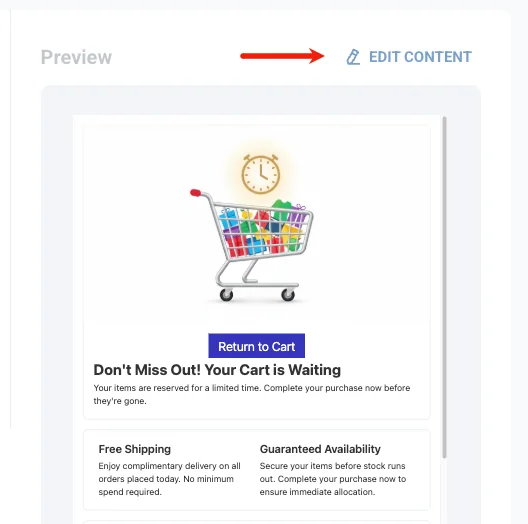
Save your changes, then click the back arrow at the top of the editor to close the drawer and return to the Content step.
Select message type
Anchor link toChoose how this email is treated for subscription and delivery rules:
- Marketing message: Respects user subscription preferences, opt-outs, and frequency capping. Not sent to control group users.
- Transactional message: Sent to all users regardless of subscription status. Bypasses opt-outs and frequency capping. Delivered to control group users.
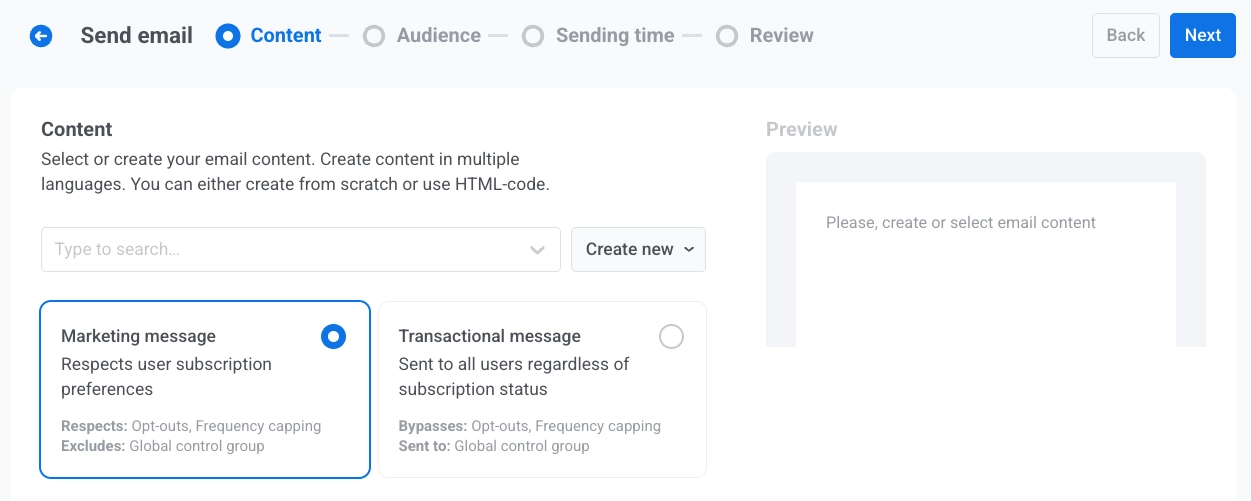
Learn how message type affects delivery.
Select subscription category
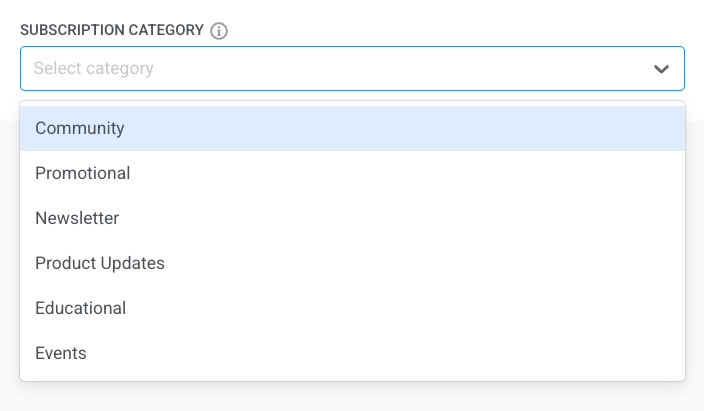
Anchor link toIf the subscription preference center is enabled for your project and you selected Marketing message, select a Subscription category from the dropdown so the message aligns with your subscribers’ preferences. Categories are defined in the subscription preference center.
Select the audience for your email campaign
Anchor link toIn the Audience step, define who will receive your email. Pushwoosh offers several targeting options to match your campaign goals:
Send to segment
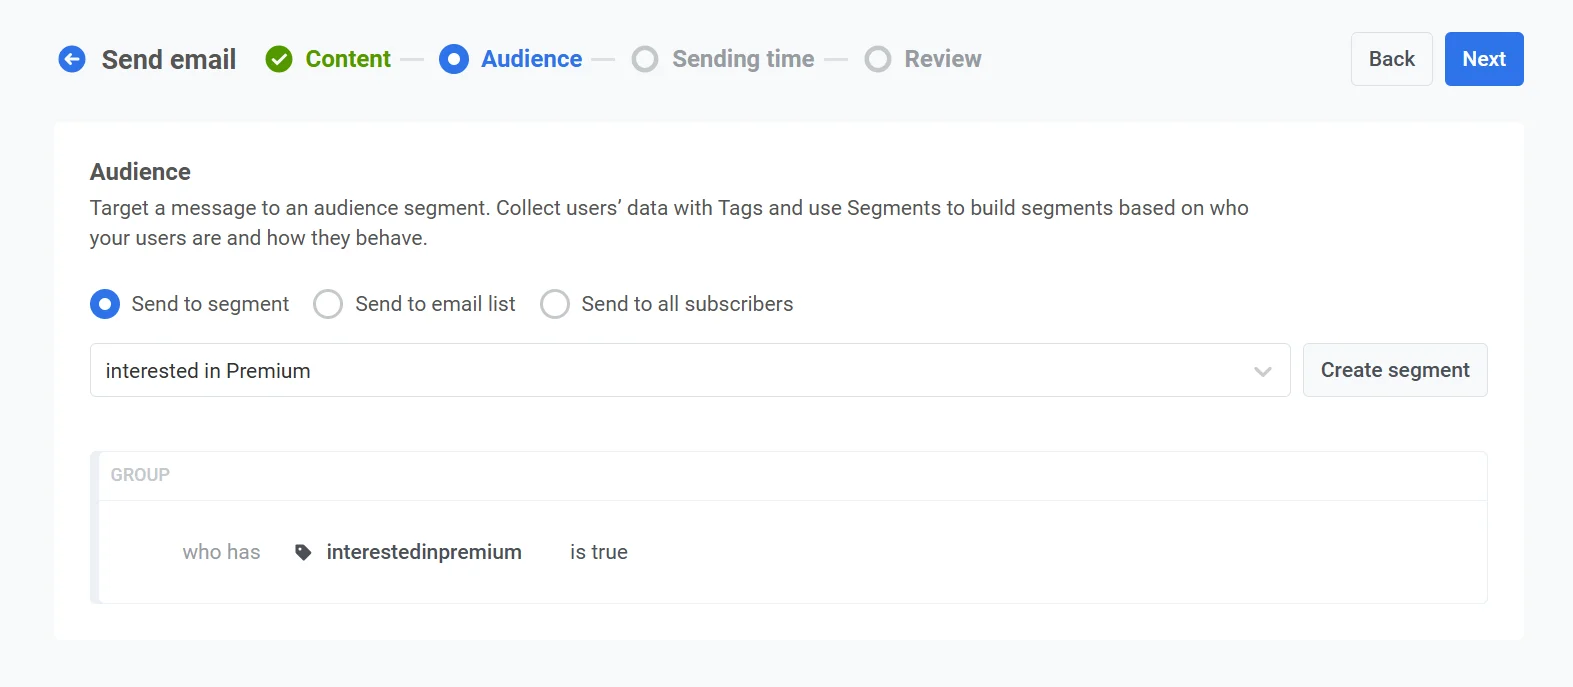
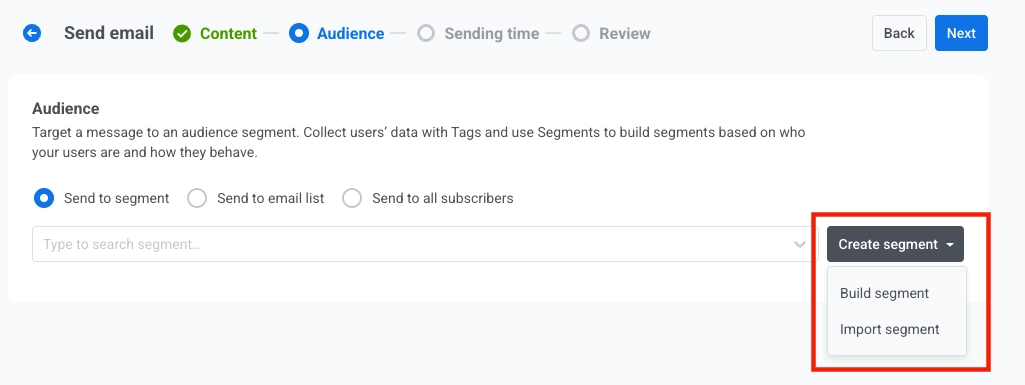
Anchor link toChoose this option to target a predefined segment of your audience. This allows you to focus on specific groups based on their actions, behavior, or attributes. There are two options:
- Select a segment from the drop-down list of pre-built options.
-
To create a new segment, click Create segment. Then select one of the following actions from the dropdown menu:
- Build segment: Create a new segment using the Segment builder. Learn more
- Import segment: Import a segment from a CSV file. Learn more.
Send to email list
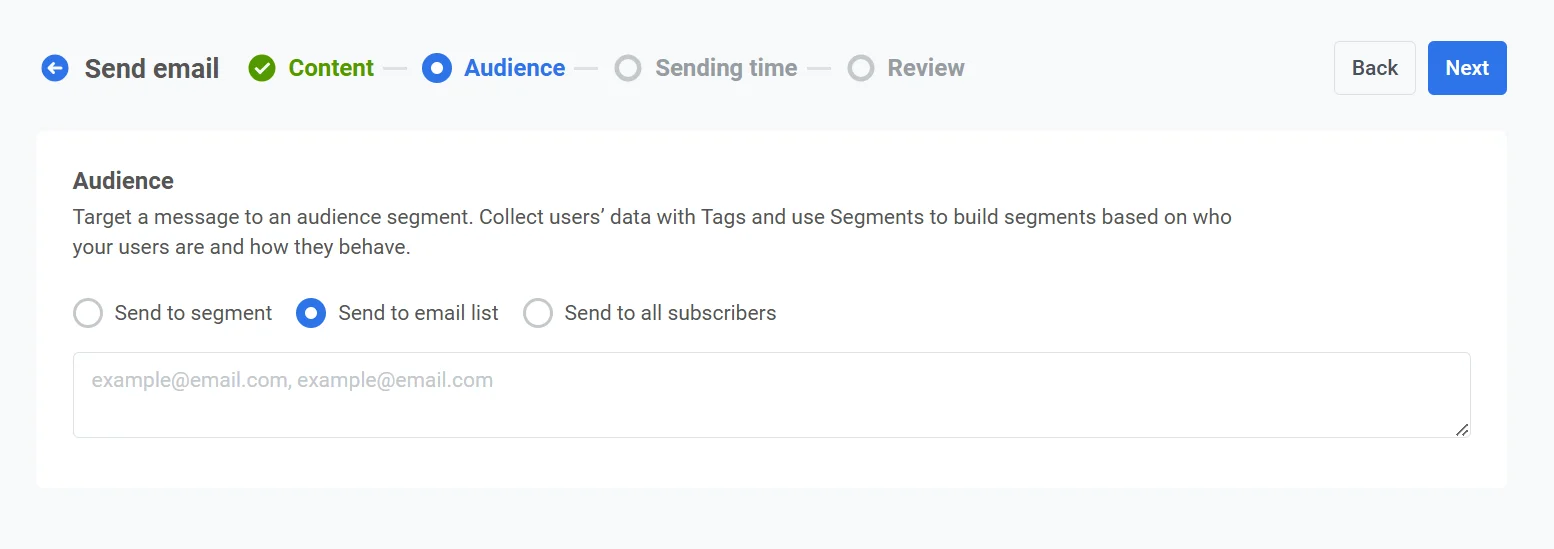
Anchor link toUse this option to send the email to a specific list of email addresses. Enter the email addresses as a list, separated by commas. This is ideal for one-time or special communications that don’t fit into a predefined segment.
Send to all subscribers
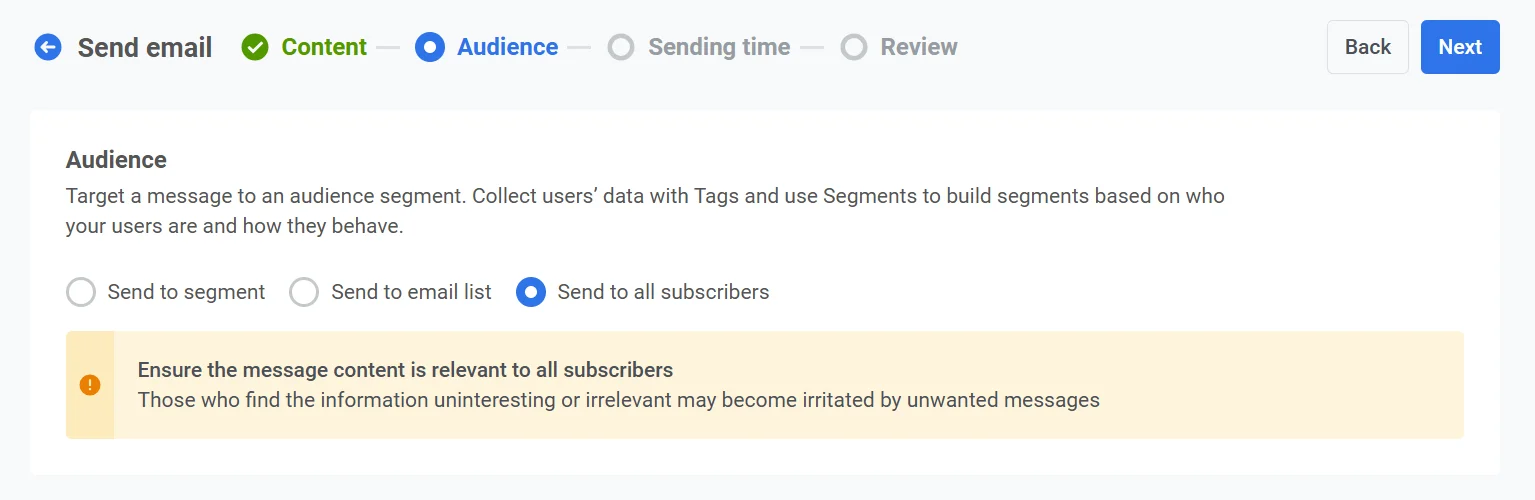
Anchor link toSelect this option to target your entire subscriber base, regardless of their segment or behavior.
Once you’ve set your audience, click Next to proceed to the scheduling step of your email campaign.
Schedule email
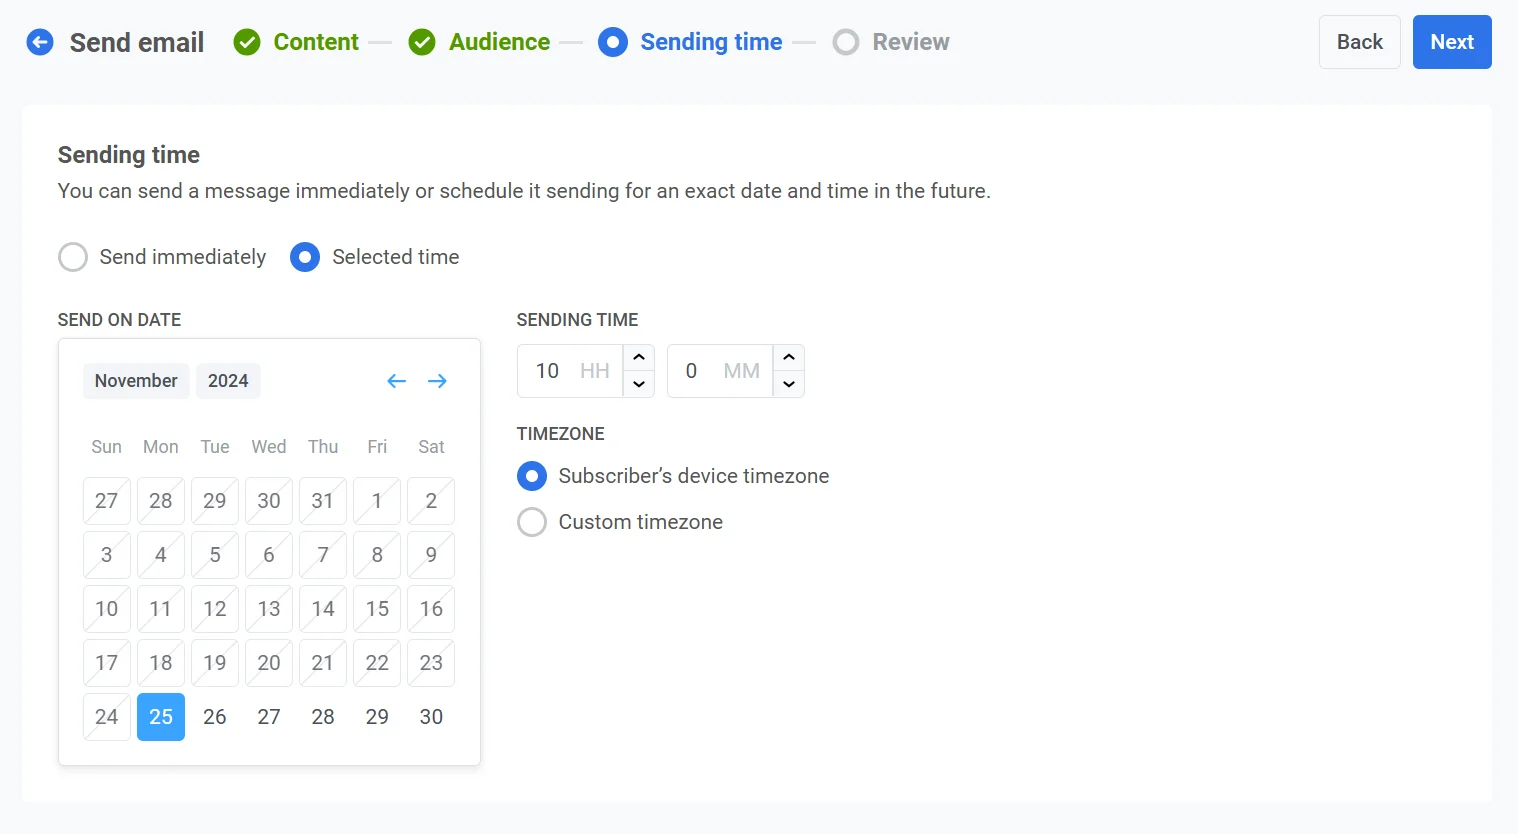
Anchor link toThen, choose when to send your email. You have several options:
- Send it immediately
- Schedule it for a specific date and time
Send immediately
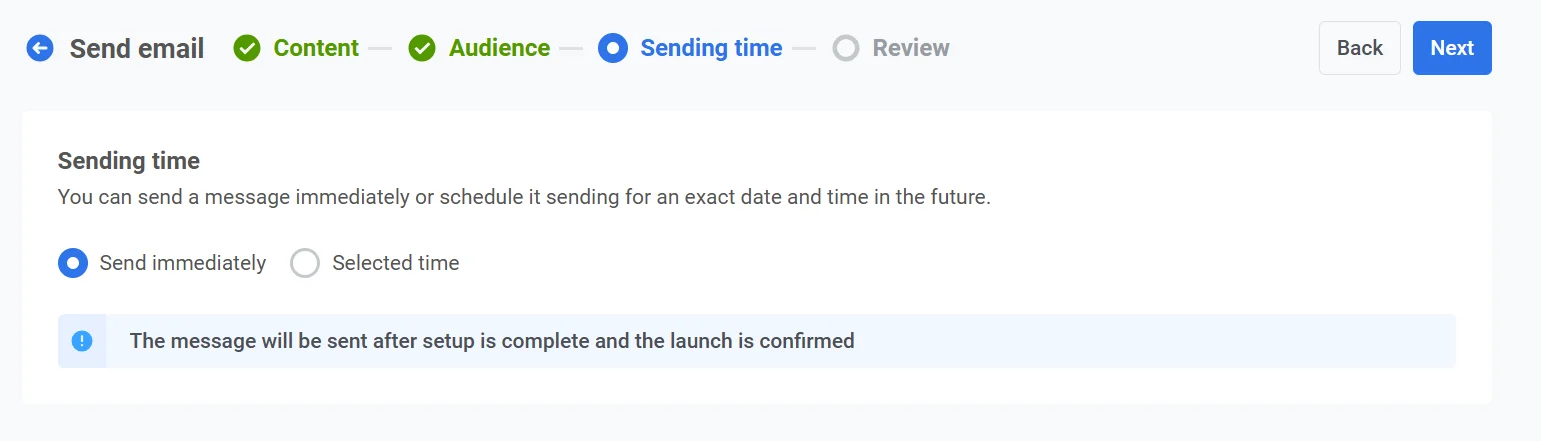
Anchor link toChoose this option if you want to send the email as soon as the campaign setup is complete. This is ideal for urgent or time-sensitive messages that require immediate delivery.
Selected time
Anchor link toChoose this option to schedule your email for a specific date and time.
Set the date and time
Anchor link toUse the calendar to pick the exact date for your email. Then, specify the time in hours and minutes (using the 24-hour format).
Select the timezone
Anchor link to- Subscriber’s device timezone. The email will be sent based on each recipient’s local timezone, ensuring delivery at the specified time in their location.
- Custom timezone. Set a specific timezone to send the email at the same time for all recipients. This is useful for targeting users in a particular region.
Configure message delivery settings
Anchor link toSet frequency capping
Anchor link toUse Frequency capping to limit how often users receive email messages, preventing over-messaging and reducing churn. Frequency capping isn’t available for a Transactional message. Choose one of the following options:
-
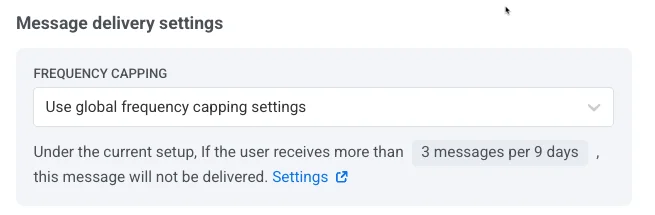
Use global frequency capping settings
Apply the project-wide limits configured in your Global frequency capping settings.
For example, if the global limit is set to 3 messages in 9 days, additional messages exceeding this limit will be skipped.
-
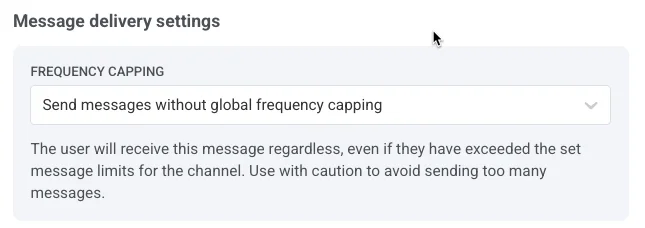
Send messages without global frequency capping
The user will receive this message even if they’ve exceeded the channel’s message limits. Use this option with caution to avoid over-messaging.
-
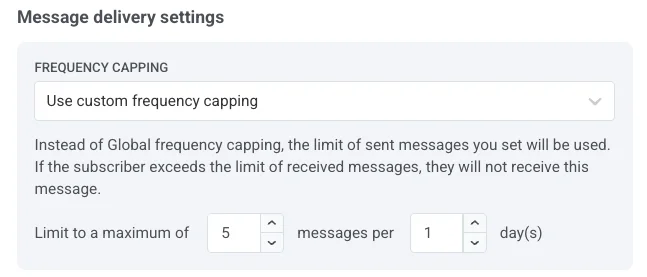
Use custom frequency capping
Set a custom message limit for this message in Limit to a maximum of N messages per N days. If the user exceeds this custom cap, the message is skipped for them.
Under Counting mode, choose how sent messages are counted:
- Rolling window: counts the messages sent within the last N×24 hours before each send, where N is the number of days in the limit. For example, with a limit of 3 messages per 2 days, a message sent Monday at 9 AM stops counting on Wednesday at 9 AM.
- Calendar day: counts the messages sent today and on the previous N-1 calendar days, starting at midnight. With the same limit of 3 messages per 2 days, on Wednesday every message sent since Tuesday midnight counts. Right after midnight, the window moves to Wednesday and Thursday. Select a Capping timezone to set when midnight falls. If you don’t select one, calendar days are counted in UTC.
Set send rate limits
Anchor link toThe Send rate setting controls how quickly messages are delivered to your audience. Adjusting the send rate helps you manage delivery speed, prevent backend overload, and improve overall deliverability.
Choose one of the following options:
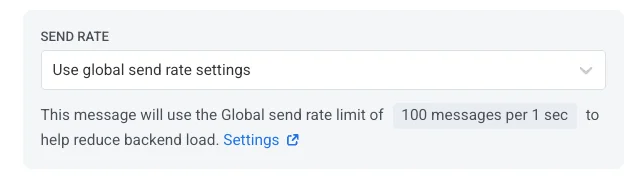
- Use global send rate settings Applies the send rate limits configured in your project’s message delivery settings. If no limits are set, all messages will be sent immediately. Use this option when you want delivery speed to follow your project’s default rules. Learn more about global send rate limits
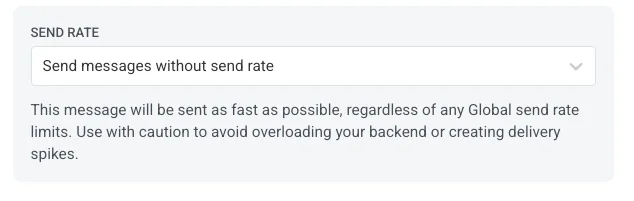
- Send messages without global send rate Sends messages as fast as possible, ignoring any global send rate limits. Use with caution to avoid overloading your backend or creating delivery spikes.
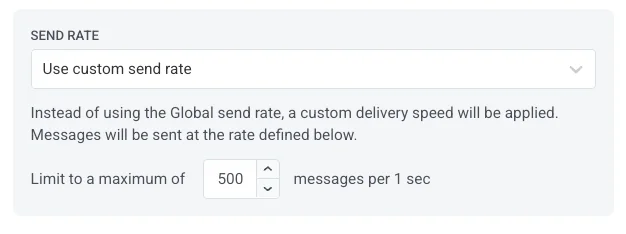
- Use custom send rate Overrides the global send rate for this message only. Set the maximum number of messages sent per second, giving you full control over delivery speed.
Once you’ve configured the desired options, click Next to proceed to the audit step.
Audit your email
Anchor link toIn the Audit step, Pushwoosh sends a real test email to an address you choose and checks it for issues that could hurt delivery, from broken links to missing unsubscribe mechanics. You must run the audit at least once before you can go to Review. Learn more about email deliverability.
Run the audit
Anchor link to-
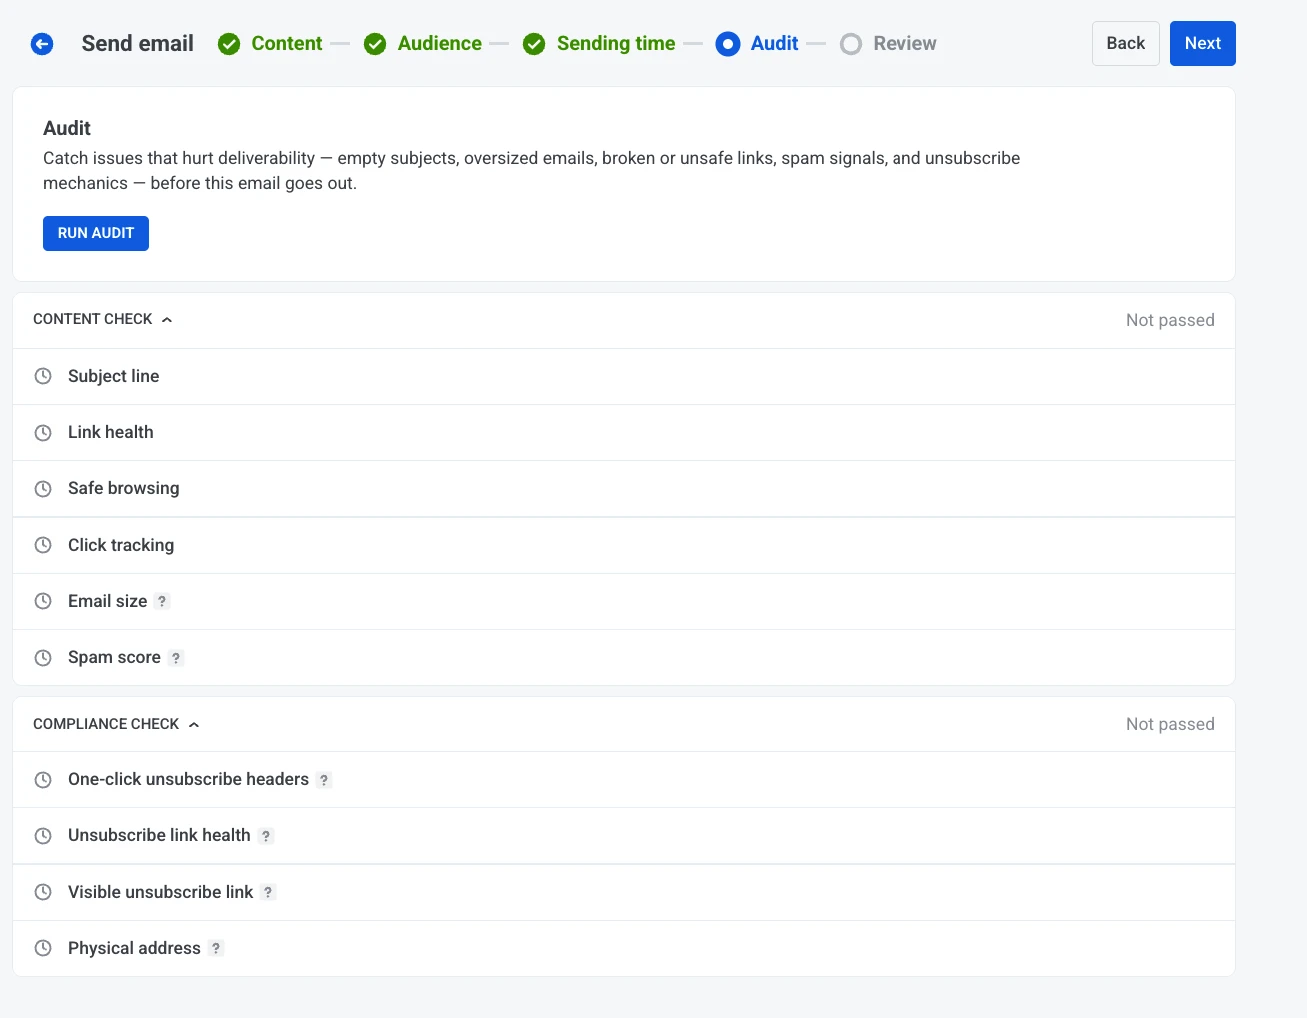
Click Run audit.
-
Under Send test to, enter the email address the test should go to. It’s pre-filled with your own account email, but you can replace it with any address. An address on your account’s bounce list is rejected, with an error explaining why.
-
Click Run audit in the dialog to send the test email and run the checks.
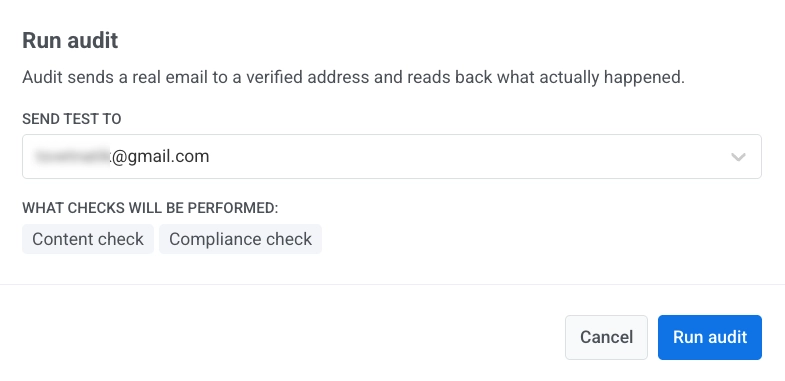
The results appear in two groups, Content check and Compliance check. Before the audit runs, both show Not passed. After the run, each group shows its result and the number of errors and warnings found.
What the audit checks
Anchor link toContent check
Anchor link to- Subject line: Flags an empty subject line in any content language.
- Link health: Flags broken links in the email body.
- Safe browsing: Flags links marked as malware, phishing, a known shortener, a raw IP address, a suspicious top-level domain, or where the visible link text doesn’t match its destination.
- Click tracking: Checks that links are wrapped by the click tracker.
- Email size: Checks the email size against Gmail’s clipping limit. Oversized emails get clipped. Recipients see “[Message clipped]” and the unsubscribe link is hidden.
- Spam score: Score from Pushwoosh’s antispam engine. It’s a useful indicator, not a guarantee of inbox placement at Gmail or Outlook.
Compliance check
Anchor link to- One-click unsubscribe headers: Checks for List-Unsubscribe headers. If you send more than 5,000 emails a day, Gmail rejects messages without one-click unsubscribe or moves them to spam.
- Unsubscribe link health: Checks that the unsubscribe link works. A broken link leads to spam complaints instead of opt-outs.
- Visible unsubscribe link: Required by CAN-SPAM. Recipients must be able to opt out from within the email.
- Physical address: Required by CAN-SPAM and most ESP policies. Your company’s street address must appear in the footer.
Review and edit your content
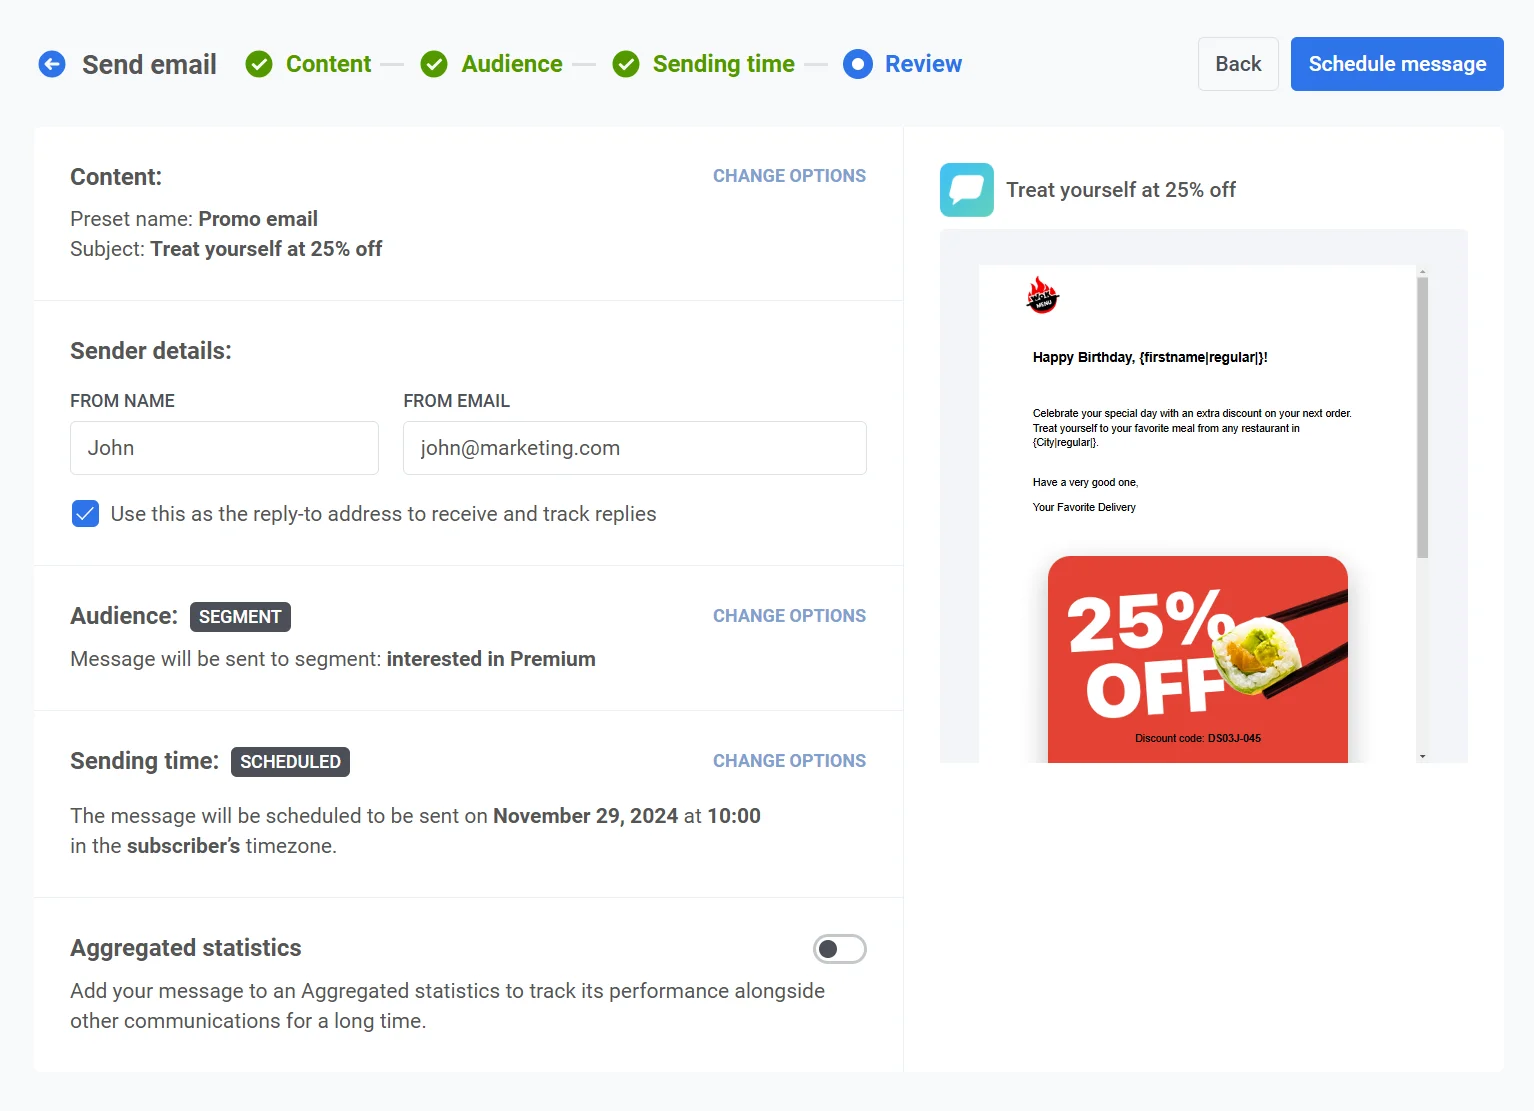
Anchor link toIn Review, check the preview and the summaries for content, audience, and schedule. Update anything that still needs to change before you send or schedule.
Email details
Anchor link toIn Email details, review and edit the Subject line, From name, and From email.
Enable Use this as the reply-to address to receive and track replies if you want replies to go to the same address. Clear it to enter a different Reply-to name and Reply-to email. The From and reply-to addresses must use a domain verified in your account. Otherwise, the message is rejected when you send it.
Resend to non-openers
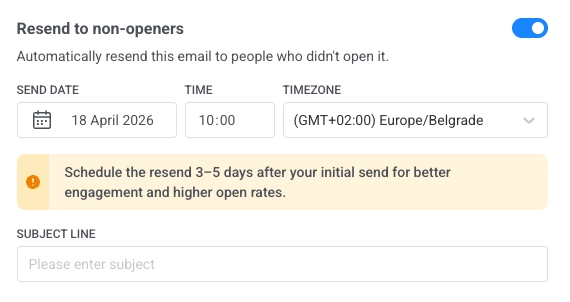
Anchor link toIf you want to send the email again to users who did not open it, enable Resend to non-openers before you send or schedule the message. Pushwoosh then creates a follow-up send to those recipients using the same email content.
- Enable Resend to non-openers.
- Set Send date, Time, and Timezone for when the follow-up should be delivered.
- Edit the follow-up Subject line if needed. It’s prefilled from the content, can differ from the original subject, and can’t be empty.
Link to Aggregated Messages
Anchor link toOptionally, link your email to an Aggregated messages campaign: enable Aggregated statistics and select the campaign in Link message statistics with. This allows you to group the email with related messages and track their combined performance over time in the Aggregated Messages section. Use this feature to monitor message effectiveness as part of a broader communication strategy.
Name and confirm your send
Anchor link to- Click Schedule message or Send now. The Confirm sending dialog opens.
- Optionally edit Campaign name. It’s prefilled with the email’s subject line. Keep it to 255 characters or fewer: longer text is cut off without a warning.
- Click Schedule message or Send now in the dialog.
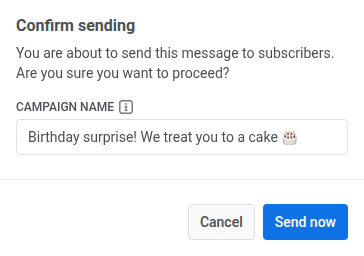
The campaign name becomes this message’s bold title in Message History and its CSV export, in place of the subject line. If you clear the field, Message History shows the subject line.
A campaign name only labels this one send. To group the email with other messages, link it to an Aggregated Messages campaign (see above).
Cancel or edit a scheduled email
Anchor link toFor emails that are scheduled and not yet sent (status Scheduled), you can change or cancel them. Open the list of messages in Campaigns → One-time messages.
Then, open the actions menu (⋮) for the message you want to change or cancel:
- Delete message: cancels the scheduled delivery and changes the status to Stopped.
- Edit message: opens the one-time email form with the message data loaded.
- Rename: sets or changes the campaign name without opening the edit form. The limit is 255 characters. To remove the name, clear the field and save. The row shows the email’s subject line again.
Example scenario
Anchor link toImagine you are the marketing manager of an e-commerce platform, and you want to send an email promoting an upcoming New Year Sale to a targeted group of users who have previously made purchases. The email should be delivered at a specific date and time, right before the sale begins. You can set up this campaign in Pushwoosh as follows:
1. First, navigate to Campaigns, and select One-time messages. Click Send message, then choose Email to start setting up your one-time email campaign.
2. You decide to use existing email content for this campaign. In the Content step, open the dropdown menu and select the pre-built email content titled New Year Sale Promo.
Review the email content:
“Our New Year Sale is just around the corner! 🎉 Get ready to enjoy up to 50% off on your favorite products. The sale kicks off on January 1st, so mark your calendars and make sure you don’t miss out! 🛍️✨”
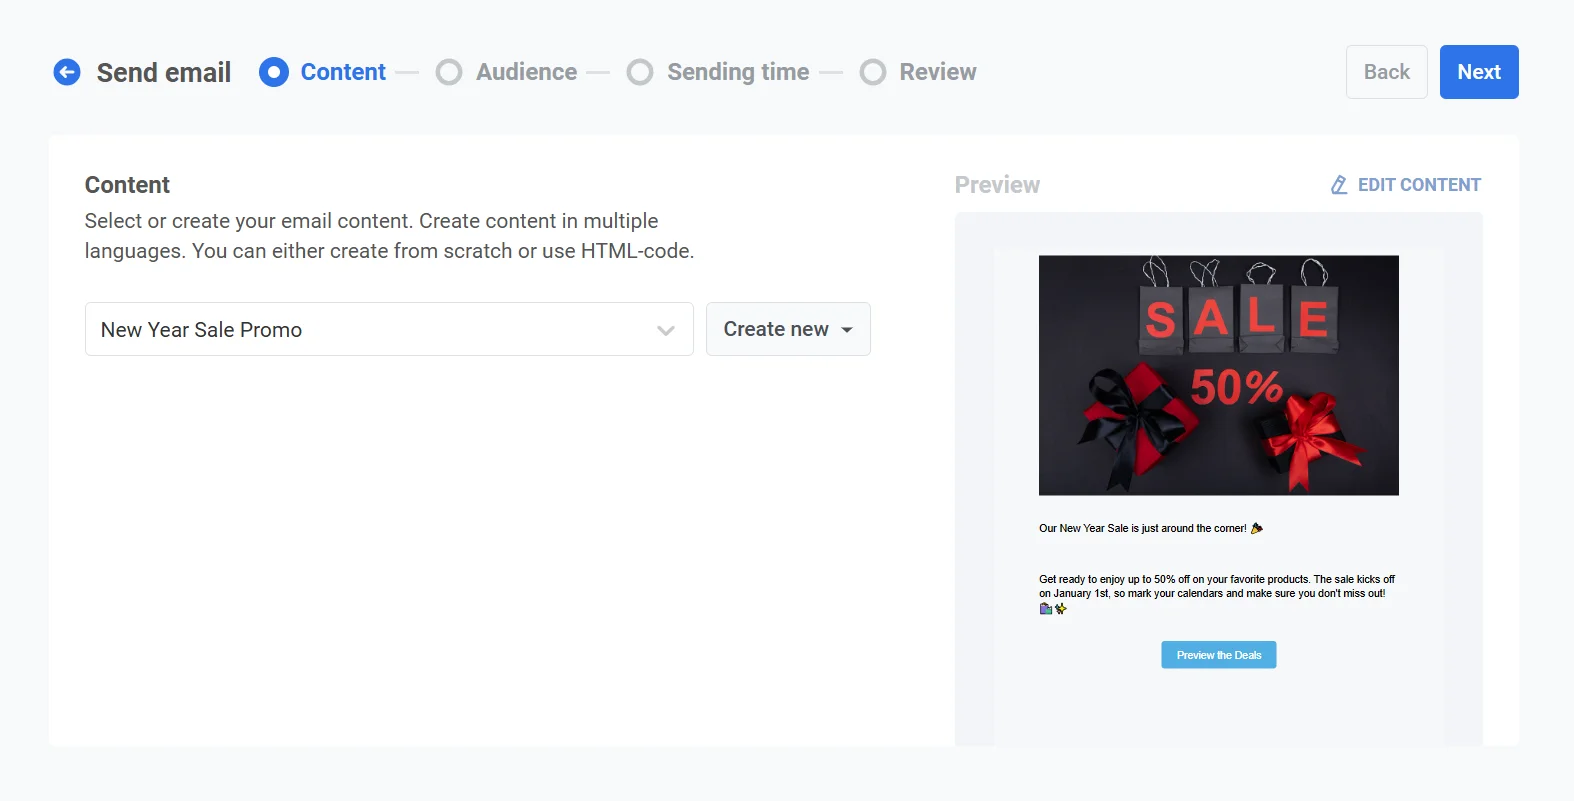
Once you’re satisfied with the content, click Next to move to the audience selection step.
3. Since you want to target users who have made previous purchases, choose Send to segment. From the dropdown menu, select the segment Returning customers, which is based on users who made purchases within the past year.
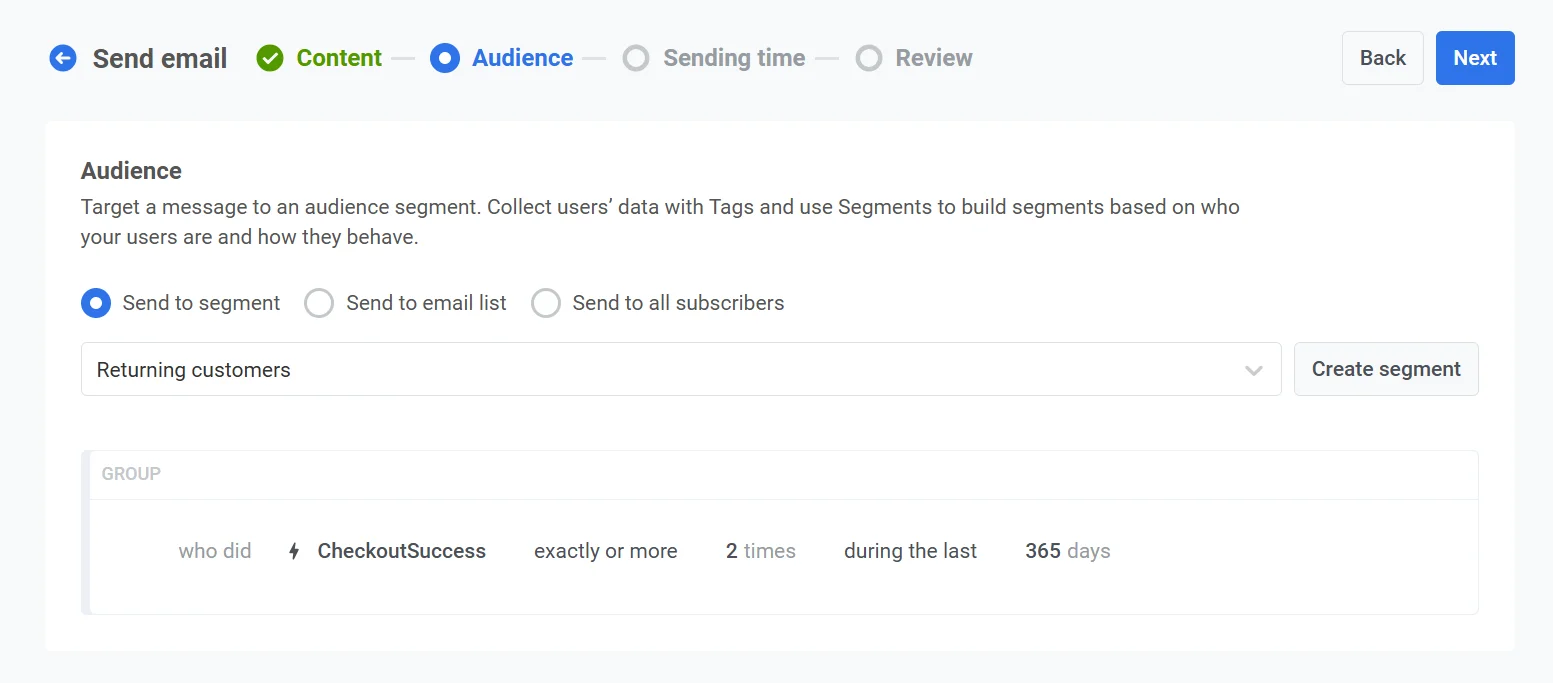
After confirming the audience, click Next to proceed to the scheduling step.
4. To ensure the email is sent at the right time, select Selected time in the scheduling options.
- Set the date to December 30 and the time to 10:00 AM using the 24-hour format.
- Choose Subscriber’s device timezone so the email is sent at 10:00 AM in each recipient’s local timezone, regardless of their location.
5. In the Audit step, click Run audit, enter a test email address, and run the checks to confirm the email has no broken links or missing unsubscribe mechanics before it goes out.
6. Review all the campaign details, including the audience, schedule, and email content. Use the Preview feature to see how the email will appear in recipients’ inboxes.
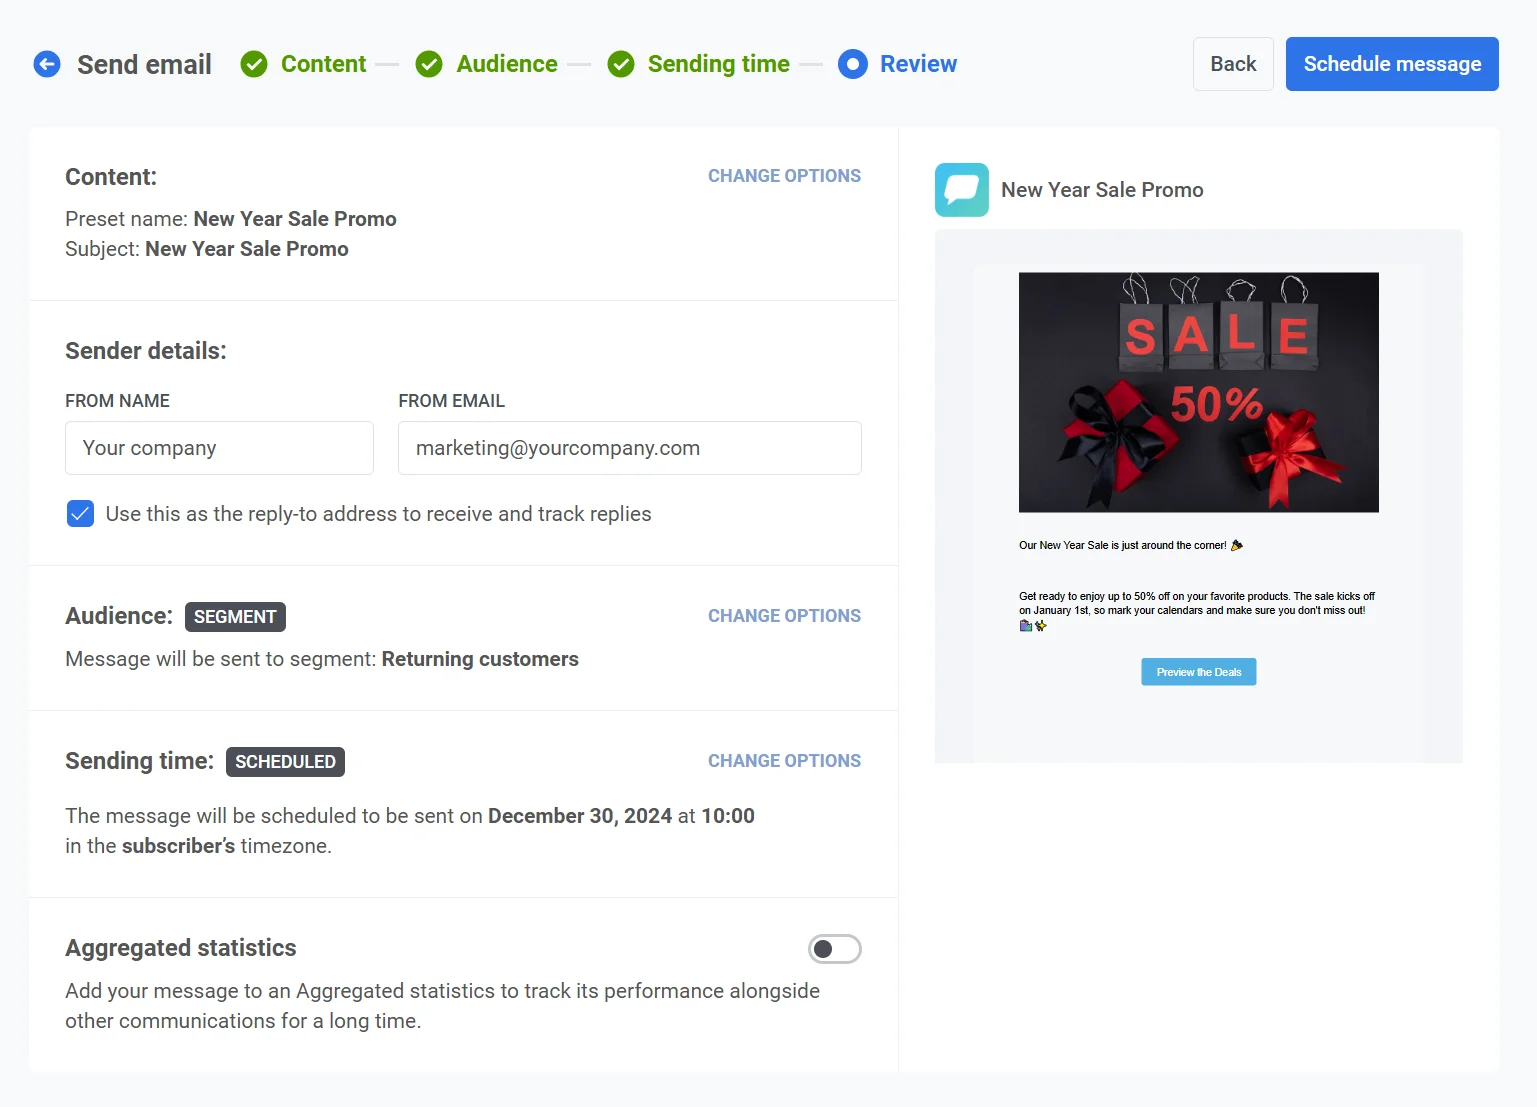
Once everything is verified, click Schedule message. In the Confirm sending dialog, enter New_Year_Sale_Email in Campaign name so the send is easy to find in Message History, and click Schedule message.