AppsFlyer: send event
The AppsFlyer: send event Point template sends a server-to-server in-app event to AppsFlyer for every traveler that passes this step. The event carries the attribution of the install, so the journey step shows up in AppsFlyer reports and can be handed to ad networks as a conversion.
Configure the point
Anchor link to- Drag AppsFlyer: send event from the Integrations section onto the canvas.
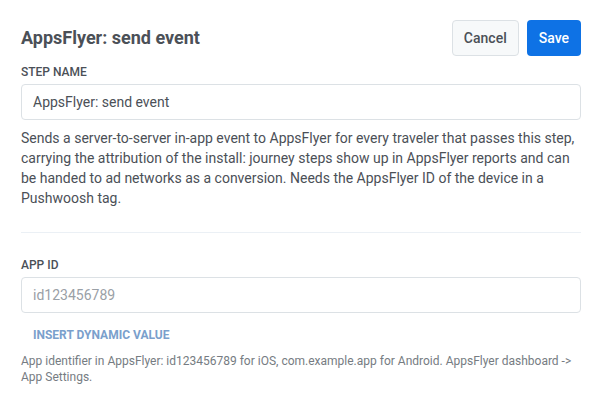
- Double-click the point and enter a Step Name.
- In App ID, enter the app identifier from AppsFlyer: App Settings,
id123456789for iOS orcom.example.appfor Android.
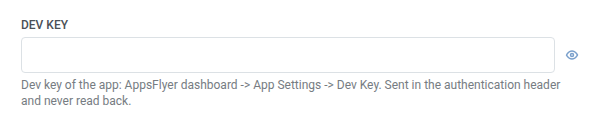
- In Dev key, enter the app’s dev key from App Settings > Dev Key. It’s stored masked, like a webhook secret header — Pushwoosh never displays or returns it once saved, and it never appears in the point’s stored request or in the Calls log.
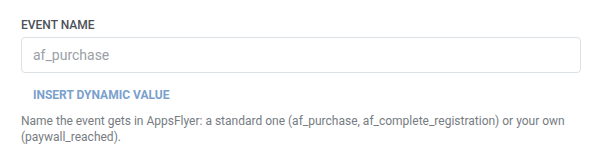
- In Event name, enter the name the event should get in AppsFlyer, a standard one (
af_purchase,af_complete_registration) or your own (paywall_reached).
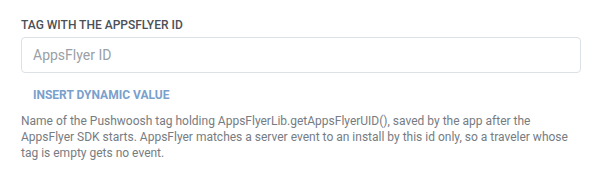
- In Tag with the AppsFlyer ID, type the name of the Pushwoosh tag where the app saves the AppsFlyer ID after the AppsFlyer SDK starts (see the developer note above). Enter the tag name as plain text. Point templates don’t have the tag picker that Push or Email use. AppsFlyer matches a server event to an install only by this ID, so get the tag name exactly right.
- Optional. In Customer user ID, keep the default
{{device:user_id}}to send the Pushwoosh user ID, or enter your own identifier to reconcile in AppsFlyer.
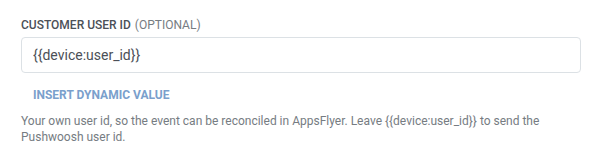
- Optional. In Currency, keep the default
USDor enter another ISO 4217 code. It’s sent aseventCurrency.
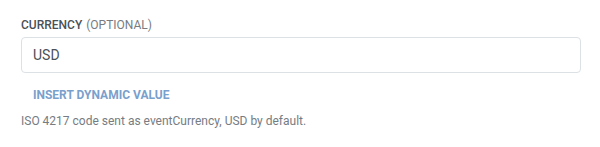
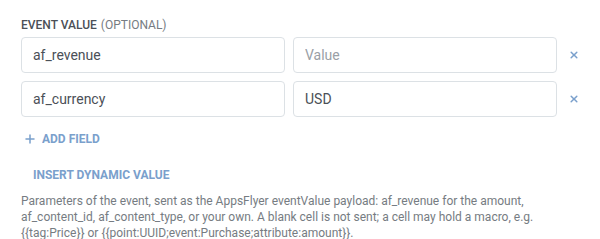
- Optional. In Event value, add the parameters to send as AppsFlyer’s
eventValuepayload — see key/value fields. The table starts pre-filled with anaf_revenueand anaf_currencyrow; clear either one you don’t need. Useaf_revenuefor the amount, andaf_content_idoraf_content_typefor your own. There’s no separate numeric revenue field:af_revenueis a string cell in this table, the same as any other parameter, and it takes a macro like{{tag:Price}}. A blank cell isn’t sent.
- Click Save.
When no request is sent
Anchor link toPushwoosh skips the request (and the traveler continues to the next step) when the tag in Tag with the AppsFlyer ID is empty for that traveler. That isn’t a failed request. AppsFlyer would have nothing to match the event to.
A failed request (one that did have an AppsFlyer ID) drops the traveler from the journey instead. See Errors and failed requests.
Example scenario: Reporting a completed purchase to AppsFlyer
Anchor link toAn app wants a purchase made later in a journey to carry the install’s attribution in AppsFlyer, so it can be handed to ad networks as a conversion. This assumes the development team already saved the AppsFlyer ID into a Pushwoosh tag, as described above.
- Add AppsFlyer: send event right after the step that confirms the purchase. Set Event name to
af_purchase. In Event value, setaf_revenueto{{tag:LastPurchaseAmount}}. - Click Save.
Once this runs, the purchase shows up in AppsFlyer’s reports with the install’s attribution, ready to hand to ad networks as a conversion.