Send Facebook Messenger messages
To send a one-time Facebook Messenger message in Pushwoosh:
- Go to Campaigns.
- Open One-time messages.
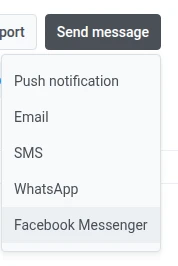
- Click Send message → Facebook Messenger.
Compose your message
Anchor link toIn the Content step, set the message type, enter the text, and choose a message tag if you need one.
Select message type
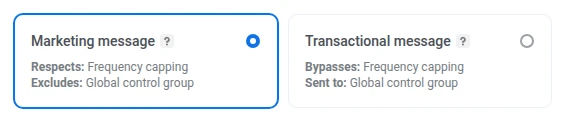
Anchor link toChoose how this message is treated for subscription and delivery rules:
- Marketing message: Respects frequency capping. Not sent to control group users.
- Transactional message: Sent to all users regardless of subscription status. Bypasses frequency capping. Delivered to control group users.
Message type does not replace Meta’s 24-hour window or message-tag rules. Learn how message type affects delivery.
Enter message text
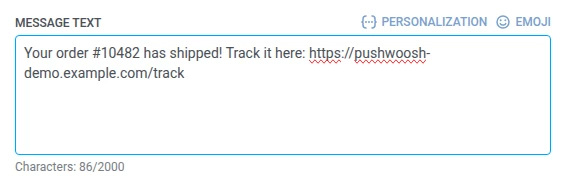
Anchor link toEnter your message in the Message text field.
Use a message tag outside the 24-hour window
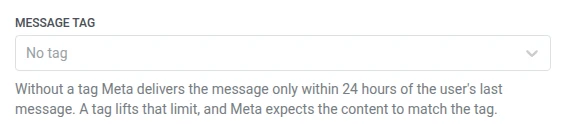
Anchor link toMeta only delivers free-form content inside the 24-hour window opened by an inbound message from the user. Leave Message tag set to No tag when you are sending inside that window.
Outside that window, select a Message tag matching one of Meta’s approved use cases, or the send fails:
- CONFIRMED_EVENT_UPDATE: a reminder or update about an event the recipient is scheduled to attend.
- POST_PURCHASE_UPDATE: an update related to a purchase the recipient already made.
- ACCOUNT_UPDATE: a non-recurring update about a change to the recipient’s account.
- HUMAN_AGENT: a message from a human agent responding to the recipient.
Choose a tag that matches the real reason for the message. Learn more about message tags and closed windows.
Select the audience for your Facebook Messenger campaign
Anchor link toIn the Audience step, define who will receive your message.
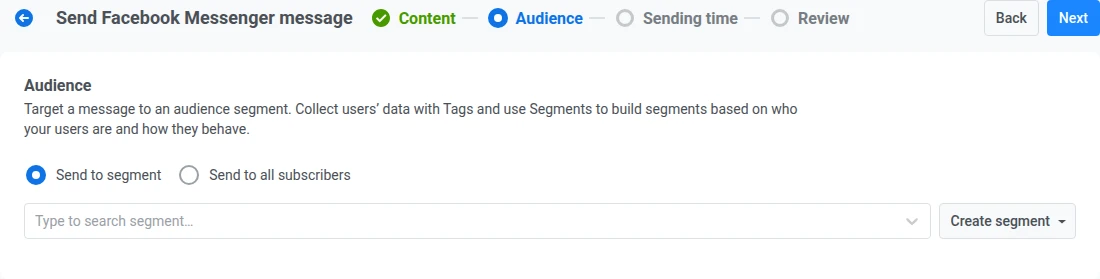
Send to segment
Anchor link toTarget a predefined segment of your audience based on tags, events, or behavior. Select a segment from the dropdown, or click Create segment to build or import one.
Send to all subscribers
Anchor link toTarget your entire Facebook Messenger-reachable audience.
Once you’ve set your audience, click Next to proceed to the Sending time step.
Schedule Facebook Messenger message
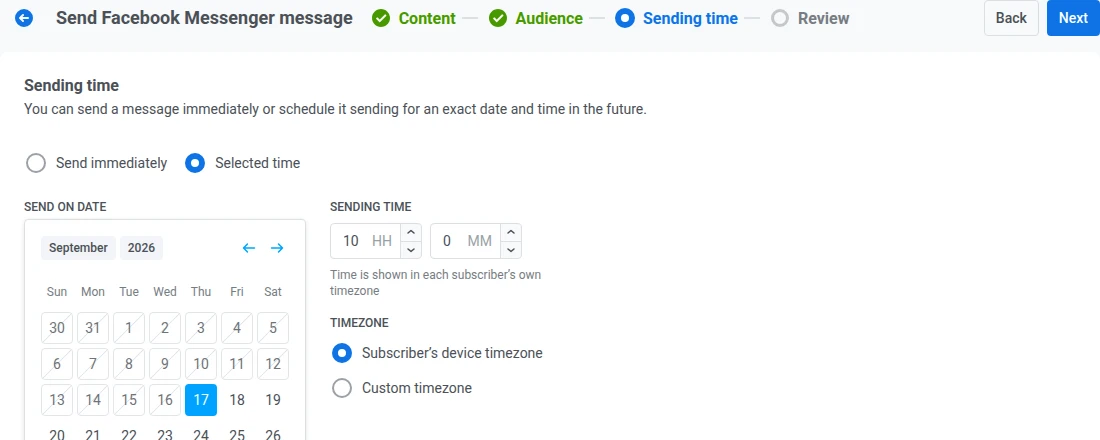
Anchor link toIn the Sending time step, choose when to send your Facebook Messenger message.
Send immediately
Anchor link toSend the message as soon as the campaign setup is complete. This is ideal for urgent or time-sensitive messages.
Selected time
Anchor link toSchedule your message for a specific date and time.
- Set the date and time: use the calendar to pick the date, then specify the time in hours and minutes (24-hour format).
- Select the timezone:
- Subscriber’s device timezone: the message is sent at the specified local time for each recipient.
- Custom timezone: the message is sent at the same time for all recipients, useful for targeting a particular region.
Set frequency capping
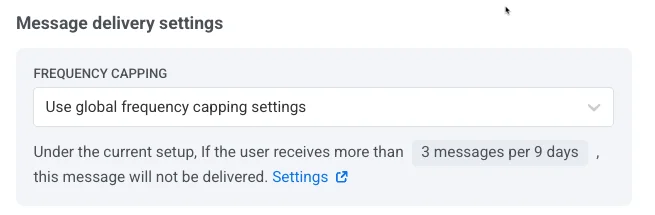
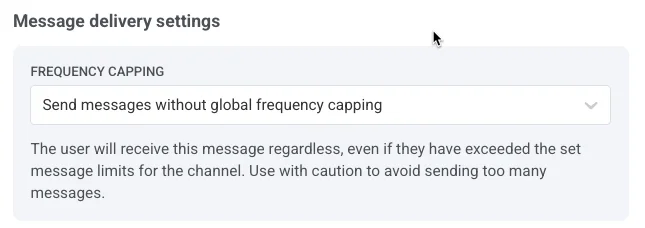
Anchor link toUse Frequency capping to limit how often users receive Facebook Messenger messages, preventing over-messaging. Choose one of the following options:
-
Use global frequency capping settings
Apply the project-wide limits configured in your Global frequency capping settings. For example, if the global limit is 3 messages in 9 days, additional messages exceeding this limit are skipped.
-
Send messages without global frequency capping
The user receives this message even if they’ve exceeded the channel’s message limits. Use with caution to avoid over-messaging.
-
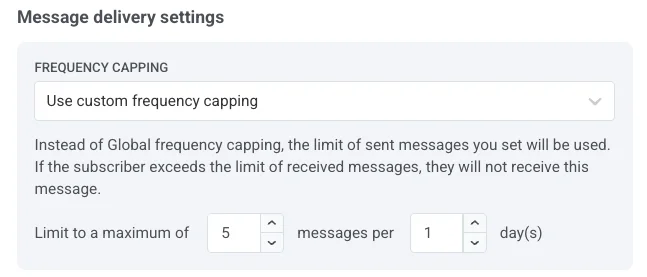
Use custom frequency capping
Set a custom message limit for this message. If the user exceeds this custom cap, the message is skipped. Under Counting mode, choose how sent messages are counted:
- Rolling window: counts the messages sent within the last N×24 hours before each send, where N is the number of days in the limit. For example, with a limit of 3 messages per 2 days, a message sent Monday at 9 AM stops counting on Wednesday at 9 AM.
- Calendar day: counts the messages sent today and on the previous N-1 calendar days, starting at midnight. With the same limit of 3 messages per 2 days, on Wednesday every message sent since Tuesday midnight counts. Right after midnight, the window moves to Wednesday and Thursday. Select a Capping timezone to set when midnight falls. If you don’t select one, calendar days are counted in UTC.
Set send rate limits
Anchor link toThe Send rate setting controls how quickly messages go out. Use it when you want a steadier send instead of delivering the whole audience as fast as possible.
Choose one of the following options:
-
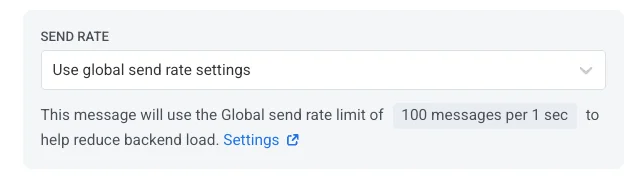
Use global send rate settings
Applies the send rate limits configured in your project’s message delivery settings. If no limits are set, all messages are sent immediately. Learn more about global send rate limits
-
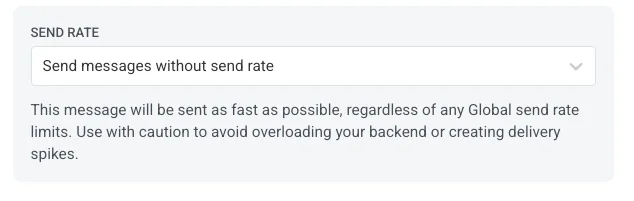
Send messages without global send rate
Sends messages as fast as possible, ignoring any global send rate limits. Use with caution to avoid delivery spikes.
-
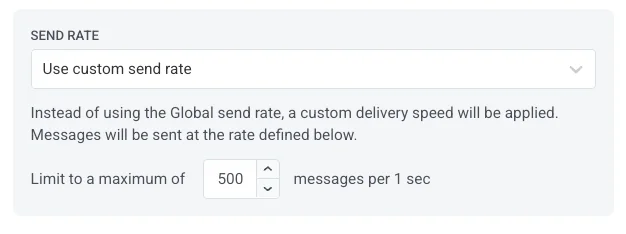
Use custom send rate
Overrides the global send rate for this message only. Specify the number of messages sent per minute for full control over delivery speed.
Review and send
Anchor link toIn Review, check the preview and the summaries for content, audience, and schedule. Update anything that still needs to change before you send.
If you schedule a send without a message tag, Meta delivers it only to users who wrote to the Page within the 24 hours before it fires. Pushwoosh still sends it to the whole audience, and every send outside the window fails with Outside Allowed Window (403004) on the Errors tab of the message stats. To reach people outside the window, use a message tag.
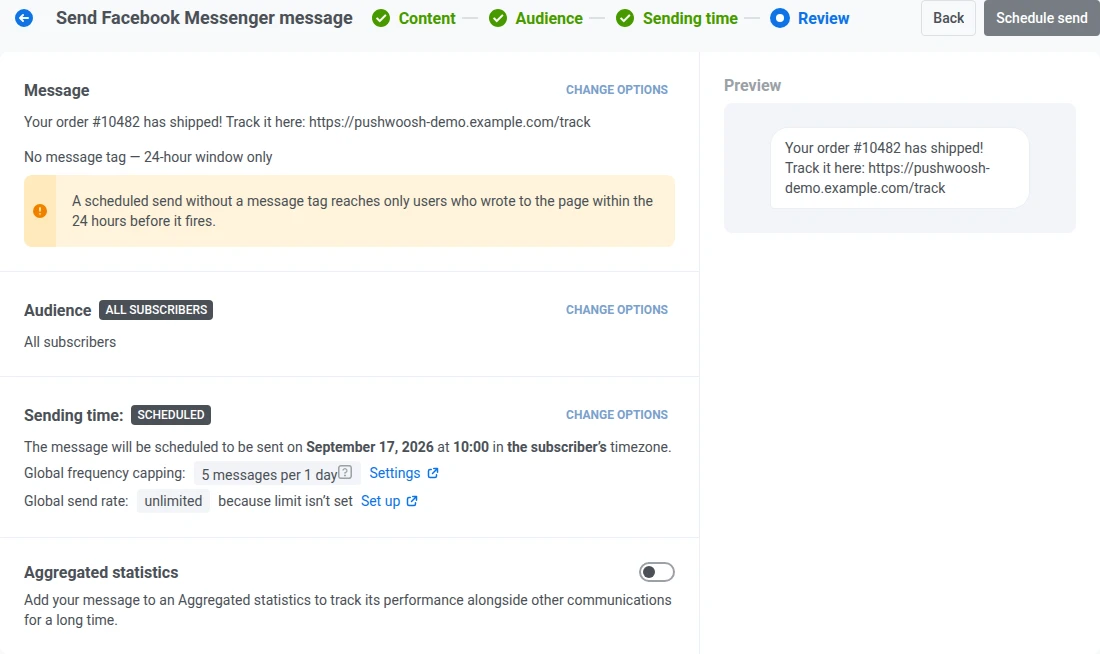
Click Schedule send or Send now to open a Send this message? dialog with a Campaign name field: a free-text label for this one message.
Campaign name is prefilled with the message text you entered in Message text (a multi-line message prefills as a single line). Clear it and Message History falls back to its previous default, the same as before this field existed. Keep it to 255 characters or fewer. Typing past the limit truncates the text without a warning.
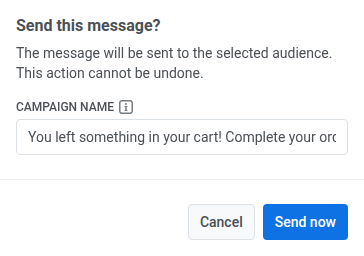
Once set, the campaign name becomes this message’s bold title in Message History and its CSV export. Confirm again in the dialog to finish, depending on your selected scheduling options.
Manage a scheduled message
Anchor link toFor Facebook Messenger messages that are scheduled and not yet sent (status PENDING), you can change or cancel them. Open the list of messages in Campaigns → One-time messages, then open the actions menu (⋮) for the message:
- Edit message: opens the Facebook Messenger form with the message data loaded. You can update the content, message tag, audience, schedule, and delivery settings. In Review, the button is labeled Apply changes instead of Schedule send or Send now. Click it, then confirm again in the Send this message? dialog to save your changes, including any edit to the campaign name.
- Rename: opens a small dialog to set or change the campaign name, without reopening the full edit form. Same 255-character limit as the Campaign name field you set at send time. Clear the field and save to remove the name. The row reverts to its previous default title.
- Delete message: cancels the scheduled delivery and changes the status to Canceled.