Create Web popup campaigns
Web popup campaigns let you place the Web popup content you’ve created onto your website, and control exactly when it appears and who sees it.
Start a new campaign
Anchor link to- Go to Campaigns → Web popups.
- Click Create campaign.
Select Web popup content
Anchor link toChoose what this campaign shows to visitors:
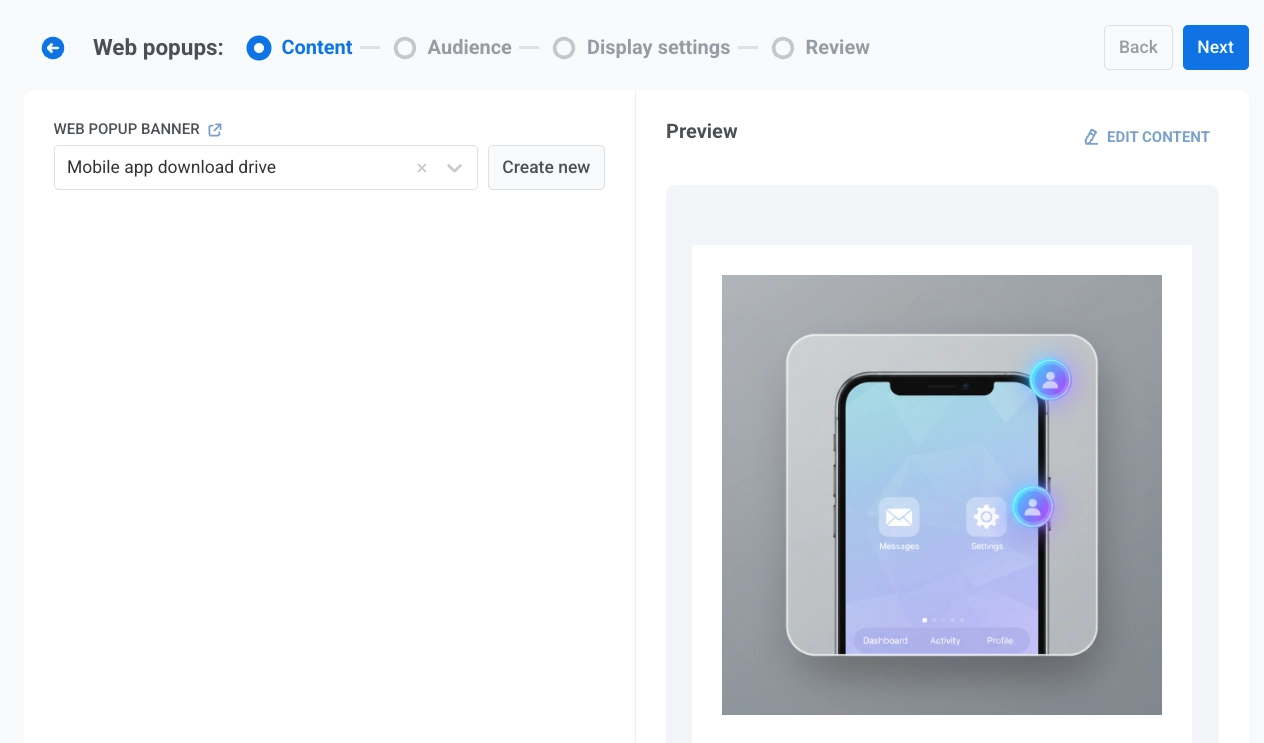
- Web popup banner: show a banner built in the popup editor. Select an existing item in the list, or click Create new to open the editor (see Web popup content). Return to this tab when your content is ready and select it from the list.
- Subscription form: show an existing subscription form instead of a banner. Search for the form by name in the Subscription form field.
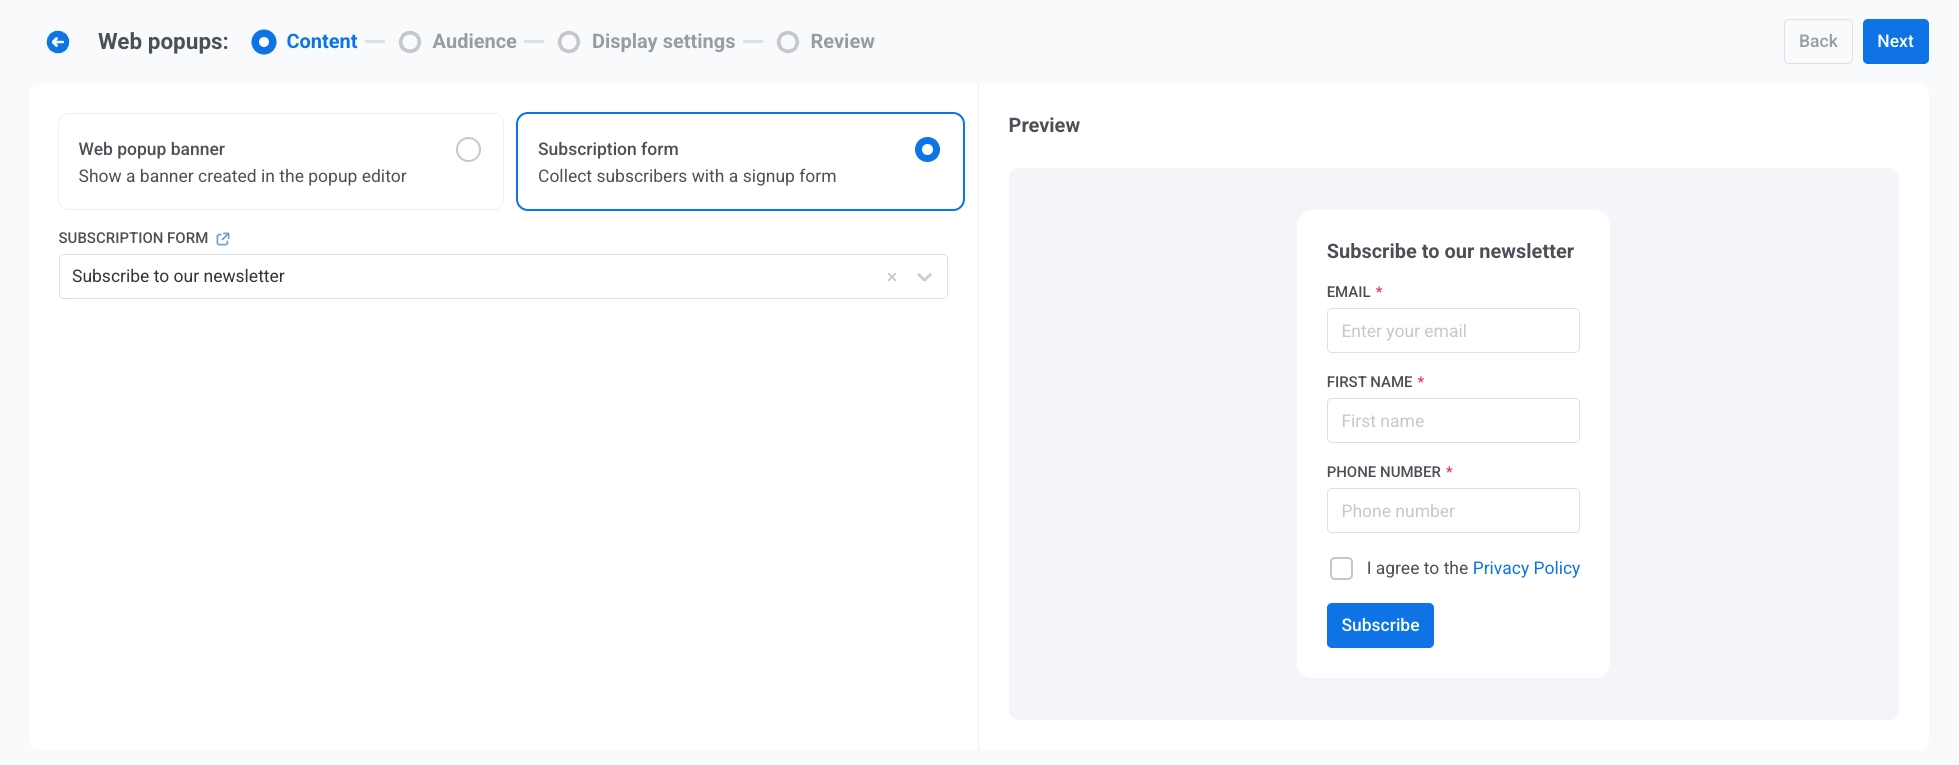
If you haven’t created one yet, click the external-link icon next to the field to open Subscription forms in a new tab.
Click Next when the right content is selected.
Define audience
Anchor link toSelect who should see the popup.
- All users: show the popup to everyone without filters.
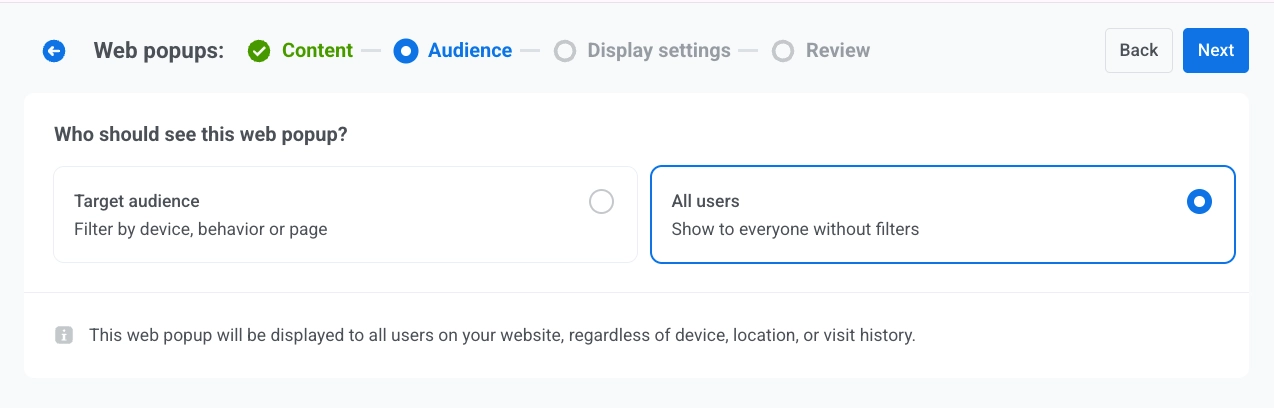
- Target audience: show the popup only to users who match a segment or custom conditions. Two sub-options appear:

When you’re done, click Next.
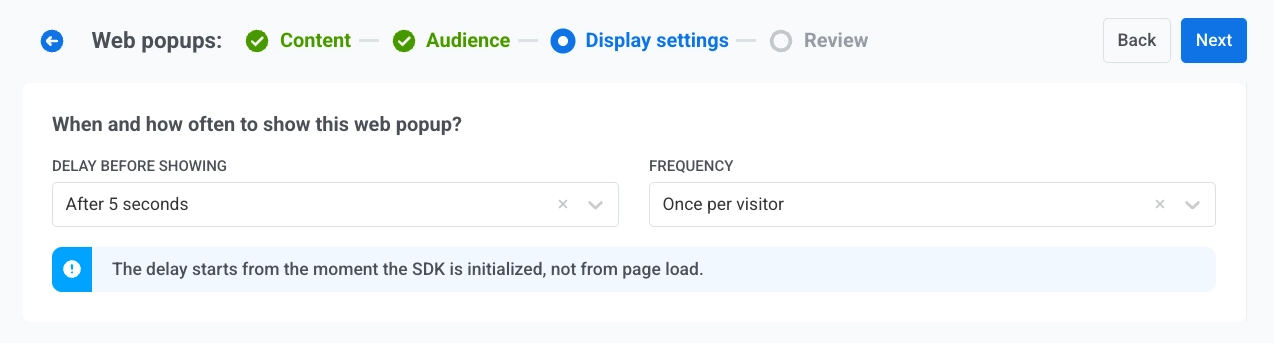
Configure display settings
Anchor link toSet up when, how often, and where to show this Web popup.
Display delay
Anchor link toChoose when the Web popup may first appear after the page loads.
- Immediately
- After 3 seconds
- After 5 seconds
- After 10 seconds
Frequency
Anchor link toUnder FREQUENCY, choose how often a visitor can see this Web popup:
- Once per visitor: the visitor sees the popup at most once in that browser, even in a new tab.
- Once per session: the visitor sees the popup once per browsing session. If they close a tab and return before the session ends, the popup does not appear again.
- Every visit: the popup appears each time the visitor loads a matching page.
Device
Anchor link toControls which environment the Web popup appears on.
Select:
- All devices
- Desktop
- Mobile.

Show on pages
Anchor link toControls which URLs trigger the Web popup.
All pages
Anchor link toShow the popup on every page of the site.
Optionally exclude specific pages: click + Add exclusion and enter a path. You can add up to 10 exclusions.
For each excluded page, enter the path as it appears after your domain, for example /pricing or /blog/intro, and choose how it should match:
- Exact match: the visited path must be identical to what you enter.
- Starts with: the popup applies to the entered path and every path under it.
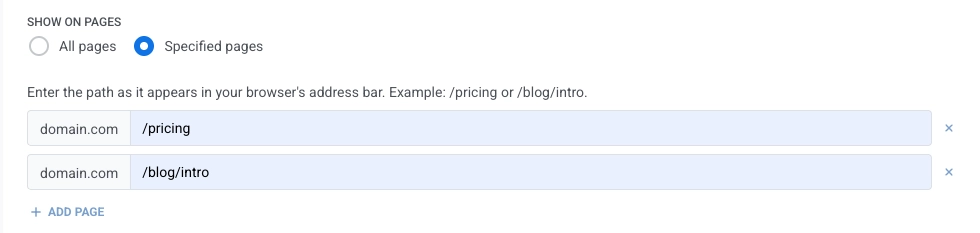
Specified pages
Anchor link toShow the popup only on the pages you list. Click + Add page to add more rows, or × to remove one. You can add up to 10 pages. Enter and match each path the same way as exclusions on All pages.

Click Next to continue.
Review the campaign
Anchor link toThe Review screen summarizes:
- Content: the Web popup banner or subscription form attached, depending on what you picked in Select Web popup content.
- Audience: All users, or Target audience with the selected segment name or custom conditions.
- Display settings: device, the pages the Web popup shows on (including match type and any exclusions), delay, and frequency.
Use CHANGE OPTIONS on any block to jump back and edit that part.
The Preview area shows how the Web popup looks on a sample viewport: the banner design, or a read-only preview of the selected subscription form’s fields and button. Use EDIT CONTENT if you need to adjust the underlying content asset.

When everything looks right, click Complete setup.
Then pick an option from the menu:
- Launch campaign activates the Web popup.
- Save as draft saves the campaign without activating it. When you are ready to go live, go to Campaigns → Web popups, find the draft in the table, and click Activate on its row. Use Edit campaign in the row actions menu first if you still need to change settings.
To search, filter, and manage campaigns from the list, see View and manage campaigns.