Supabase: insert row
Use Supabase: insert row to write a row into a Supabase table from a journey step, through your project’s REST API, using a service role key. This point authenticates with its own service role key. It doesn’t use any account-level integration configured elsewhere in Settings.
Typical uses:
- Write into your app’s own database: insert a row your app already reads from that Supabase table.
- Log events as they happen: write raw journey data straight into the table instead of waiting on a batch pipeline.
- Sync with existing data: insert a device or tag value your Supabase tables can join against your own data.
Configure the point
Anchor link to- Drag Supabase: insert row from the Integrations section of the left panel onto the canvas.
- Double-click the point and enter a Step Name.
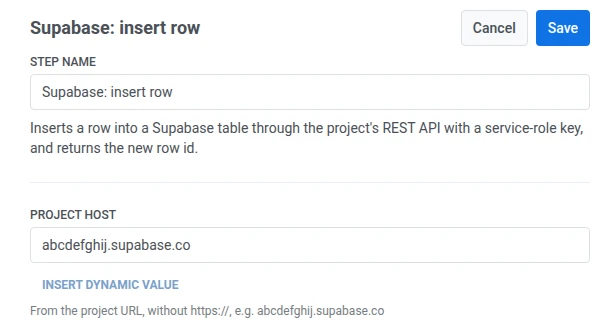
- In Project host, enter your project’s host from its URL, for example
abcdefghij.supabase.co. Don’t includehttps://or a trailing slash. Pushwoosh addshttps://and the API path itself.
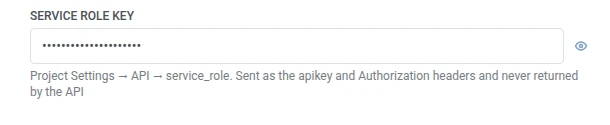
- In Service role key, enter the key from Project Settings > API > service_role. It’s stored masked, like a webhook secret header, and Supabase never returns it back to Pushwoosh.
- In Table, enter the target table’s name.

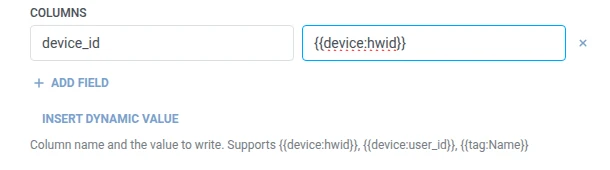
- In Columns, add one row per table column to write. Enter the column name and the value. Names must be non-empty and unique. A value can be fixed text or a traveler macro such as
{{tag:Name}}, the same macros as in a Webhook body. Or click Insert Dynamic Value to pick an attribute an earlier step in this journey produced, for example an LLM response or a mapped Webhook value.
- Click Save.
Response
Anchor link toThe traveler continues to whatever step you connect next on the canvas.
Attributes after the step runs
Anchor link to| Attribute | What it holds |
|---|---|
supabase_row_id | The new row’s id |
How to use it in later steps
Anchor link toThe traveler already continued to the next step regardless of this attribute. Save it to a Tag with Update user profile if you need to reference or update this specific row later, for example through Supabase’s own API.
Failures and unexpected responses
Anchor link toA failed request drops the traveler from the journey. See Errors and failed requests.
Example scenario: Logging a new trial in Supabase
Anchor link toAn app wants every trial start recorded in its own Supabase database, without a separate export job.
- Add a Trigger-based entry element and set it to fire on a
TrialStartedevent. - Add Supabase: insert row right after it. Set Table to
travelers. In Columns, setdevice_idto{{device:hwid}}. - Click Save.
Once this runs, every trial start gets a row in the travelers table, ready for the app’s own queries.