Create a Brand book
Brand book saves your logo, colors, fonts, block defaults, and brand voice once, so you can apply consistent styling to any email or in-app template instead of setting it up from scratch each time.
Open Brand book
Anchor link toOpen Brand book from any of these places:
- Content → Email Content: click Brand book in the header, next to How to use. Brand book is also offered on the empty list screen, before you’ve created any email content. This opens Brand book directly, without opening or creating an email template.
- Email Drag & drop editor: open the ⋮ menu and select Brand book, or click the Brand book button pinned to the bottom of the Blocks or Settings tab.
- Built-in in-app editor: open the ⋮ menu and select Brand book.
All these open the same Brand book for the current application, so it doesn’t matter which one you use. Another application in your account keeps its own separate Brand book.

Accept a brand kit suggested from your email history
Anchor link toPushwoosh can build a brand kit for you automatically, from the templates and messages your app has already sent, and offer it as a ready-made starting point instead of a blank Brand book.
Once an app has sent enough email templates and messages, Pushwoosh scans them for a shared style: colors, fonts, logo, and tone of voice. How you see the suggestion depends on where you open Brand book.
Save the suggestion in an editor
Anchor link to- Open the email, in-app, or cloud page editor. The suggestion opens as a popup and shows how many templates and messages it’s based on.
- Check the suggested colors, fonts, logo, and tone of voice.
- Choose how to save it:
- Save to Brand book saves the suggestion as is.
- Review & edit opens Brand book with the suggestion filled into the form, so you can adjust it before saving.
Nothing is saved until you click Save to Brand book in the popup or Save brand in the form.
To decide later, postpone the suggestion.
When the logo can’t be picked automatically
Anchor link toIf the popup shows a logo not found label, Pushwoosh couldn’t pick one logo with confidence. It shows up to three candidate images from your emails instead:
- Pick one to carry it into the brand kit.
- Leave the selection empty to save the kit with your current Brand book logo unchanged.
You can also set the logo manually afterwards in the Logo section below.
When there isn’t enough voice data
Anchor link toIf the popup shows a Tone of voice was skipped banner, your app hasn’t sent enough email copy to set a reliable tone, so Tone of voice stays empty. Fill in Brand voice yourself after you save the kit, or wait until the app sends more email.
Postpone the suggestion
Anchor link toTo decide later, click Not now, press Esc, or click outside the popup. Nothing is applied, and the popup doesn’t open again by itself.
When you’re ready, open Brand book. The suggestion waits there as a banner marked as waiting. Review and save it from the banner.
Save the suggestion from the Email Content list
Anchor link to- Open Brand book from Content → Email Content. The suggestion appears as a banner inside the panel.
- Click Review to fill the form with the suggestion.
- Adjust the fields if needed, then click Save brand.
Review fills two fields differently:
- Logo: filled with its best-guess candidate only if you haven’t set a logo yet. An existing logo stays untouched. Set your own in Logo below if you need a different one.
- Brand voice: replaced with the suggestion’s value whenever the suggestion has one, even if you’d already set your own. If the suggestion has no voice, Brand voice stays as it is, with no separate notice. If it stays empty, fill it in yourself in Brand voice.
Click × to dismiss the banner instead. If you close the panel without clicking either one, the banner stays for next time, the same as when you postpone a popup suggestion.
Set up your brand
Anchor link toDefine how your brand looks and sounds across templates: logo, colors, fonts, block defaults, and brand voice. Scan your website to fill most fields automatically, or set them yourself in the sections below.
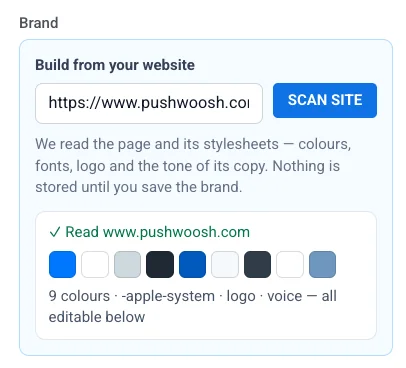
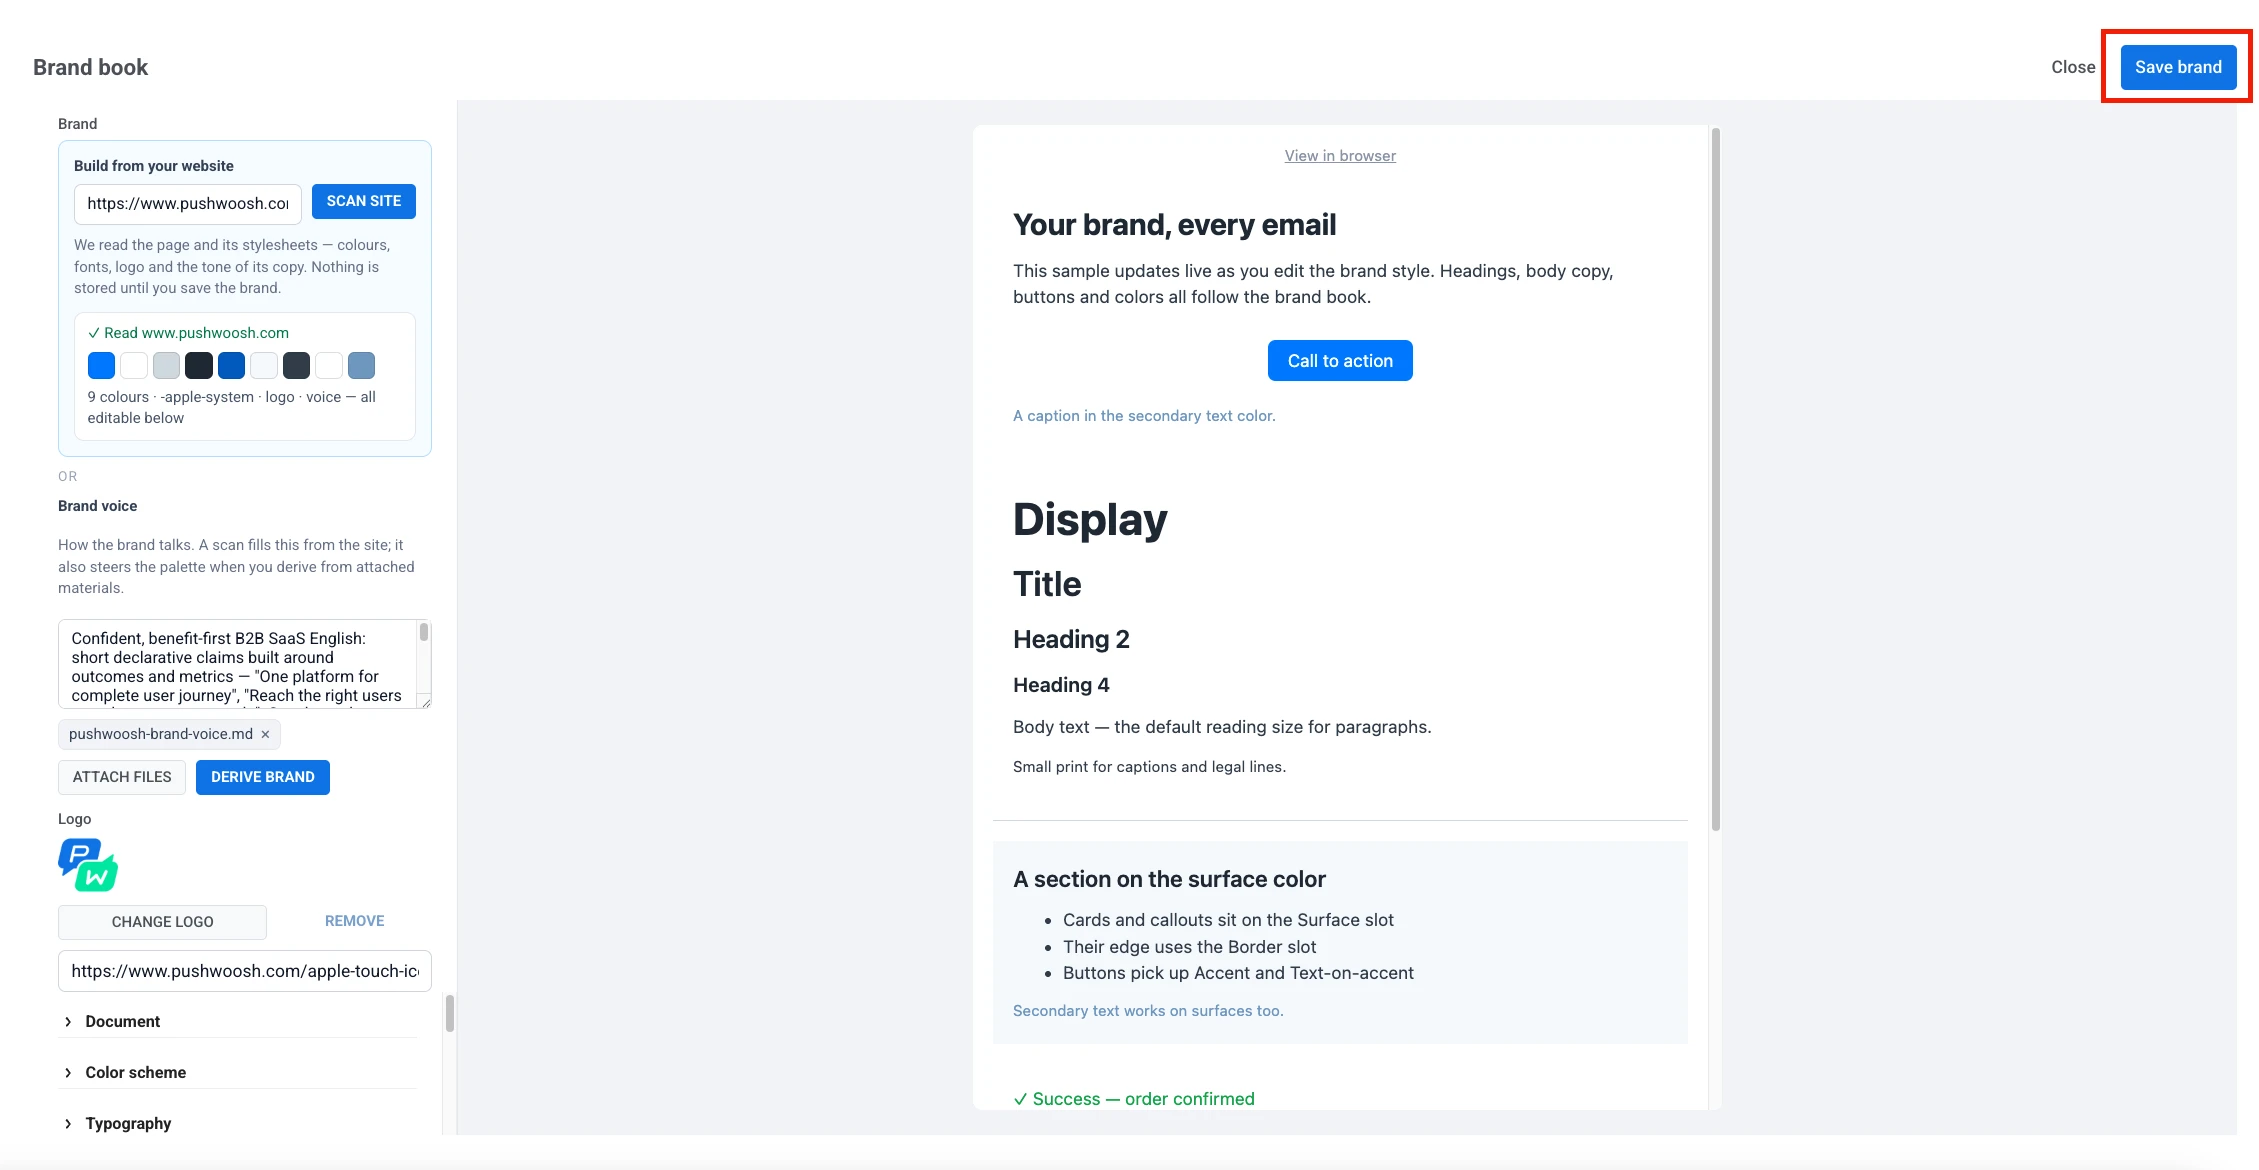
Build from your website
Anchor link toScan your site to fill most brand fields automatically.
- Enter your domain in the Build from your website field.
- Click Scan site.
Pushwoosh reads the page and its stylesheets for colors, fonts, logo, and the tone of its copy. It always fills the palette and fonts below, and also fills the logo and Brand voice when the site provides them. Nothing is saved until you click Save brand.
Brand voice
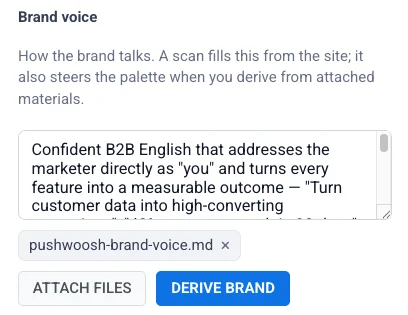
Anchor link toDescribe how your brand talks to customers, either by writing it yourself or by having Pushwoosh derive it from a file.
- Write it yourself: enter your brand voice in the Brand voice field. A site scan fills this in automatically when the site provides it.
- Derive it from a file: click Attach files to attach one file (an image, a brand-book PDF, or a web or text file), then click Derive brand to generate a palette, fonts, and voice from it. Your current logo is used automatically as a source if you don’t attach an image.
Logo
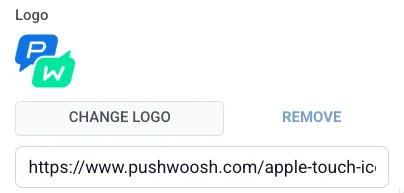
Anchor link toIf you scanned your site above, Logo may already be filled. Use the steps below to add or change it manually.
- Click Choose logo.
- Pick a logo from your Media storage, or paste a hosted image URL.
The Logo header block in the email editor starts from this logo. To set how that header looks by default, open the Logo header accordion below Logo:
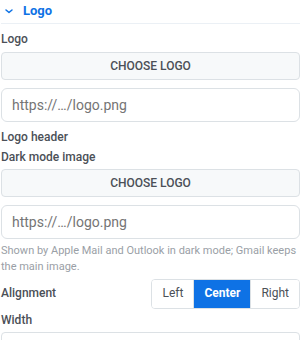
- Dark mode image: shown by Apple Mail and Outlook in dark mode. Gmail keeps the main image.
- Alignment: left, center, or right.
- Width: the logo’s width in px.
- URL: a destination to make the logo clickable.
- Background: turn on to set a background color behind the logo.
- Padding: turn on to add space around the logo. Use All sides for uniform padding, or turn on More options to set each side separately.
- Bottom border: turn on to draw a line under the header, then set its Width and color.
How these defaults reach your emails:
- Every Logo header block in the email starts from this look and picks up your changes here the next time you apply the brand.
- A header you edited directly on the canvas keeps its own look instead, until you reset it.
- To write a canvas edit back here, use Save to Brand book on that header. See Logo header.
- The email footer logo comes from here too. If Logo is set, applying the brand sets the footer logo to Logo and the footer’s dark mode image to Dark mode image above. If Dark mode image is empty, the footer shows the main logo in dark mode as well. Other footer fields stay as they are. See Configure the email footer.
Colors, fonts, and block defaults
Anchor link toIf you scanned your site above, the palette and fonts may already be filled. Fine-tune colors, fonts, and block defaults in the accordion sections below Logo (the same styling options as the email editor’s Settings tab). Learn more
Save and apply your brand
Anchor link toClick Save brand to store your settings.
If you opened Brand book from an email or in-app template you were editing, you’re asked to apply the brand to it:
- Apply: repaints colors and replaces fonts and block defaults with your saved brand. The content itself is not affected.
- Not now: saves the brand for later without changing what you’re editing.
If you opened Brand book from the Email Content list instead, there’s no template open to apply the brand to. Save brand stores your settings and closes the panel.
You can apply your saved brand to any other email or in-app template the same way. Open Brand book from it and save again.
Apply or reset brand styles
Anchor link toUse these options to bring a template you already created up to date with your latest saved brand.
While you’re editing an email or in-app template, open the ⋮ menu and use the options under Brand styles:
- Apply brand book styles: apply your saved brand to the template without opening Brand book. Unavailable until you’ve saved a brand at least once.
- Reset custom styles: remove style overrides so colors, fonts, and spacing follow the Brand book again. Content and layout stay the same.
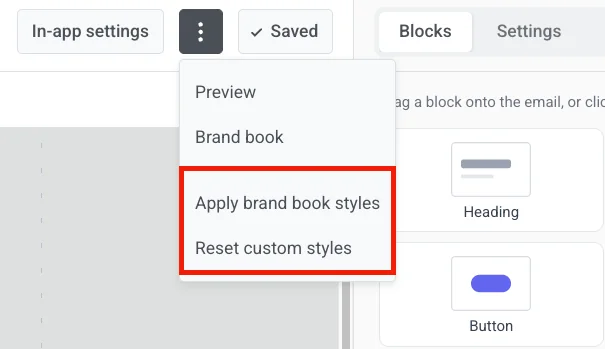
In the email Drag & drop editor, the same two actions are also one click away: click the ⋮ next to the Brand book button pinned to the bottom of the Blocks or Settings tab.
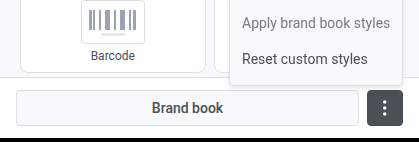
Confirm each action when prompted. Use Undo in the top bar to reverse it.