App Inbox presets
App Inbox presets let you reuse the same inbox message in one-time Inbox sends and in the App Inbox journey element, so you don’t recreate layout, copy, and media for every campaign.
Create an App Inbox preset
Anchor link to- Go to Content > Inbox Presets.
- Click Create.
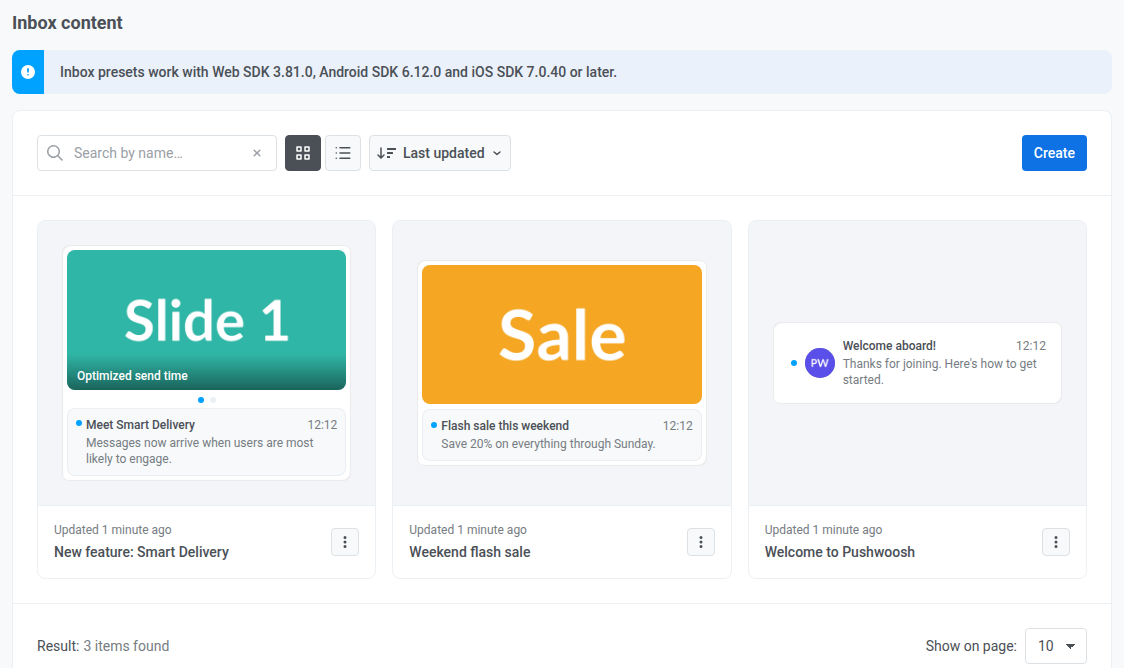
- Click the preset name next to Inbox content: at the top to rename it.
Add languages
Anchor link toYou can create the same preset in multiple languages, the same way as push presets:
- Compose the default-language content first.
- Click the + icon next to Default language.
- Select the languages you need.
Choose a layout type
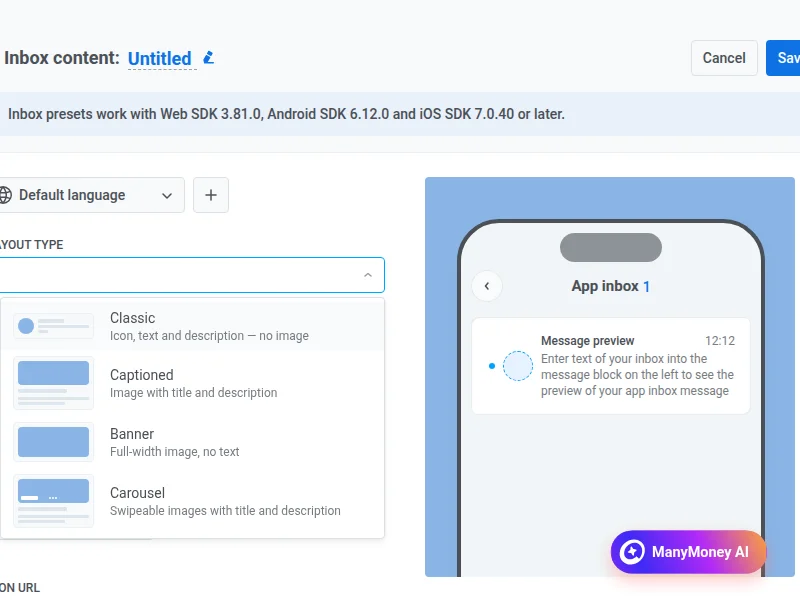
Anchor link toIn Layout type, choose how the card looks in the inbox list. Each option uses a different mix of media and text:
- Classic: small icon beside Title and Message. No large image.
- Captioned: one large image with Title and Message under it.
- Banner: full-width image only. No Title or Message in the list.
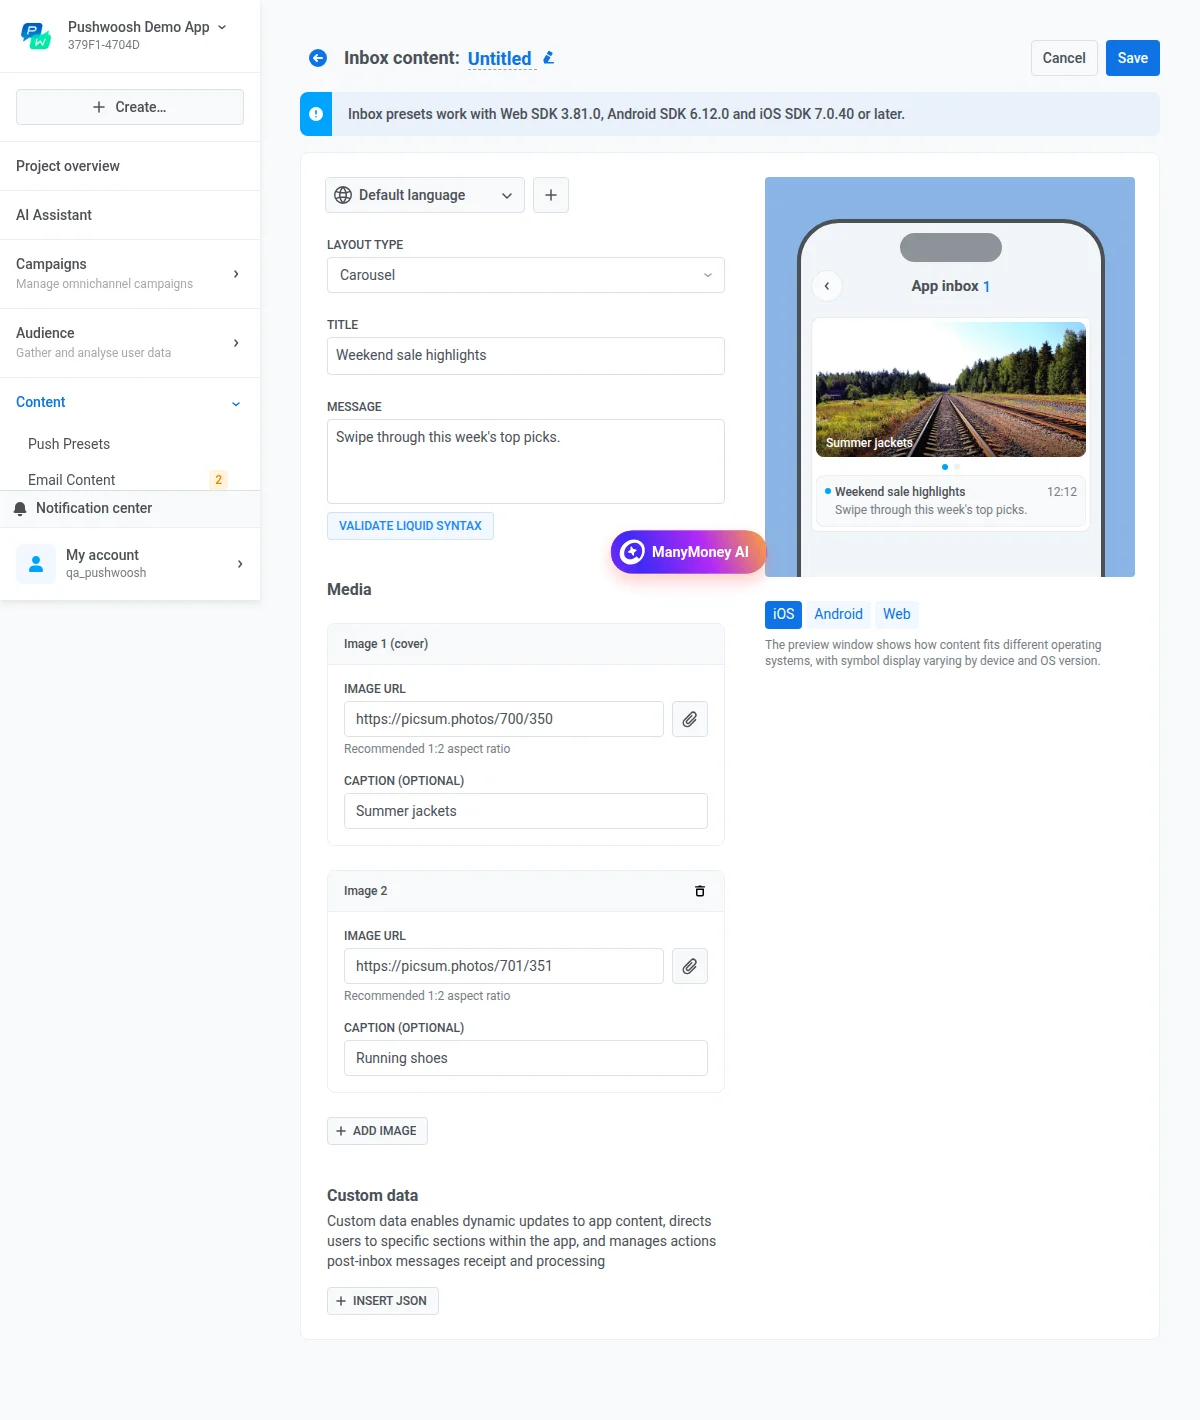
- Carousel: several images the user can swipe. One shared Title and Message, plus an optional caption on each slide.
Classic
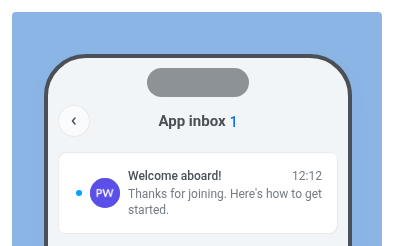
Anchor link toClassic is the compact list row: icon on the left, Title and Message next to it. Set Title and Message for the text in the inbox list. Set Icon URL to a URL, or pick an image from Media storage. Use a 1:1 aspect ratio when you can.
Captioned
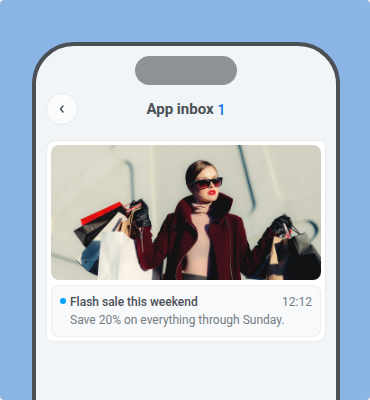
Anchor link toCaptioned is a single hero image with copy under it. Set Title and Message. Set Image URL to a URL, or pick an image from Media storage. Use a 1:2 aspect ratio when you can.
Banner
Anchor link toBanner is image-only: the inbox list shows a full-width image and no text fields. Set Image URL only (URL or Media storage). Use a 1:2 aspect ratio when you can.
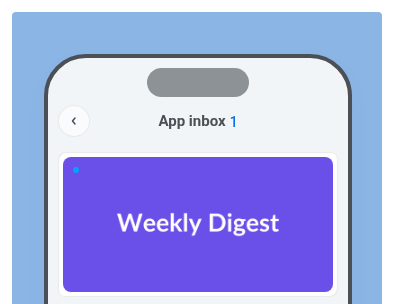
Carousel
Anchor link toCarousel is a multi-image card. The user swipes between slides. Title and Message apply to the whole card. Each slide can also have its own Caption. Set Title and Message, then in Media set each slide’s Image URL. Optionally set a Caption on each slide. Click Add image to add another slide.
Validate Liquid syntax
Anchor link toIf you use Liquid templates in the message, click Validate Liquid Syntax to check for syntax errors before saving.
Add custom data
Anchor link toUse custom data when the app needs more than the visible inbox text, for example to open a screen, pass a campaign id, or run logic after the user opens the message. Pushwoosh sends this JSON to the SDK with the message, the same as Custom Data in push presets.
Click Insert JSON and enter a JSON object with key-value pairs.
Preview
Anchor link toCheck the preview labeled App inbox (with an unread count) to see how the message looks in the inbox list. Switch the iOS, Android, and Web tabs to check each platform.
Save
Anchor link toClick Save next to the preset name to store the preset. Saved presets appear under Content > Inbox Presets. Use them in one-time Inbox messages and the App Inbox journey element.
Delete presets
Anchor link toTo delete several presets at once, go to Content > Inbox Presets, click Bulk actions → Delete…, select the presets, and click the Delete button above the list. Presets used in journeys are skipped. Deleted presets can’t be restored.