HubSpot: update subscription
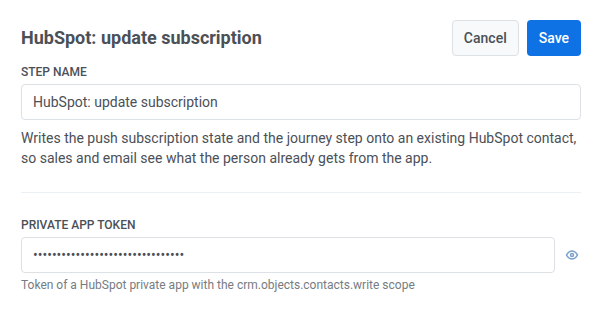
The HubSpot: update subscription Point template writes the push subscription state and the journey step onto an existing HubSpot contact, so sales and email marketing see what the person already gets from the app.
This point authenticates with its own HubSpot private app token — it doesn’t use any account-level HubSpot integration configured elsewhere in Settings.
Configure the point
Anchor link to- Drag HubSpot: update subscription from the Integrations section onto the canvas.
- Double-click the point and enter a Step Name.
- In Private app token, enter a HubSpot private app token with the
crm.objects.contacts.writescope. It’s stored masked, like a webhook secret header.
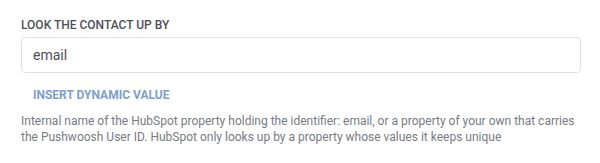
- In Look the contact up by, enter the internal name of the HubSpot property that holds the identifier —
emailby default, or a property of your own that carries the Pushwoosh User ID. HubSpot only looks a contact up by a property whose values it keeps unique.
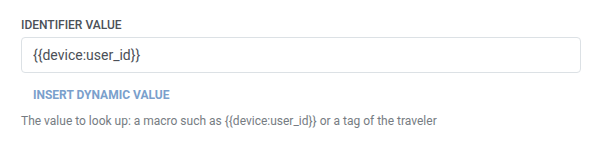
- In Identifier value, enter the value to look up, for example
{{device:user_id}}or a tag of the traveler.
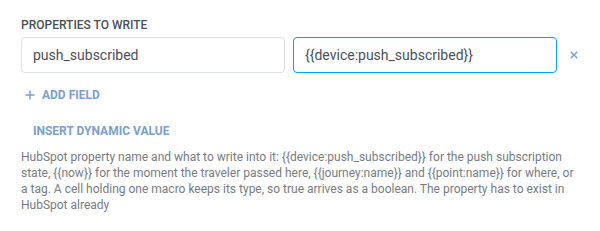
- In Properties to write, add a row per HubSpot property’s internal name mapped to what to write into it. Names must be non-empty and unique. See key/value fields. Besides tags, the value can use
{{device:push_subscribed}}for the push subscription state,{{now}}for the moment the traveler passed here, or{{journey:name}}/{{point:name}}for where. A cell holding a single macro keeps that macro’s own type. For example,{{device:push_subscribed}}alone arrives as a boolean, not the string"true".
- Click Save.
Connect the branches
Anchor link toAfter you save, the point shows two branches on the canvas. Connect a next step to each:
- Updated: the identifier matched an existing HubSpot contact and HubSpot returned the updated contact. For example, continue with the rest of the journey.
- Not found: HubSpot answered with a 404 (no matching contact). The traveler is not dropped. The point does not retry or wait out a failed-request cooldown the way a real failed request does. For example, send a different path or create the contact first.
Not found is not a failed request. A real failed request drops the traveler instead. See Errors and failed requests.
Response
Anchor link toOn Updated, later steps can use the HubSpot contact’s ID as hubspot_contact_id. Use it the same way as a Webhook response attribute. For example, set a Tag with Update user profile.
On Not found, that attribute is not available.
Example scenario: Syncing push subscription status to HubSpot after opt-in
Anchor link toA team wants sales and email marketing to see, right on the HubSpot contact, whether a person has opted into push.
- Add a Trigger-based entry element and set it to fire on a
PushOptedInevent. - Add HubSpot: update subscription right after it. Leave Look the contact up by at
emailand set Identifier value to{{tag:Email}}. In Properties to write, setpush_subscribedto{{device:push_subscribed}}. - Click Save, then connect Updated to the rest of the journey and Not found to a step that creates the contact first, for example HubSpot: create or update contact.
Once this runs, the HubSpot contact shows the traveler’s current push subscription state, so sales and email marketing don’t have to guess.