Add test push devices
You can use Test Devices to preview how push notifications look on a device before sending them to the app users. In order to do that, you need to register your device (with your app installed) as a Test Device.
To add a test device:
- Navigate to the Test devices section in your Pushwoosh account.
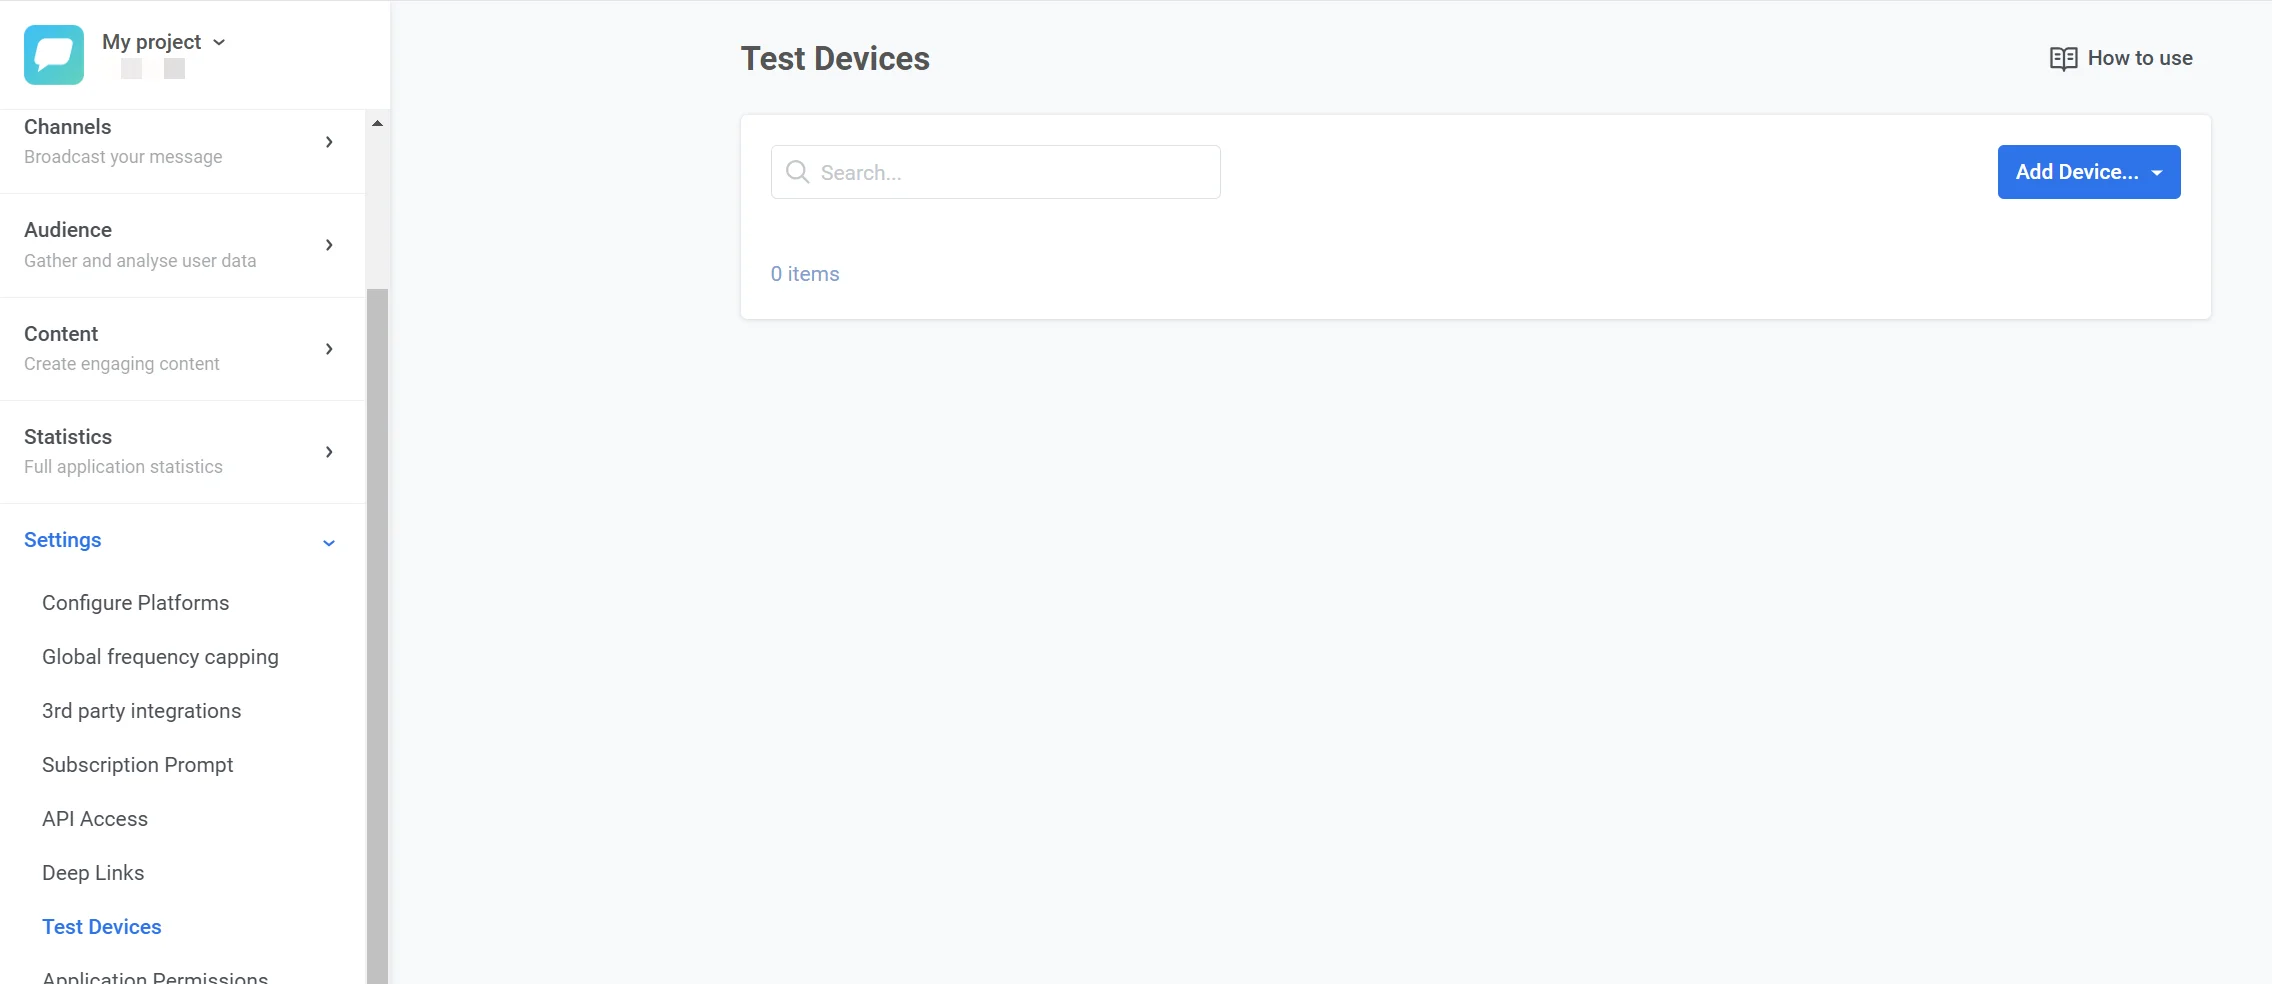
- Click the Create test device dropdown button in the top-right corner and select Push.
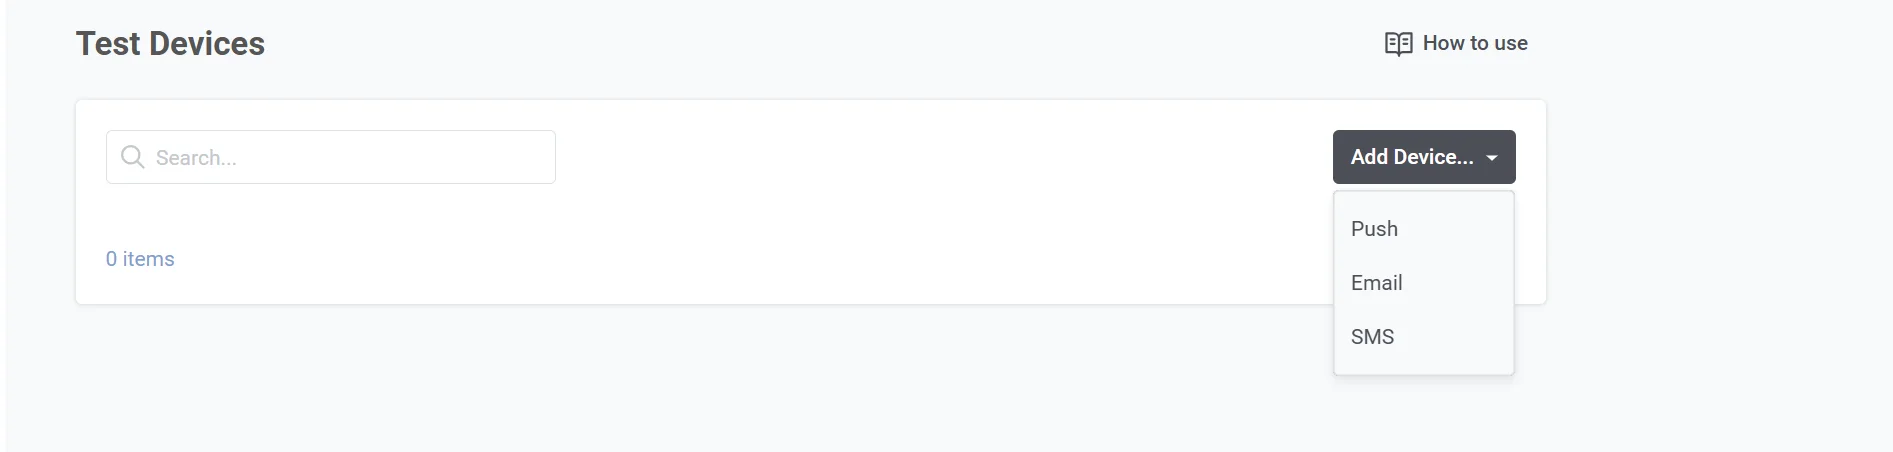
You can add a push test device using one of three methods: Auto-configuration with QR code, registering from the app, or manual configuration.
Adding test devices automatically
Anchor link toThis method is suitable only for iOS and Android devices.
Before your first registration, add deep link handling for test devices to the app — a one-time setup, usually done together with the Pushwoosh SDK integration:
- For Android: Add DeepLinkActivity to the
AndroidManifest.xmlfile. - For iOS: Add the
pushwoosh-YOUR_PUSHWOOSH_APP_IDURL scheme to theInfo.plistfile.
Follow the instructions for Android and iOS in the Implementation section.
Once that’s done, to register a device:
- In the Test Devices section, click Create test device and select Push.
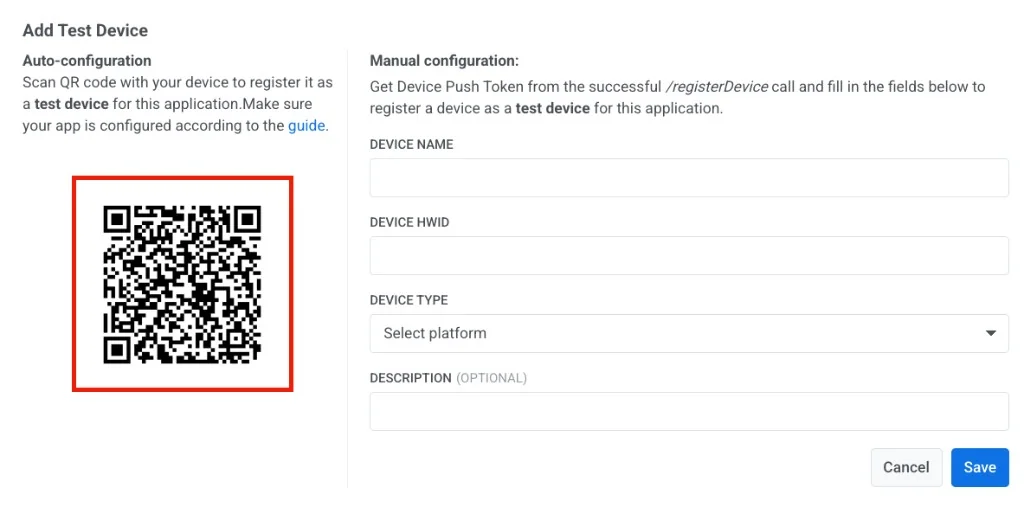
- Scan the QR code that appears in the popup with any QR scanner app. This opens the deep link that the Pushwoosh SDK parses to register your device as a test device.
Registering a test device from the app
Anchor link toIndependently of the QR code method above, the Pushwoosh SDK can register the current device as a test device on its own: sending the app to the background and bringing it back to the foreground 6 times within 30 seconds. No scanning or manual entry is needed.
To prevent unintentional registrations, this only works while a 1-hour registration window is open.
- In the Test Devices section, turn on the Add test devices from the app toggle. This opens the window for 1 hour.

- While the window is open, background and foreground the app 6 times within 30 seconds. The device is added to the Test Devices list.
Adding test devices manually
Anchor link toIf you prefer to register a test device manually, follow these steps:
- Obtain the Hardware ID (HWID) of the device from a successful
/registerDeviceAPI call. - Fill in the required fields:
- Device Name: A descriptive name for the test device (e.g., “John’s Android”).
- Device HWID: The unique hardware ID of the device.
- Device Type: Select the platform (e.g., iOS, Android, Web).
- Description (Optional): Add any notes or details about the device for reference.
- Click Save to register the test device.
Once registered, the test device will be available in the Test Devices section.
Registering test devices via API
Anchor link toTo provision test devices from a script or CI pipeline instead of the manual form, call createTestDevice with the device’s push token — not the HWID used in the manual form, a different identifier obtained the same way, e.g. from a successful /registerDevice call. listTestDevices returns what’s already registered for an application.
Implementation
Anchor link toAndroid
Anchor link to-
Integrate Pushwoosh SDK with your application.
-
Add DeepLinkActivity to your AndroidManifest.xml:
<activity          android:name="com.pushwoosh.DeepLinkActivity"          android:theme="@android:style/Theme.Translucent.NoTitleBar" >  <intent-filter>    <action android:name="android.intent.action.VIEW" />    <category android:name="android.intent.category.DEFAULT" />    <category android:name="android.intent.category.BROWSABLE" />
    <data android:scheme="pushwoosh-YOUR_PUSHWOOSH_APP_ID" />  </intent-filter></activity>
Don’t forget to replace YOUR_PUSHWOOSH_APP_ID in the xml above with your Pushwoosh App ID.
Example: <data android:scheme=“pushwoosh-ABCDE-EDCBA” />
-
Launch the application to subscribe for push notifications.
-
Scan the QR Code in Test Devices form using any appropriate QR Code scanner app*. A toast message will appear indicating the status of the test device registration.
* most of the QR code scanning apps handle such deep links properly, here are just a few of them:
-
Integrate Pushwoosh SDK with your application.
-
Add pushwoosh-YOUR_PUSHWOOSH_APP_ID URL scheme to the Info.plist file:
<key>CFBundleURLTypes</key><array> <dict> <key>CFBundleTypeRole</key> <string>Editor</string> <key>CFBundleURLName</key> <string>com.pushwoosh.scheme</string> <key>CFBundleURLSchemes</key> <array> <string>pushwoosh-YOUR_PUSHWOOSH_APP_ID</string> </array> </dict></array>Don’t forget to replace YOUR_PUSHWOOSH_APP_ID in the XML above with your Pushwoosh App ID.
Example: pushwoosh-ABCDE-EDCBA
Info.plist
Add UIApplicationSceneManifest to your Info.plist.
<key>UIApplicationSceneManifest</key> <dict> <key>UIApplicationSupportsMultipleScenes</key> <true/> <key>UISceneConfigurations</key> <dict> <key>UIWindowSceneSessionRoleApplication</key> <array> <dict> <key>UISceneConfigurationName</key> <string></string> <key>UISceneDelegateClassName</key> <string>$(PRODUCT_MODULE_NAME).SceneDelegate</string> </dict> </array> </dict> </dict>SceneDelegate
Add the SceneDelegate code as shown in the example below.
import SwiftUI
@mainstruct DemoApp: App {  @UIApplicationDelegateAdaptor(AppDelegate.self) var appDelegate
  var body: some Scene {      WindowGroup {          ContentView()      }  }}
class SceneDelegate: NSObject, UIWindowSceneDelegate {
  var window: UIWindow?
  func scene(_ scene: UIScene, willConnectTo session: UISceneSession, options connectionOptions: UIScene.ConnectionOptions) {      guard let _ = (scene as? UIWindowScene) else { return }  }}
class AppDelegate: NSObject, UIApplicationDelegate, PWMessagingDelegate {
  func application(_ application: UIApplication, configurationForConnecting connectingSceneSession: UISceneSession, options: UIScene.ConnectionOptions) -> UISceneConfiguration {      let sceneConfig: UISceneConfiguration = UISceneConfiguration(name: nil, sessionRole: connectingSceneSession.role)      sceneConfig.delegateClass = SceneDelegate.self      return sceneConfig  }
}-
Launch the application to subscribe for push notifications.
-
Scan the QR Code in the Test Devices form using any appropriate QR Code scanner.