Update user profile
The Update user profile element assigns Tag values to users as they move through a journey. You can set values manually or pull them from Event attributes or a Webhook response.
Update options
Anchor link toManual update
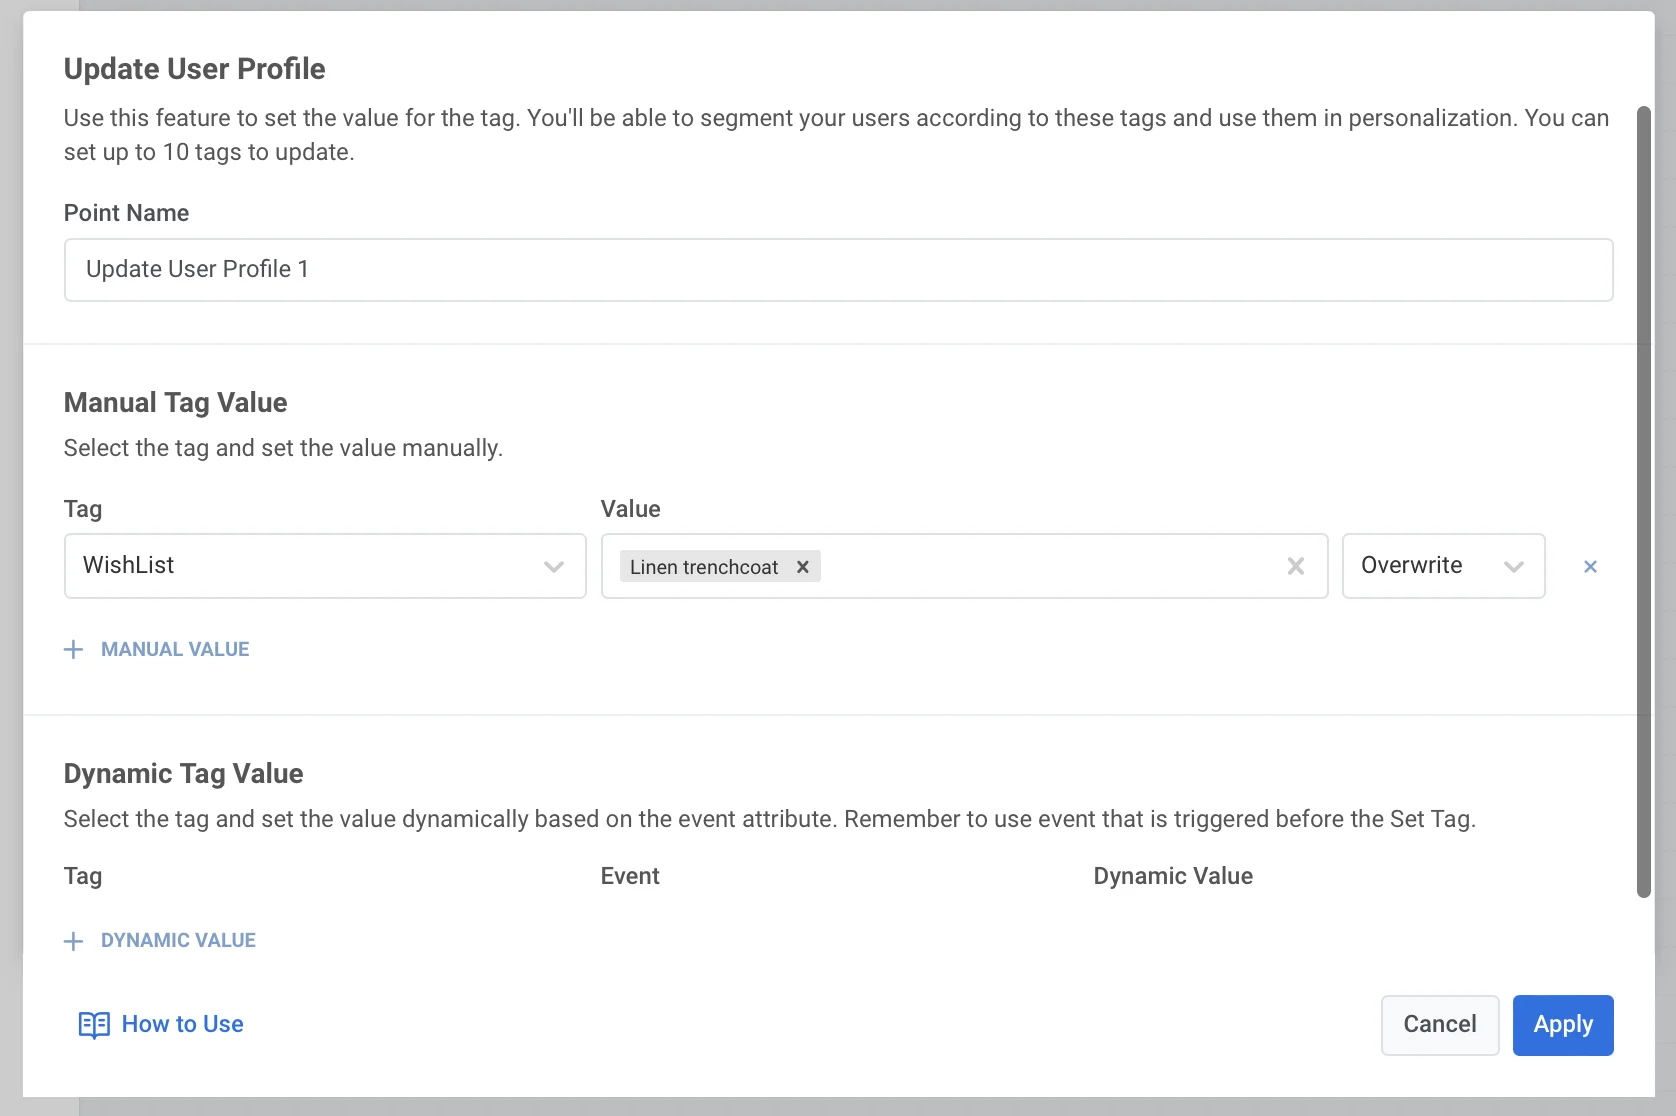
Anchor link toTo assign Tag values to users within the journey manually:
- Add the Update user profile element wherever you’d like on the canvas.
- Press + Manual value and select a Tag from the drop-down list containing all the Tags created in your Pushwoosh account.
- Specify values for the Tag selected depending on its type.
You can set up to 10 Tags at once.
For user-specific Tags, values are assigned to all users’ devices with the same user ID. For Tags that are not user-specific, values are assigned to a particular device a user is traveling the journey with.
As for use cases, there are plenty. For example, tagging users who reach a particular journey stage comes in handy when building further communications.
Dynamic tag value
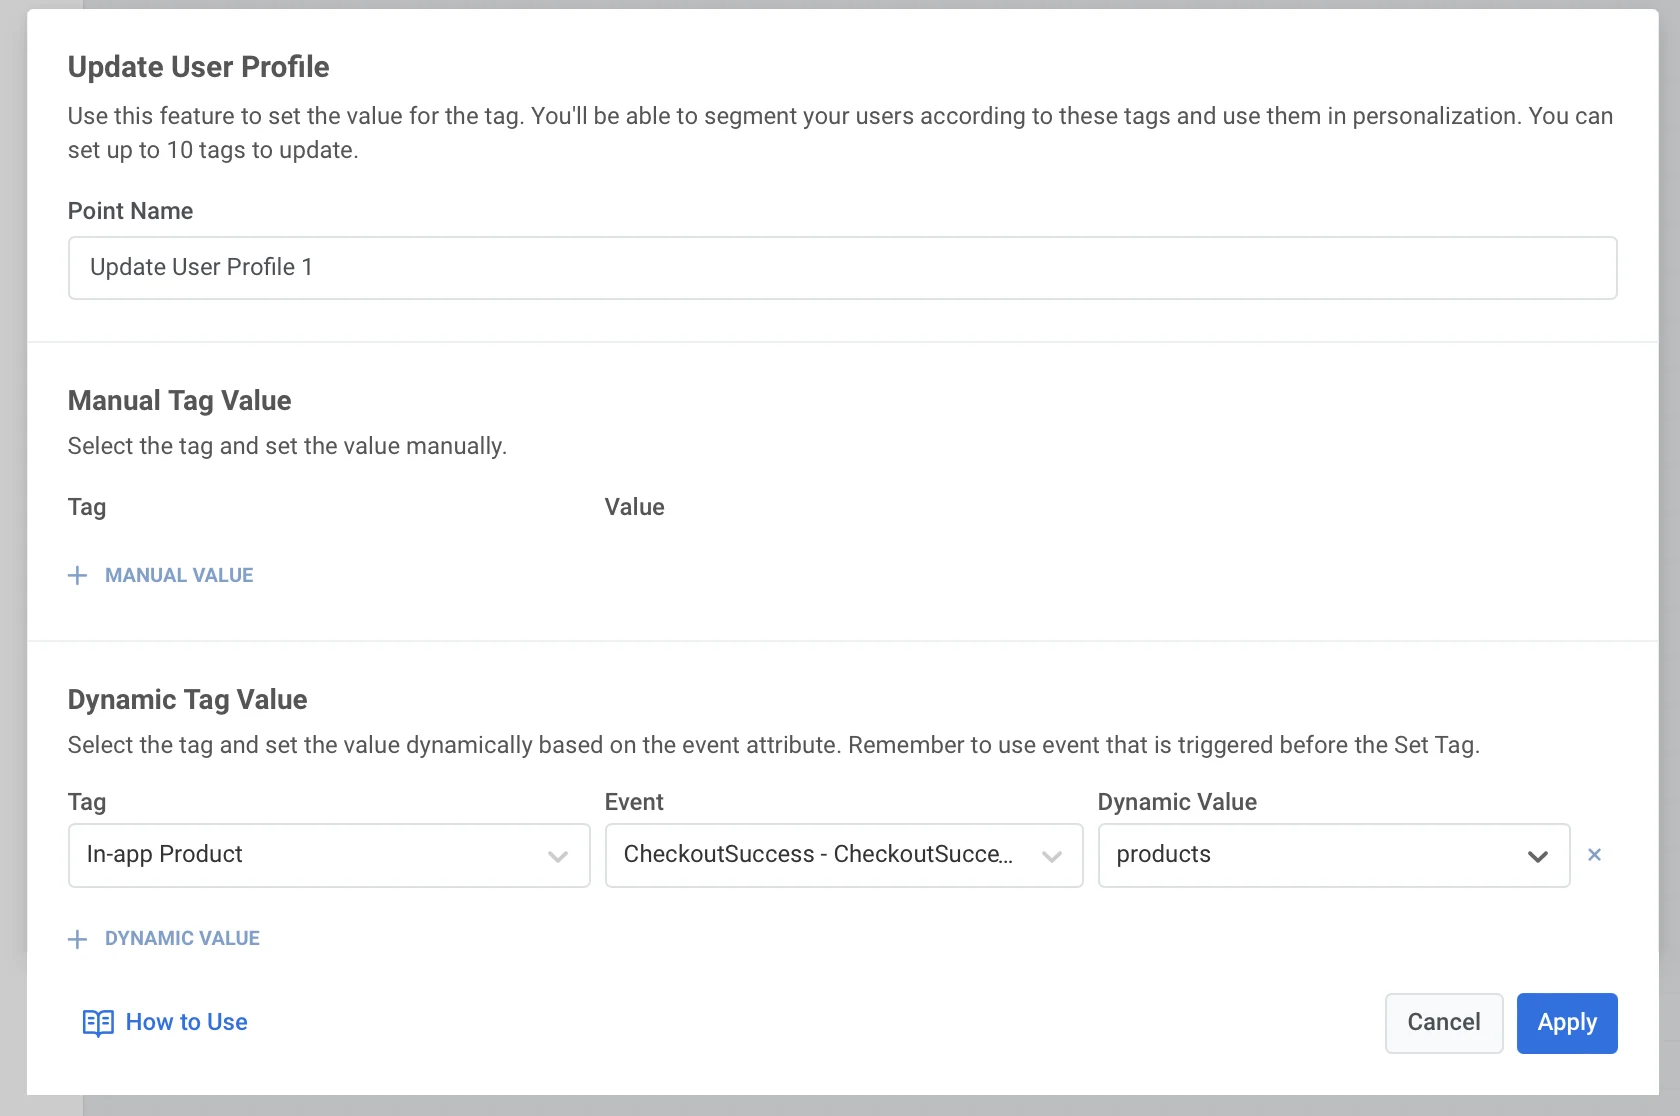
Anchor link toDynamic update means Tag values are taken automatically from Event attributes that users trigger before they reach the Update user profile element. You can communicate to those users more personally and send them tailored offers.
To set dynamic Tag values from an Event:
- Place the Update user profile element on the canvas after at least one trigger-based element (Trigger-based Entry or Wait for Trigger).
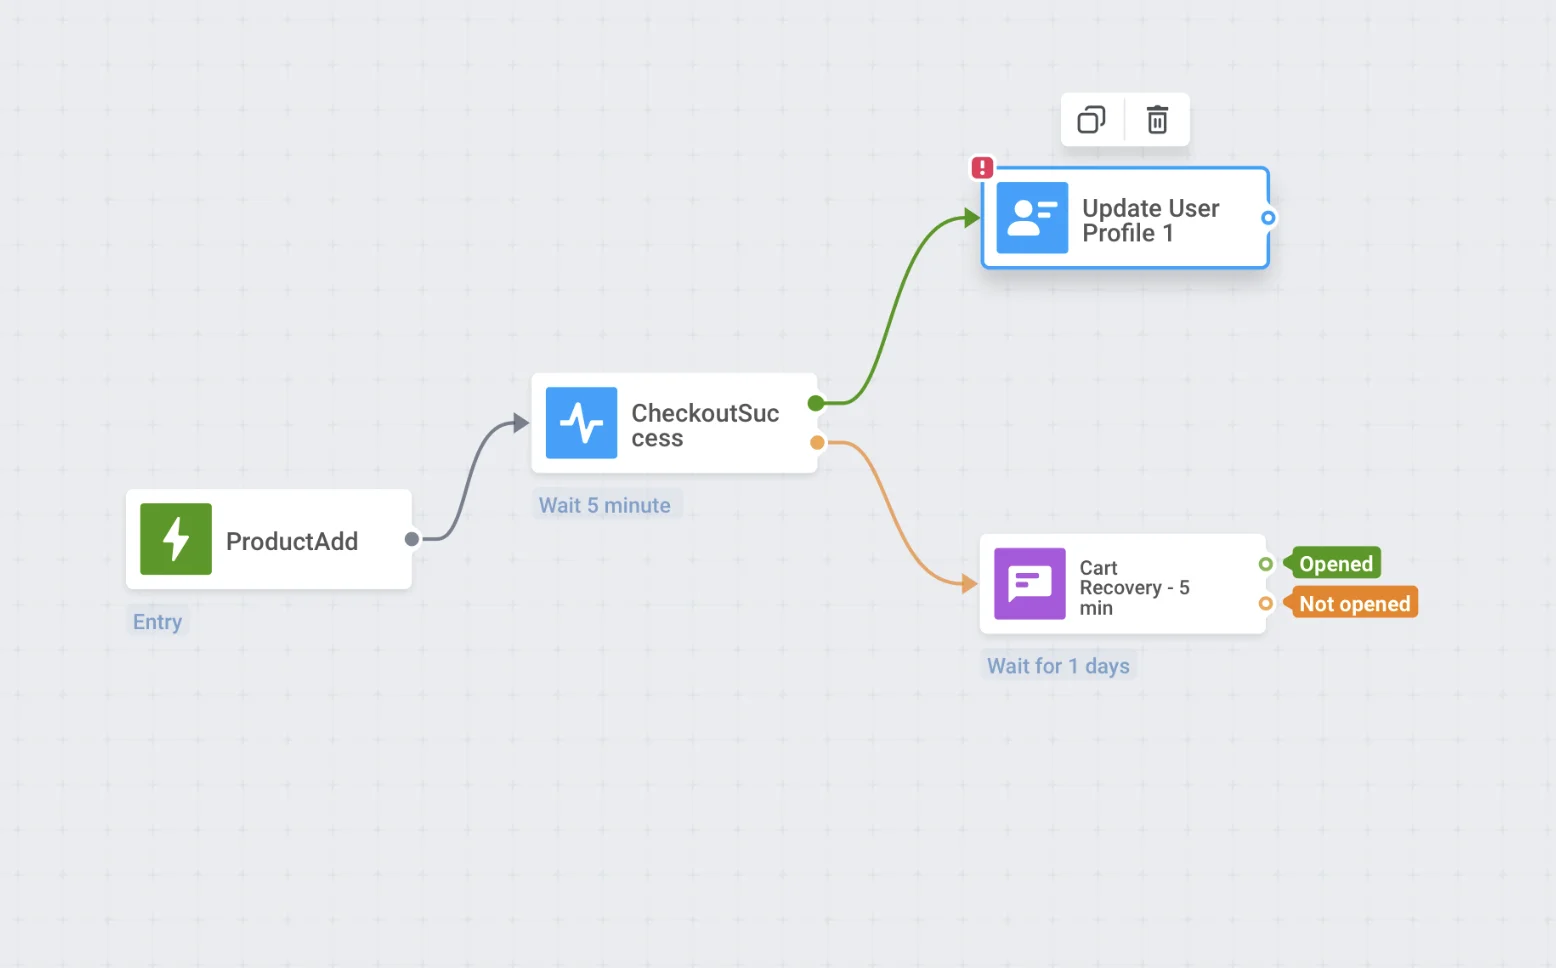
- Double-click the element and press + Dynamic Value in the Dynamic Tag Value section.
- Select the Tag to set.
- Choose an Event and the attribute that supplies the Tag value.
Use a value from a webhook response
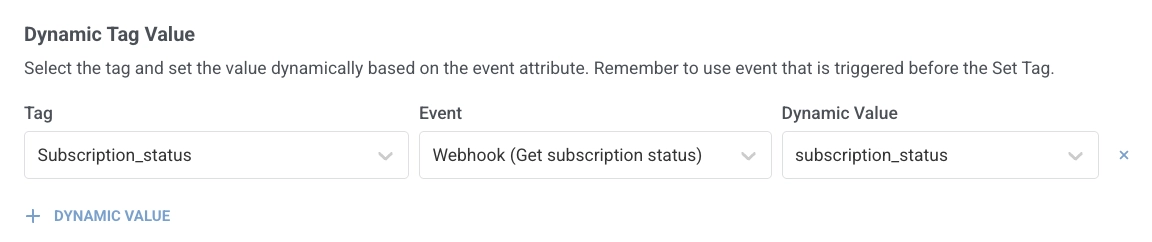
Anchor link toIf a Webhook element earlier in the journey has Response mapping configured, it appears in the Event dropdown by the webhook step name you set (for example, Create user in CRM), alongside regular Events. For a full journey example, see Using webhook response data in your journey.
- Place Update user profile after the Webhook step.
- In Dynamic Tag Value, press + Dynamic Value.
- In Tag, select the Tag to update.
- In Event, select the webhook step by the name you gave it (for example,
Create user in CRM). - In Dynamic Value, select the mapped attribute (for example,
subscription_status).