Google Sheets: add row
Use Google Sheets: add row to append a row to a Google spreadsheet when a traveler reaches this step. Map traveler values into the cells so the sheet updates as the journey runs, without building a Webhook request yourself.
Typical uses:
- Keep a simple log: each time someone reaches a step, add a new row with their ID and a few tags. The team opens the sheet to see who went through.
- Pass leads to another team: write Name, Email, and other tags into a shared sheet so sales or support can follow up.
- Track completions without a database: build a live list of who finished a branch or campaign when a spreadsheet is enough.
Before you start
Anchor link toConnect a Google account under Settings > 3rd-party integrations > Google. After you connect Google, install the integration so the point appears in the journey builder.
Configure the point
Anchor link to- Drag Google Sheets: add row from the Integrations section of the left panel onto the canvas.
- Double-click the point and enter a Step Name.
- In Spreadsheet ID, enter the ID from the sheet’s URL:
docs.google.com/spreadsheets/d/<ID>/edit.
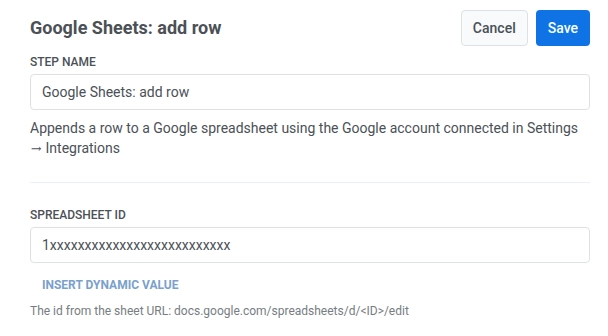
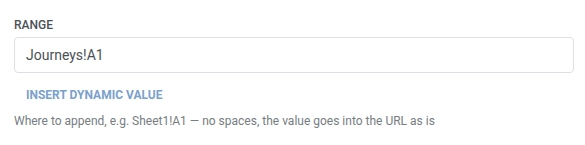
- In Range, enter where to append the row, for example
Sheet1!A1. Don’t include spaces. Pushwoosh uses the value in the request as-is. Defaults toSheet1!A1.
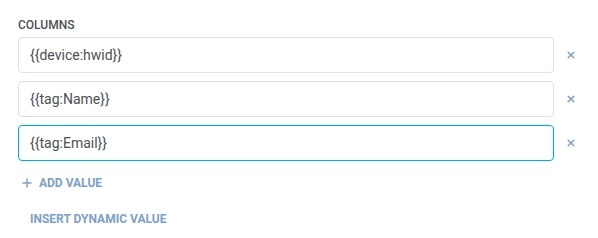
- In Columns, enter what to write in each cell of the new spreadsheet row, left to right. The first value goes to column A, the second to B, and so on. Click + Add value for each next cell. Use fixed text or a traveler macro such as
{{device:hwid}},{{tag:Name}}, or{{tag:Email}}(same macros as a Webhook body). Or click Insert Dynamic Value to pick an attribute an earlier step in this journey produced, for example an LLM response or a mapped Webhook value. Keep at least one non-empty value.
- Click Save.
Response
Anchor link toThe traveler continues to whatever step you connect next on the canvas.
Attributes after the step runs
Anchor link toThis point doesn’t map any response data back into the journey.
Failures and unexpected responses
Anchor link toA failed request drops the traveler from the journey. See Errors and failed requests.
Example scenario: Logging journey activity for an ops spreadsheet
Anchor link toA team wants a lightweight log of every high-value order a journey processes, without building a reporting pipeline.
- Add a Trigger-based entry element and set it to fire on a
HighValueOrderPlacedevent. - Add Google Sheets: add row right after it. Set Spreadsheet ID to the ops sheet’s ID and Range to
Sheet1!A1. In Columns, add the traveler’s device ID, name, and order value:{{device:hwid}},{{tag:Name}},{{tag:Order Value}}. - Click Save.
Once this runs, every high-value order appends a row to the sheet as it happens, ready for the team to scan without opening Pushwoosh.