Time delay
The Time Delay element makes users wait for a specified time. After the delay, they move to the next step. The delay can be a fixed period, a specific time, or a date. It can also be based on a tag value or event attribute.
Delay options
Anchor link toFixed duration
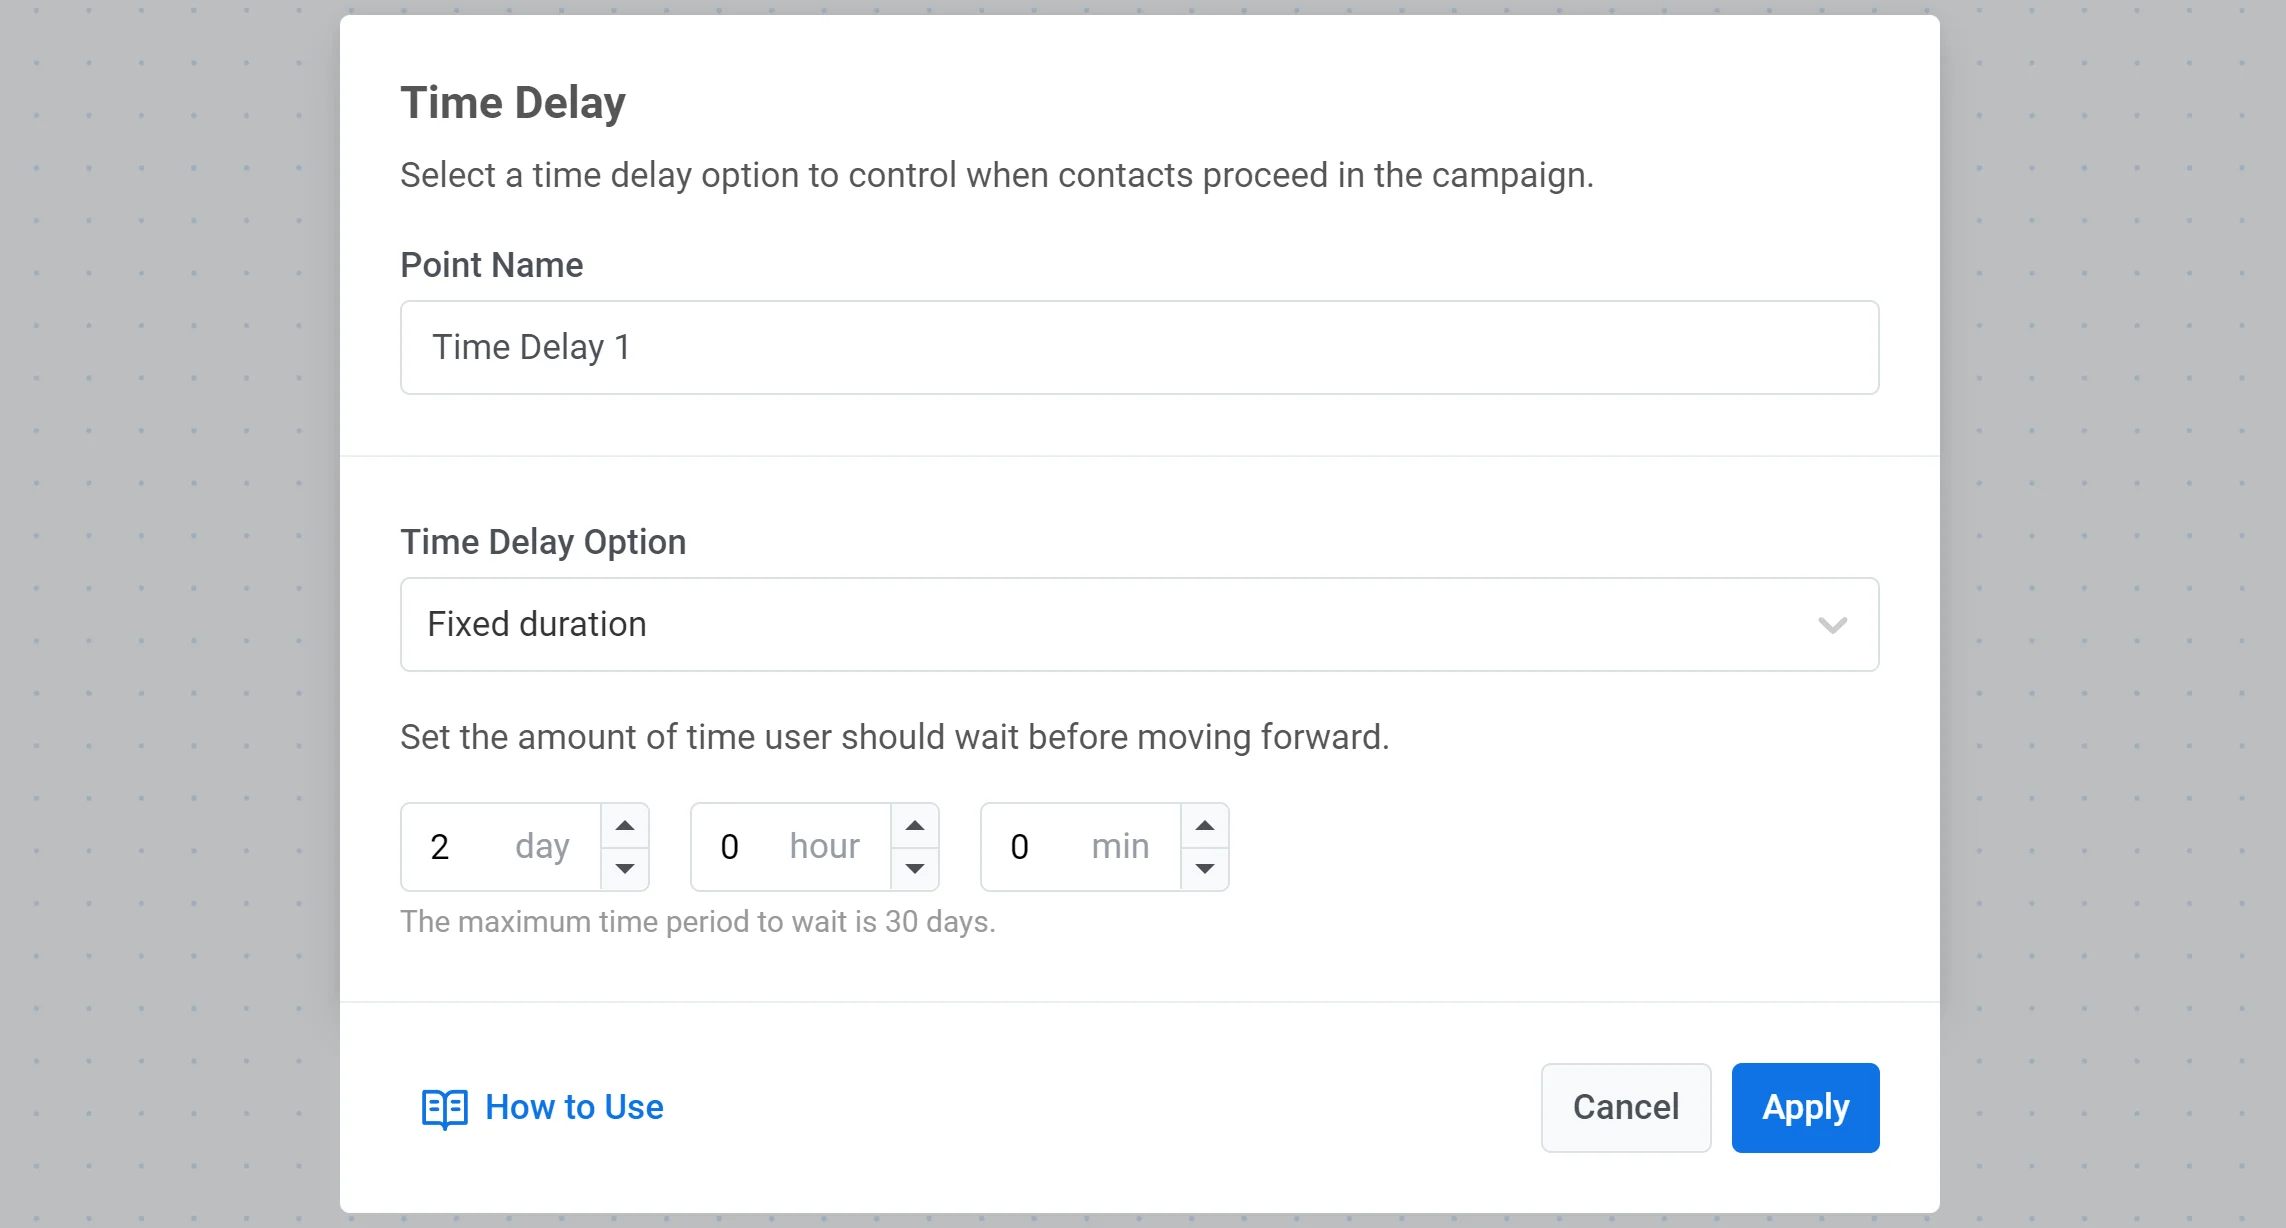
Anchor link toWhen set to a fixed period, the Time Delay element lets users continue their journey only when the specified amount of time passes.
For example, if a delay is set to 8 hours, a user who reaches this journey element will wait for 8 hours before moving to the next step.
Specific time
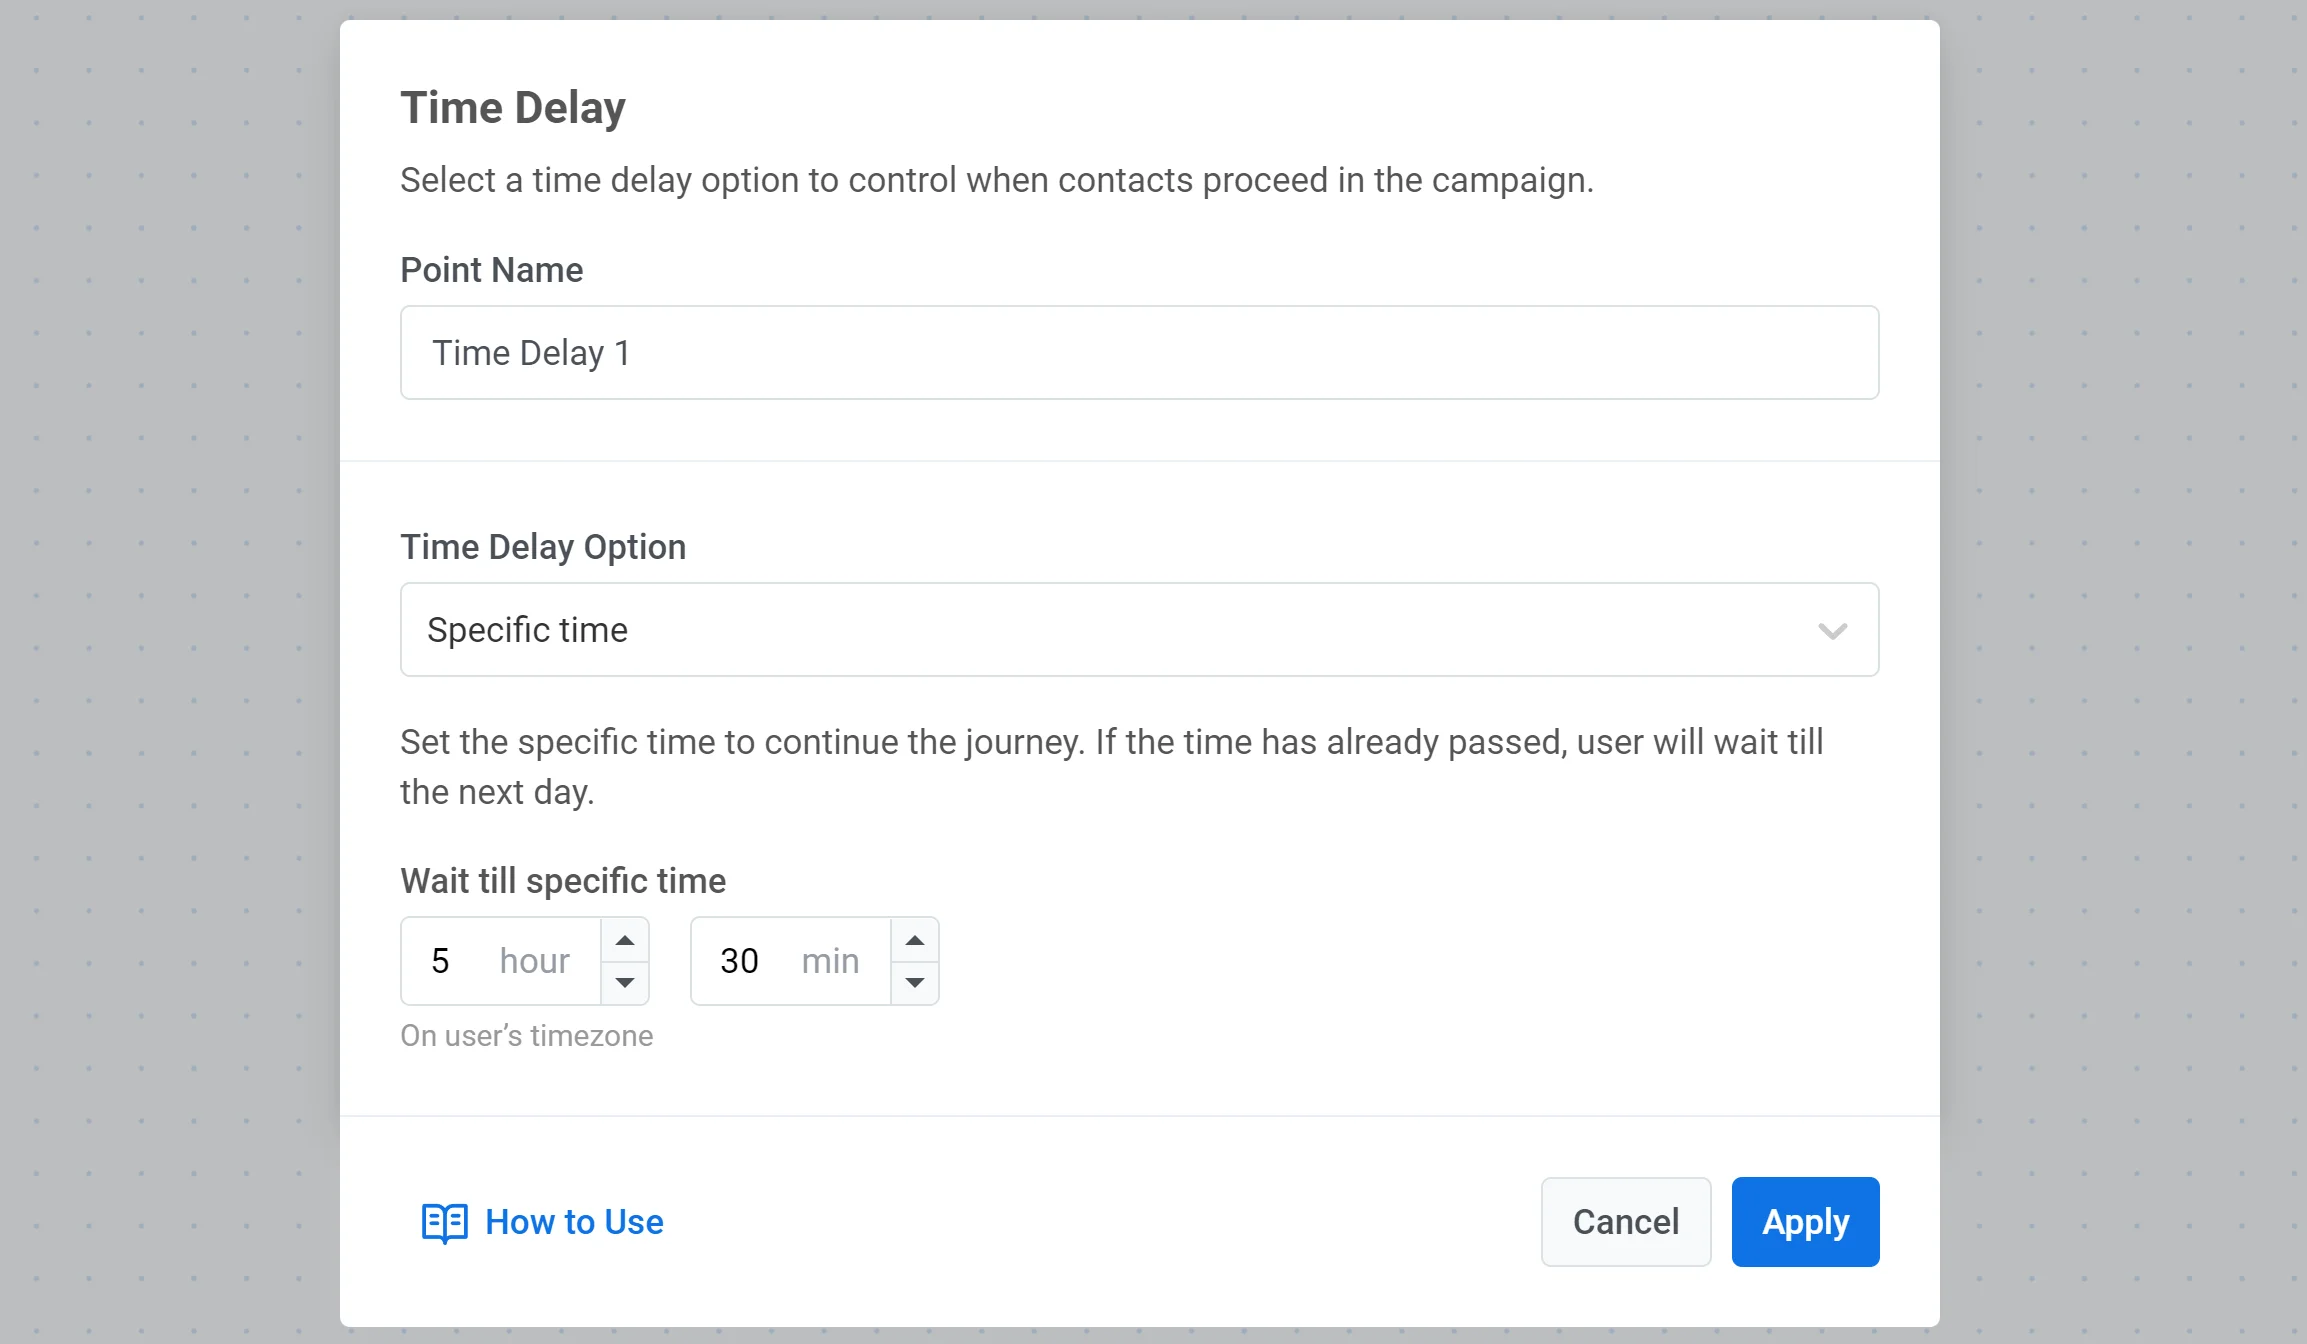
Anchor link toYou can set an exact time for users to move forward. Users who reach the delay element will proceed at the specified time.
For example, if a user gets to a delay element early in the morning and you have set the delay to wait until 5:30 PM, those users will proceed to the next journey point at 5:30 PM according to their device’s timezone.
Date
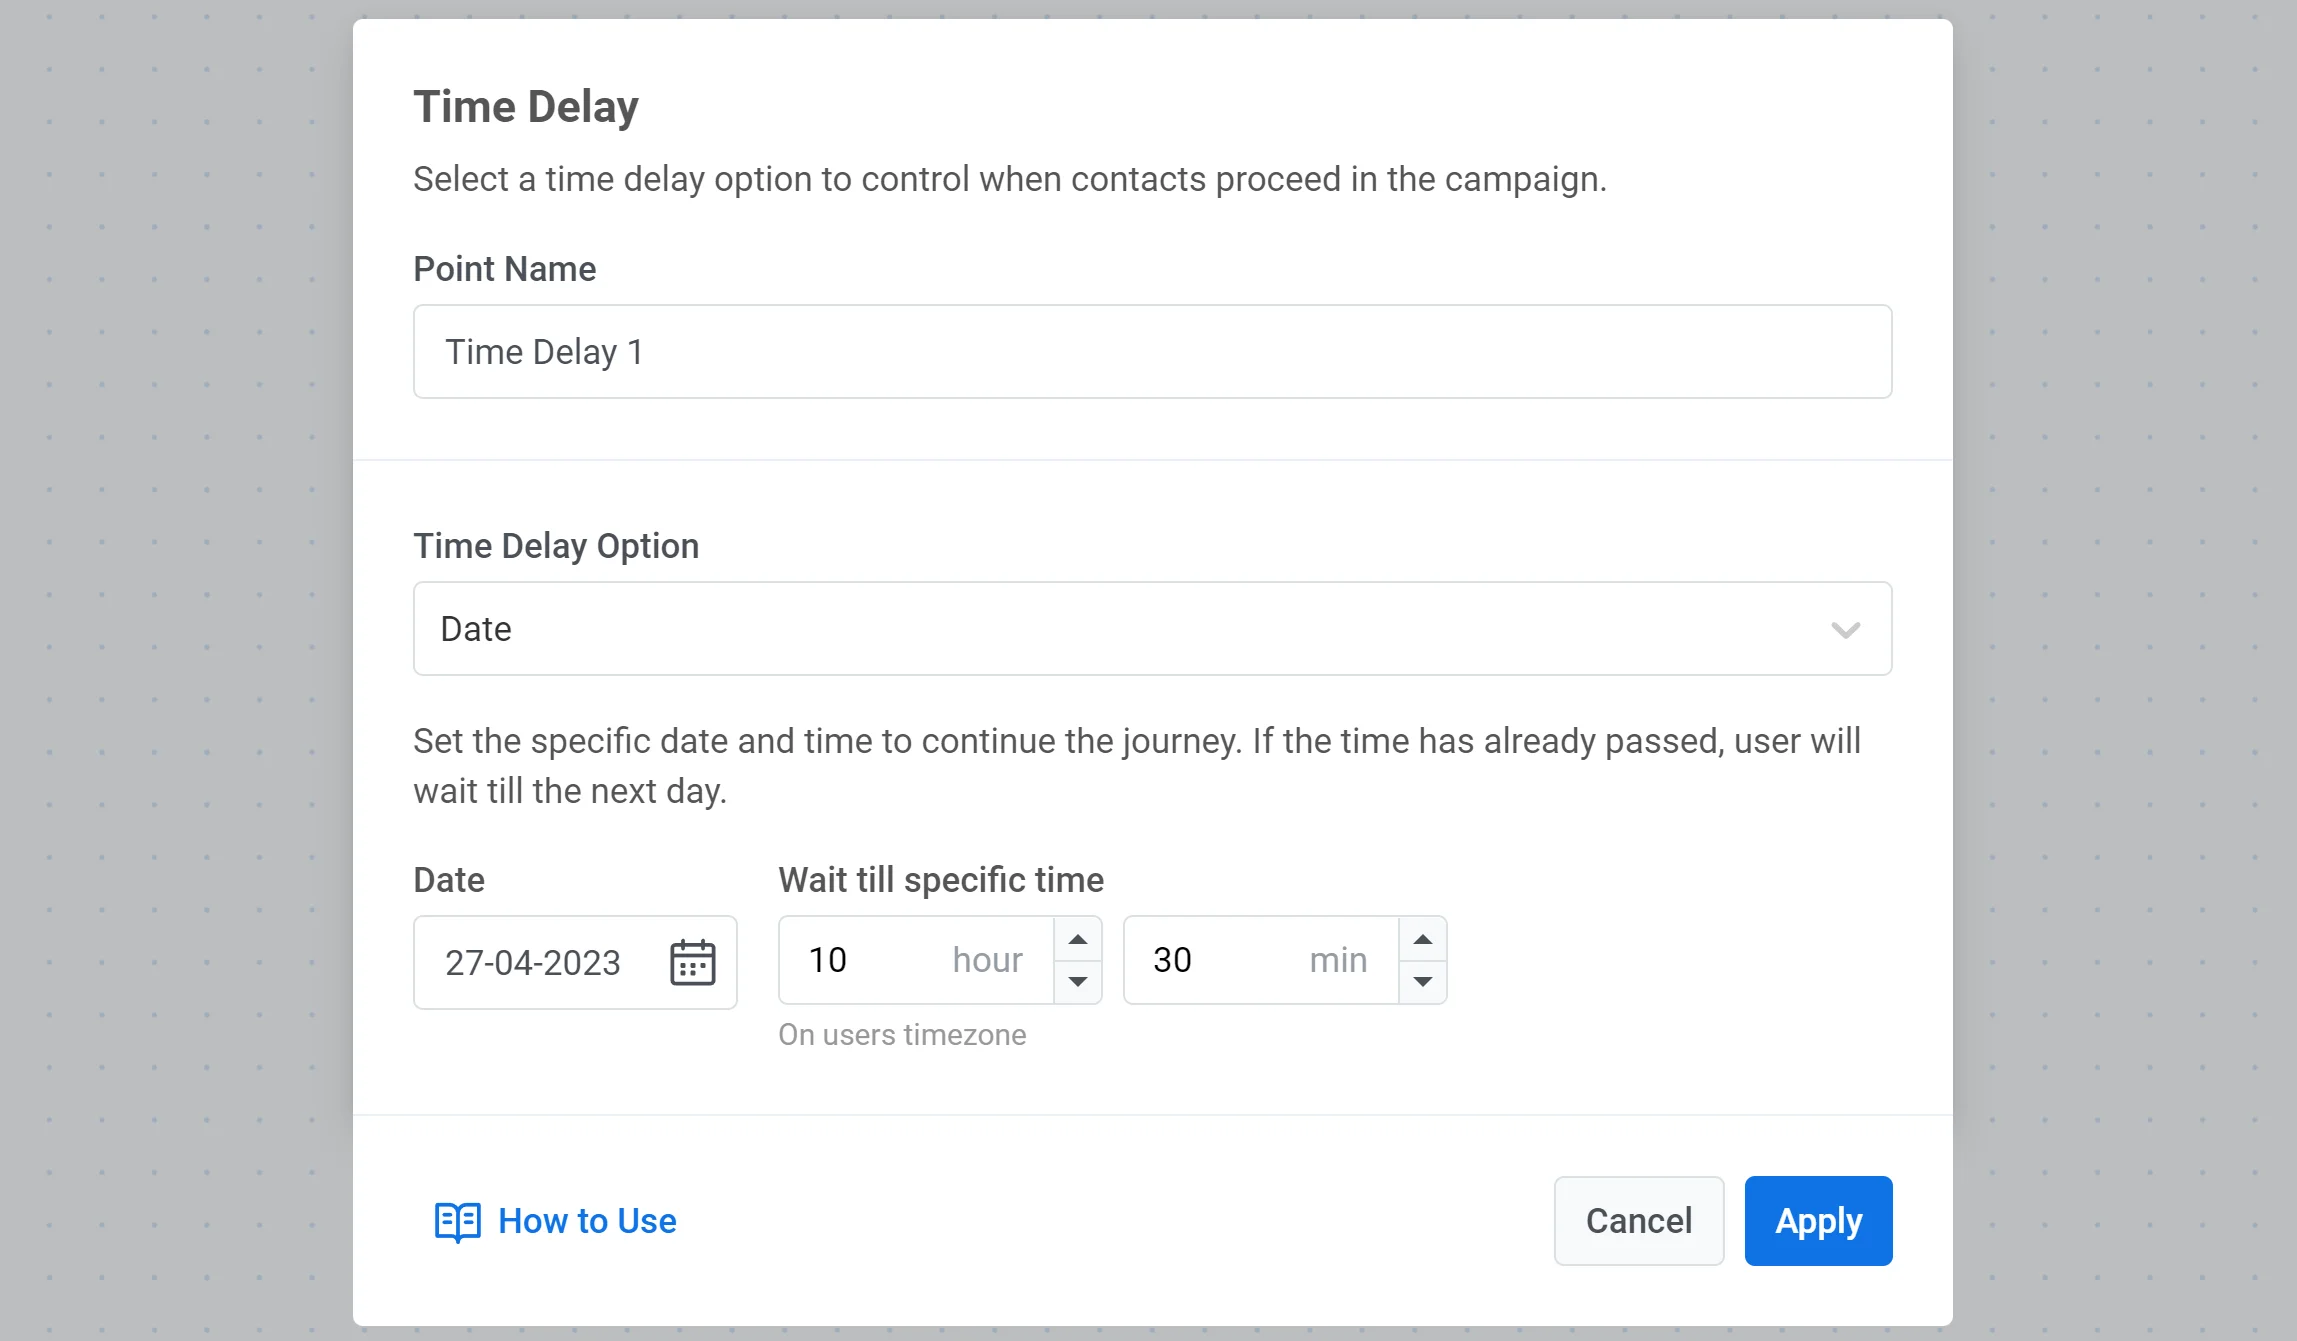
Anchor link toIf you want to set up a one-time campaign on a specific date (for example, send a Black Friday notification), select a particular date and time to continue the journey.
Day of week
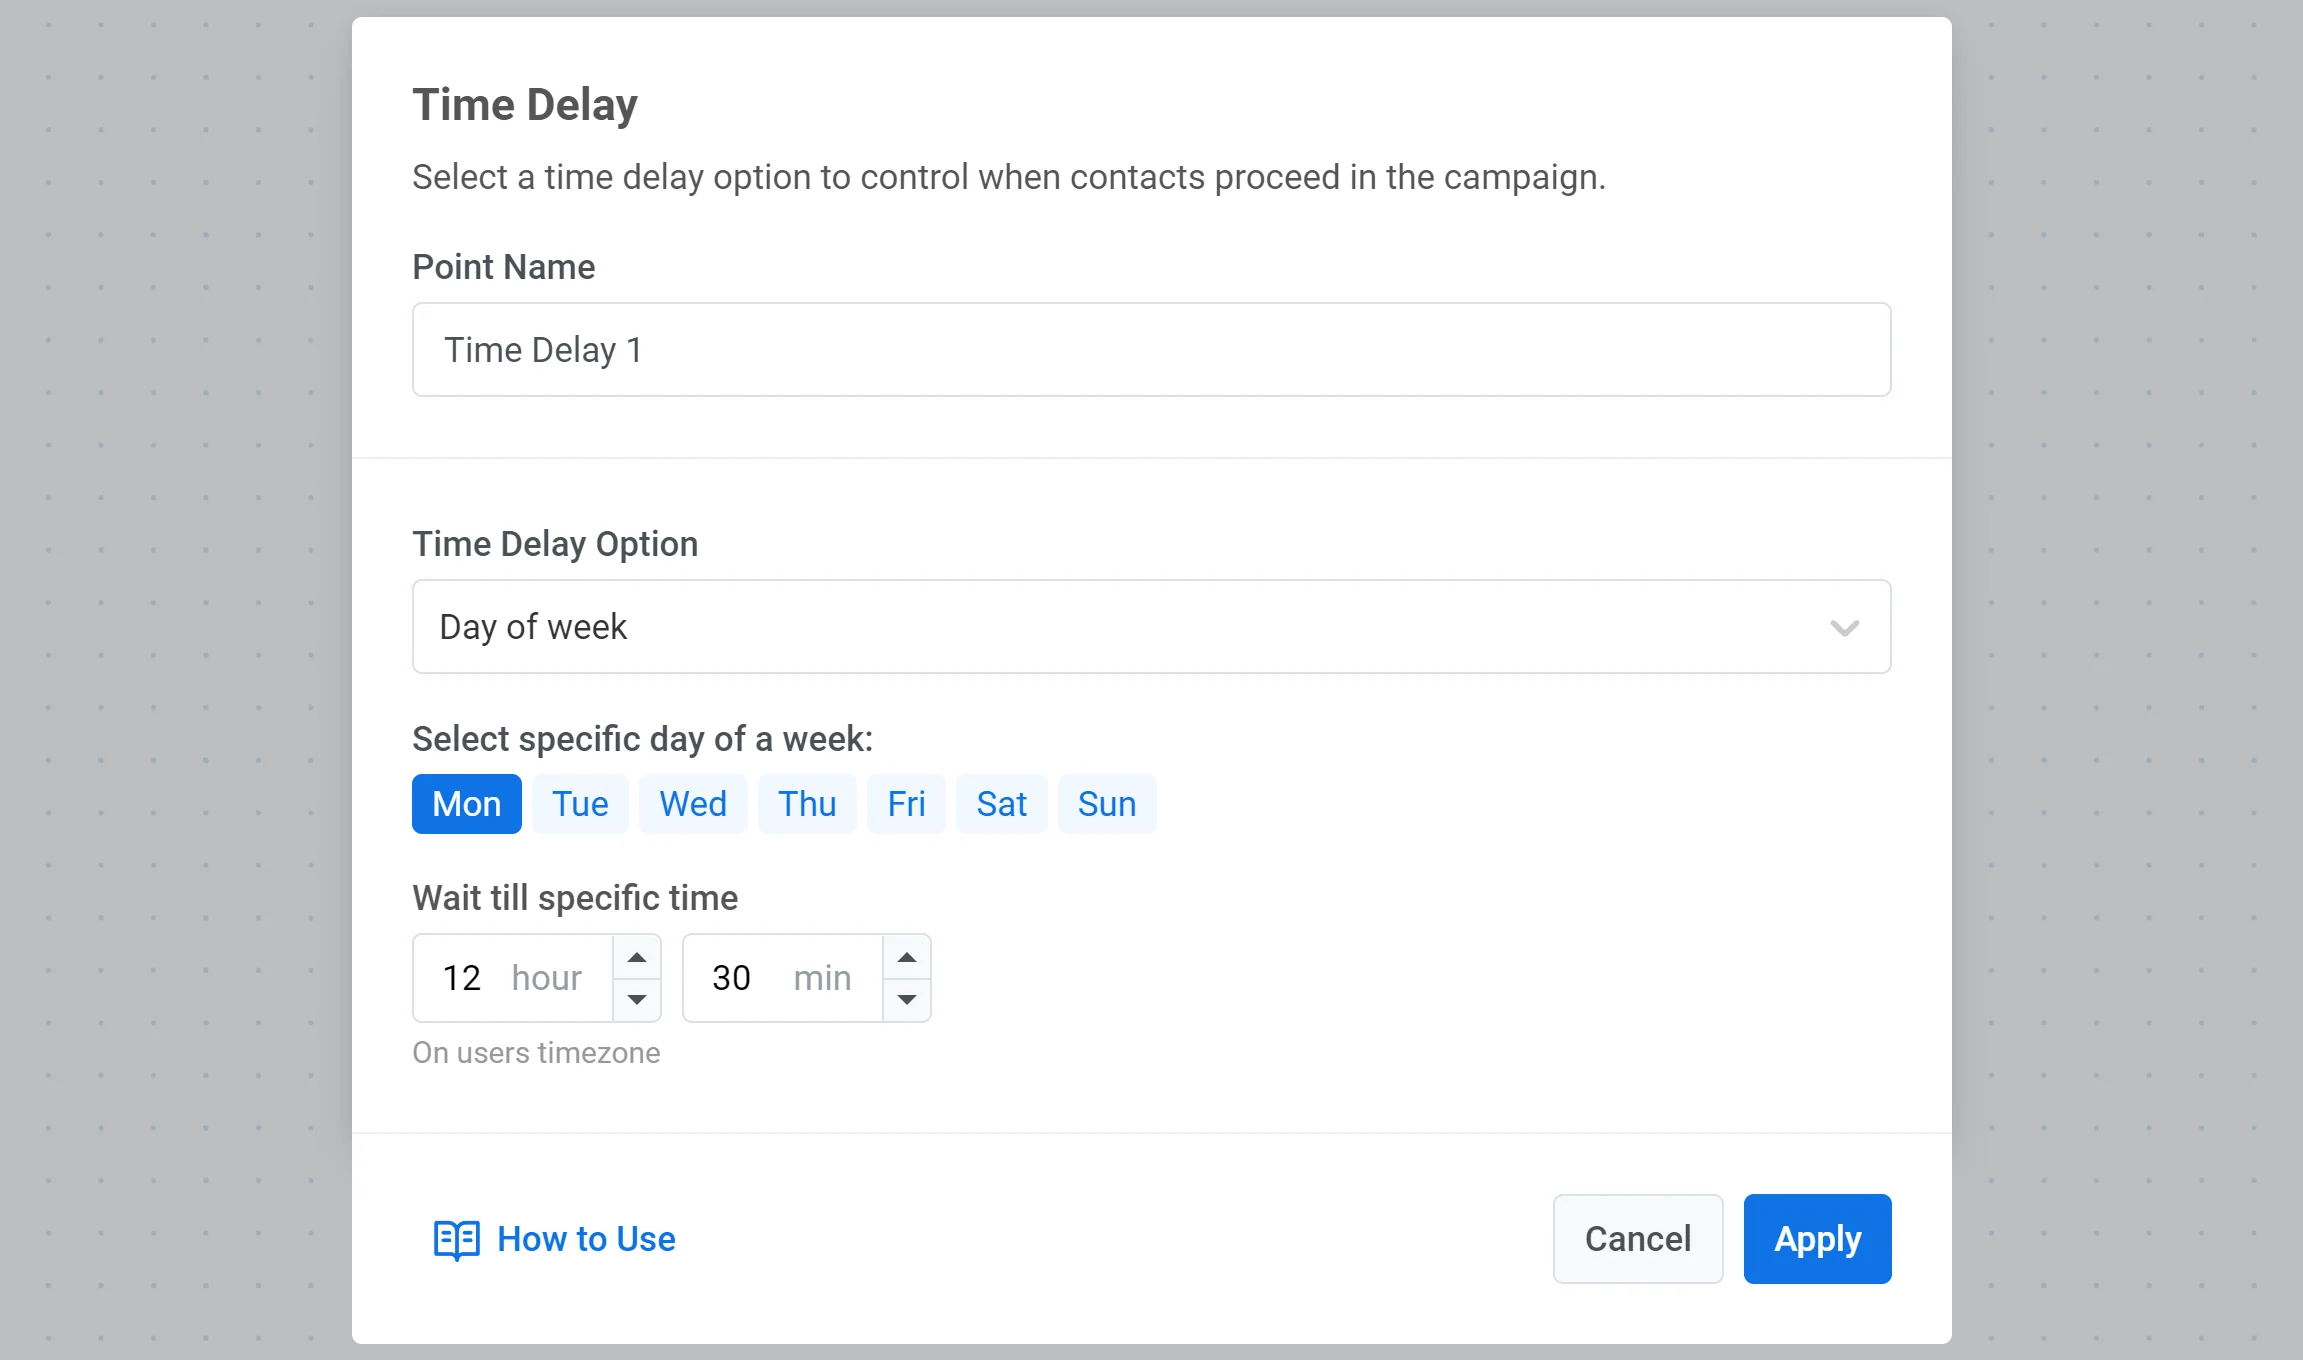
Anchor link toIf you want the user to move to the next journey point only on a specific day of the week, select the Day of week option and set the desired day and time.
Delay based on user or event data
Anchor link toUse this option when the wait time should come from a Tag, an Event attribute, or a value mapped from a Webhook response.
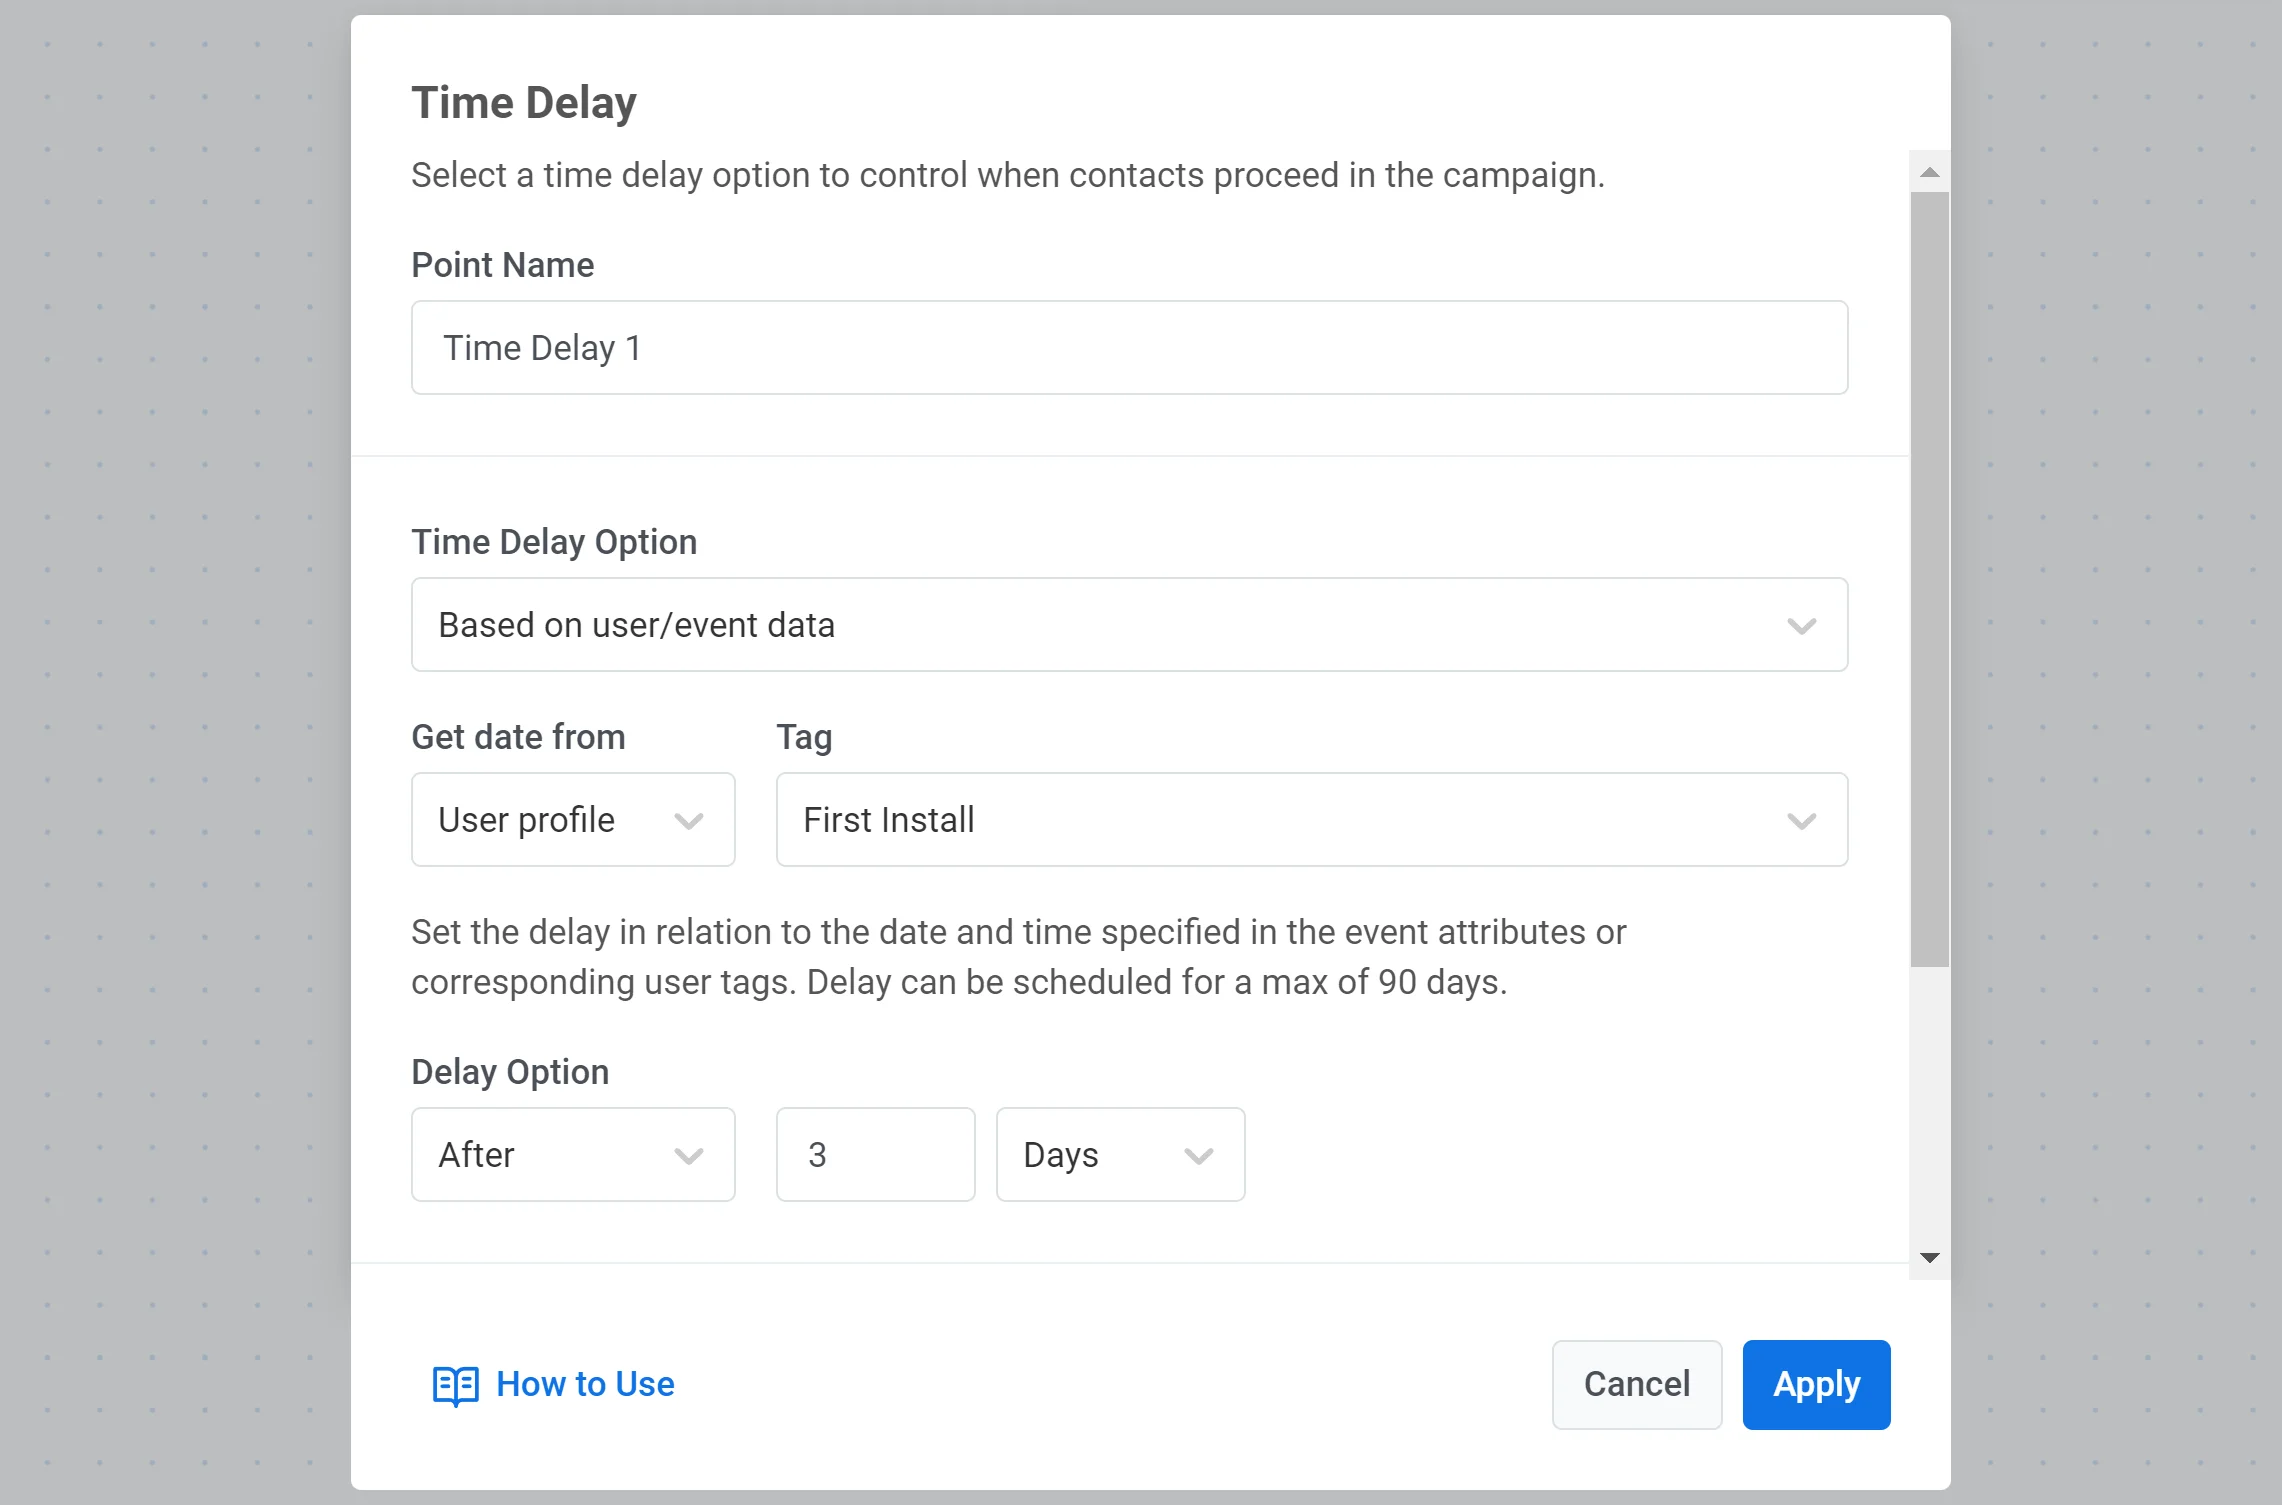
- In Time delay option, select Based on user/event data.
- Under Get date from, select User profile to use a Tag, or Event to use an event attribute or a value from a webhook response.
- If you selected User profile, choose the Tag that contains the date.
- If you selected Event, choose the event and the attribute that contains the date. For webhook-mapped values, see Use a date from a webhook response below.
- Set the offset: Before, After, or On the date, then enter the number of days.
Use a date from a webhook response
Anchor link toIf a Webhook element earlier in the journey has Response mapping configured, mapped attributes are available under Event.
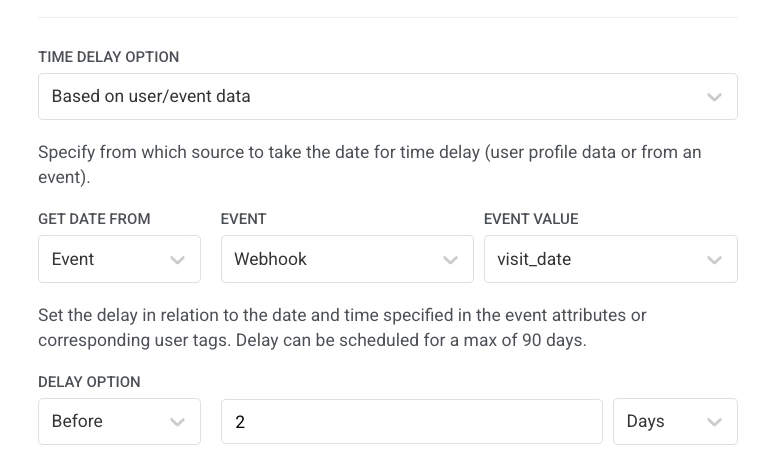
- In Time delay option, select Based on user/event data.
- Under Get date from, select Event.
- In Event, select the webhook step by the name you gave it (for example,
Get appointment details). - In Event value, select the mapped attribute that holds the date (for example,
visit_date). - Set the offset (for example, Before
2Days).
The value must follow the same date format rules as Tags and Events (see Date format requirements above).
Split branches when the date is in the past or empty
Anchor link toTo let users continue when they don’t meet the delay condition, enable Split to branches if the date’s in the past or date is empty. The flow splits into In the future and In the past. Use the In the past branch for users whose Tag values, Event attributes, or webhook-mapped dates don’t match the delay. You can add other elements on that branch (for example, another Time Delay, Condition split, Wait for Trigger, or a message).
For example, you set a reminder 2 days before an appointment using the appointment event’s date attribute. If the appointment is tomorrow, the user won’t meet the 2 days before condition and exits unless you enable branch splitting.
When appointment dates change mid-journey
Anchor link toIf a date in a Tag or Event attribute changes while the user is already in the journey, Time Delay settings stay as they were when the user reached the element.
Consider creating several journeys when users often reschedule appointments, deliveries, or similar events.
For example, start a journey on the AppointmentCreated event with a DateTime attribute (a Reminder journey). Set a push reminder 2 days before the visit using Based on user/event data. To handle reschedules:
- Create an
AppointmentChangedevent. - In the Reminder journey, set
AppointmentChangedas a conversion goal so users who reschedule exit the journey. - Create a new journey that starts on
AppointmentChangedto remind users who updated their visit date and time.
Pausing a journey while a user is waiting
Anchor link toPausing a journey does not pause the Time Delay timer: the send time is fixed when the user enters the delay point, regardless of the journey’s pause state.
- If that time falls inside the pause window, the user waits at this step and the message goes out immediately once you resume the journey.
- If it falls after the resume, the message goes out at the originally scheduled time, as if the pause never happened.
A user waiting at this point is lost if you pause the journey for longer than 7 days (this happens silently, with no log entry or metric), if you select Stop campaign while the journey is paused, or if you delete this element during editing. See Editing an active journey for what else can happen to users when you pause a journey.