Airtable: create record
Use Airtable: create record to append a new record to an Airtable table from a journey step.
Typical uses:
- Add leads or cases to a base: append a record with fields from the traveler, for a team that manages work in Airtable.
- Build an ops log: add one record per step reached, for tracking outside a database.
- Hand off to another team: write to a shared base so a non-technical team can follow up.
Configure the point
Anchor link to- Drag Airtable: create record from the Integrations section of the left panel onto the canvas.
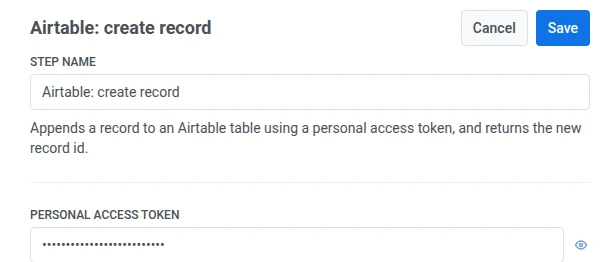
- Double-click the point and enter a Step Name.
- In Personal access token, enter an Airtable personal access token with permission to write records to the target base. It’s stored masked, like a webhook secret header.
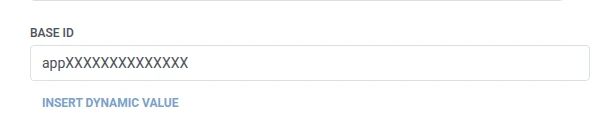
- In Base id, enter the target Airtable base id.
- In Table id or name, enter the target table, by id or by name.

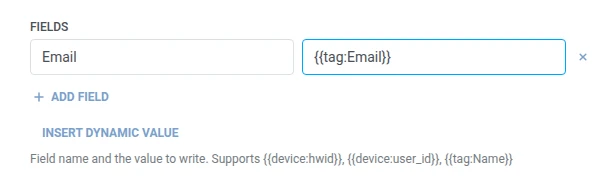
- In Fields, add one row per Airtable field to write. Enter the field name and the value. Names must be non-empty and unique. A value can be fixed text or a traveler macro such as
{{tag:Name}}, the same macros as in a Webhook body. Or click Insert Dynamic Value to pick an attribute an earlier step in this journey produced, for example an LLM response or a mapped Webhook value.
- Click Save.
Response
Anchor link toThe traveler continues to whatever step you connect next on the canvas.
Attributes after the step runs
Anchor link to| Attribute | What it holds |
|---|---|
airtable_record_id | The new record’s ID |
How to use it in later steps
Anchor link toThe traveler already continued to the next step regardless of this attribute. Save it to a Tag with Update user profile if you need to look up this specific record later, for example through Airtable’s own API.
Failures and unexpected responses
Anchor link toA failed request drops the traveler from the journey. See Errors and failed requests.
Example scenario: Logging a new support case in Airtable
Anchor link toA team tracks support cases in Airtable and wants a row created the moment a case opens, without anyone entering it by hand.
- Add a Trigger-based entry element and set it to fire on a
SupportCaseOpenedevent. - Add Airtable: create record right after it. Set Table id or name to
Cases. In Fields, setEmailto{{tag:Email}}. - Click Save.
Once this runs, every new support case gets a row in the Cases table with the traveler’s email already filled in.