Set up your email in the editor
Before you begin creating email content, make sure that you set up your email. The steps for setting up the email are the same for both the Drag & drop editor and HTML code editor.
Define the languages you want to use in your email
Anchor link toBy default, your content is in one language (referred to as Default in the editor). However, if you want to customize the content for users who speak different languages, you can add additional languages from the provided list. For instance, if the majority of your database is in English, but you want to send Spanish to Spanish speakers and German to German speakers, you would set up your content language preferences as follows: default /es /de.
This means that users who have opted in to receive emails by default will receive content in English, while those with Spanish or German language settings will receive content in their respective languages.
To add more languages, click on the Plus sign.
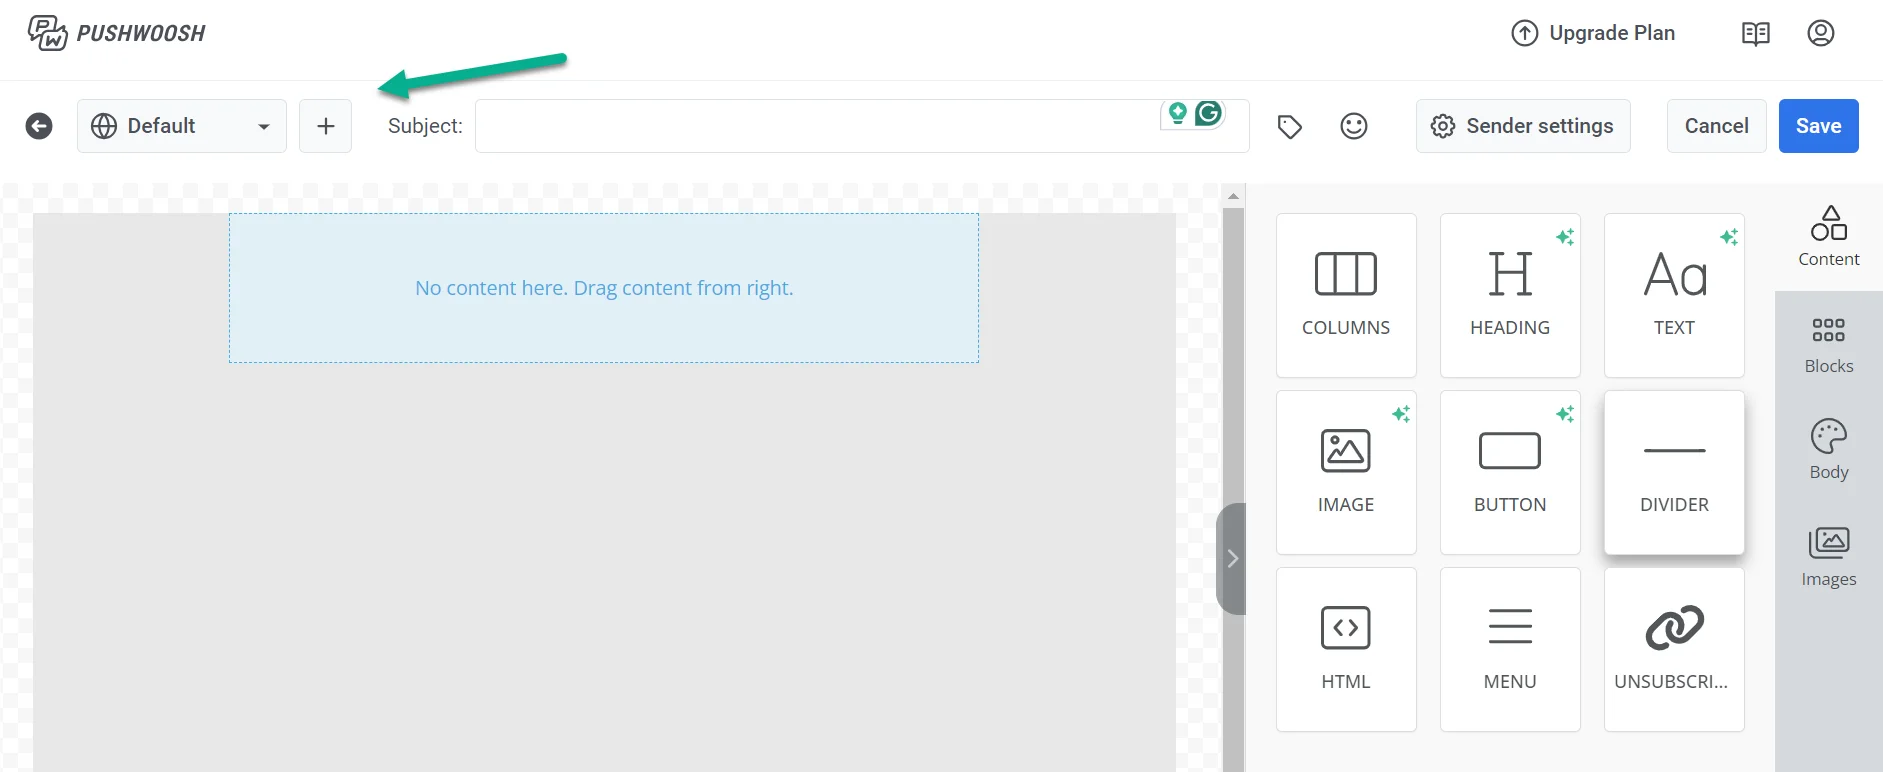
From the list of available languages, choose the languages you wish to use in your emails. Then click Apply.
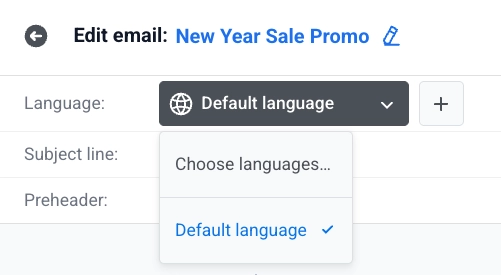
Use the language switcher above the canvas to switch between languages and edit content for each one. Content you haven’t translated yet for the current language shows dimmed. Start typing to create the translation. The default language keeps showing until you do.
Review unreviewed translations
Anchor link toSometimes a language shows content you didn’t type yourself — a pasted or duplicated block already carried it, or the language opened on its own because the subject line already had a translation for it. Pushwoosh highlights this content with the same dashed outline used for untranslated content; hover over it to see which case applies — unreviewed content warns that it may belong to another email. Adding a language manually runs the same check; if Pushwoosh finds matching copy already in the document, a toast reports how many texts it found.
Edit each marked text to confirm it belongs in this email, or click Reset imported copy in the language bar to discard all unreviewed translations for that language and fall back to the default content. The marking only holds for the current editing session — reopen the email later and previously unreviewed translations show as regular content.
Auto-translate content
Anchor link toClick Auto-translate in the language bar to fill missing translations with AI instead of typing each language by hand.
Auto-translate covers the full email: body text, buttons, lists, menu items, image alt text, subject line, preheader, and footer links. Translations you entered manually are not overwritten.

Import and export translations
Anchor link toExport downloads a CSV of the email’s texts and translations. Use it as a starting file for a translator, or as a backup before you run Auto-translate.
Export and Import cover the same content as Auto-translate: body text, buttons, lists, menu items, image alt text, subject line, preheader, and footer links.

To choose which languages the CSV carries:
- Click Export in the language bar.
- In Languages, add or remove languages. You can pick any language, not only ones already in the email. Languages already added to the email are pre-selected, each with its current translations already filled in.
- Click Download CSV. The button stays disabled until at least one language is selected.
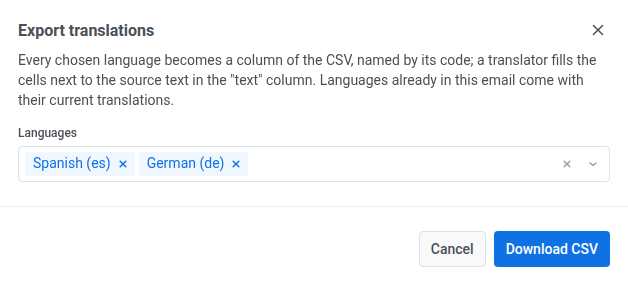
The downloaded CSV has one row per text and one column per language you picked, named by its language code.
To fill translations from a file instead of typing each language by hand:
- Click Import in the language bar.
- Choose a
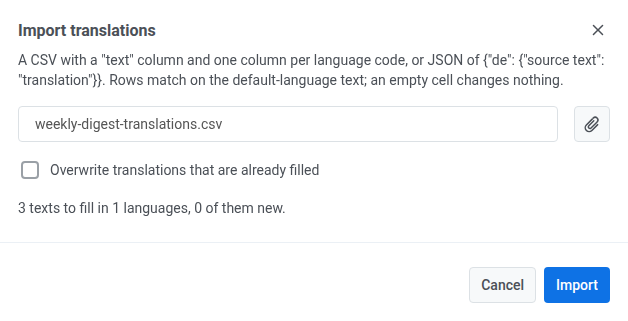
.csvor.jsonfile. A CSV needs atextcolumn with the default-language copy and one column per language code. JSON needs the shape{"de": {"source text": "translation"}}. - Check Overwrite translations that are already filled to replace translations you already have with the file’s version, or leave it unchecked to fill in only what’s missing.
- Review the summary of how many texts the import will fill and in how many languages.
- Click Import.
If Pushwoosh can’t read the file
Anchor link toInstead of a preview, you see one of these messages:
| Message | When it happens |
|---|---|
| The file is empty. | The file has no content. |
| The file is not valid JSON. | A .json file (or a file starting with {) can’t be parsed as JSON, or its top level isn’t an object. |
| The first column must be named “text”. | A CSV file’s header row names its first column something other than text, source, default, or original. |
| Add a column per language next to the “text” one. | A CSV file’s header row has no column after the text column. |
| No translations found in the file. | Every row is missing a language code, a text, or a translation, leaving nothing to apply. |
Add a subject line
Anchor link toAbove the canvas, in the Subject line field, type the subject line for your email.
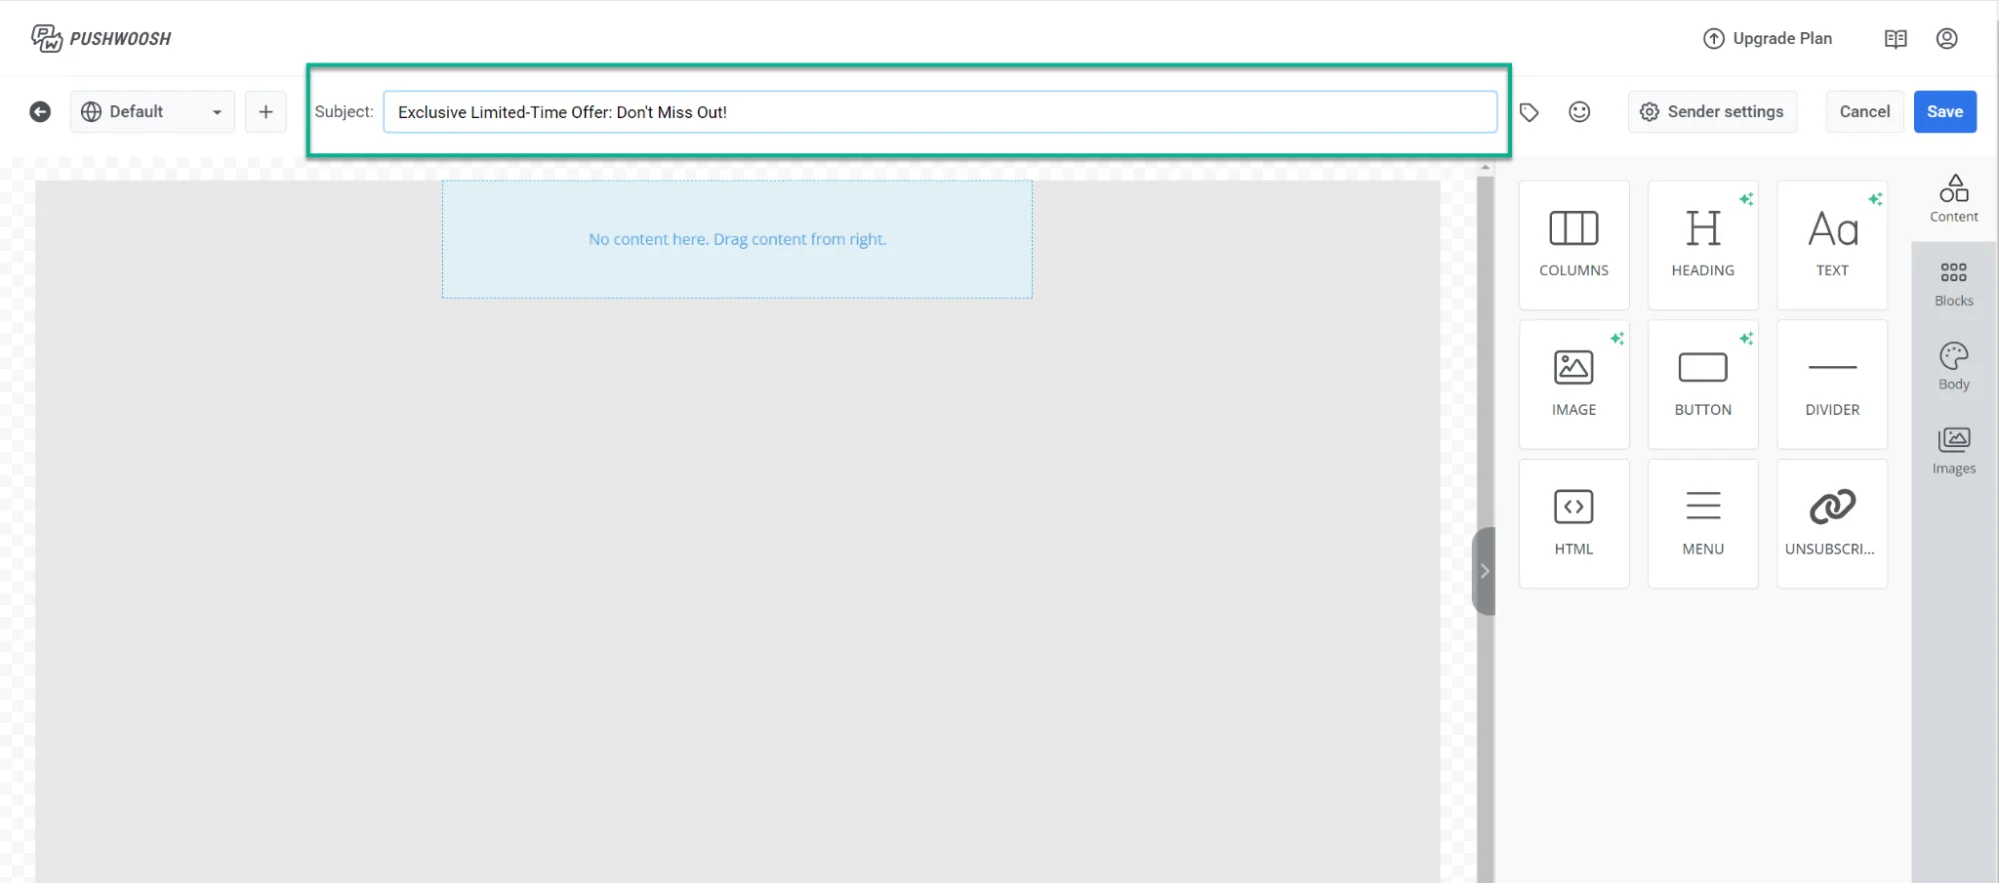
If you want to add an emoji to your subject line, click the Emoji icon next to the Subject line field.
You can also generate a subject line with AI: click the AI icon next to the field to have it written from the email content you’ve already added.
Add a preheader
Anchor link toBelow the subject line, use the Preheader field to add a short summary that appears after the subject line when recipients view the email in their inbox.
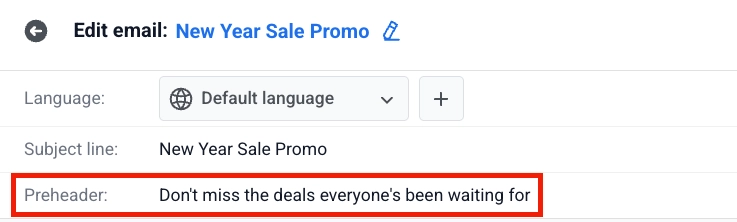
To add an emoji, click the Emoji icon next to the Preheader field.
To generate a preheader with AI, click the AI icon next to the field. AI writes it from the email content you’ve already added.
Create email content
Anchor link toAfter you set languages, the subject line, and the preheader, build the email body in the Drag & drop editor. Learn how
To show or hide blocks for specific recipients in the same email, set display conditions after you add blocks to the canvas.
Save your email
Anchor link toOnce you’ve created email content and configured the settings, click Save in the top bar. Before sending your campaign, you can also send a test email to check how it looks. Learn more
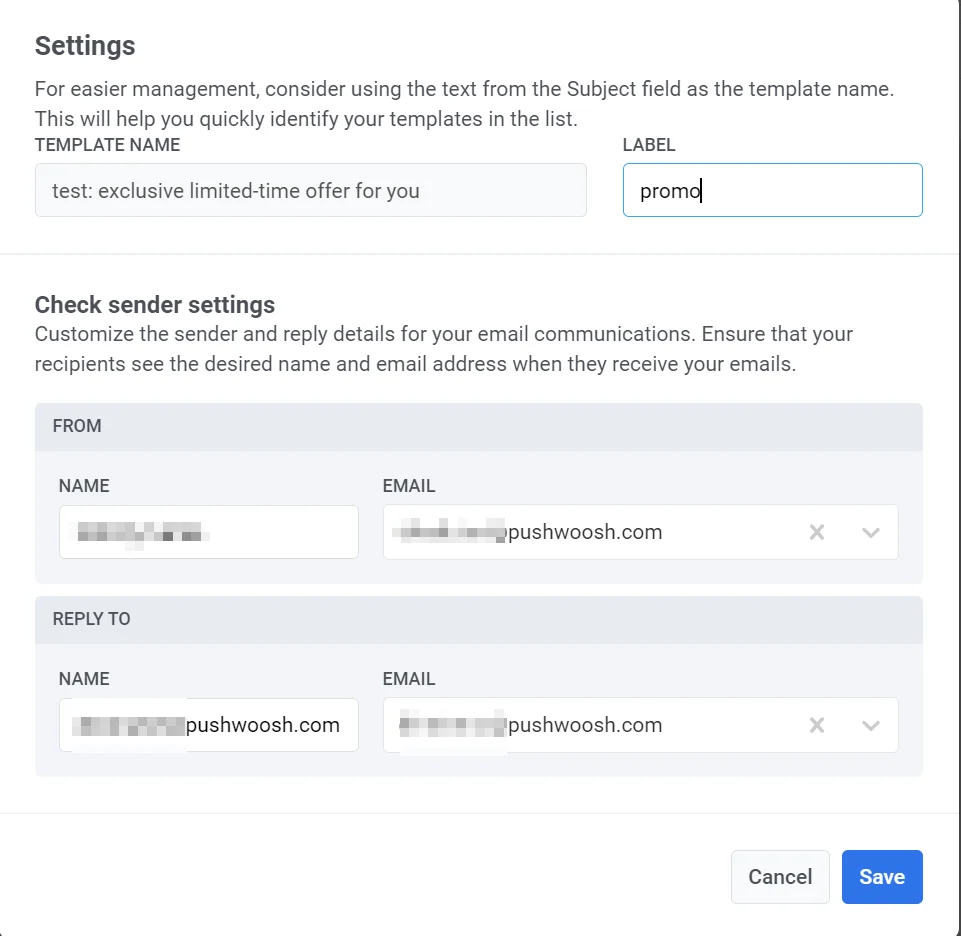
Manage email content
Anchor link toAfter creating and saving your email, it will appear in your list of email content.
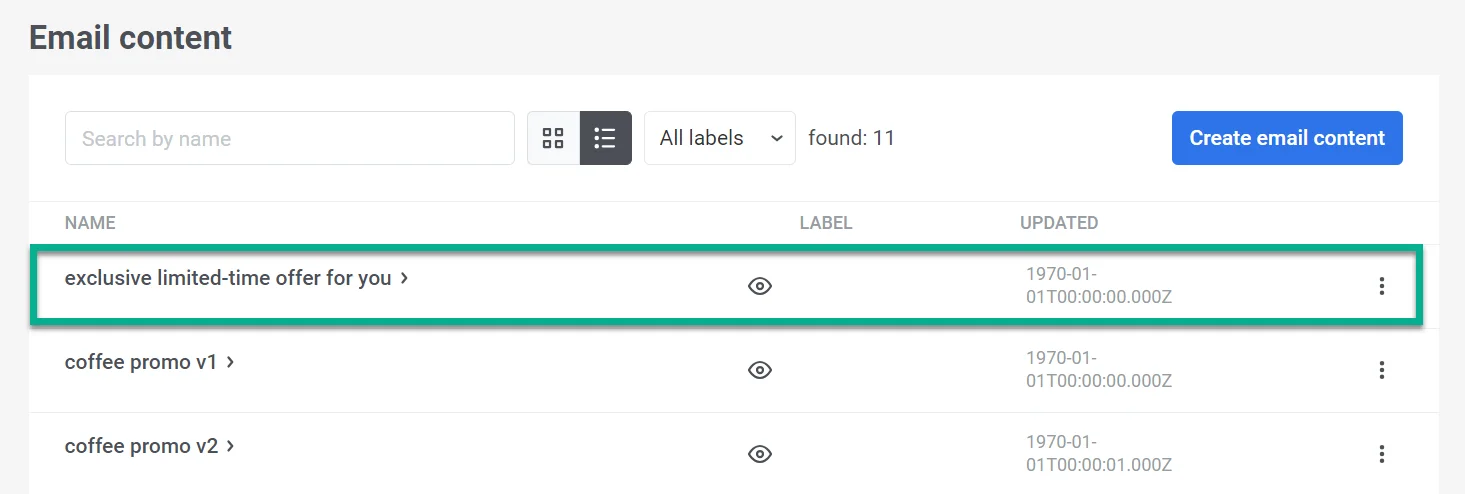
From there, you can effortlessly incorporate it into your customer journeys. This allows you to send automated, personalized messages and make any necessary edits. Learn more