Integration für eingehende Webhooks
Eingehende Webhooks ermöglichen es externen Diensten, Ereignisse direkt an Pushwoosh zu senden. Wenn ein Drittanbietersystem einen Webhook auslöst, authentifiziert Pushwoosh die Anfrage, identifiziert den Abonnenten und löst das zugeordnete Ereignis aus. Das Ereignis kann dann eine Journey starten oder voranbringen.
Nutzen Sie eingehende Webhooks, um Tools wie CRMs, E-Commerce-Plattformen oder Analyse-Dienste zu verbinden, ohne einen eigenen Server erstellen oder warten zu müssen. Jeder eingehende Webhook löst ein Pushwoosh-Ereignis aus, wenn eine passende Anfrage empfangen und erfolgreich verarbeitet wird.
Bevor Sie beginnen
Anchor link toBereiten Sie Folgendes vor, bevor Sie die Webhook-Einrichtung öffnen.
-
Entscheiden Sie, welches Pushwoosh-Ereignis der Webhook auslösen soll. Wählen Sie ein bestehendes Ereignis aus Ihrem Projekt aus, das Sie vom Drittanbieterdienst auslösen möchten. Zum Beispiel
CheckoutSuccess. Wenn Sie noch kein passendes Ereignis haben, erstellen Sie eines mit den Attributen, die Sie aus den eingehenden Daten füllen möchten. -
Stellen Sie sicher, dass Ihr Drittanbieterdienst Webhooks senden kann. Der Dienst muss in der Lage sein, eine HTTP-POST-Anfrage an eine externe URL zu senden, wenn das für Sie relevante Ereignis eintritt, zum Beispiel eine neue Bestellung oder eine Formularübermittlung.
-
Holen Sie sich eine Beispiel-JSON-Payload von Ihrem Drittanbieterdienst. Dies ist ein kleines Beispiel für die Daten, die der Dienst bei jedem Ereignis sendet. Sie benötigen es, um Payload-Felder den Pushwoosh-Ereignisattributen zuzuordnen.
Einen Webhook erstellen
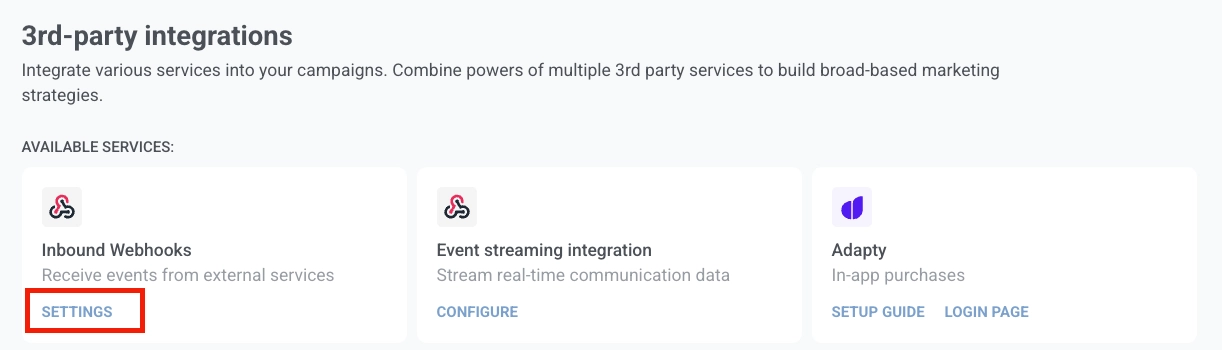
Anchor link to- Gehen Sie in Ihrem Pushwoosh-Konto zu Einstellungen → Integrationen → Eingehende Webhooks und klicken Sie auf Einstellungen.
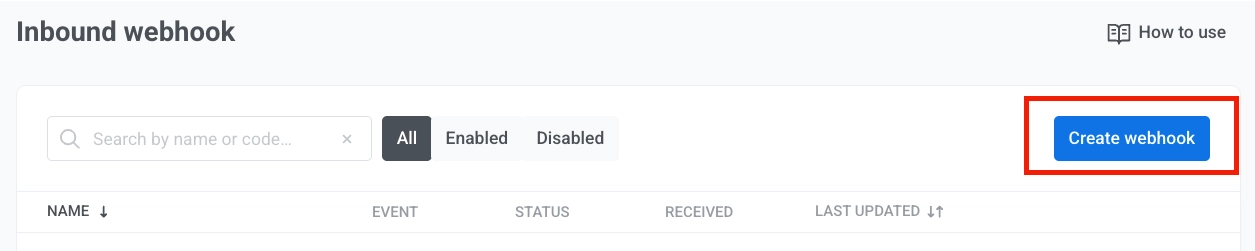
- Klicken Sie auf Webhook erstellen, um den Einrichtungsvorgang zu öffnen.
-
Geben Sie einen Webhook-Namen ein, damit Sie den Webhook später in der Liste identifizieren können.
-
Wählen Sie das Pushwoosh-Ereignis aus, das ausgelöst werden soll, wenn der Webhook eine gültige Anfrage empfängt. Sie können aus Ereignissen wählen, die bereits in Ihrem Projekt vorhanden sind. Wenn Sie zuerst ein Ereignis erstellen müssen, siehe Ereignisse.

- Fügen Sie unter Eingehende Daten abgleichen eine Beispiel-JSON-Payload von Ihrem Drittanbieterdienst ein. Pushwoosh lädt die Payload-Felder automatisch in die Dropdown-Menüs.
Beispiel-Payload:
{ "user_id": "12345", "email_address": "jane@example.com", "mobile": "+15551234567", "purchase_date": "2024-03-15", "order_number": "ORD-001", "price": 99.99, "payment_state": "success"}- Wählen Sie unter Benutzer identifizieren durch, wie Pushwoosh die eingehende Anfrage einem Benutzer zuordnen soll:
- User ID: gleicht über die interne Benutzer-ID in Pushwoosh ab.
- E-Mail: gleicht über die E-Mail-Adresse ab.
- Telefon: gleicht über die Telefonnummer ab.
- HWID: gleicht über die Geräte-, Browser- oder E-Mail-Kennung ab.
Wählen Sie im Payload-Feld das Feld aus, das den übereinstimmenden Wert enthält.

- Ordnen Sie jedes Ereignisattribut einem Payload-Feld zu. In jeder Zuordnungszeile:
- Ereignisattribut: der Attributname in Pushwoosh. Wählen Sie aus den für dieses Ereignis definierten Attributen.
- Payload-Feld: das Feld aus der eingehenden Payload, das den Wert enthält.
Ordnen Sie zum Beispiel email zu email_address, total zu price und order_id zu order_number.
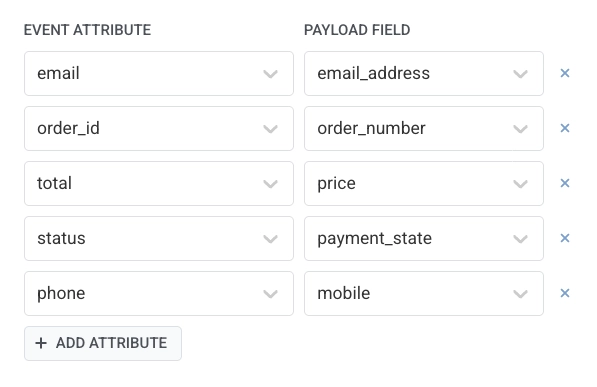
Klicken Sie auf + Attribut hinzufügen, um eine Zeile hinzuzufügen. Klicken Sie auf ×, um eine zu entfernen.
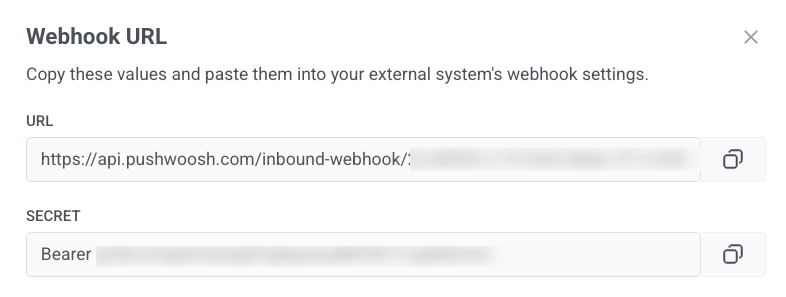
- Wenn die Konfiguration abgeschlossen ist, klicken Sie auf Aktivieren. Das Fenster Webhook-URL öffnet sich.
Kopieren Sie die Werte und fügen Sie sie in die Webhook-Einstellungen Ihres externen Systems ein:
- Kopieren Sie die URL und legen Sie sie als Webhook-Ziel in Ihrem Drittanbieterdienst fest.
- Kopieren Sie das Secret und fügen Sie es in Ihrem externen Dienst als Wert für den
Authorization-Header ein. Der Wert enthält das PräfixBearer, verwenden Sie ihn also unverändert. Pushwoosh lehnt jede Anfrage ab, bei der dieser Header fehlt oder nicht übereinstimmt.
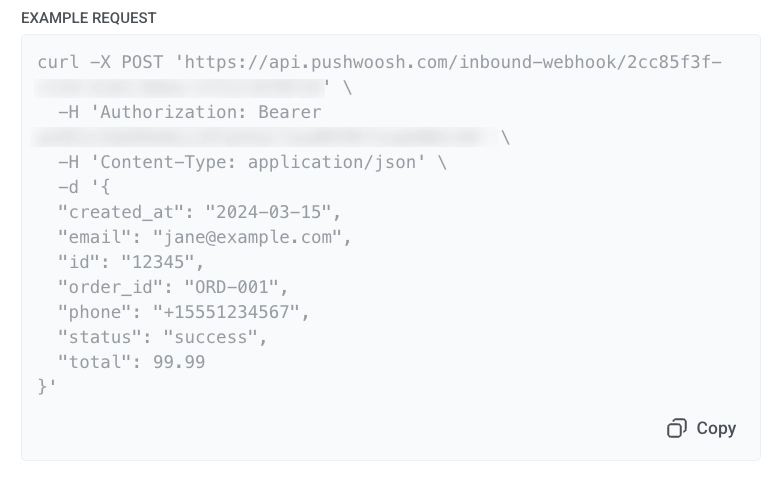
- Das Fenster zeigt auch eine Beispielanfrage mit einer
POST-Beispielanfrage. Klicken Sie im Beispielblock auf Kopieren, um die vollständige Anfrage zu kopieren. Verwenden Sie sie, um eine Testanfrage zu senden und zu bestätigen, dass Pushwoosh den Webhook akzeptiert, oder teilen Sie sie mit Ihrem Team als Vorlage für die Integration.
Nachdem Sie den Webhook aktiviert haben, erscheint er in der Webhooks-Liste mit dem Status „Aktiviert“ und beginnt, Anfragen anzunehmen.
Webhook-Liste
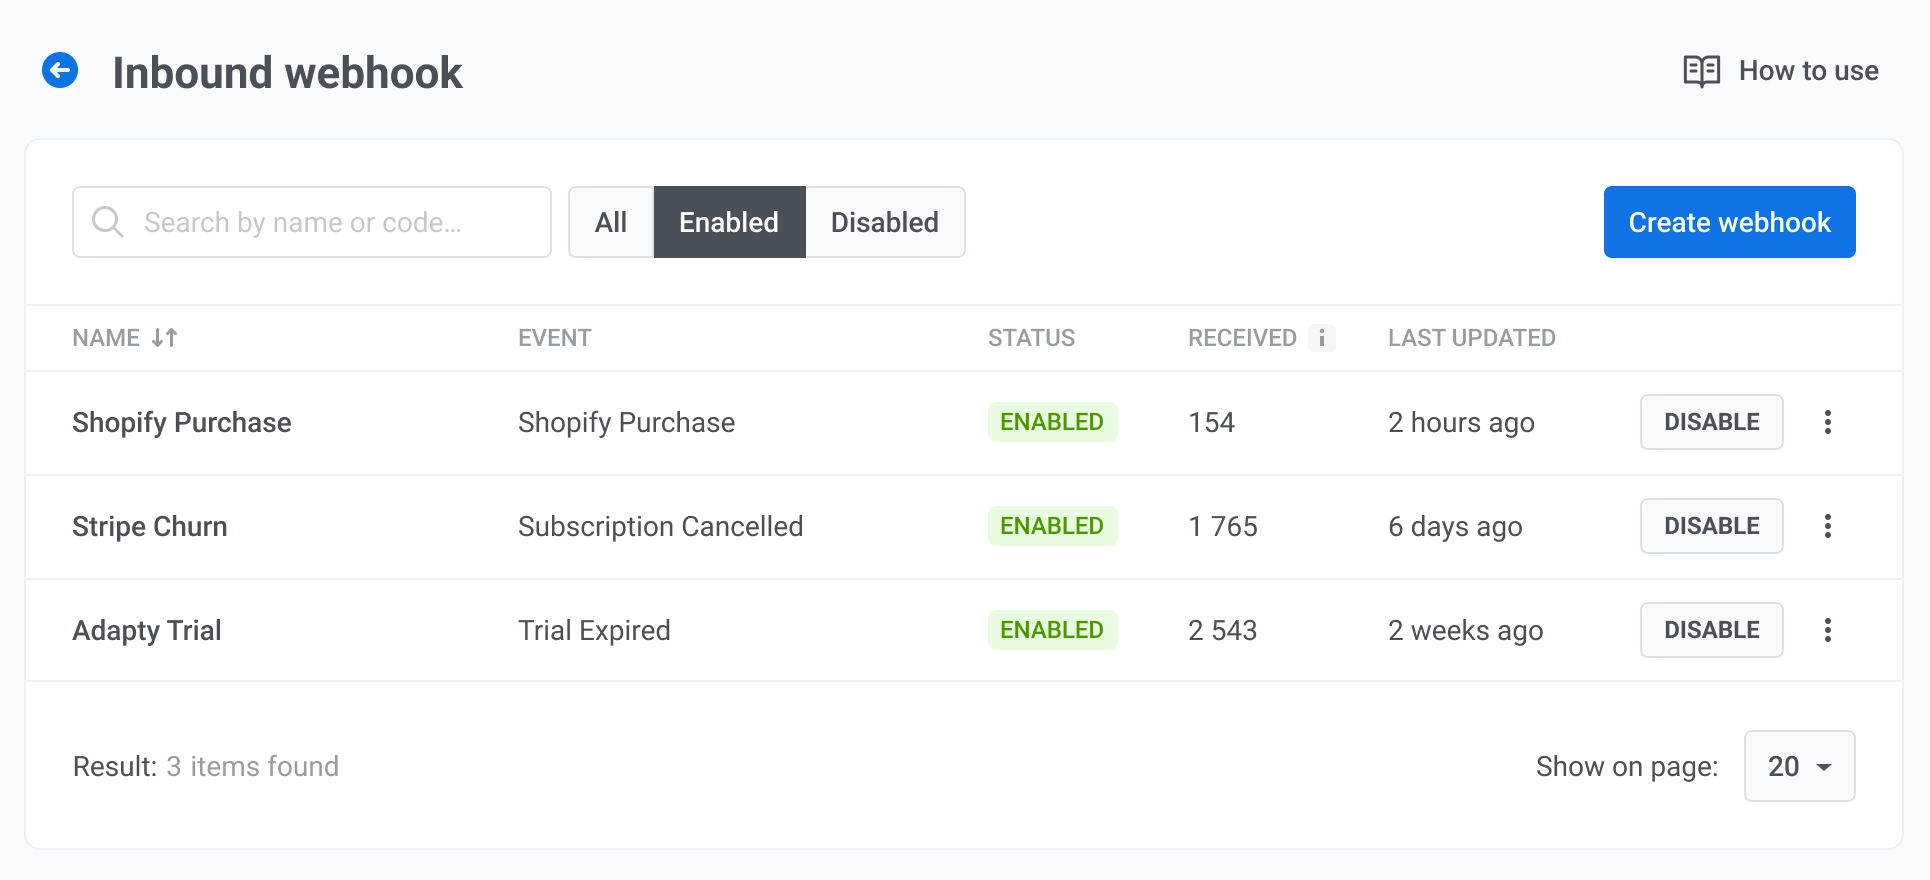
Anchor link toDie Liste der eingehenden Webhooks zeigt jeden Webhook in Ihrem Projekt.
Jede Zeile zeigt:
- Name: Webhook-Name.
- Ereignis: das Pushwoosh-Ereignis, das ausgelöst wird, wenn der Webhook eine gültige Anfrage empfängt.
- Status: Aktiviert oder Deaktiviert.
- Empfangen: Anzahl der vom Webhook empfangenen Anfragen.
- Zuletzt aktualisiert: wann der Webhook zuletzt geändert wurde.
Webhooks verwalten
Anchor link toÖffnen Sie das Zeilenmenü, um:
- Einstellungen bearbeiten: öffnet die Webhook-Konfiguration, damit Sie den Namen, das Ereignis, die Feldzuordnung und die Benutzeridentifikation ändern können.
- URL kopieren: öffnet das Fenster Webhook-URL mit der URL und dem Secret, damit Sie sie erneut kopieren können.
- Aktivitätsprotokoll: öffnet das Anforderungsprotokoll für diesen Webhook.
- Löschen: entfernt den Webhook aus der Liste.
Für einen aktivierten Webhook klicken Sie auf Deaktivieren, um ihn zu deaktivieren, ohne die Konfiguration zu löschen. Für einen deaktivierten Webhook klicken Sie auf Aktivieren, um wieder Anfragen anzunehmen.
Aktivitätsprotokoll anzeigen
Anchor link toDas Aktivitätsprotokoll zeigt alle eingehenden Anfragen für den ausgewählten Webhook.
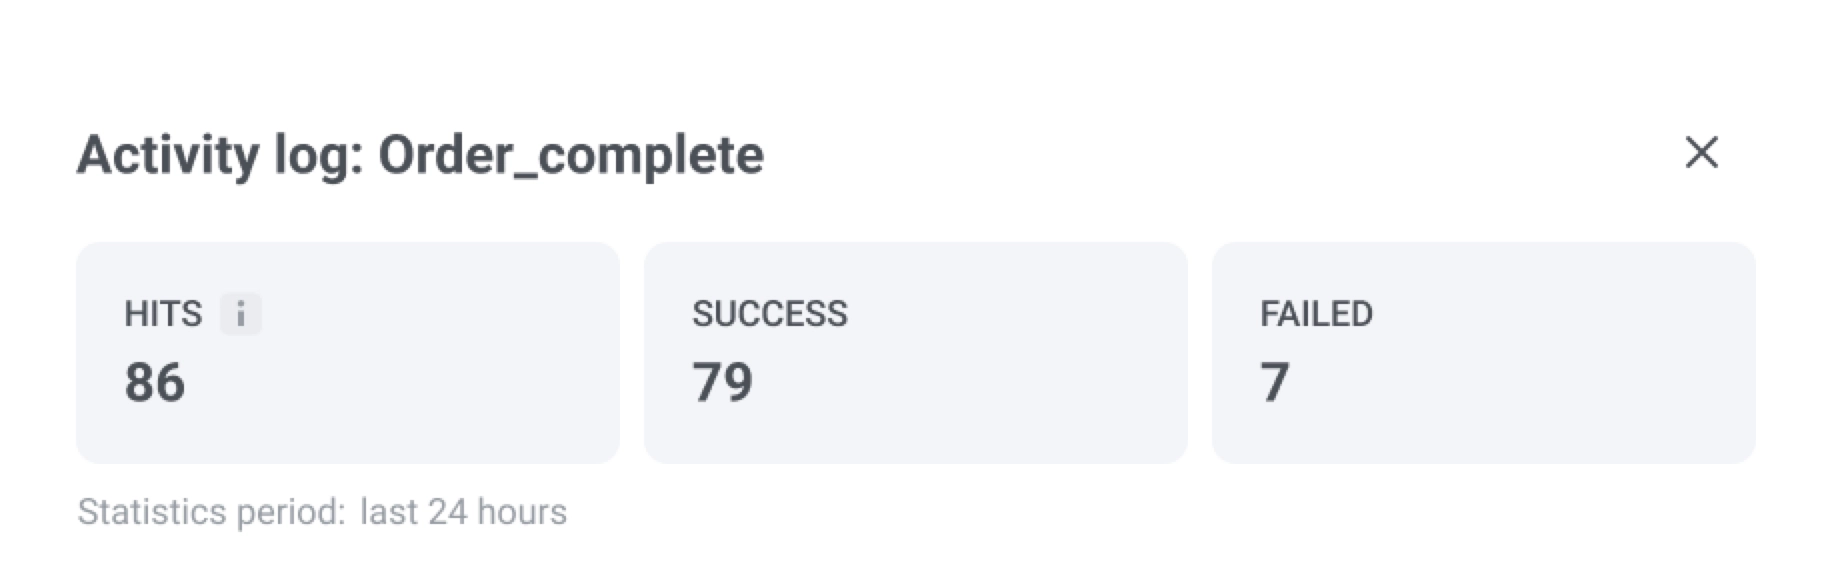
Zusammenfassungsfeld
Überprüfen Sie oben die Zusammenfassung für die letzten 24 Stunden:
- Treffer: Gesamtzahl der eingegangenen Anfragen.
- Erfolgreich: Anfragen, bei denen die Authentifizierung bestanden wurde, der Benutzer gefunden und das Ereignis ausgelöst wurde.
- Fehlgeschlagen: Anfragen, die nicht verarbeitet wurden. Eine fehlgeschlagene Anfrage stoppt den Webhook nicht. Pushwoosh akzeptiert und verarbeitet weiterhin spätere Anfragen.
| Fehlergrund | Bedeutung |
|---|---|
| Authentifizierung abgelehnt | Das geteilte Secret stimmt nicht mit der Webhook-Konfiguration überein. Wenn fünf aufeinanderfolgende Anfragen mit diesem Fehler fehlschlagen, sendet Ihnen Pushwoosh eine Benachrichtigung. Aktualisieren Sie das Secret, um fortzufahren. Keine Reaktivierung erforderlich. |
| Feld für Benutzeridentifikator fehlt | Das für die Benutzeridentifikation zugeordnete Payload-Feld ist in der Anfrage nicht vorhanden. |
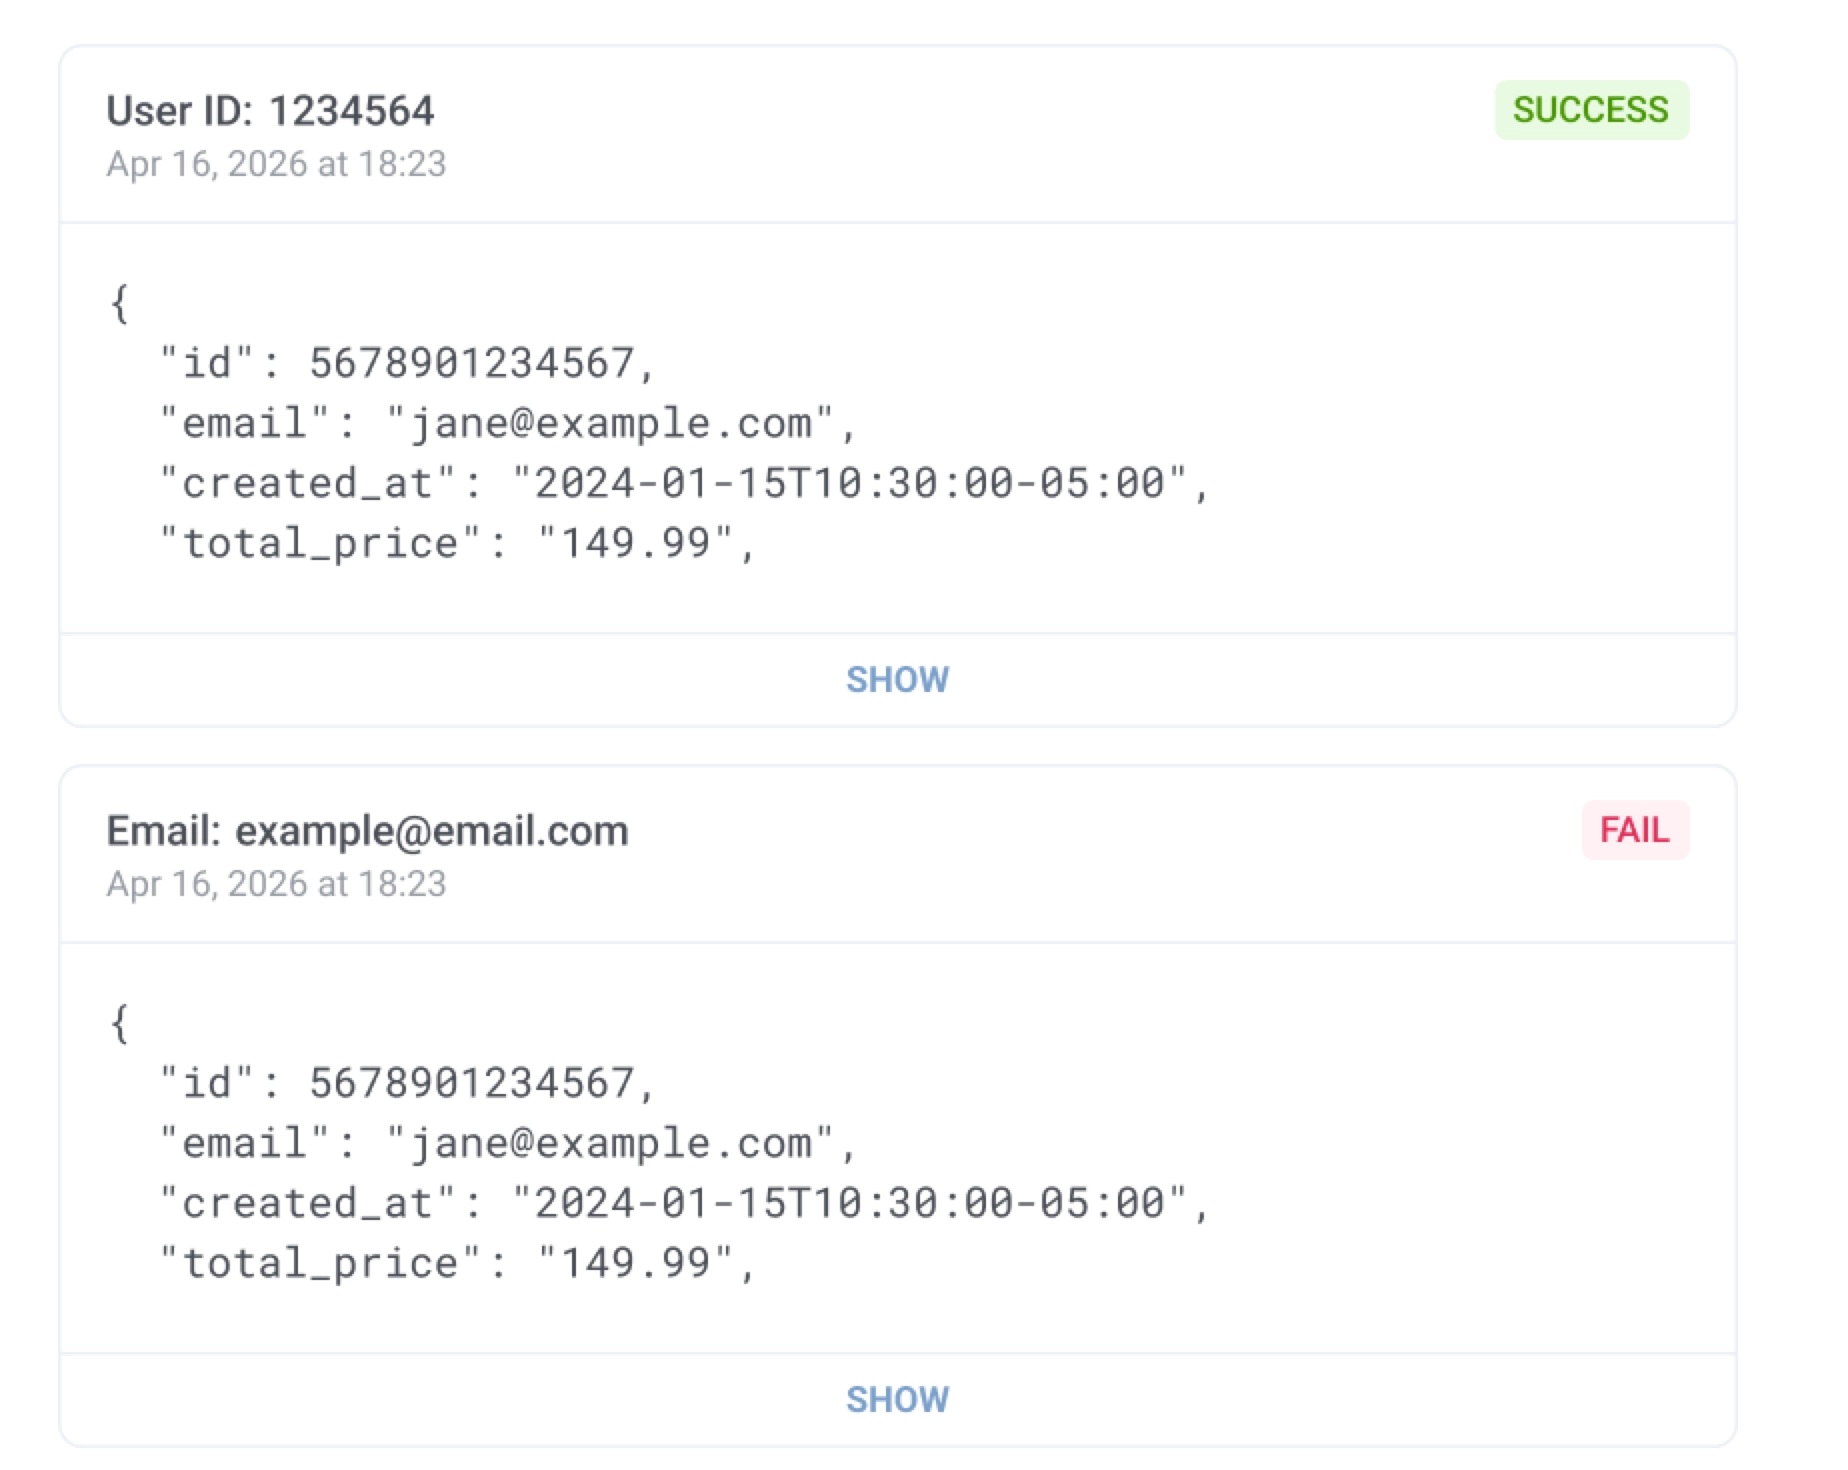
Anforderungseinträge
Jeder Eintrag zeigt den Benutzeridentifikator (z. B. User ID oder E-Mail), ein Erfolgreich- oder Fehlgeschlagen-Badge, den Zeitstempel der Anfrage und eine Vorschau der empfangenen JSON-Payload. Klicken Sie auf Anzeigen, um die vollständigen Anfragedetails zu erweitern.
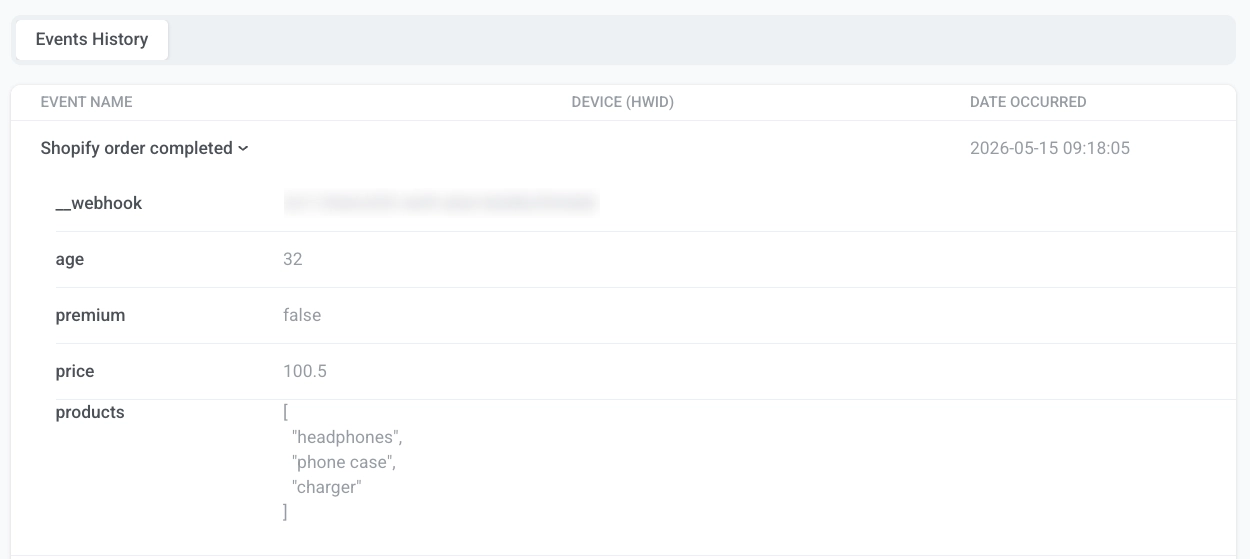
In Webhook ausgelöste Ereignisse im User Explorer anzeigen
Anchor link toWenn eine Webhook-Anfrage erfolgreich verarbeitet wird, zeichnet Pushwoosh das Ereignis im User Explorer auf. Wo es erscheint, hängt davon ab, wie Sie den Benutzer identifiziert haben:
- User ID, E-Mail oder Telefon: Das Ereignis wird im Benutzerprofil aufgezeichnet. Öffnen Sie den Benutzer und gehen Sie zu Ereignisverlauf.
- HWID: Das Ereignis wird auf dem passenden Gerät aufgezeichnet. Öffnen Sie den Benutzer, finden Sie das Gerät unter Aktive Benutzergeräte und gehen Sie zu dessen Ereignisverlauf-Tab.
Finden Sie das Ereignis nach Namen und erweitern Sie es, um die zugeordneten Attribute (z. B. price oder products) und das __webhook-Attribut mit der Webhook-ID zu sehen.
Eingehende Webhooks mit Journeys verwenden
Anchor link toNachdem ein Webhook aktiviert ist und erfolgreich Ereignisse auslöst, verwenden Sie das ausgewählte Ereignis als auslöserbasierten Journey-Eintritt. Wenn der Webhook eine gültige Anfrage empfängt, löst Pushwoosh das zugeordnete Ereignis aus. Jede Journey, die dieses Ereignis als Eintrittsauslöser verwendet, startet automatisch für den zugeordneten Benutzer.