Create and embed a subscription form
Ce contenu n'est pas encore disponible dans votre langue.
Pushwoosh gives you the flexibility to create subscription forms for different signup scenarios, customize the fields you collect, and display the form as a modal or inline widget on your website.
How to build a form
Anchor link toTo create a new subscription form:
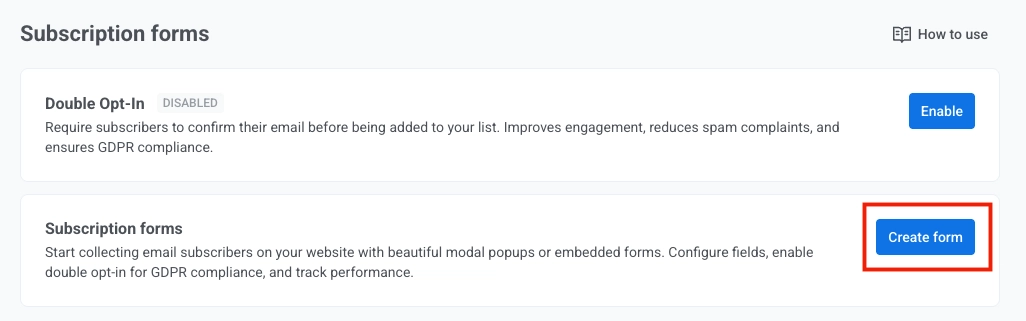
- Go to Audience → Subscription forms.
- Click Create form.
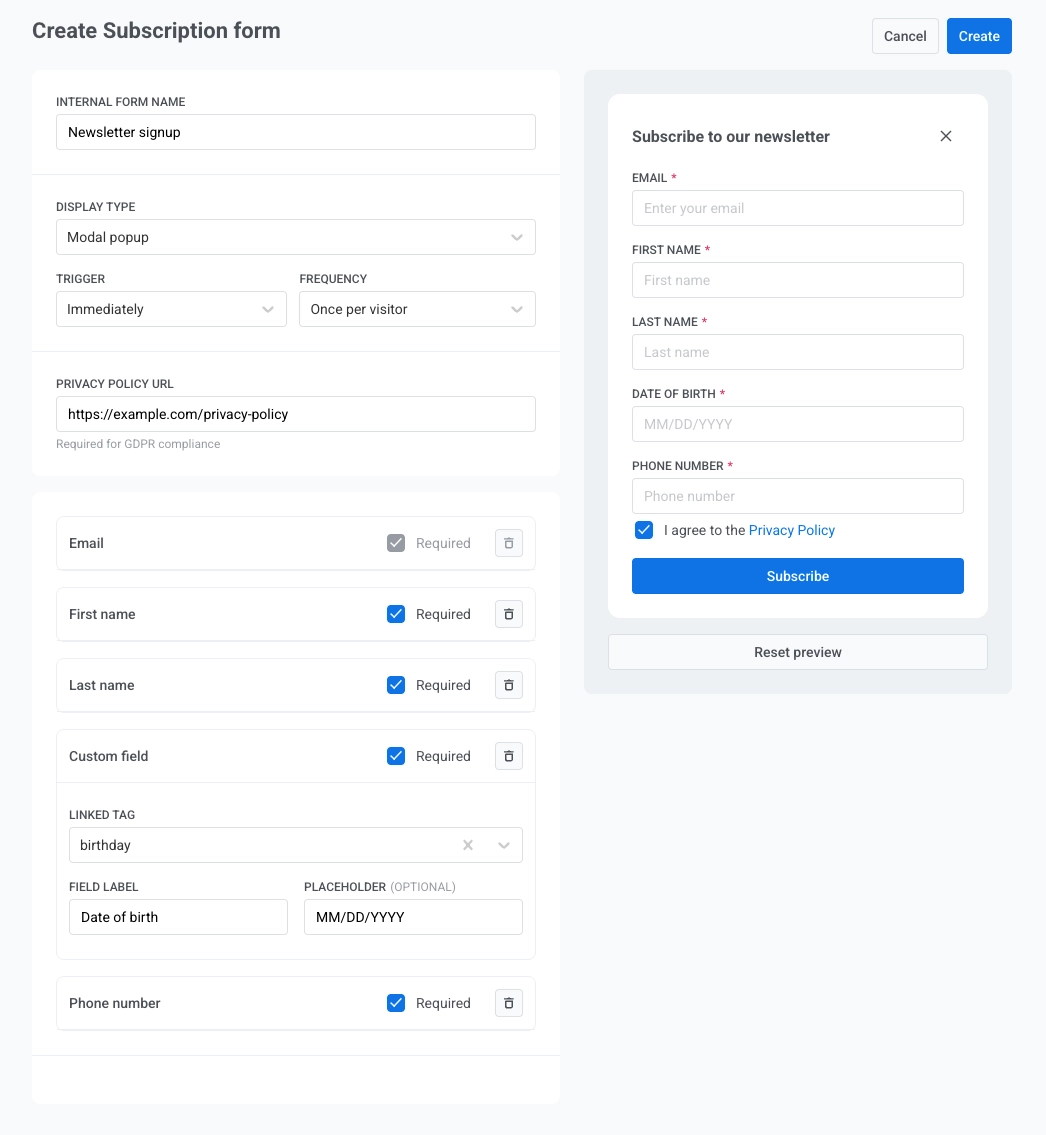
- Configure the form. A live preview appears on the right and updates as you change settings.
Configure general settings
Anchor link toConfigure the following fields.
All fields in this section are required.
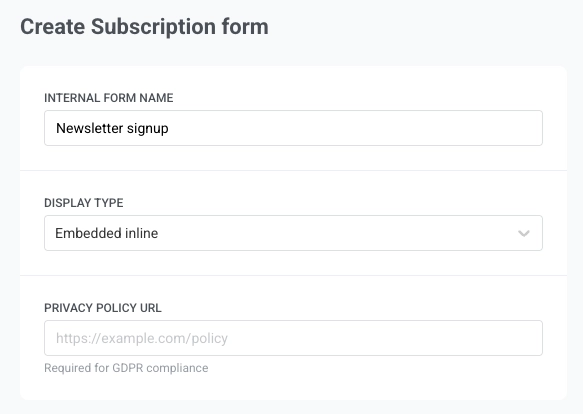
- Internal form name: used only inside Pushwoosh, not shown to subscribers. Example: “Newsletter signup”.
- Display type: choose how the form appears on your site:
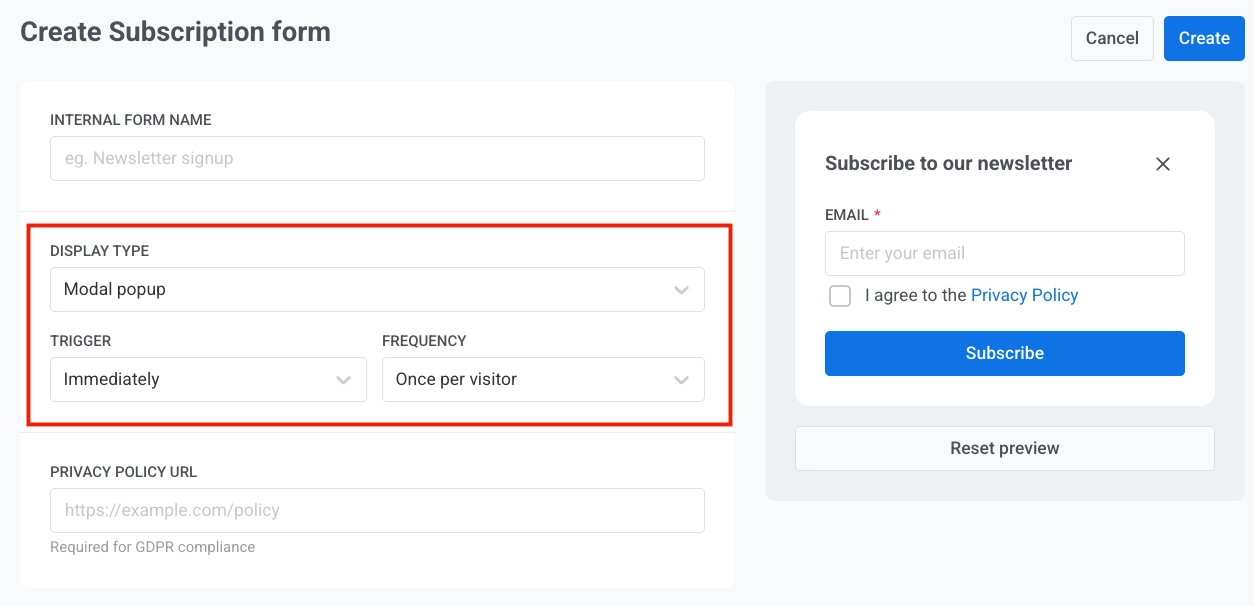
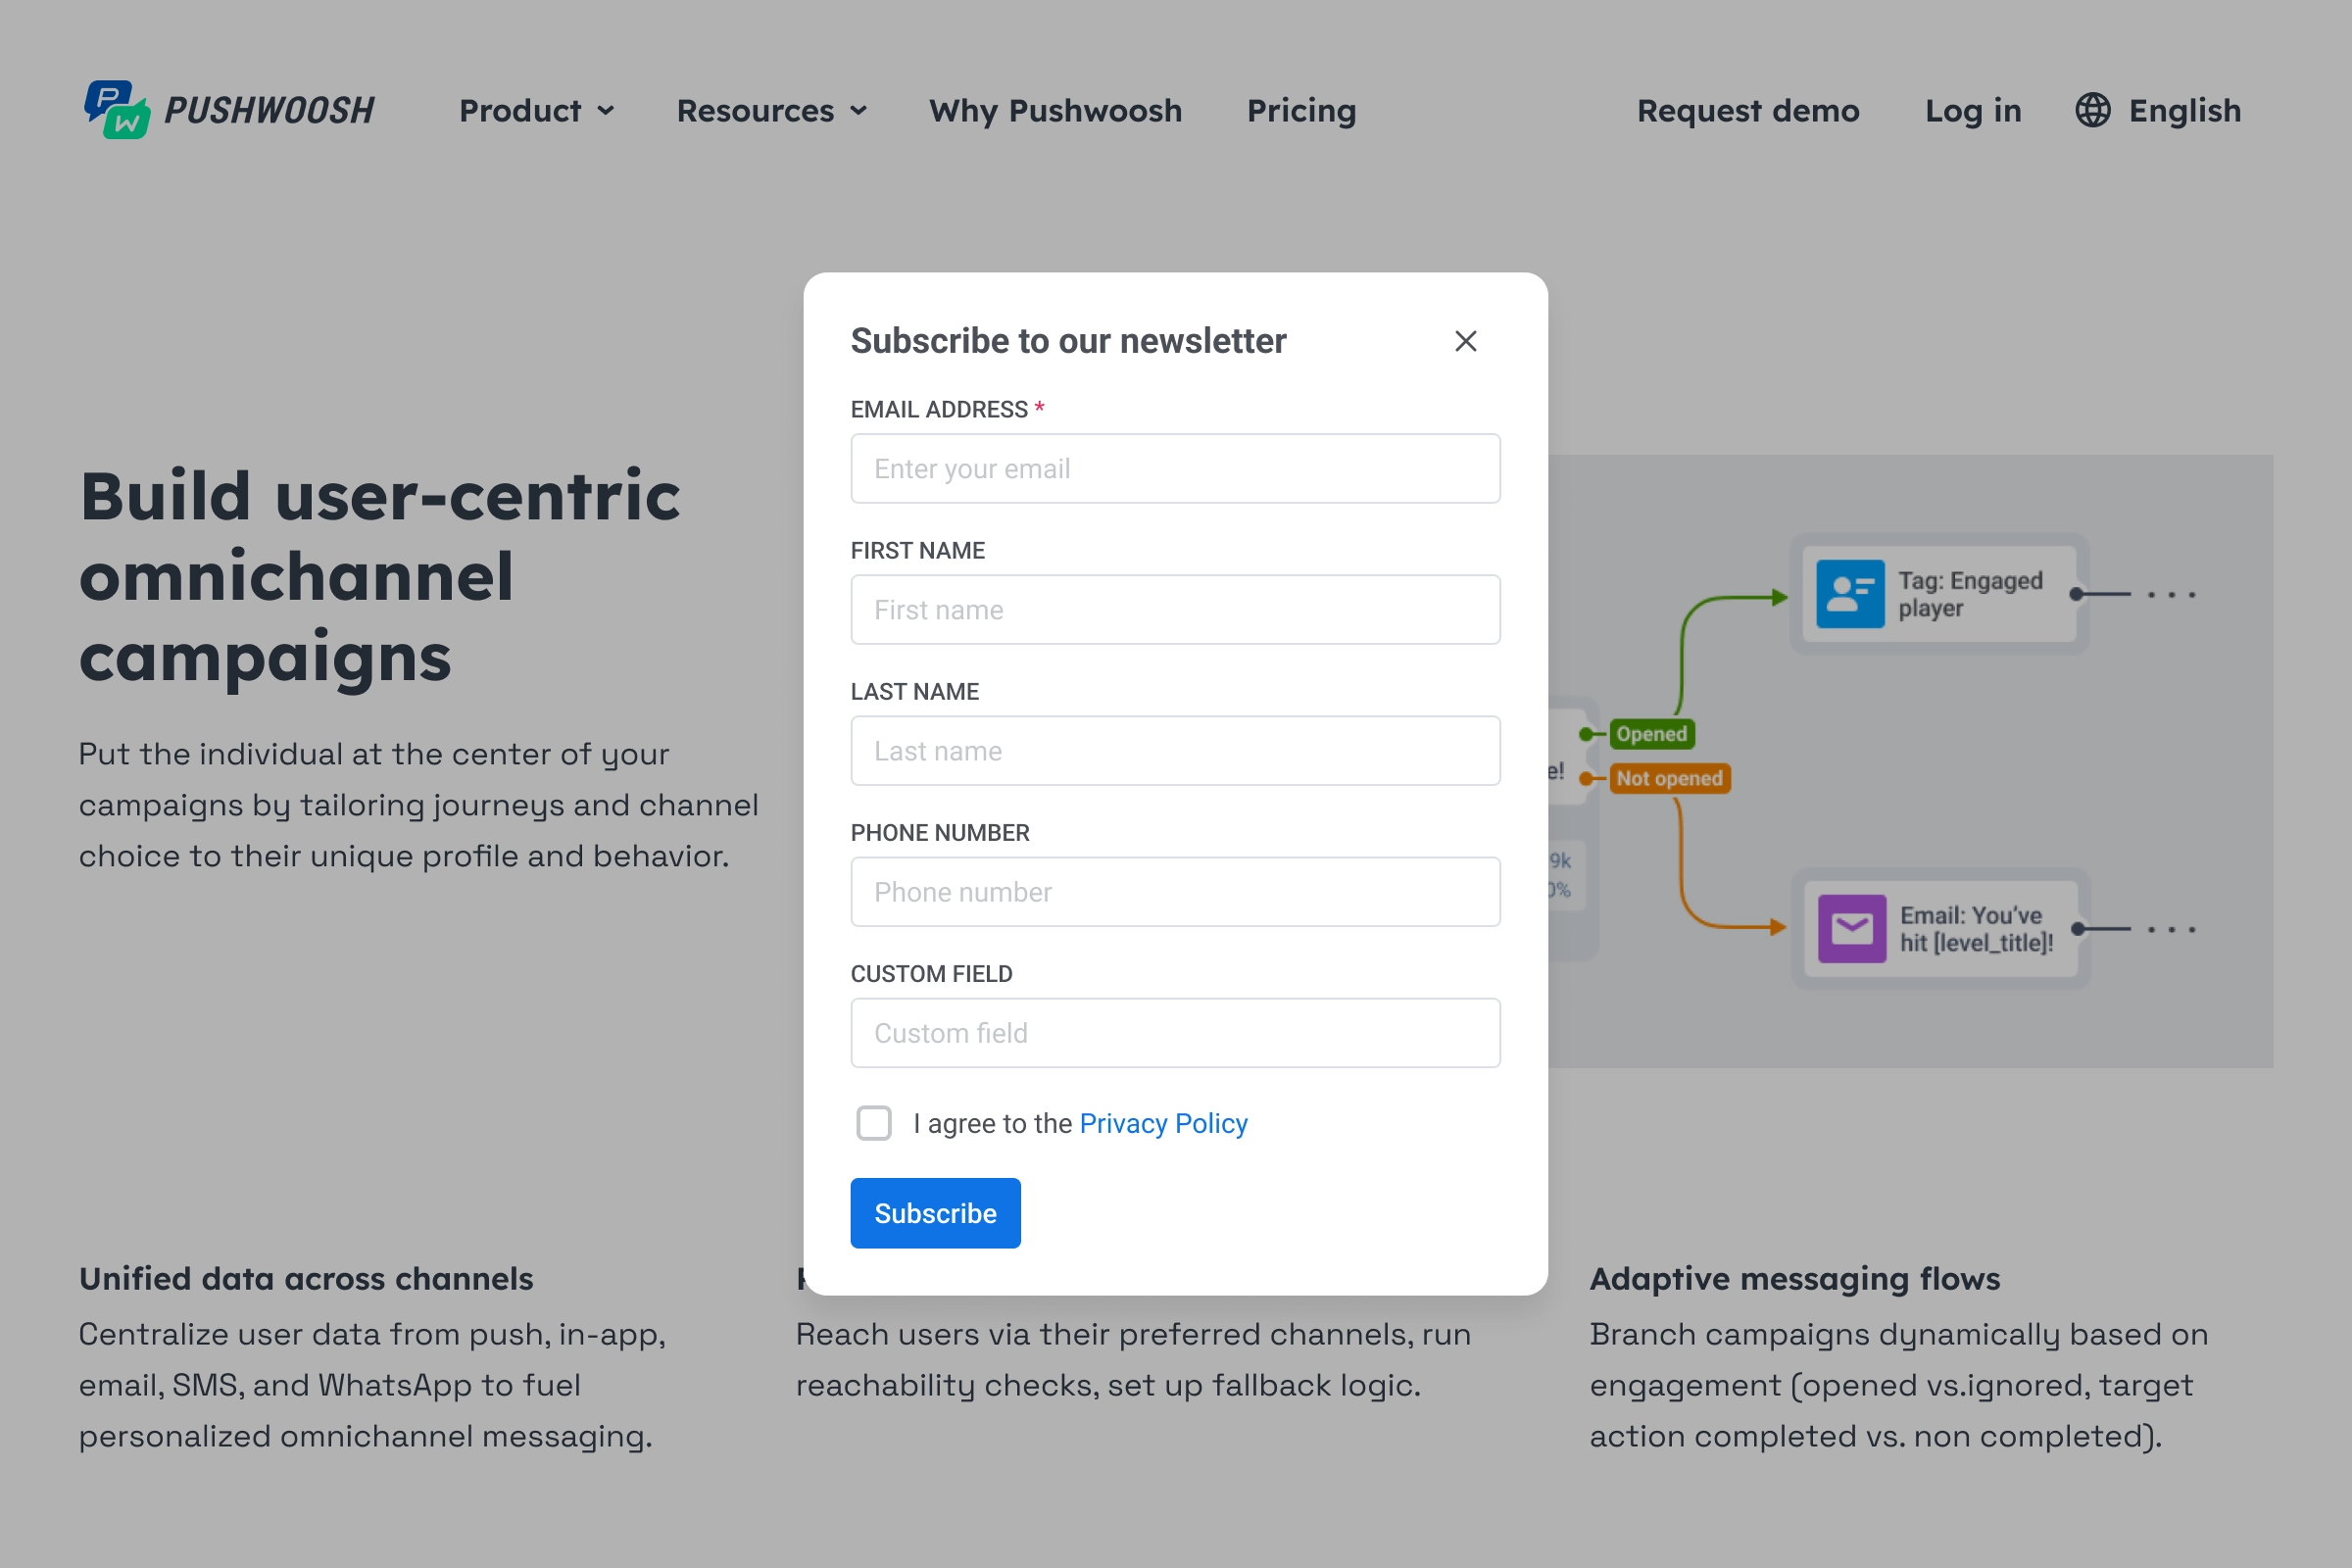
- Modal popup: a popup overlay that appears on top of the page when the Trigger you set fires, for example Immediately or after a few seconds (see Set modal popup timing). Good for newsletter signups or promotional offers that you want visitors to notice.
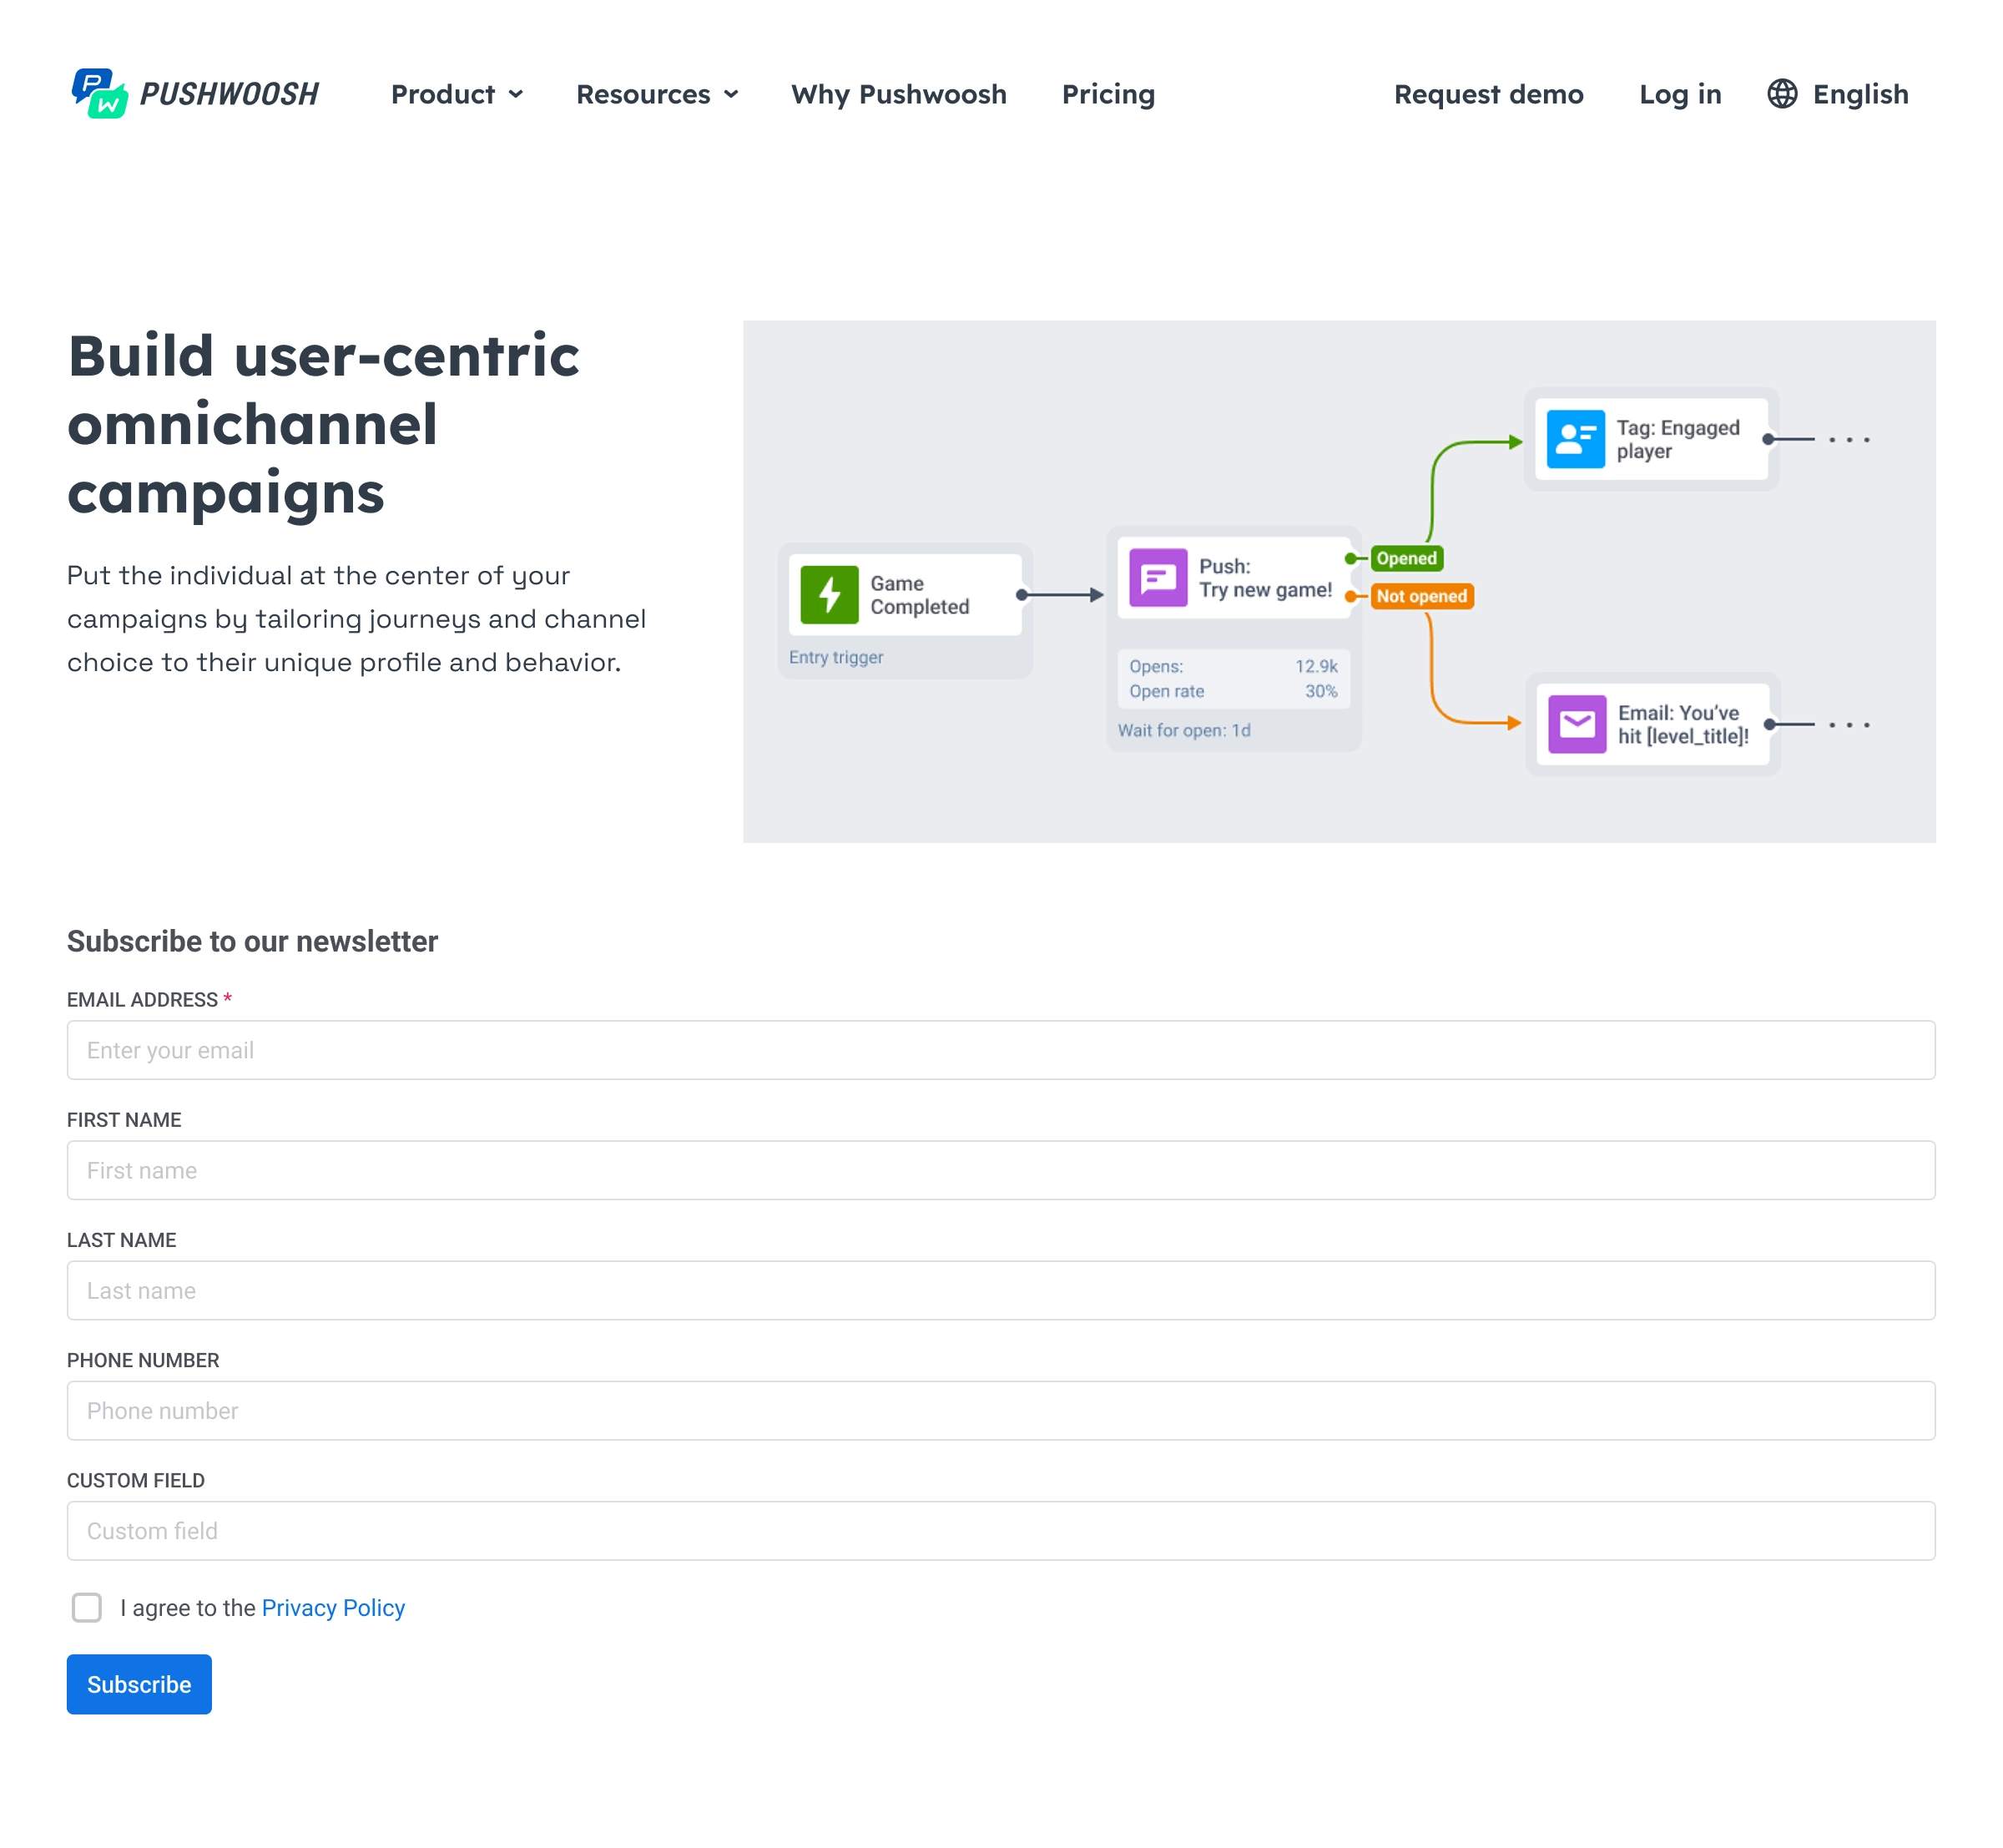
- Embedded inline: the form sits inside your page content (e.g. in a sidebar or at the bottom of an article). Visitors see it as part of the page layout, not as a separate popup.
- Privacy policy URL: the form shows a consent checkbox (“I agree to the Privacy Policy”) that links to this URL. Example:
https://example.com/policy.
Set modal popup timing
Anchor link toFor Modal popup only:
- Define when the popup appears on the page. In the Trigger dropdown select:
- Immediately (default)
- After 3 seconds
- After 5 seconds
- After 10 seconds
- In the Frequency dropdown select how often each visitor sees the popup:
- Once per visitor (default): once per device
- Once per session: once per browser session
- Always: every time they visit the page
Configure form fields
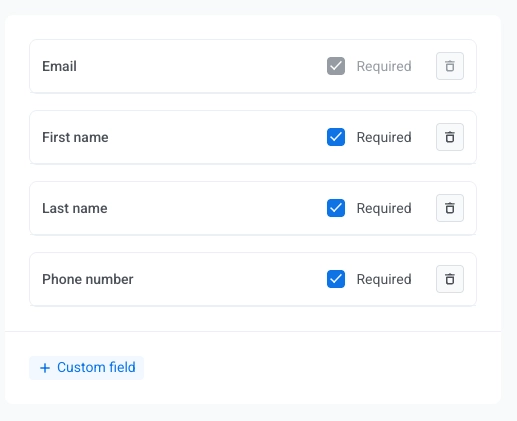
Anchor link toEach form includes an Email field by default (it cannot be removed). You can add up to four more fields, for a total of five.
Click + First name, + Last name, + Phone number, or + Custom field to add them.
For each field, check Required if the visitor must fill it in (required fields show an asterisk *). Use the trash icon to remove a field.
Create a custom field
Anchor link to- Click + Custom field in the field list.
- Under Linked tag, choose the Pushwoosh tag that will store the value submitted from this field (for example
birthday). You need to create the tag in advance. - Set Field label: the text visitors see next to the input (for example
Date of birth). - Optionally set Placeholder (optional): hint text inside the empty field (for example
MM/DD/YYYY). - Turn Required on or off.

Preview and save the form
Anchor link toA live preview appears on the right side of the Create Subscription form interface and updates as you change settings. Use Reset preview below the preview to restore the default preview state.
When you finish configuring the form, click Create in the top right corner.
Copy the embed code and add it to your site
Anchor link toA dialog opens with the embed code for your form. Click Copy code to copy the snippet to the clipboard.
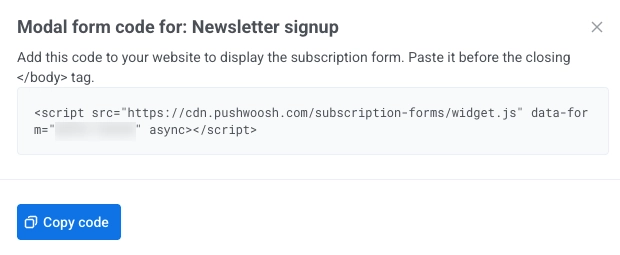
Where to paste the embed code on your website
Anchor link toAdd the script to the page HTML where it should run.
-
For Modal popup, placing the script before the closing
</body>tag is the usual approach. -
For Embedded inline, put the snippet in the exact place in your markup where you want the form block to appear.
How different display types look on your website
Anchor link toThese examples show how each form type can appear on a live page. Field labels and required markers match what you configure in the form builder.
Next steps
Anchor link to- Enable double opt-in to require email confirmation before subscribers are added
- Customize the subscription form widget to match the form to your website
- Review form performance and export subscribers to track results and download subscriber data