Message Google Wallet pass holders
Once a user saves your Google Wallet pass, Pushwoosh registers it as a Google Wallet platform subscription tied to that User ID.
You can then reach them in several ways: update the pass with a notification, send a one-time push, automate messages from a Customer Journey, use Google’s built-in geofencing, or notify holders of a specific pass via API.
Send a pass update with a notification
Anchor link toEditing a pass and saving syncs the new version to every device that saved it. For loyalty, event ticket, and flight passes, you can also enable a notification so holders are alerted about the change.
- In Campaigns → Wallet Passes → Google Wallet, find the pass and click Edit in the actions menu.
- Change the fields you need.
- Make sure Notify about changed fields is enabled.
- Click Save changes.
Google syncs the update to every device that saved the pass. If Notify about changed fields is on, Google also sends holders an Android notification.
Send a one-time push to pass holders
Anchor link toSend a standalone push to one pass holder or to a wider audience.
-
Open the one-time push composer. Either click Send message in Campaigns → Wallet Passes → Google Wallet, or go to Campaigns → One-Time Messages and click Send message → One-time push.
-
On the Content step, write the message or select a preset.
-
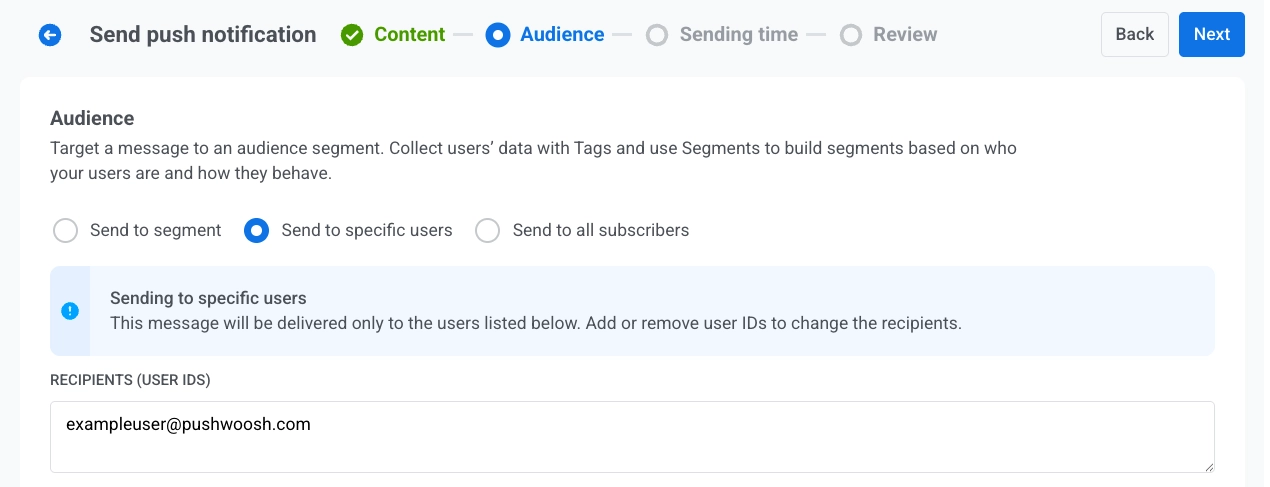
On the Audience step, set who receives the message. The default depends on where you opened the composer:
- From Send message on a pass: Send to specific users is selected, and Recipients (User IDs) already lists that pass holder’s User ID. Send as is to reach that one holder, or change the audience:
- Add more User IDs in Recipients (User IDs)
- Switch to Send to segment
- Choose Send to all subscribers
- From One-Time Messages: Set the audience as in a regular one-time push: Send to specific users, Send to segment, or Send to all subscribers.
- From Send message on a pass: Send to specific users is selected, and Recipients (User IDs) already lists that pass holder’s User ID. Send as is to reach that one holder, or change the audience:
- Under Target platforms, select Google Wallet.
- Send or schedule the message.
Automate messages from a Customer Journey
Anchor link toSend messages automatically based on events or segments.
Trigger-based entry journey
Anchor link to- Create a Customer Journey and add a Trigger-based entry.
- Select the event that should start the Journey. Create a custom event in the Control Panel first if you haven’t already, for example
RewardAvailable. - Add and configure a push element. Enable Send by User ID so the push reaches every device tied to the user, including the saved pass.
- Finish configuring and activate the Journey.
When the entry event fires, Pushwoosh sends the push to every device tied to the user. Pass holders receive it as a notification on the pass. Users without a Google Wallet pass receive it on their other devices.
Example: Notify a user that a reward is available
POST https://api.pushwoosh.com/json/1.3/postEvent
{ "request": { "application": "XXXXX-XXXXX", "userId": "u12345", "event": "RewardAvailable", "attributes": { "reward": "Free coffee", "expires": "2026-07-01" } }}The event name must match an event created in your Control Panel.
Other ways to build the journey
Anchor link toThe trigger-based flow above is one option. Depending on what should start the journey, choose a different entry element:
- Audience-based entry: start the journey for a whole segment instead of a single event. Run it once, on a schedule, or periodically (for example, every week to everyone holding an active pass), with new users entering as they join the segment.
- API-based entry: start the journey from a business event that happens outside the app, such as a flight delay or gate change. Your external system calls the entry element’s request template and passes a filter to target the right users, for example everyone who has a tag
flightNumber = SU1234set when the pass was issued. A good fit for boarding passes and event tickets.
Notify holders of a specific pass via API
Anchor link toTo send a custom notification to everyone who saved one specific pass, call Update a pass with notifyMessage set.