How to send a personalized in-app message
In Pushwoosh, you can send highly personalized in-app messages.
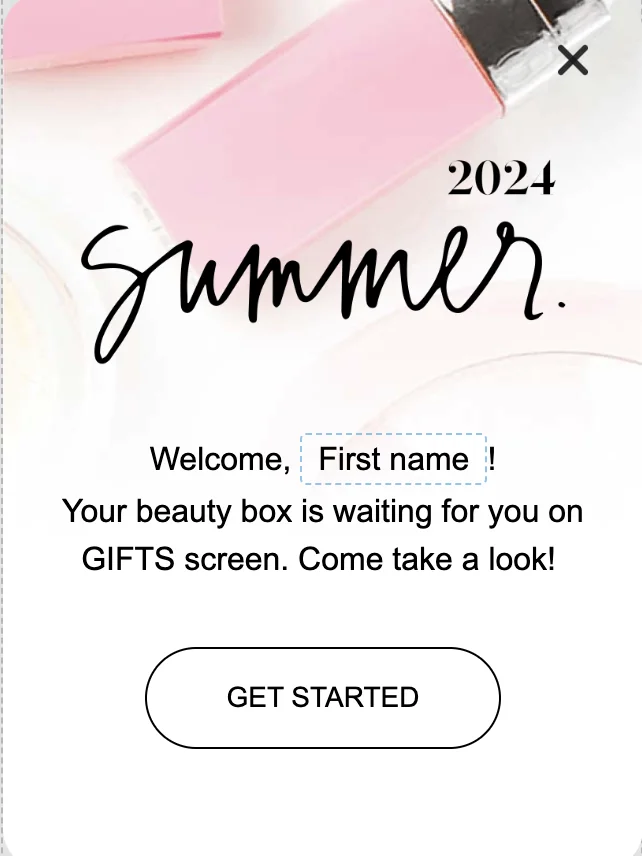
To create a personalized in-app message, use personalization tags for user attributes, known as Dynamic Content. For example, the tag ‘first name’ will place a user attribute [Laura] into your in-app message:

All the personalization tags available for your in-app messages are created and stored in the Audience > Tags section. Follow the guide to create new personalization tags.
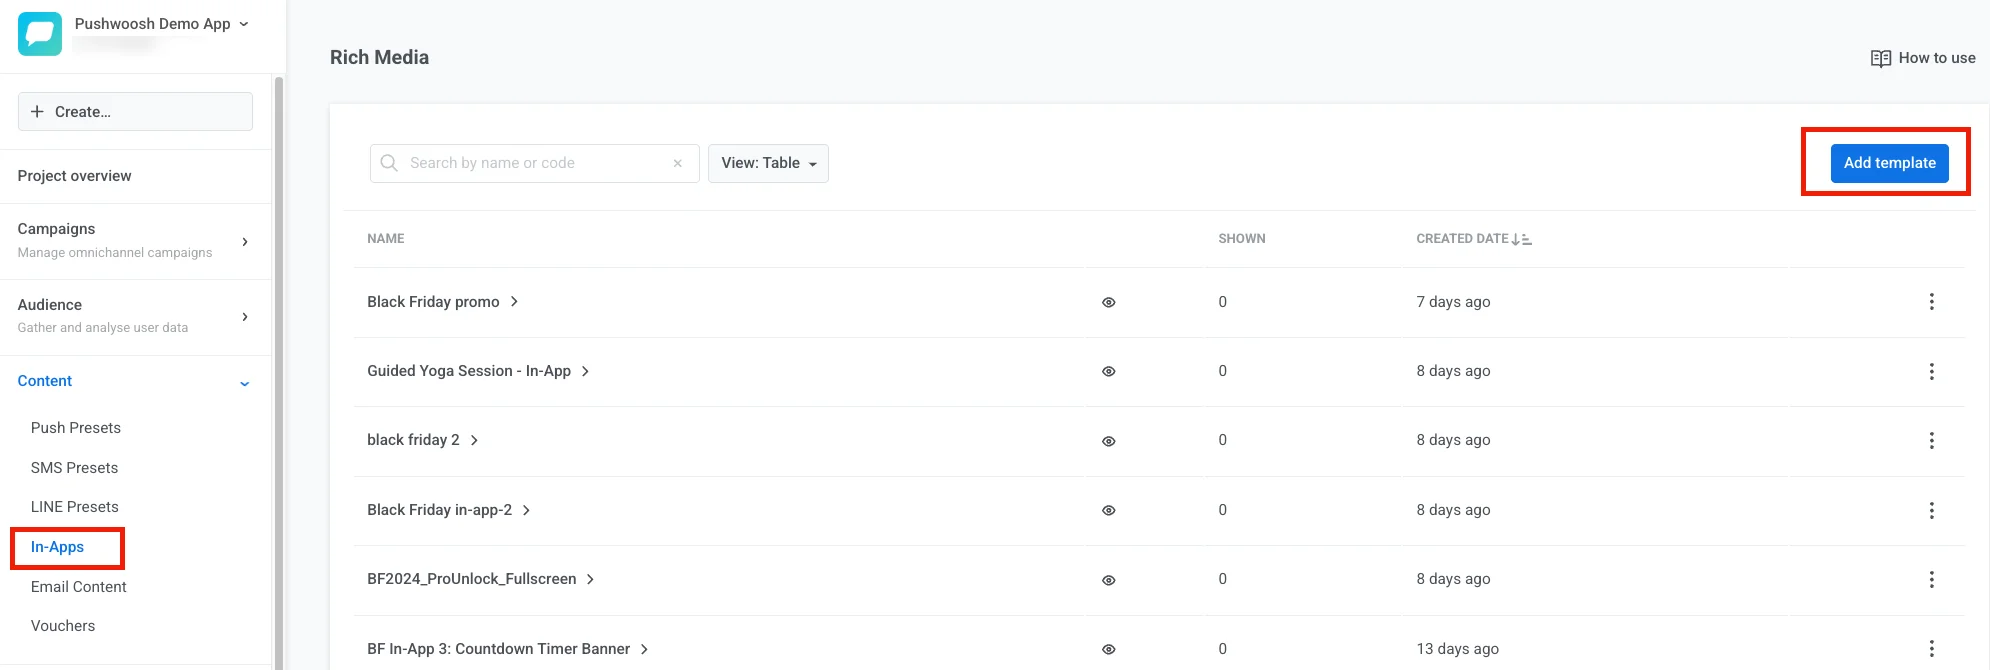
In your Pushwoosh account, open Content > In-Apps > Add template.

You can add a personalization tag when creating an in-app banner in the no-code editor or customizing our pre-built in-app templates.
Note: You can also import your pre-designed in-apps via ZIP import. In this case, you can use Liquid syntax in the HTML layout.
In-app personalization example
Anchor link toLet’s add personalization to an in-app message by customizing one of our in-app templates.
Choose any pre-built in-app template from the library. You can add new blocks to the in-app or edit its copy, images, and buttons.
To add a personalization tag, click on the place in the block where you want personalization. In the pop-up menu, click Merge Tags and choose a tag to be personalized. You can personalize the in-app copy and button text.
Click Save to apply changes.