How to send a personalized email
In Pushwoosh, you can personalize the email subject and email body accordingly. Use personalization tags for user attributes, known as Dynamic Content, to personalize your email.
You can use personalization tags when creating emails in the drag & drop email editor and customizing one of the pre-built email templates.
All the personalization tags available for your emails are created and stored in the Audience > Tags section. Follow the guide to create new personalization tags.
How to personalize an email subject
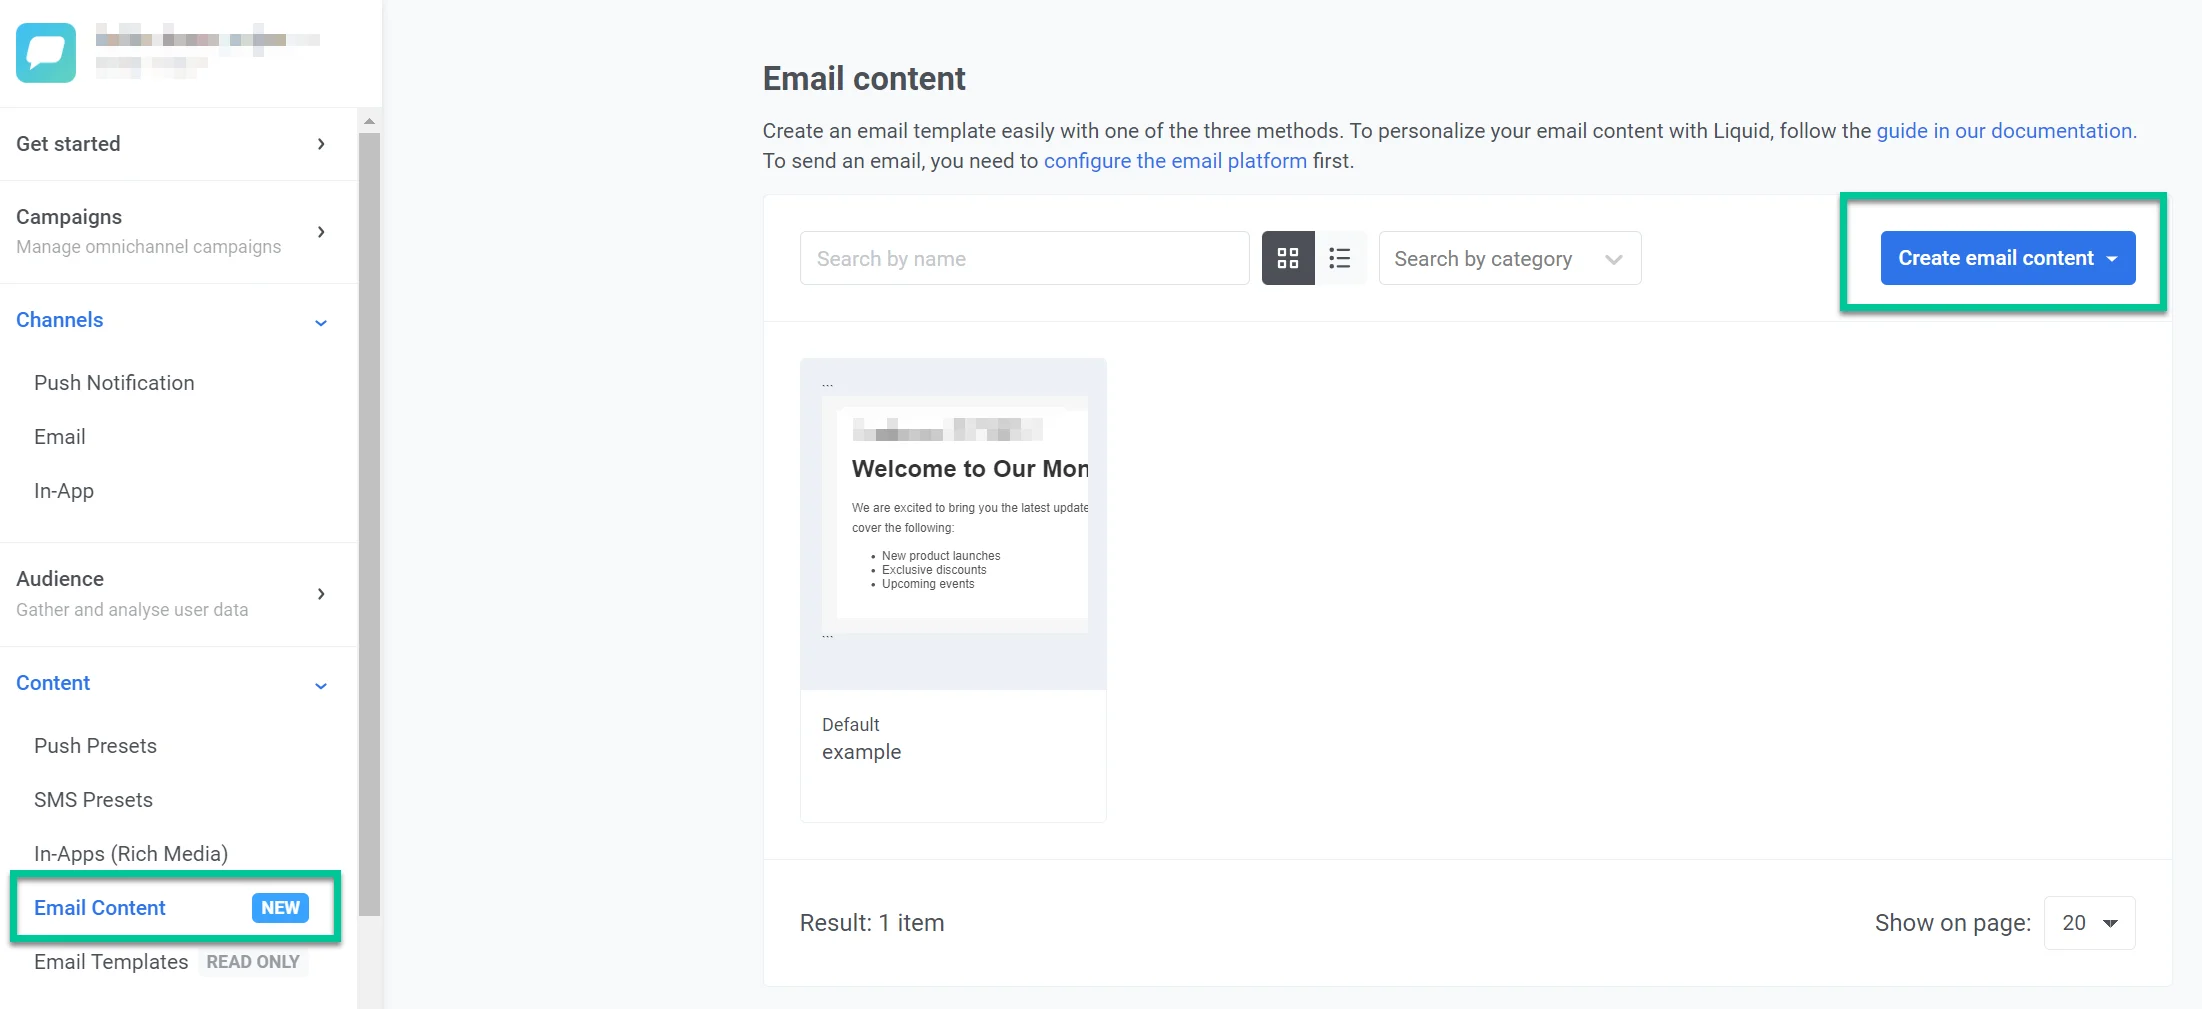
Anchor link toGo to Content > Email Content > Create email content to start personalizing your email.

Open an email you want to personalize. In our example, we are using one of the email templates.
Click on the subject field and then click the tag icon on the right. Choose the tag you want to use—for example, [first_name]. Click Insert to apply changes.
How to personalize an email body
Anchor link toIn the email template, click on the text where you want to add personalization. Click Merge Tags and choose the tag to personalize. Click Save to apply changes.