Set up your email in the editor
Before you begin creating email content, make sure that you set up your email. The steps for setting up the email are the same for both the Drag & drop and HTML code editors.
Define the languages you want to use in your email
Anchor link toBy default, your content is in one language (referred to as Default in the editor). However, if you want to customize the content for users who speak different languages, you can add additional languages from the provided list. For instance, if the majority of your database is in English, but you want to send Spanish to Spanish speakers and German to German speakers, you would set up your content language preferences as follows: default /es /de.
This means that users who have opted in to receive emails by default will receive content in English, while those with Spanish or German language settings will receive content in their respective languages.
To add more languages, click on the Plus sign.
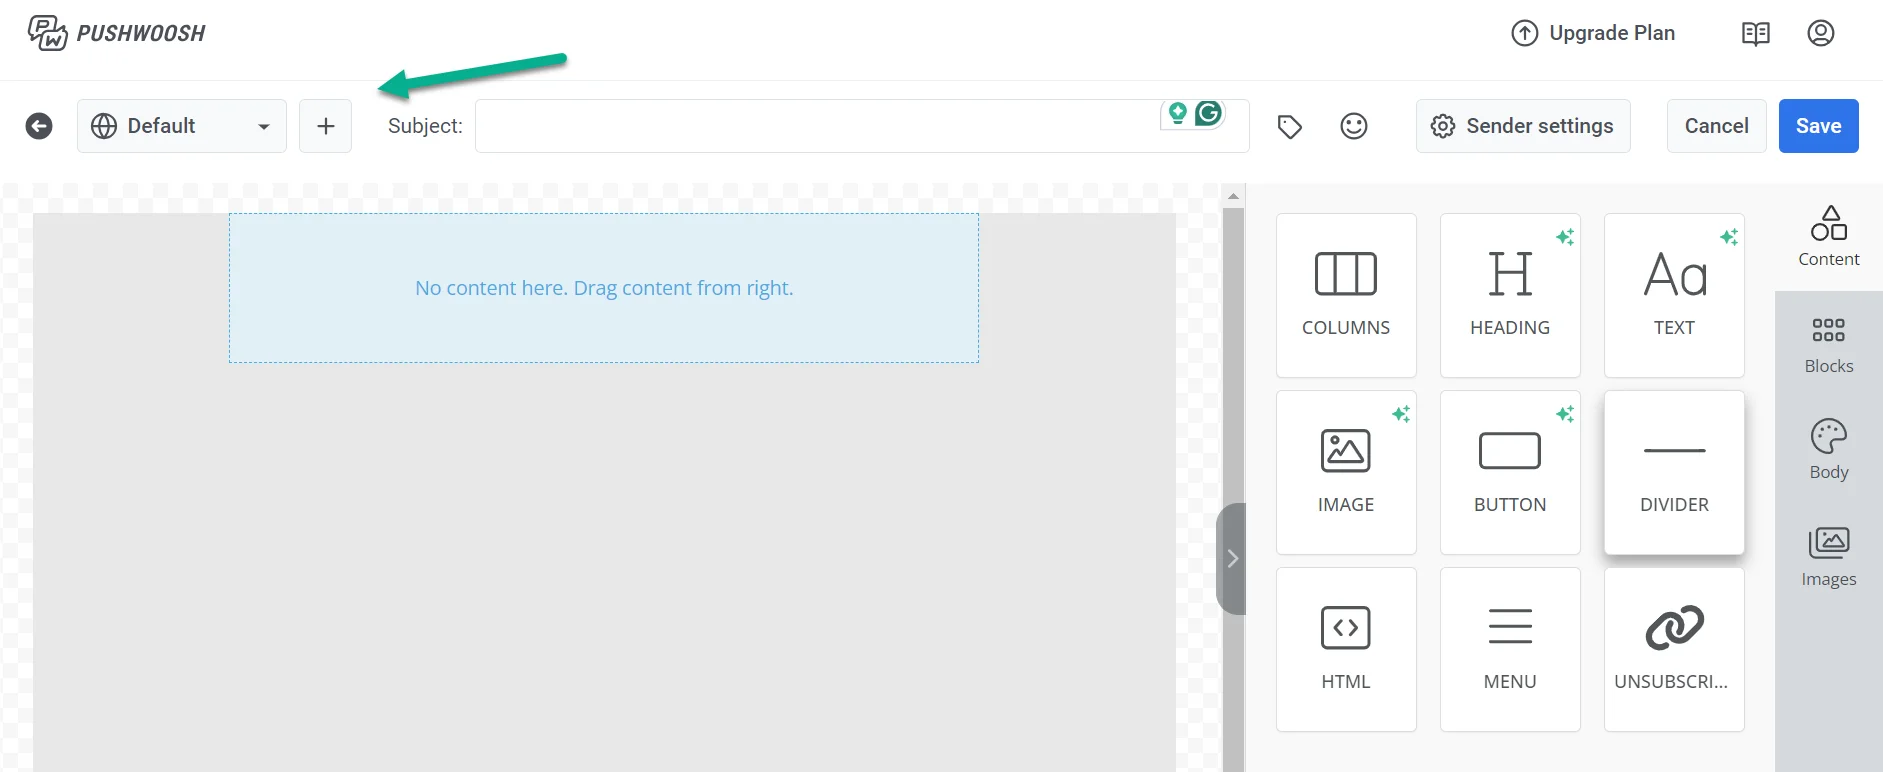
From the list of available languages, choose the languages you wish to use in your emails. Then click Apply.
Add a subject line
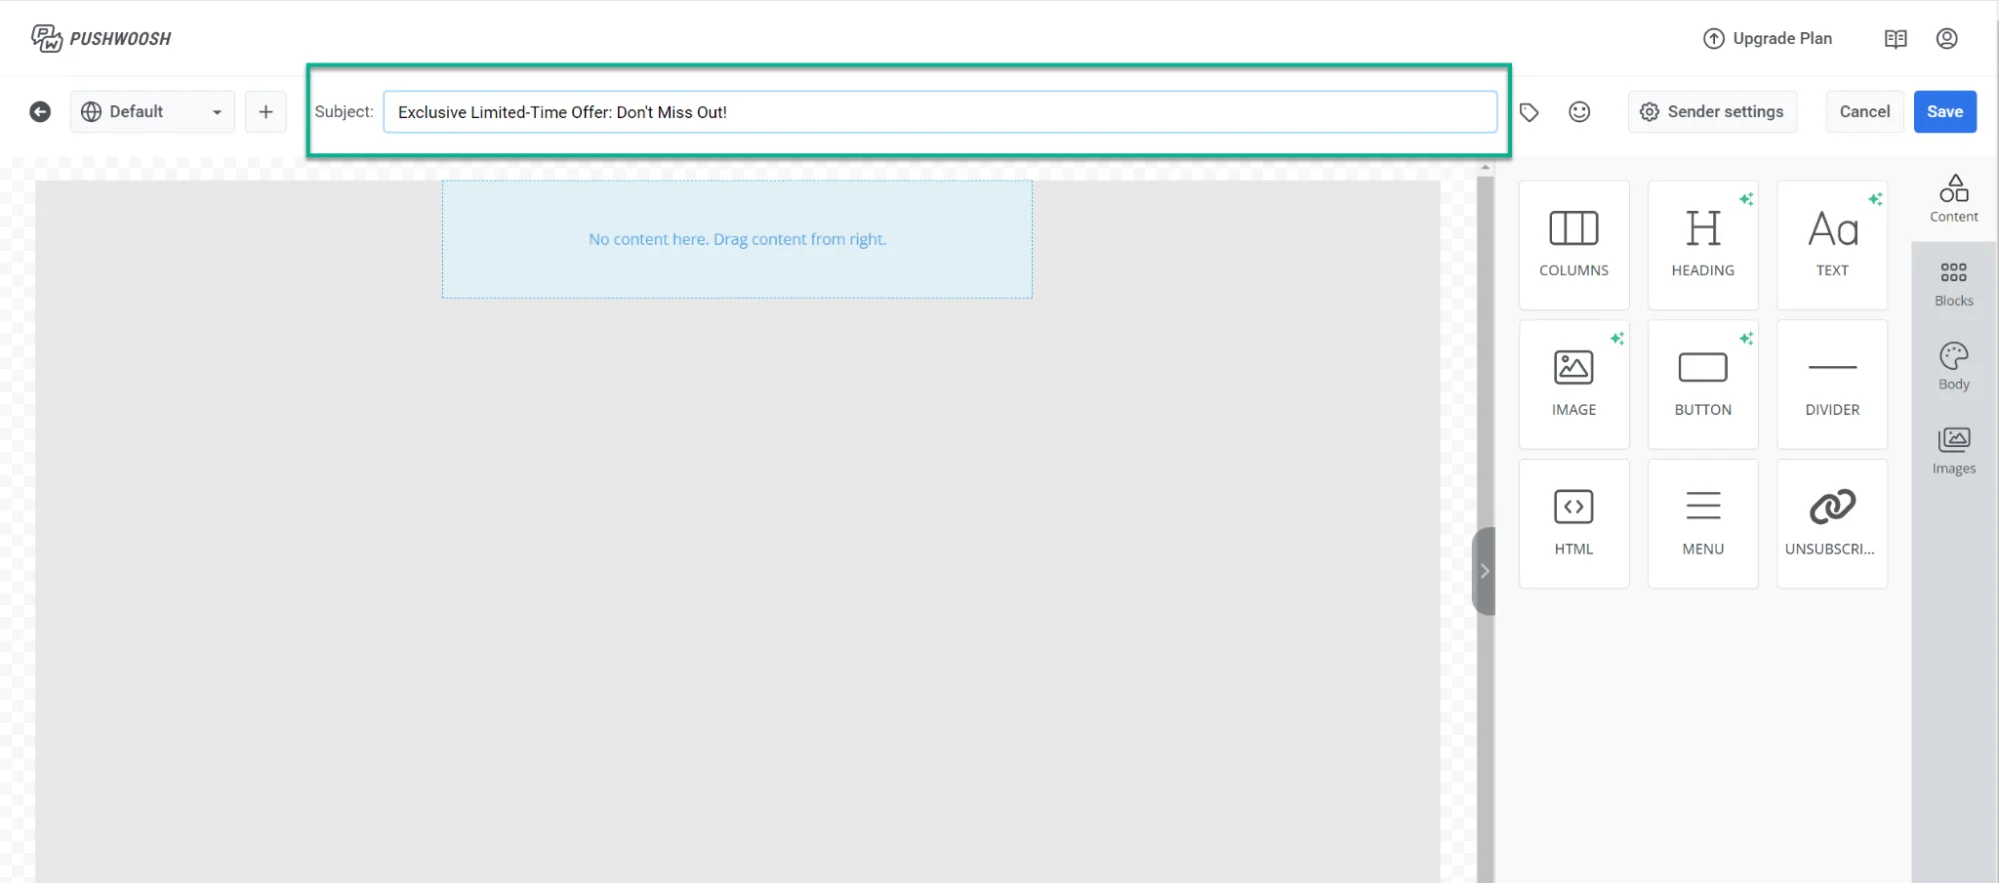
Anchor link toIn the Subject field, type the subject line for your email.
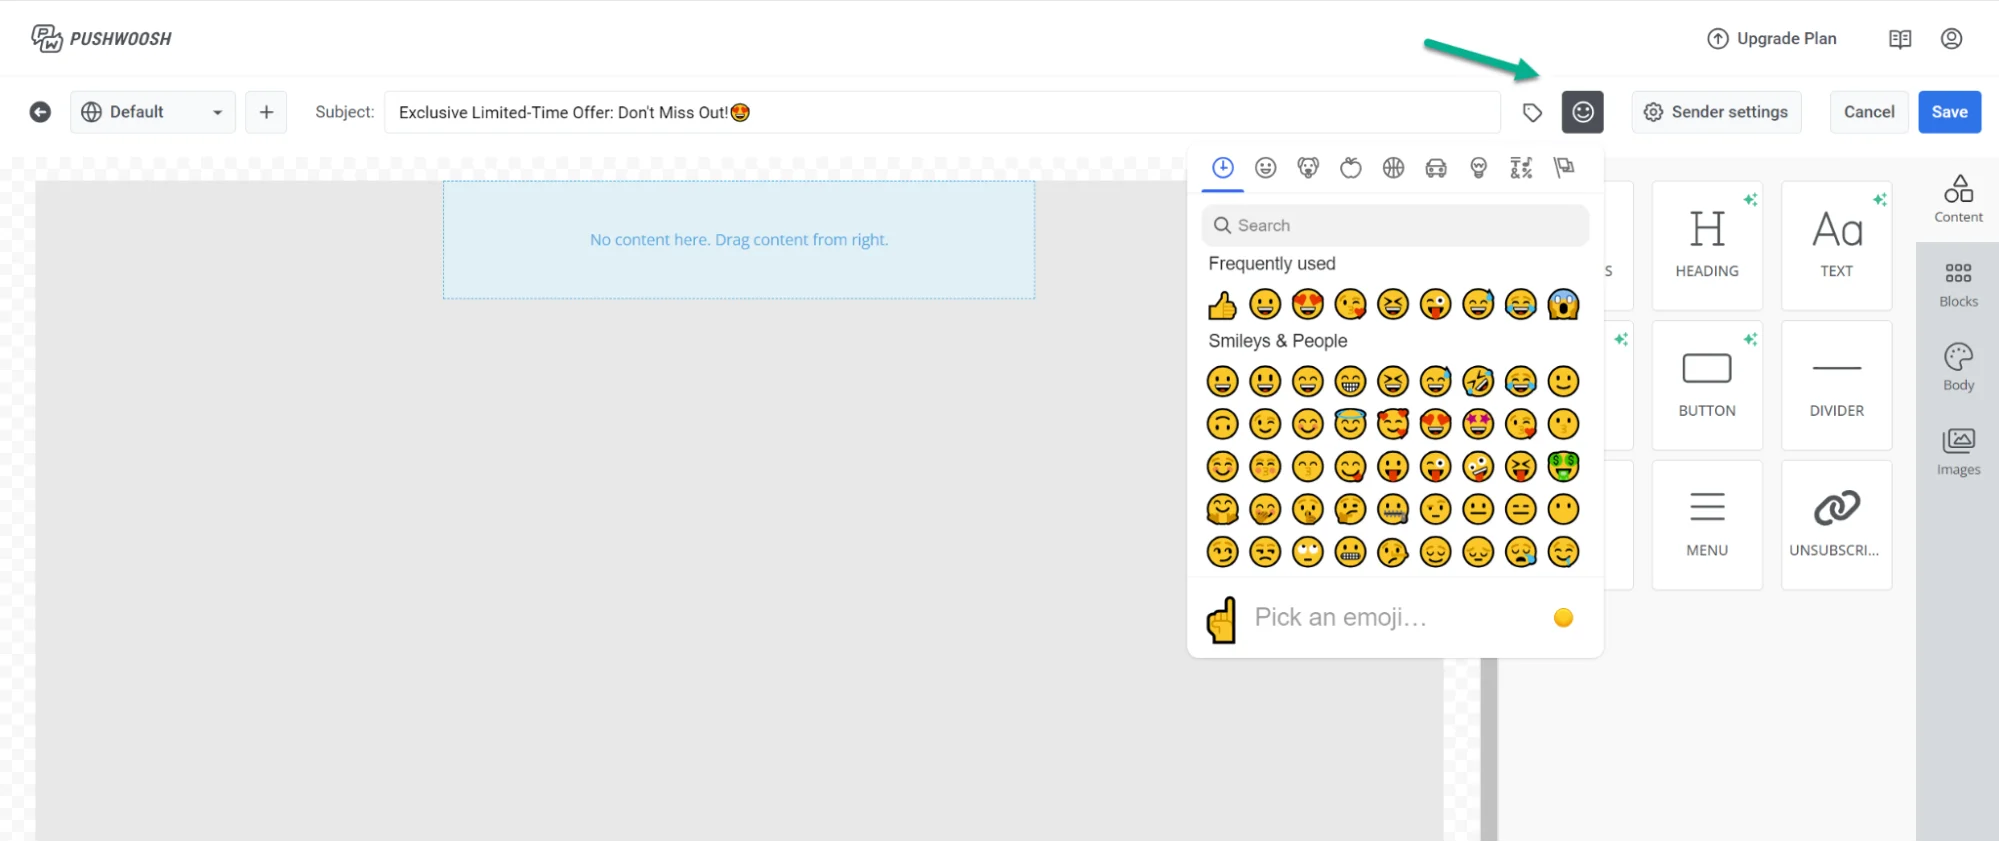
If you want to add an emoji to your subject line, click the Emoji icon next to the Subject field.
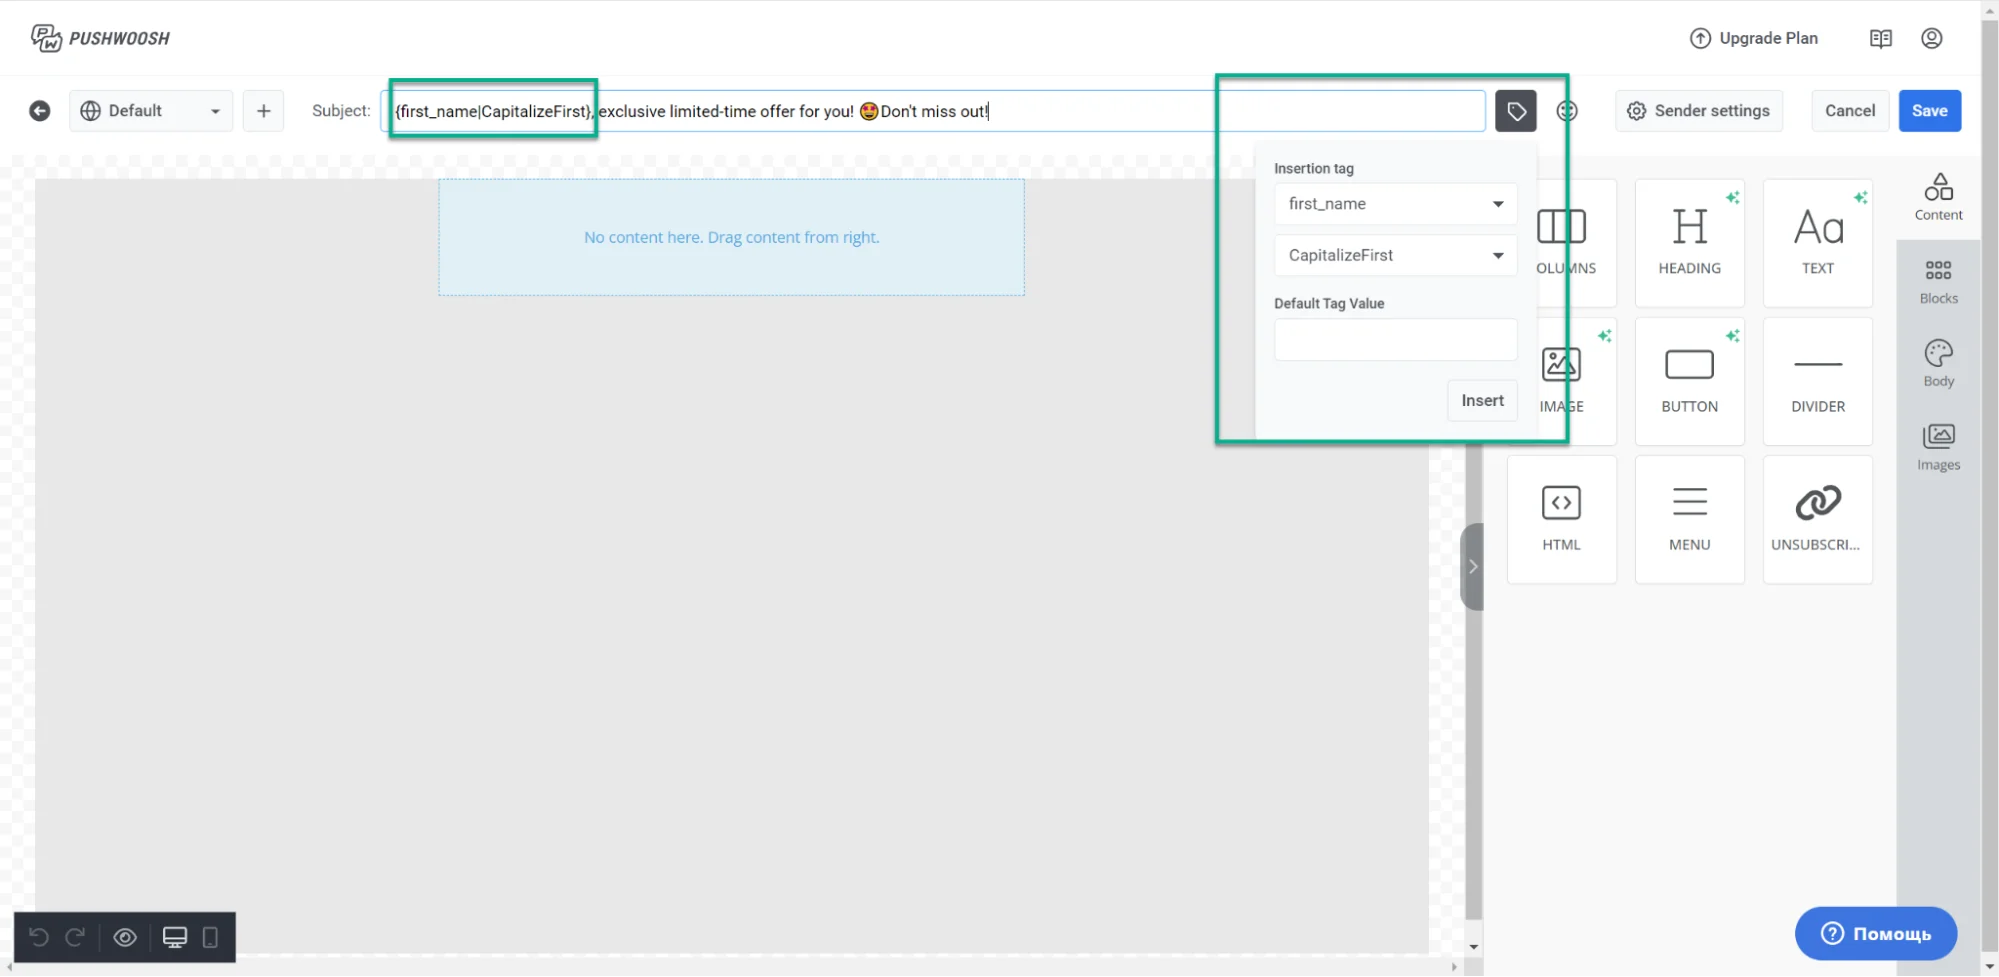
To personalize your subject line using user data, follow these steps:
- Click the Tag icon at the top of the editor.
- Select the tag and modifier you want to use.
- If necessary, set a default tag value.
- Click Insert
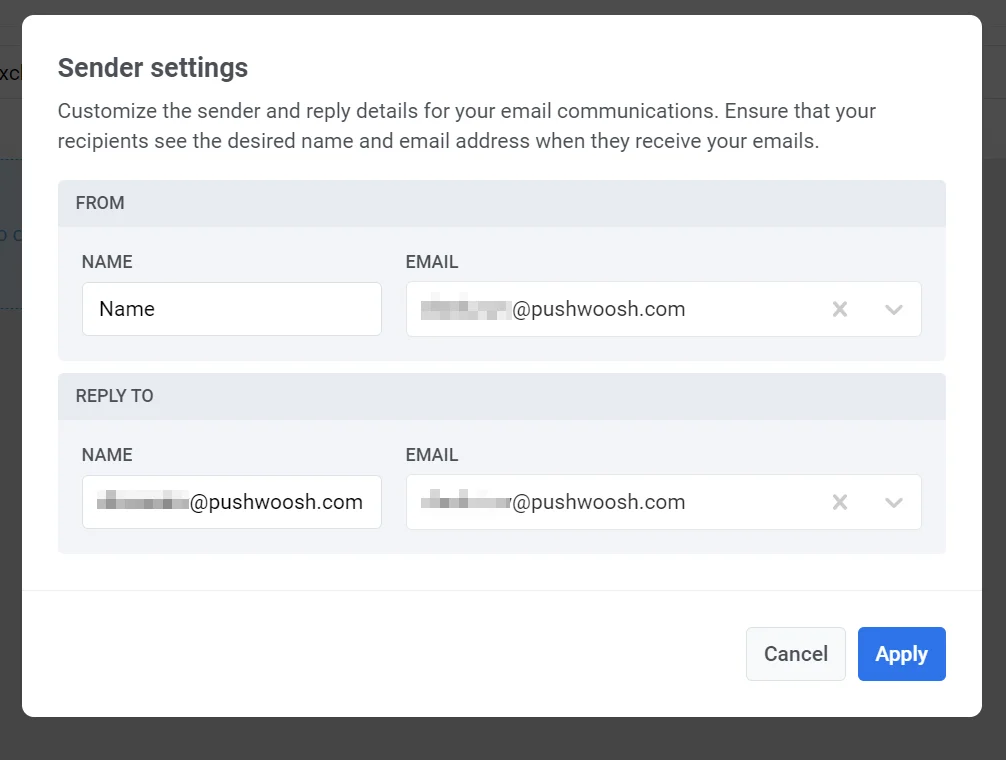
Configure the Sender settings
Anchor link toNext, configure your sender settings to customize the sender and reply information for your emails. This ensures that your recipients see the name and email address you prefer when they receive your emails.
Create email content
Anchor link toOnce you’ve configured your email settings, begin crafting your email content using the editor that best fits your needs:
- The Drag & drop email editor, perfect for marketers with no coding skills. Learn how to create content with the Drag & drop editor.
- The HTML code editor, offering the ability to generate emails using code and granting greater control over email customization. Learn how to create content with the HTML code editor.
Preview and save your email
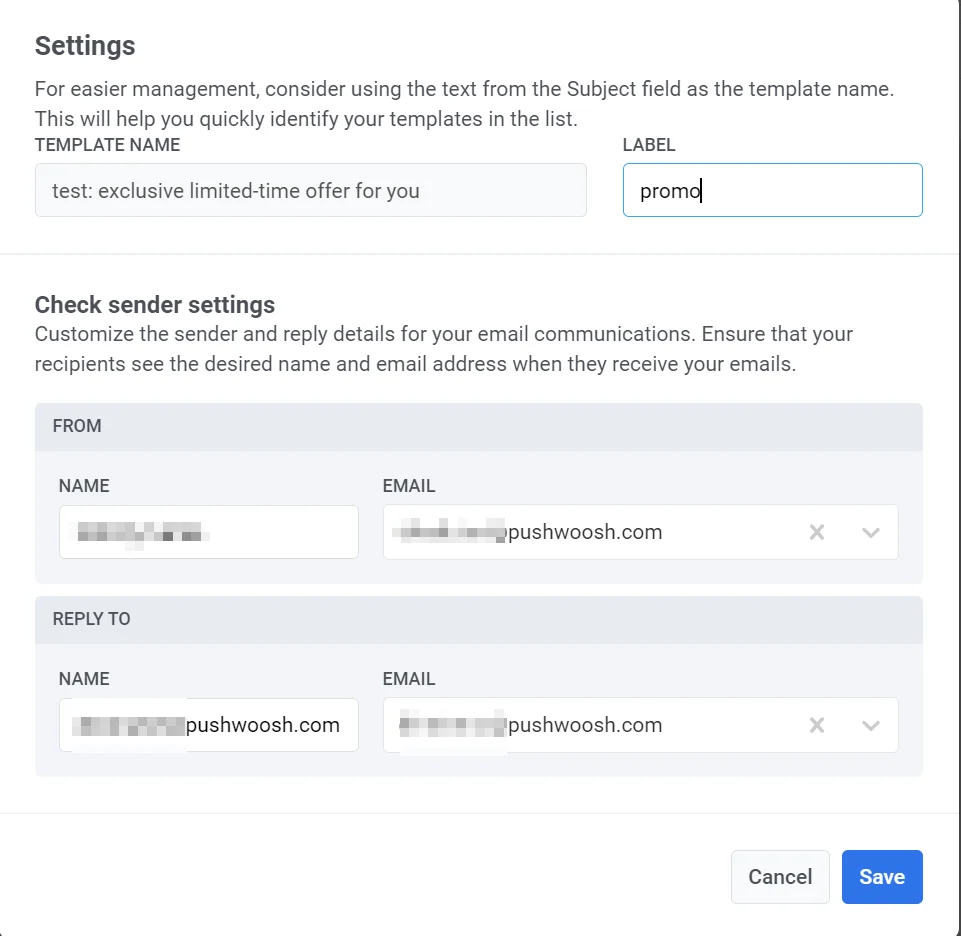
Anchor link toOnce you’ve created email content and configured the settings, make sure to preview and save your email.
Manage email content
Anchor link toAfter creating and saving your email, it will appear in your list of email content.
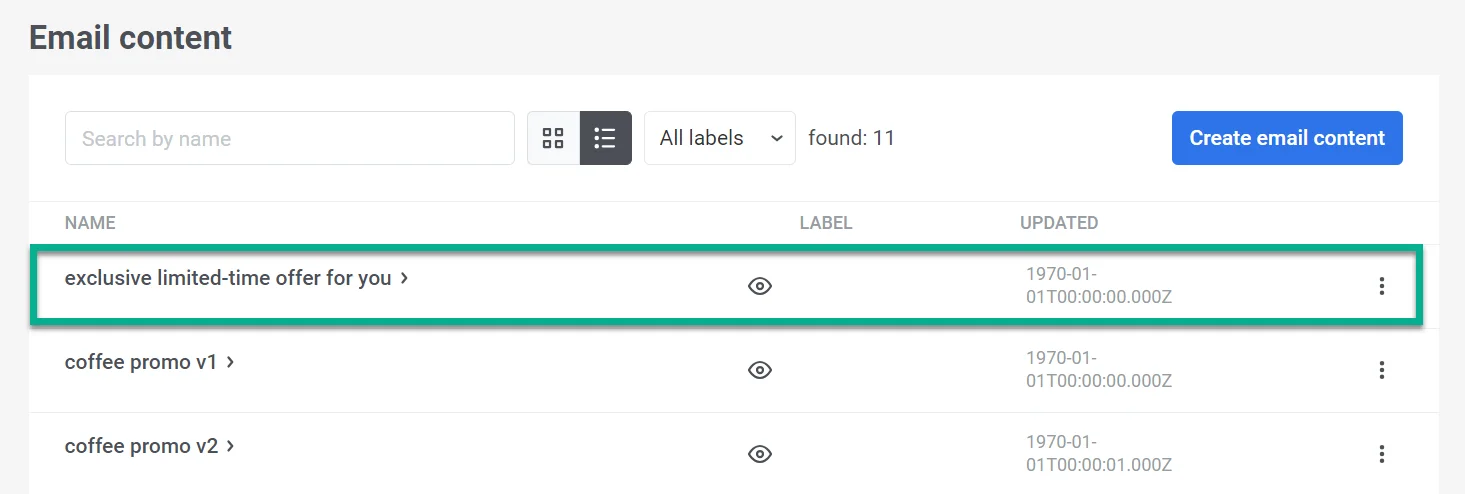
From there, you can effortlessly incorporate it into your customer journeys. This allows you to send automated, personalized messages and make any necessary edits. Learn more