So stellen Sie einen Wallet-Pass beim Betreten einer Geozone aus
Stellen Sie einen Apple- oder Google-Wallet-Pass aus, wenn ein Shopper die Geozone eines Geschäfts betritt, und senden Sie anschließend den Installationslink per Push. Diese Anleitung baut diese Journey mit dem Element Wallet-Pass ausgeben auf.
Wallet-Pass-Kampagne erstellen
Anchor link toDas Element Wallet-Pass ausgeben kann Passes nur aus einer bereits bestehenden Kampagne ausstellen, erstellen Sie also zuerst eine. Die Plattform einer Kampagne ist dauerhaft festgelegt – unterstützen Sie sowohl Apple Wallet als auch Google Wallet, wiederholen Sie diesen Abschnitt einmal pro Plattform.
- Gehen Sie zu Campaigns → Wallet Passes → Campaigns und klicken Sie auf Create campaign.
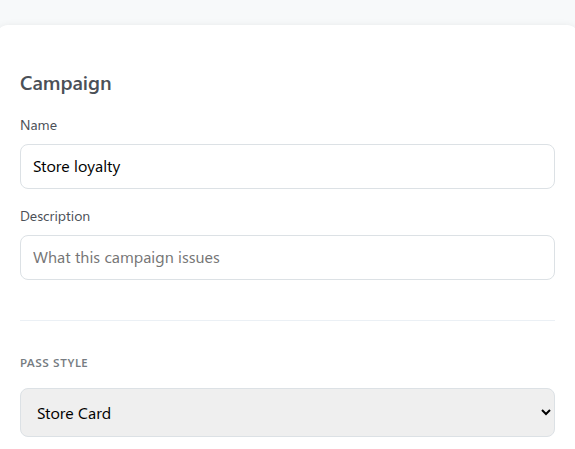
- Wählen Sie Apple Wallet oder Google Wallet als Platform, geben Sie einen Name zur eigenen Referenz ein, zum Beispiel
Store loyalty(das kennzeichnet die Kampagne nur in Pushwoosh, es erscheint nicht auf dem Pass), und wählen Sie einen Pass-Stil, zum Beispiel Store Card (Apple) oder Loyalty card (Google).
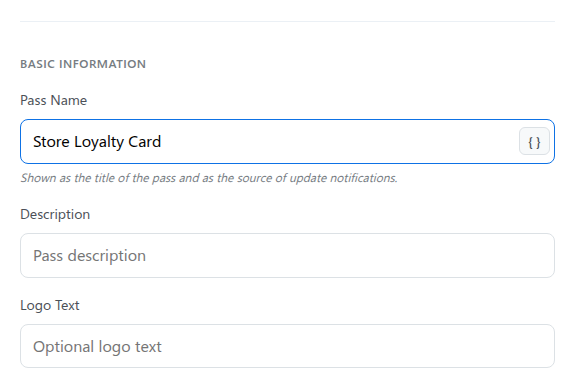
- Setzen Sie unter Basic Information den Pass Name auf das, was auf dem Pass selbst angezeigt wird, zum Beispiel
Store Loyalty Card.
- Gestalten Sie den Rest des Passes, sehen Sie sich dann die Vorschau an und erstellen Sie die Kampagne.
Vollständige Schritt-für-Schritt-Anleitung: Wallet-Pass-Kampagne erstellen.
Die Geozone des Geschäfts erstellen
Anchor link toDie Journey braucht eine aktive Geozone als Auslöser, erstellen Sie sie also, bevor Sie die Journey bauen.
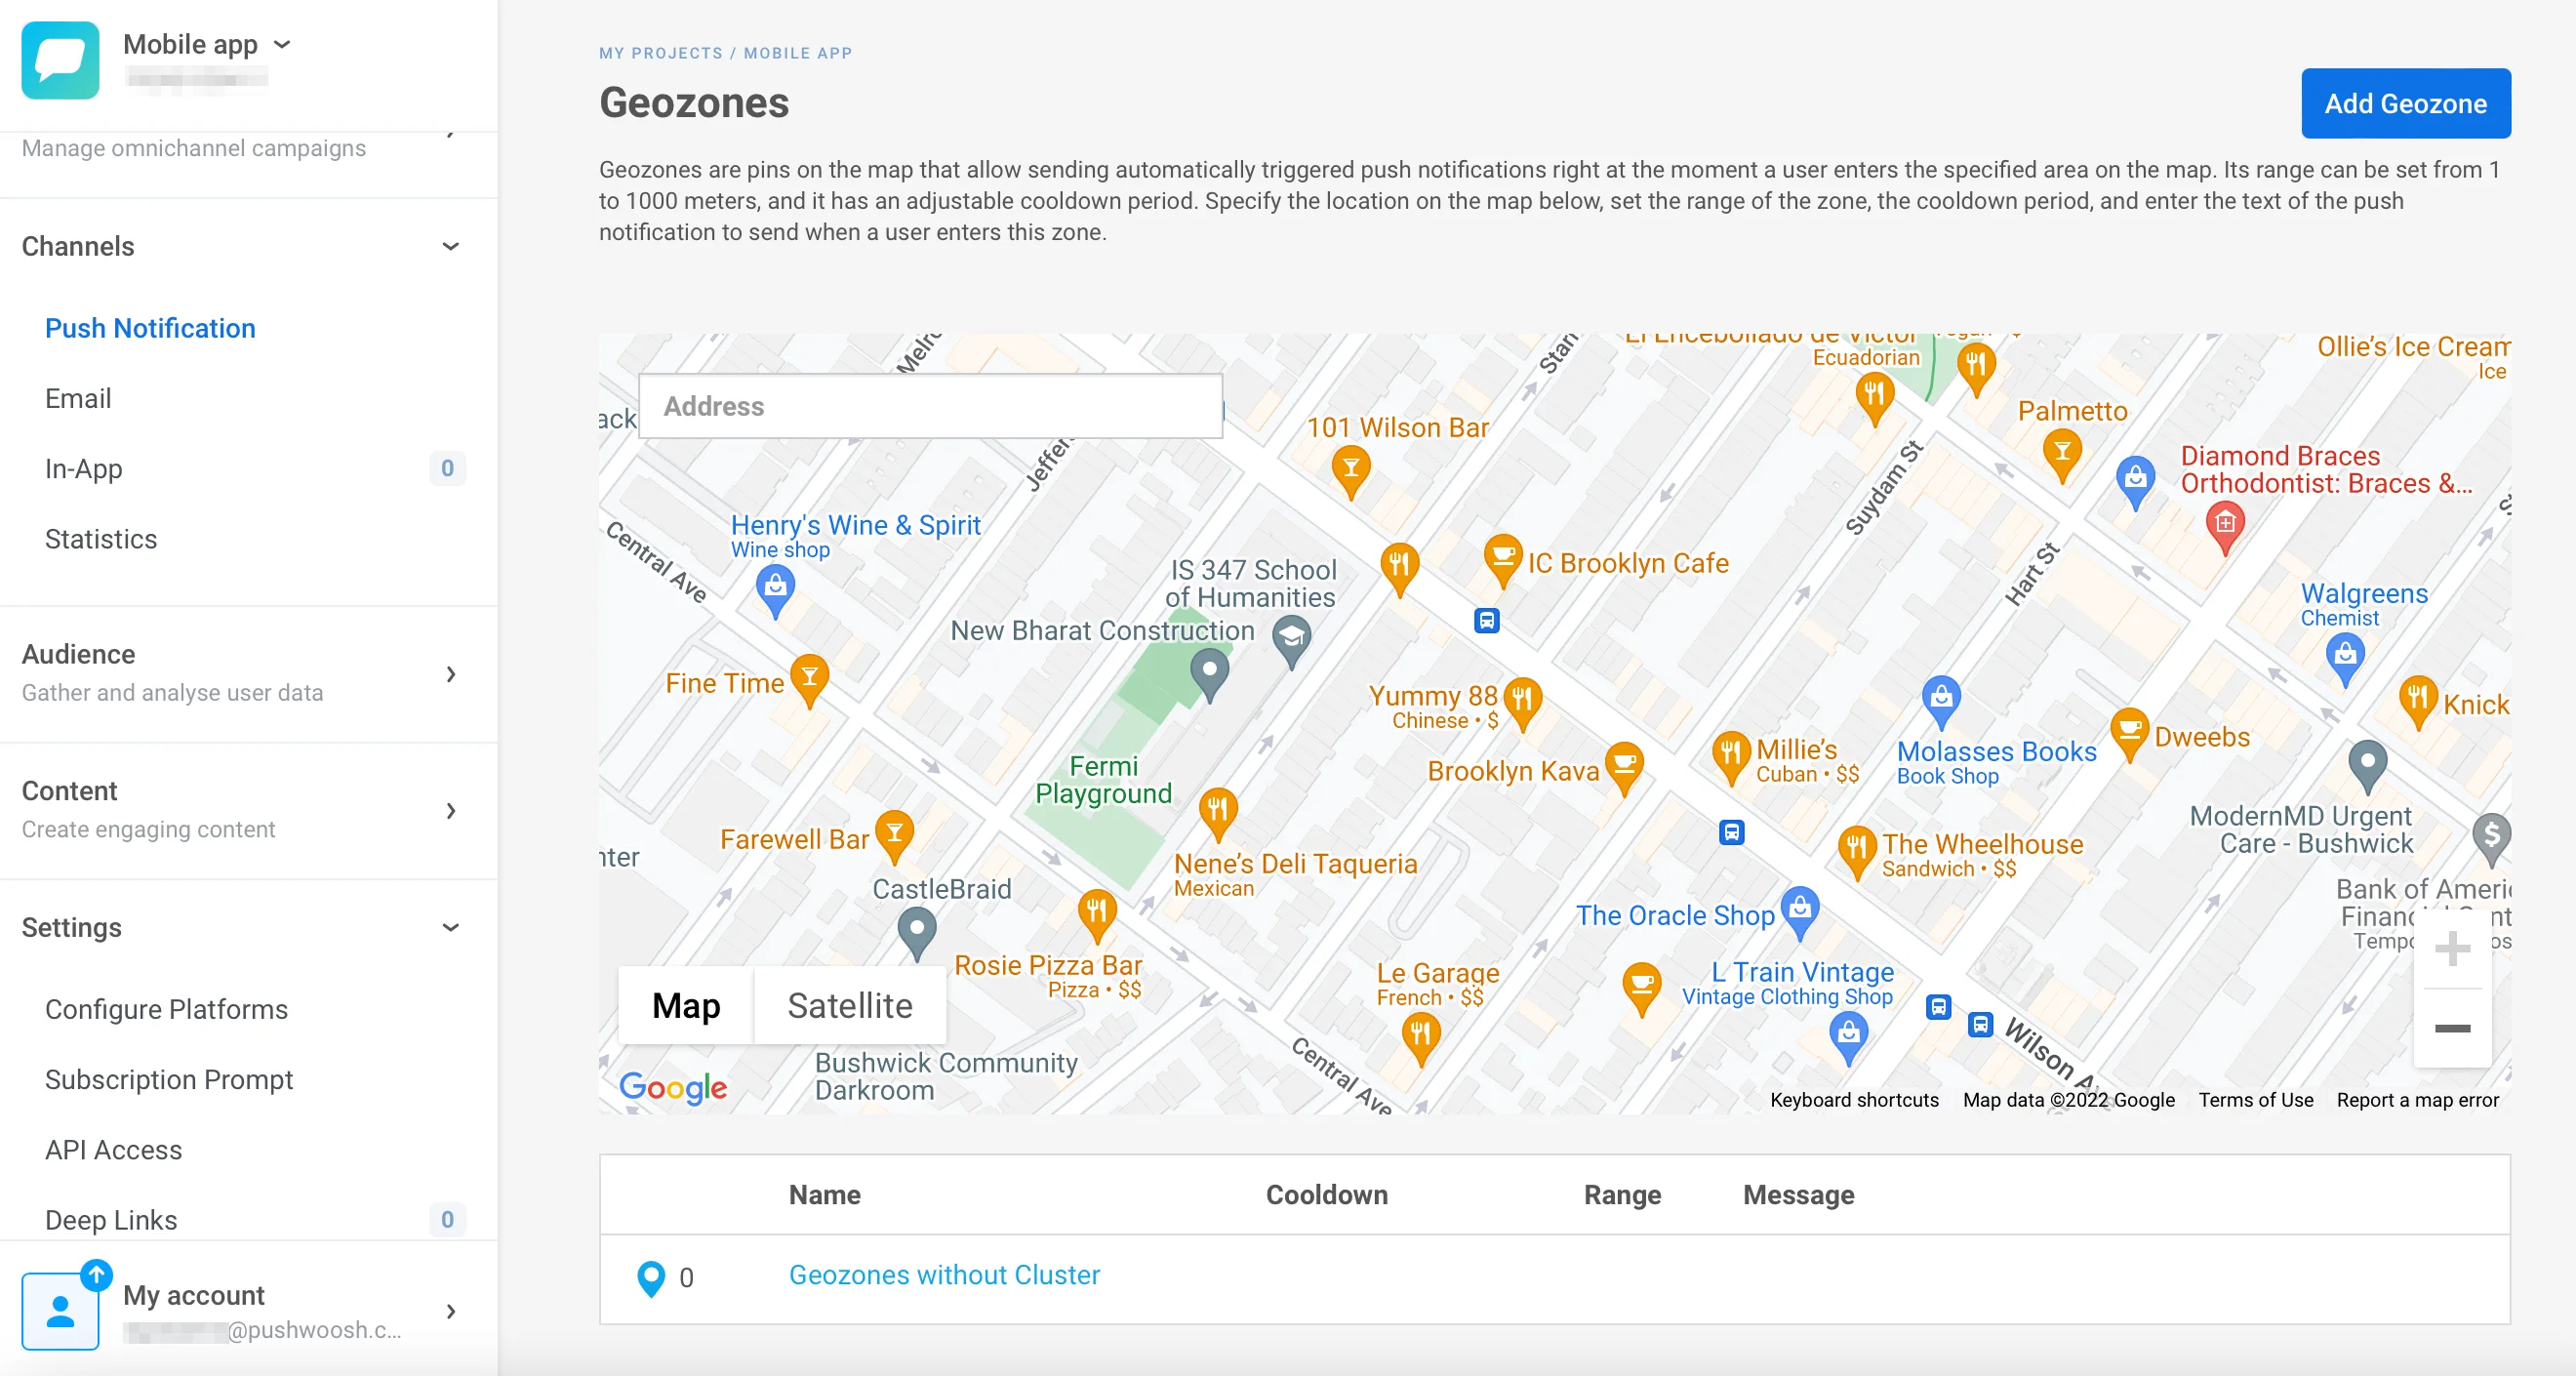
- Gehen Sie zu Campaigns → Geo campaigns und klicken Sie auf Create geozone.
- Geben Sie einen Campaign name ein, zum Beispiel
Downtown store.

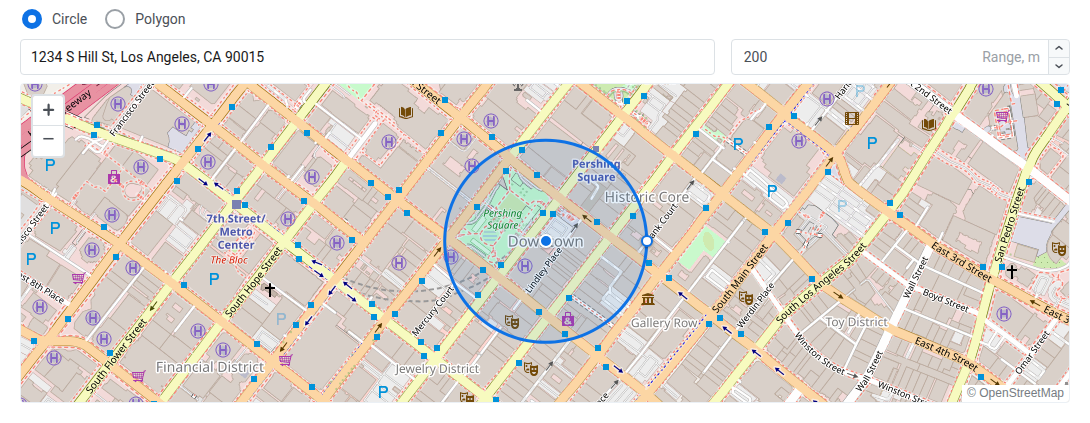
- Wählen Sie unter Auslösestandort die Option Circle, suchen Sie nach der Adresse des Geschäfts und legen Sie Reichweite, m fest (mindestens 50).
- Aktivieren Sie unter Entry actions die Option Fire event. Lassen Sie Event name leer, damit der Standardwert
PW_GeozoneEnteredverwendet wird. - Schalten Sie Send push aus, wenn nur die Journey den Shopper benachrichtigen soll und nicht zusätzlich ein separater Geozone-Push beim selben Eintritt.
- Legen Sie Cooldown fest (Standalone mit kurzer Dauer reicht zum Start) und Campaign schedule (Always active, sofern Sie keine festen Zeiten brauchen).

- Klicken Sie auf Save. Das Event steht in Trigger-based entry sofort nach dem Speichern zur Verfügung.
Vollständige Schritt-für-Schritt-Anleitung: Eine Geozone erstellen.
Die Journey erstellen
Anchor link toGehen Sie zu Campaigns → Customer Journey Builder, klicken Sie auf Create campaign und bauen Sie alles Folgende auf einem Canvas auf.
Den Einstieg festlegen
Anchor link to- Fügen Sie dem Canvas ein Trigger-based entry-Element hinzu.
- Nennen Sie es
Geozone Entry. - Wählen Sie
PW_GeozoneEnteredals Event aus.
Den Wallet-Pass ausstellen
Anchor link to- Fügen Sie Wallet-Pass ausgeben direkt nach dem Einstieg hinzu.
- Nennen Sie es
Store pass.
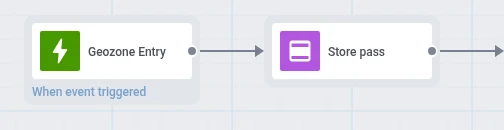
- Wählen Sie unter Apple Wallet campaign die Kampagne aus, die Sie für Apple erstellt haben. Wählen Sie unter Google Wallet campaign die Kampagne aus, die Sie für Google erstellt haben. Jedes Dropdown listet nur Kampagnen der jeweils eigenen Plattform auf. Das Element stellt für jede ausgewählte Plattform einen Pass aus.

Nach Plattform verzweigen und den Push senden
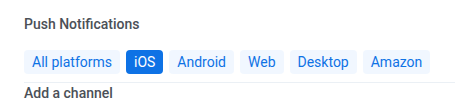
Anchor link to- Fügen Sie nach Wallet-Pass ausgeben ein Reachability check-Element hinzu und nennen Sie es zum Beispiel
iOS Device?. - Klicken Sie unter Push Notifications auf iOS.
- Wählen Sie unter Which devices to check die Option Only the device that entered, damit die Prüfung genau das Gerät erfasst, das den Geozone-Eintritt ausgelöst hat, und nicht jedes Gerät des Shoppers.

- Fügen Sie im Zweig Push: iOS ein Push-Element hinzu. Wählen Sie Marketing-Nachricht oder Transaktionsnachricht und deaktivieren Sie An alle Geräte des Nutzers senden (per UserID), damit der Push nur an das Gerät geht, das die Geozone betreten hat.
- Fügen Sie im Nachrichtentext
{apple_install_link|regular|}ein. - Aktivieren Sie Personalise message with event attributes, aktivieren Sie Overwrite placeholder, setzen Sie Source event auf
Store passund Dynamic attribute aufapple_install_link.

- Wählen Sie nach dem Bearbeiten des Push das Preset erneut aus, damit das Mapping den neuen Platzhalter übernimmt. Vollständiger Klickpfad: Den Passlink an den Nutzer senden.
- Fügen Sie bei All others eine zweite Reachability check namens
Android Device?hinzu, mit Push Notifications eingegrenzt auf Android und derselben Einstellung Only the device that entered. - Fügen Sie in ihrem Zweig Push: Android Push hinzu. Legen Sie den Nachrichtentyp fest und deaktivieren Sie An alle Geräte des Nutzers senden (per UserID) wie im iOS-Zweig. Fügen Sie
{google_save_link|regular|}ein und mappen Sie Dynamic attributegoogle_save_linkauf die gleiche Weise. - Lassen Sie den verbleibenden All others-Zweig unverbunden, es sei denn, Sie haben für diese Nutzer einen weiteren Kanal. Ein Zweig ohne ausgehende Verbindung beendet die Journey dort von selbst und braucht daher kein Exit-Element.
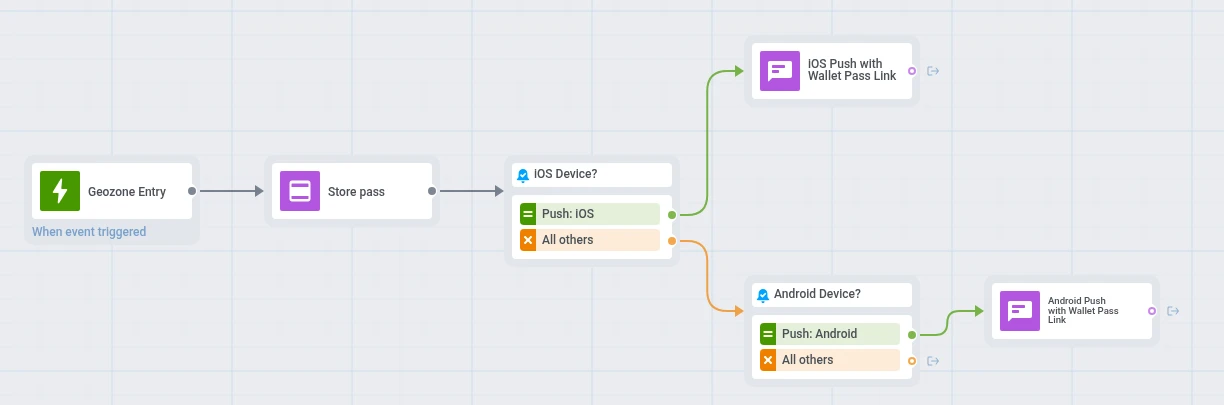
Ein Shopper landet bei All others, wenn sein Gerät auf der geprüften Plattform nicht registriert ist oder wenn sein Push Alerts Enabled-Tag für dieses Gerät nicht true ist (Push-Berechtigung deaktiviert).
Wenn PW_GeozoneEntered ausgelöst wird, tritt der Shopper in die Journey ein, Wallet-Pass ausgeben stellt seinen Pass aus, und der passende Push liefert den Installationslink für seine Plattform.
Starten und prüfen
Anchor link to- Starten Sie die Journey, sobald das Canvas fertig ist.
- Prüfen Sie nach einem Testeintritt die Entries und Drop-offs bei Wallet-Pass ausgeben sowie die Statistiken bei jedem Push.
Spätere Besuche
Anchor link toEin wiederholter Besuch nutzt denselben Pass erneut und sendet den Push erneut. Nur der Cooldown der Geozone entscheidet über einen späteren Besuch, nicht die Re-Entry-Einstellung des Einstiegs. Diese Einstellung blockiert einen erneuten Trigger nur, solange die vorherige Sitzung des Shoppers noch aktiv ist, und die Sitzung endet direkt nach dem Push des ersten Besuchs, da keiner der beiden Zweige mit einem weiteren Schritt verbunden ist. Der Standard Do not allow re-entry verhindert also keinen späteren Besuch. Siehe Was in diesem Schritt passiert für die Seite zur Pass-Ausstellung.