Google Wallet pass configuration for Android
Configure your Google Pay & Wallet Console Issuer ID and a Google Cloud service account key so Pushwoosh can issue and update Google Wallet passes for your app. This is a one-time setup. Once a valid configuration is in place, the Google Wallet pass builder unlocks for the application.
Create the issuer account
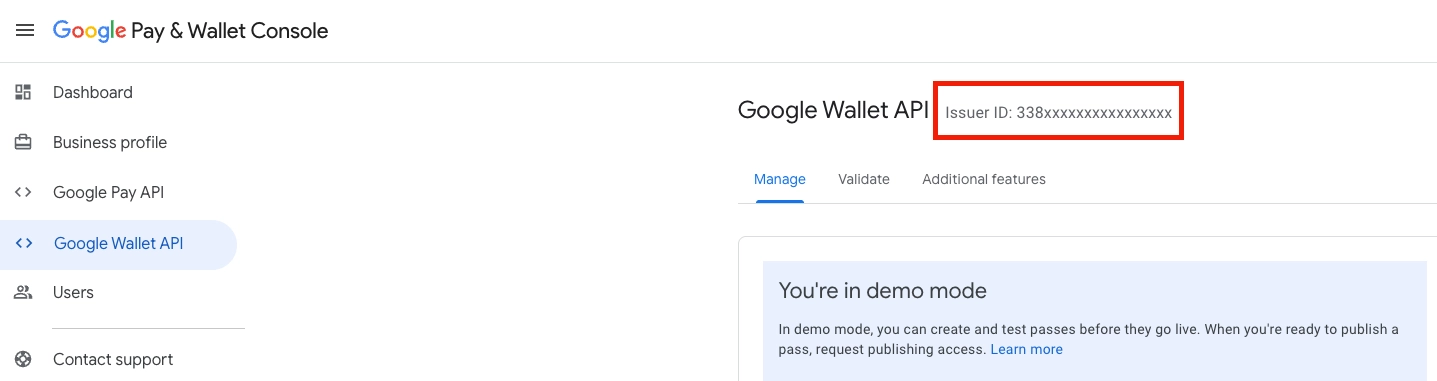
Anchor link toSign up for an issuer account. In the Google Pay & Wallet Console, complete the Google Wallet API onboarding to get your Issuer ID (a numeric value). You can start in demo mode and request production access later.
Create the service account key
Anchor link to-
Create (or pick) a Google Cloud project and enable the Google Wallet API for it. Use the same Google Cloud project that is linked to your issuer in the Google Pay & Wallet Console during onboarding. See Google’s getting started guide.
-
Create a service account in that project and download its JSON key. Follow Google’s guide on generating REST API credentials. The key file must be of type
service_accountand contain aclient_emailand a PEM private key. -
Copy the service account’s email address from the JSON key (the
client_emailfield). You’ll need it in the next step.
Grant the service account access
Anchor link toIn the Google Pay & Wallet Console:
- Open Users in the left sidebar.
- Click Invite a user.
- Paste the service account’s email address (from step 3 above).
- Set Access level to Developer.
- Click Invite.
Without this step, Pushwoosh cannot create or update Google Wallet passes.
Configure Google Wallet in the Control Panel
Anchor link to- Go to Settings → Configure platforms in the Control Panel.
- Under MOBILE PLATFORMS, find Android and open the Google Wallet setup.

- In Issuer ID, enter the numeric Issuer ID from the Google Pay & Wallet Console.
- Next to Service account key (JSON), click Browse… and select your service account
.jsonkey file.
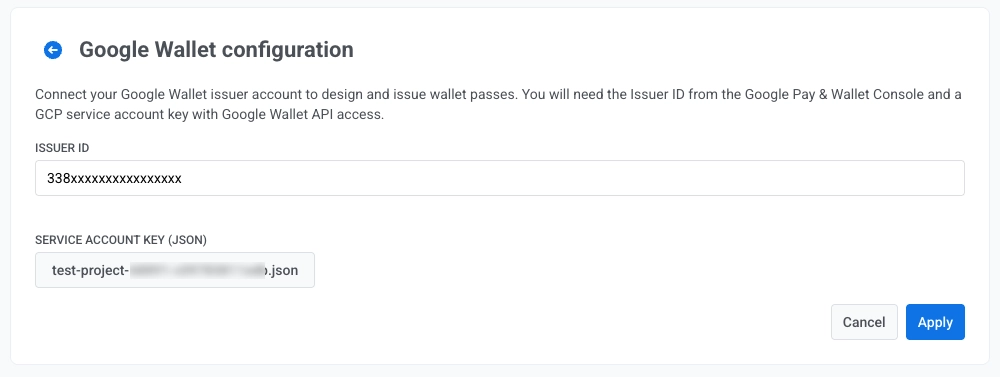
- Click Apply.
Next steps
Anchor link toOnce you click Apply, you can design passes in the pass builder.
Manage passes via API
Anchor link toUse the Google Wallet API to create passes, issue save links, and send them to users.