Apple Wallet pass configuration for iOS
Configure your Pass Type ID signing certificate so Pushwoosh can sign and update Apple Wallet passes (.pkpass) for your app. This is a one-time setup. Once a valid certificate is in place, the Apple Wallet pass builder unlocks for the application.
Create the certificate
Anchor link to-
Register a Pass Type ID. In the Apple Developer Portal, go to Certificates, Identifiers & Profiles → Identifiers, click +, select Pass Type IDs, and enter a reverse-DNS identifier such as
pass.com.yourcompany.passtype. -
Generate a certificate signing request (CSR) in Keychain Access. You will upload this file in the next step.
-
Create the certificate. Open your Pass Type ID in the Apple Developer Portal and click Create Certificate. Select Pass Type ID Certificate, upload your CSR file, and download the resulting
.cerfile. Double-click it to add it to Keychain Access. See Create a certificate in Apple documentation. -
Export the certificate as .p12 from Keychain Access. In the My Certificates section, find your Pass Type ID certificate, right-click it, and select Export. Choose
.p12format and set an export password. You need this file and password in Pushwoosh.
Configure the certificate in the Control Panel
Anchor link to- Go to Settings → Configure platforms in the Control Panel.
- Under MOBILE PLATFORMS, find iOS and click SET UP PASSKIT.

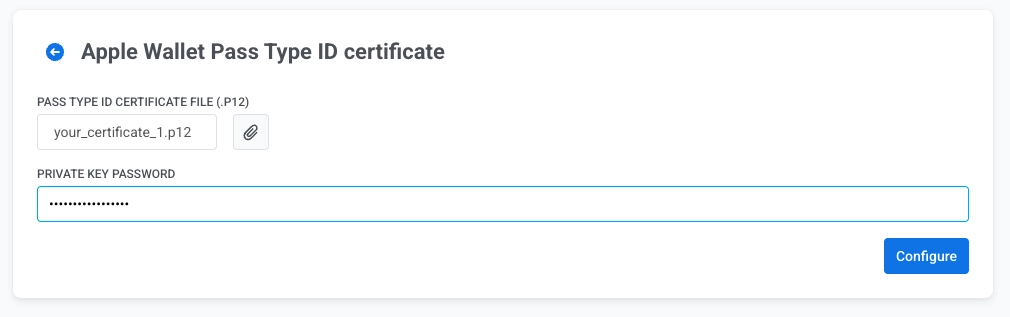
- Click the attachment icon next to PASS TYPE ID CERTIFICATE FILE (.P12) and select your
.p12file. - In PRIVATE KEY PASSWORD, enter the password you set when you exported the
.p12file from Keychain Access. - Click Configure.