CocoaPods로 InboxKit 설정하기
iOS SDK 7.0.40부터 사용 가능합니다.
InboxKit은 포괄적인 PushwooshXCFramework pod의 선택적 하위 사양(subspec)으로 제공됩니다. 메인 SDK가 이미 통합되어 있어야 합니다. 처음부터 시작하는 경우, 먼저 기본 통합 가이드를 따르세요.
InboxKit pod 추가하기
Anchor link toPodfile을 열고 앱 타겟에 InboxKit 하위 사양을 추가합니다:
target 'MyApp' do  use_frameworks!
pod 'PushwooshXCFramework' pod 'PushwooshXCFramework/PushwooshInboxKit'end- 프로젝트 디렉토리에서
pod install을 실행합니다:
pod install- 생성된
.xcworkspace파일을 엽니다. 이제 InboxKit이 메인 SDK와 함께 연결됩니다.
받은 편지함 표시하기
Anchor link to받은 편지함 컨트롤러를 모든 네비게이션 플로우에 추가합니다. 기본 설정만으로도 세 가지 표준 셀 유형을 갖춘 작동하는 받은 편지함을 만들 수 있습니다:
import PushwooshInboxKit
let inboxVC = PushwooshInboxKitViewController()navigationController?.pushViewController(inboxVC, animated: true)
@import PushwooshInboxKit;
PushwooshInboxKitViewController *inboxVC = [PushwooshInboxKitViewController new];[self.navigationController pushViewController:inboxVC animated:YES];받은 편지함 사용자 정의하기
Anchor link toSwift에서는 PushwooshInboxKitAttributes 값 타입을 통해 컨트롤러를 설정합니다. Objective-C에서는 컨트롤러의 @objc 친화적인 세터(setter)를 사용합니다. PushwooshInboxKitAttributes는 Swift 구조체이며 브릿지되지 않습니다.
var attributes = PushwooshInboxKitAttributes()attributes.pullToRefreshEnabled = trueattributes.swipeToDeleteEnabled = trueattributes.pinningEnabled = trueattributes.style.unreadBadgeColor = .systemBlueattributes.style.titleFont = .systemFont(ofSize: 17, weight: .semibold)
let inboxVC = PushwooshInboxKitViewController(attributes: attributes)
PushwooshInboxKitViewController *inboxVC = [PushwooshInboxKitViewController new];[inboxVC setBackgroundColor:[UIColor systemBackgroundColor]];[inboxVC setEmptyMessage:@"You have no messages yet"];Style 구조체는 기본 셀에서 사용하는 모든 색상, 글꼴, 모서리 반경 및 날짜 포맷터를 노출합니다. 모든 값은 기본적으로 Apple 시맨틱 색상이므로 받은 편지함은 시스템 다크 모드에 자동으로 반응합니다.
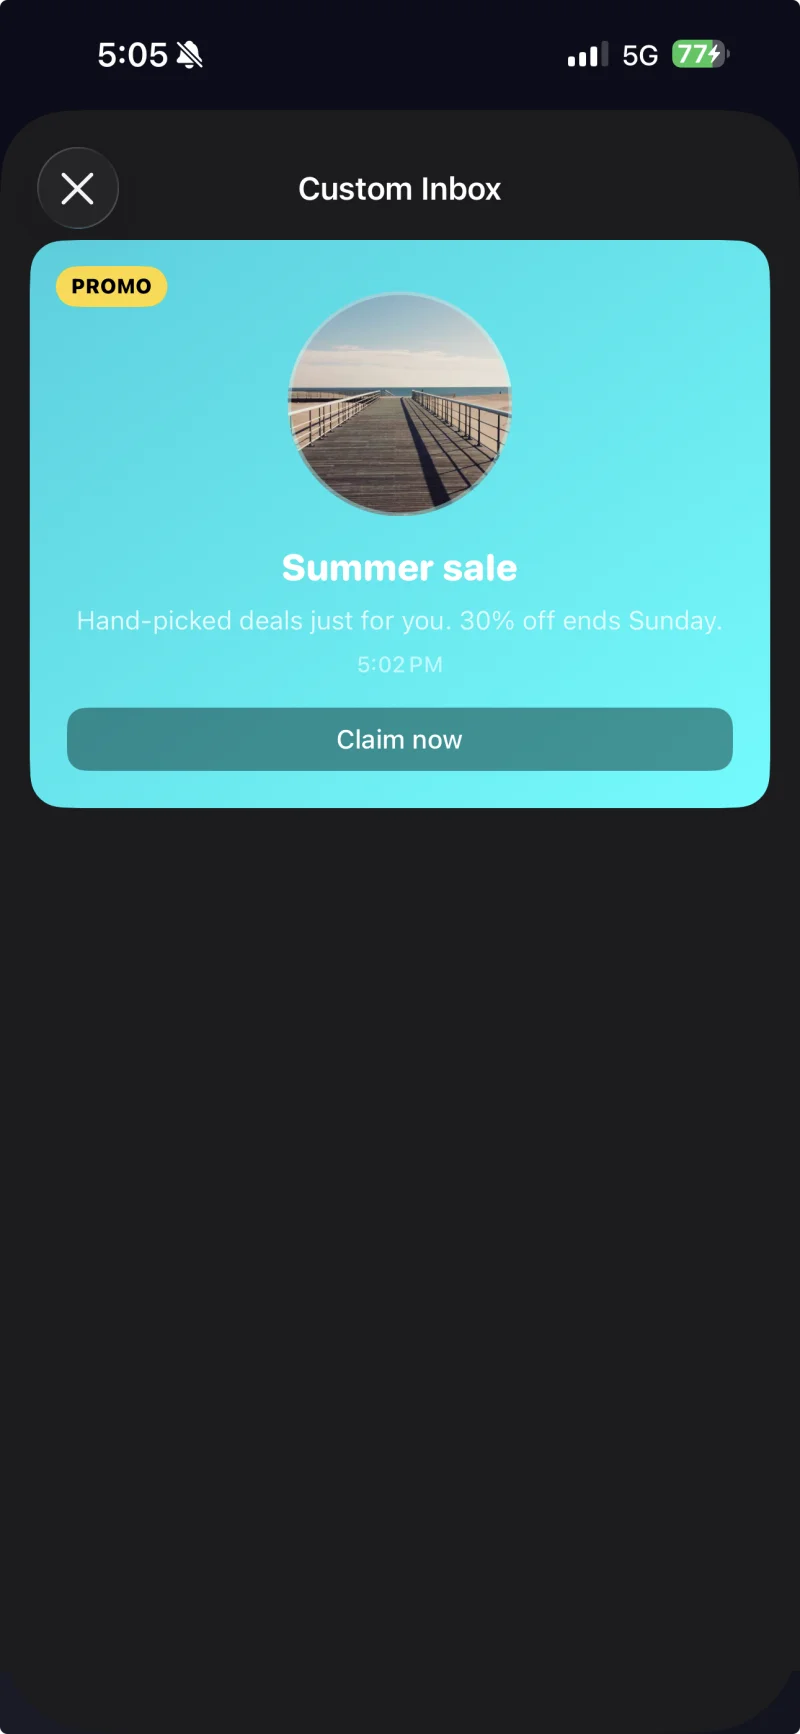
PushwooshInboxKitAttributes.Style을 통해 사용자 정의 테마가 적용된 캡션 셀입니다.
탭 및 새로고침 처리하기
Anchor link to사용자 액션 및 새로고침 이벤트에 반응하려면 PushwooshInboxKitDelegate를 준수합니다. 모든 메서드에는 기본 구현이 있으므로 필요한 것만 재정의하면 됩니다:
final class InboxCoordinator: NSObject, PushwooshInboxKitDelegate {    func inboxKit(_ vc: PushwooshInboxKitViewController,                  didSelect message: PWInboxMessageProtocol) -> Bool {        // SDK가 메시지 URL이나 리치미디어를 열도록 하려면 true를 반환합니다.        // 탭을 완전히 처리한 경우(예: 사용자 정의 화면으로 라우팅) false를 반환합니다.        return true    }
    func inboxKit(_ vc: PushwooshInboxKitViewController,                  didRefreshWith messages: [PWInboxMessageProtocol],                  error: Error?) {        // 필요한 경우 여기에 자신만의 비어 있거나 오류 상태를 표시합니다.    }}
inboxVC.delegate = inboxCoordinator
SDK는 컨트롤러에서 @objc 메서드로 대량 작업을 제공하므로, 이를 UIBarButtonItem에 직접 연결할 수 있습니다:
let markAll = UIBarButtonItem( image: UIImage(systemName: "checkmark.circle"), style: .plain, target: inboxVC, action: #selector(PushwooshInboxKitViewController.markAllAsRead))let clearRead = UIBarButtonItem( image: UIImage(systemName: "trash"), style: .plain, target: inboxVC, action: #selector(PushwooshInboxKitViewController.clearReadMessages))inboxVC.navigationItem.rightBarButtonItems = [clearRead, markAll]다음 단계
Anchor link to PushwooshInboxKit API 참조 모든 공개 타입에 대해 생성된 DocC 문서입니다.