React Native용 배지 설정하기
React Native 플러그인에는 PWNotificationExtensionManager 헤더가 포함되어 있지 않으므로, React Native 프로젝트에 배지를 구현하려면 몇 가지 추가 단계를 수행해야 합니다.
1. Notification Service Extension 추가하기 (File -> New -> Target…)
Anchor link to
2. “Notification Service Extension” 선택하기
Anchor link to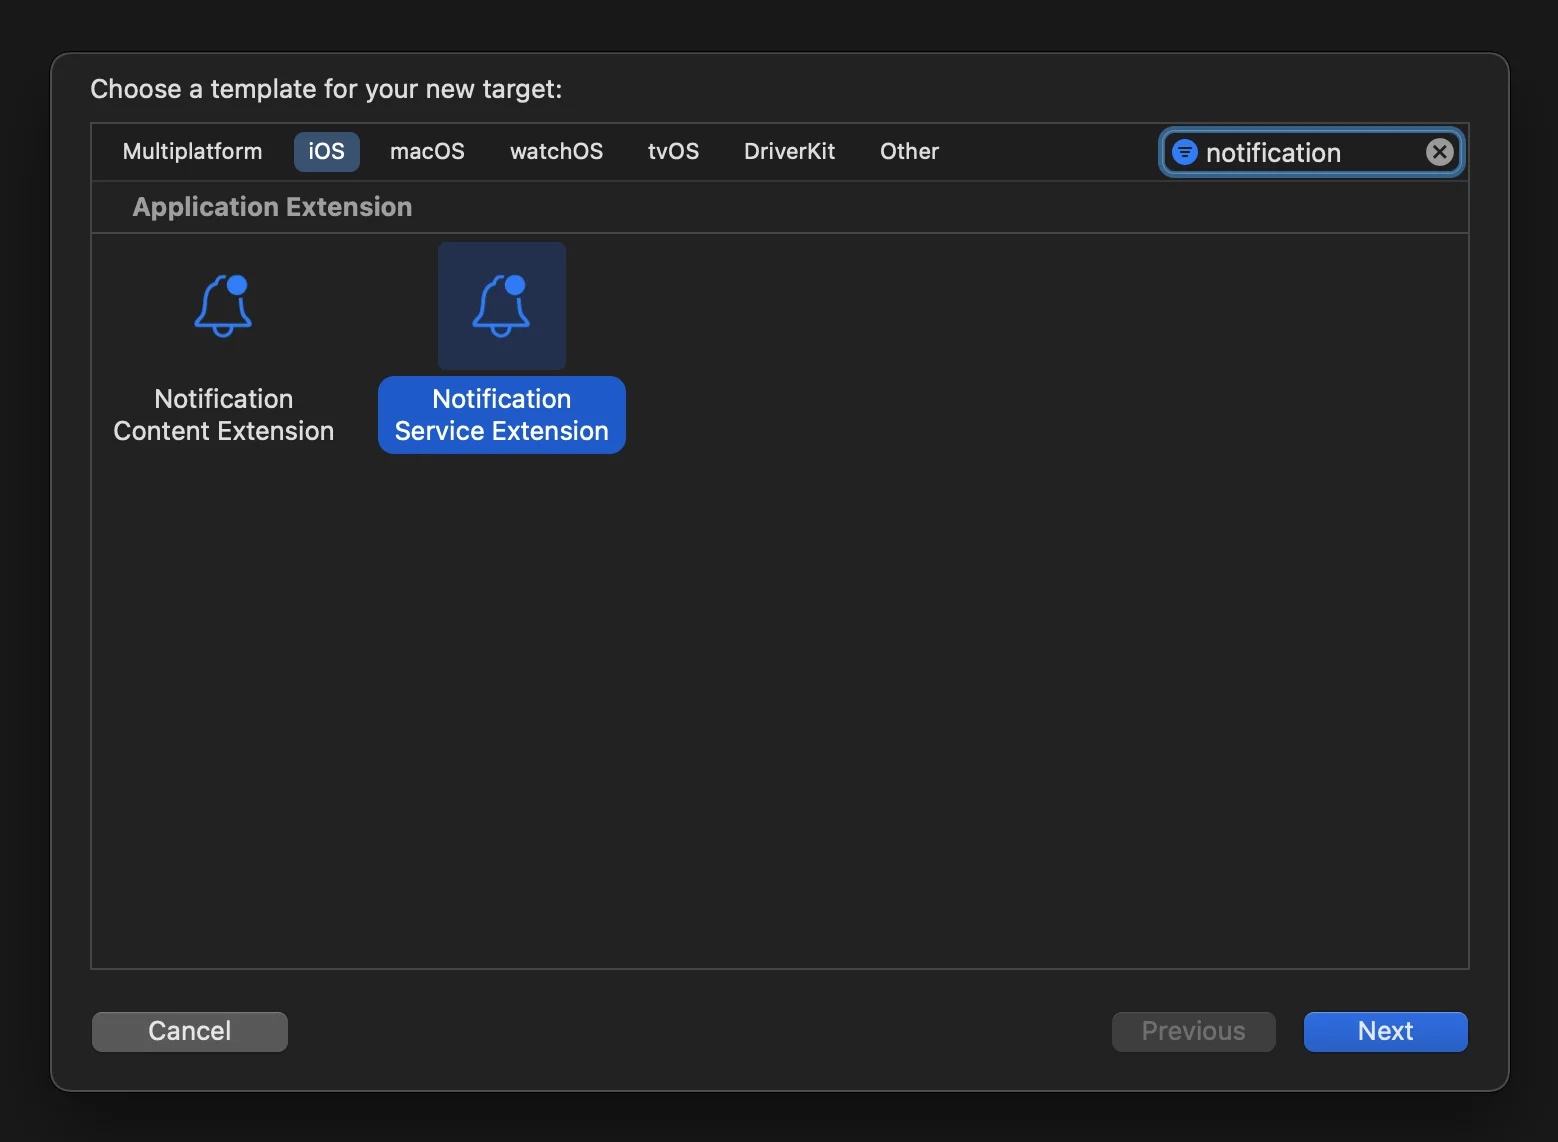
3. Notification Service Extension 코드를 다음과 같이 업데이트합니다:
Anchor link to#import "NotificationService.h"#import <Pushwoosh/PWNotificationExtensionManager.h>
@interface NotificationService ()
@property (nonatomic, strong) void (^contentHandler)(UNNotificationContent *contentToDeliver);@property (nonatomic, strong) UNMutableNotificationContent *bestAttemptContent;
@end
@implementation NotificationService
- (void)didReceiveNotificationRequest:(UNNotificationRequest *)request withContentHandler:(void (^)(UNNotificationContent * _Nonnull))contentHandler { self.contentHandler = contentHandler; self.bestAttemptContent = [request.content mutableCopy];
[[PWNotificationExtensionManager sharedManager] handleNotificationRequest:request contentHandler:contentHandler];}
- (void)serviceExtensionTimeWillExpire { // Called just before the extension will be terminated by the system. // Use this as an opportunity to deliver your "best attempt" at modified content, otherwise the original push payload will be used. self.contentHandler(self.bestAttemptContent);}
@end4. 타겟에 종속성 연결하기
Anchor link toReact Native는 수동으로 생성된 타겟에 필요한 모든 종속성을 자동으로 연결하지 않으므로, 타겟의 Build Phases를 업데이트하고 필요한 정보를 제공해야 합니다:
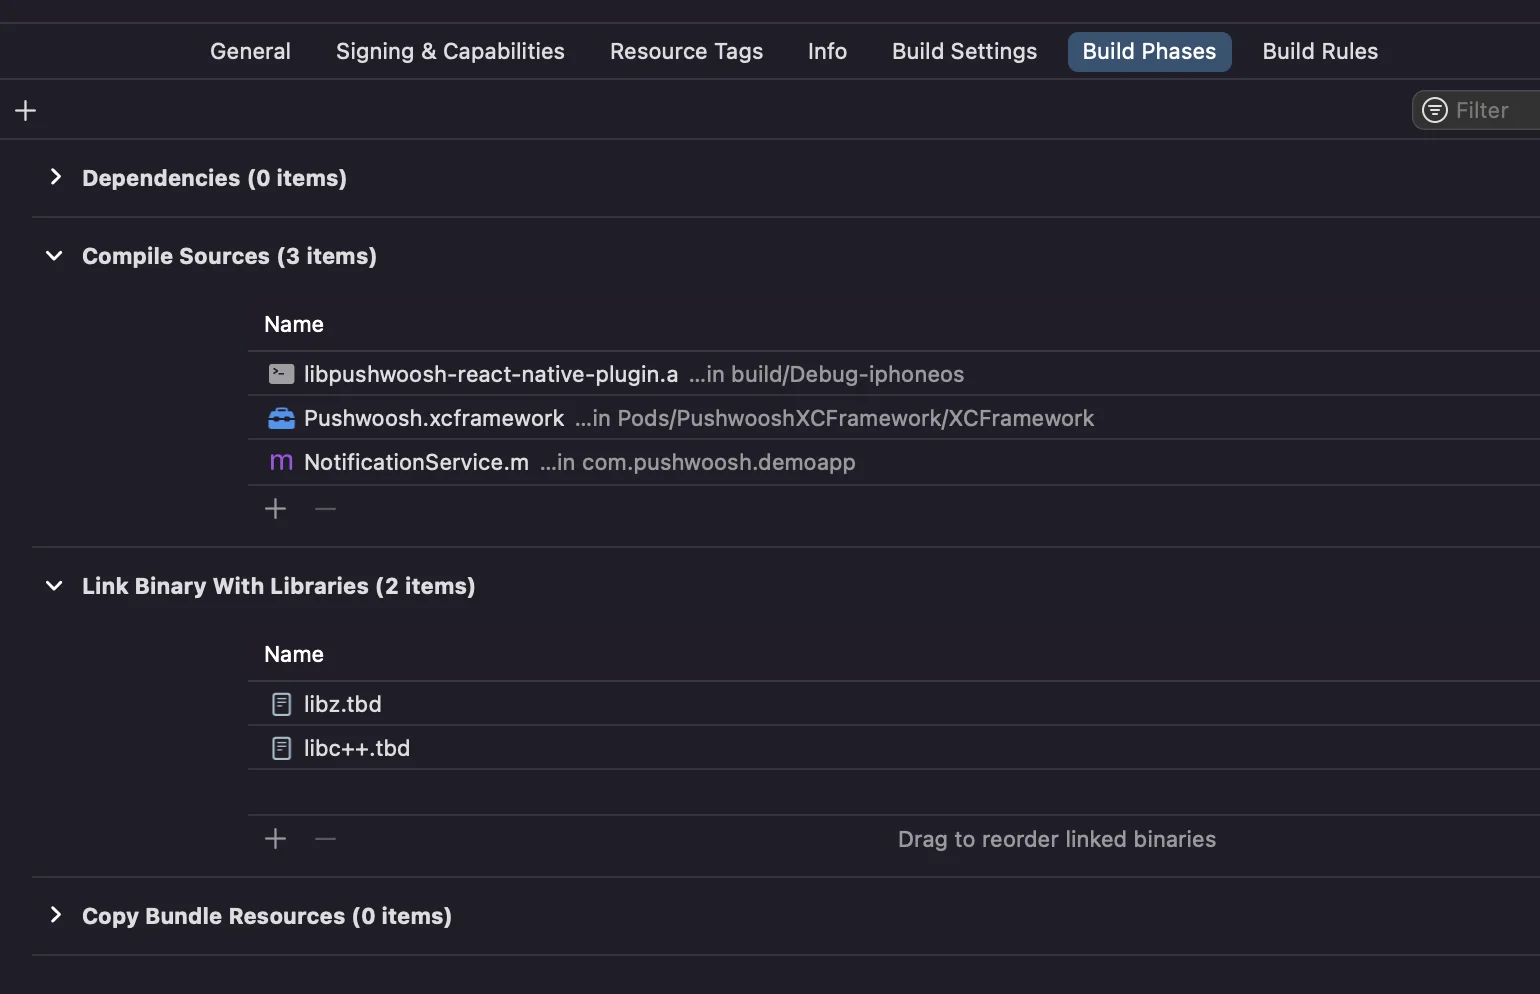
Compile Sources와 Link Binary With Libraries 아래의 + 기호를 클릭하고 필요한 라이브러리/프레임워크를 검색하면 됩니다.
5. Xcode에서 두 타겟 모두에 App Groups 기능을 추가하고, 앱과 확장 프로그램 모두에 동일한 그룹을 설정합니다:
Anchor link to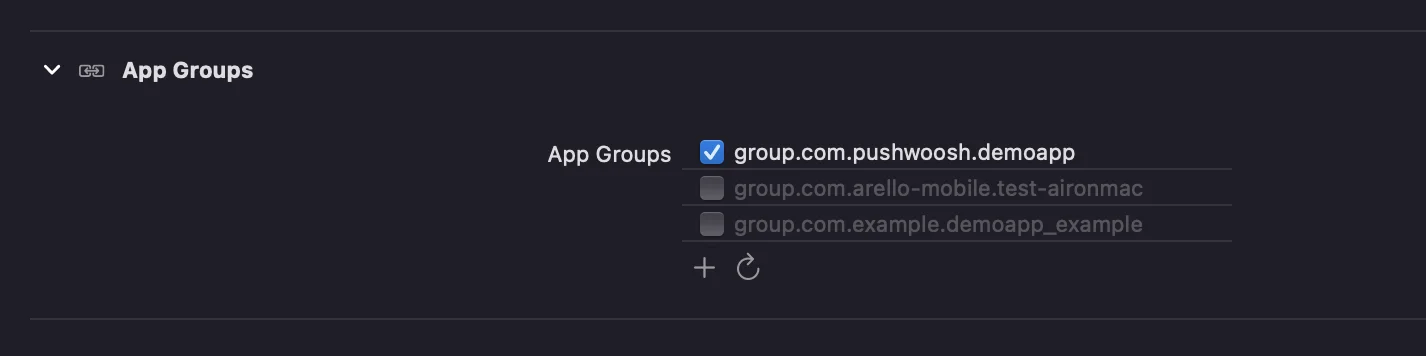
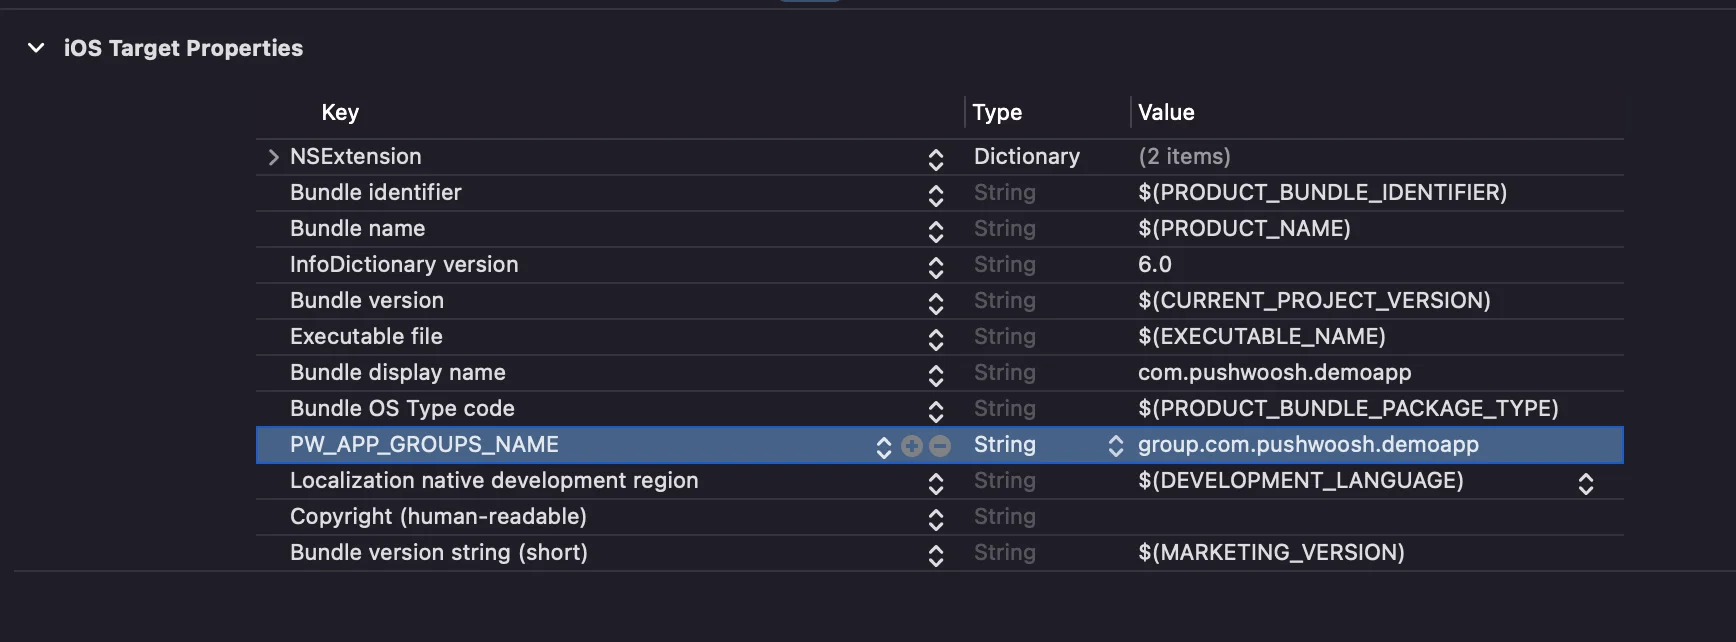
6. 두 타겟의 info.plist에 PW_APP_GROUPS_NAME 키를 추가합니다. 값은 앱 그룹의 이름입니다:
Anchor link to