사용자 지정 데이터 전송
이 가이드는 푸시 알림 페이로드에 사용자 지정 데이터를 앱으로 전달하는 방법을 더 잘 이해하는 데 도움이 될 것입니다. 이를 통해 앱이 해당 푸시에 반응하고 다양한 작업을 수행할 수 있습니다.
사용자 지정 데이터를 처리하는 방법은 비즈니스 목표에 따라 다를 수 있습니다. 이 문서에서는 사용자 지정 데이터를 파싱하고 간단한 작업을 수행하는 몇 가지 기본 예제를 보여줍니다:
- 앱의 배경색 변경하기
- 앱에서 사용자 지정 페이지 열기
전제 조건
Anchor link to이 가이드는 iOS 네이티브 개발을 다룹니다. iOS 시작 가이드에 따라 iOS 샘플 애플리케이션이 구성되어 있고 푸시 알림을 수신하고 있다고 가정합니다.
AppDelegate의 didFinishLaunchingWithOptions 함수에서, 푸시 알림 처리를 위해 self.viewController를 델리게이트로 사용할 것입니다:
func application(_ application: UIApplication, didFinishLaunchingWithOptions launchOptions: [UIApplication.LaunchOptionsKey: Any]?) -> Bool {   Pushwoosh.sharedInstance().delegate = self.viewController   Pushwoosh.sharedInstance().registerForPushNotifications()
if let launchOptions = launchOptions { Pushwoosh.sharedInstance().handlePushReceived(launchOptions) } return true}ViewController는 PWMessagingDelegate 프로토콜을 구현합니다:
extension ViewController: PWMessagingDelegate따라서 수신된 푸시 알림을 처리하는 onMessageOpened 함수를 가집니다:
// 사용자가 푸시 알림을 눌렀을 때func pushwoosh(_ pushwoosh: Pushwoosh, onMessageOpened message: PWMessage) {}다른 ViewController 열기 및 배경색 변경
Anchor link to이제 푸시 페이로드에서 customData를 가져옵니다. 예를 들어, 뷰의 배경색과 할인율을 변경해 보겠습니다. 사용자 지정 데이터에 JSON 객체 형식으로 “r”, “g”, “b”, "d" 항목이 포함될 것이라고 가정합니다:
guard let customDataJson = message.customData, let redString = customDataJson["r"] as? String, let greenString = customDataJson["g"] as? String, let blueString = customDataJson["b"] as? String, let discount = customDataJson["d"] as? String else { return}setViewBackgroundColor(red: redString, green: greenString, blue: blueString, discount: discount)다음 함수를 사용하여 새 ViewController를 열고 배경색과 할인율을 설정합니다:
func setViewBackgroundColor(red: String, green: String, blue: String, discount: String) {    let red = CGFloat((red as NSString).floatValue)    let green = CGFloat((green as NSString).floatValue)    let blue = CGFloat((blue as NSString).floatValue)
    let color = UIColor(red: red / 255.0, green: green / 255.0, blue: blue / 255.0, alpha: 1)
    if let topController = UIApplication.shared.topMostController() {        let storyboard = UIStoryboard(name: "Main", bundle: nil)        if let customViewController = storyboard.instantiateViewController(withIdentifier: "custom_page") as? CustomPageViewController {            customViewController.discount = discount            customViewController.bgColor = color            topController.present(customViewController, animated: true, completion: nil)        }    }}
예제를 테스트해 보겠습니다. Pushwoosh Journey로 이동하여 캔버스에 푸시 요소를 추가합니다. 다음으로 새 콘텐츠 만들기를 클릭합니다. 열리는 푸시 콘텐츠 양식에 푸시 알림 텍스트를 입력합니다.
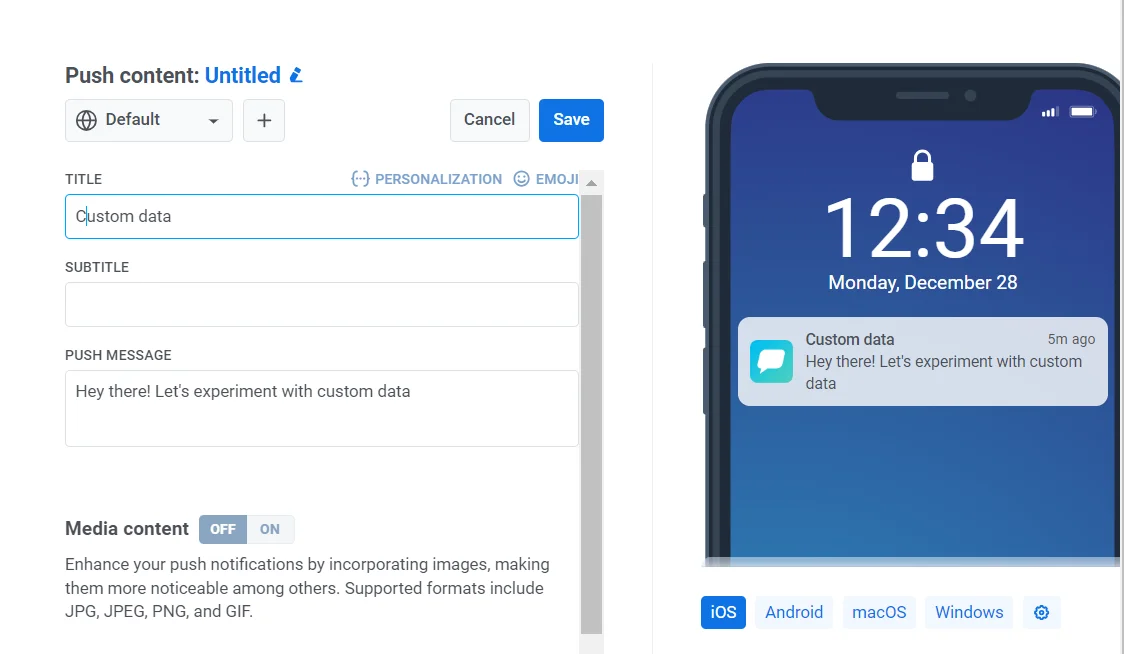
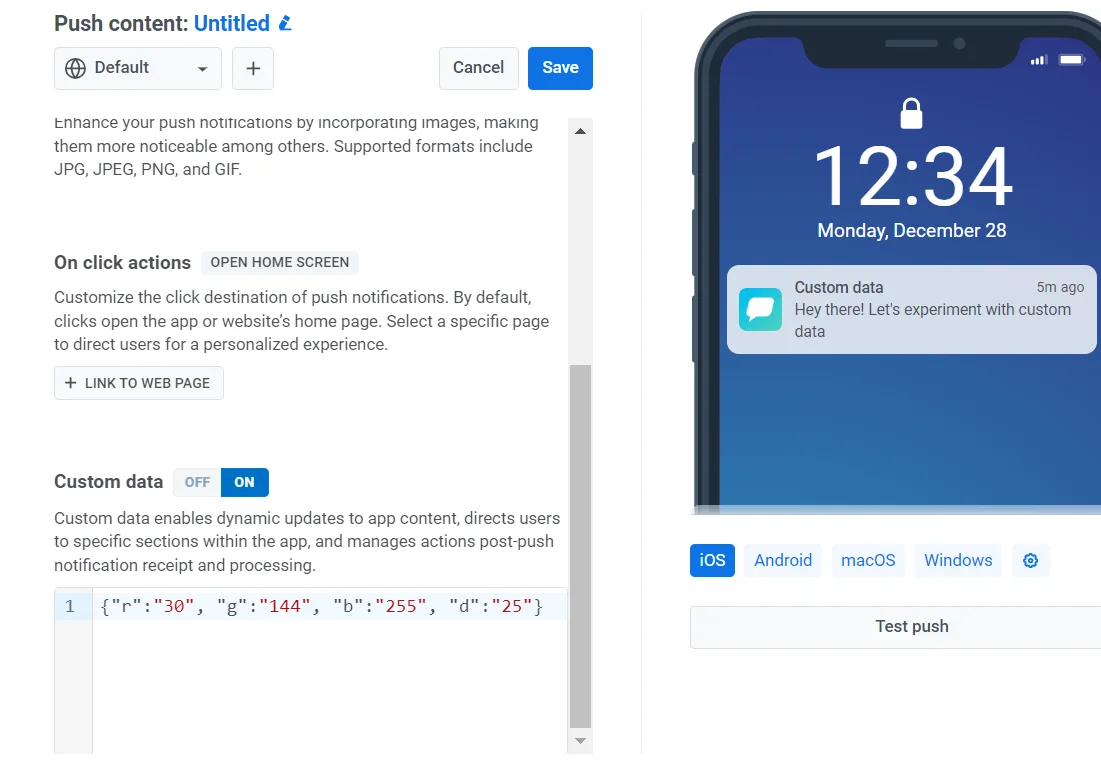
그런 다음 사용자 지정 데이터 전송을 켭니다. 사용자 지정 데이터 필드에 JSON을 삽입합니다.
사용자 지정 데이터 형식을 “r”, “g”, “b” 값이 포함된 JSON 객체로 결정했으므로, 제어판의 “사용자 지정 데이터” 필드를 사용하고 여기에 JSON 객체 {"r":"30", "g":"144", "b":"255", "d":"25"}를 채워야 합니다:
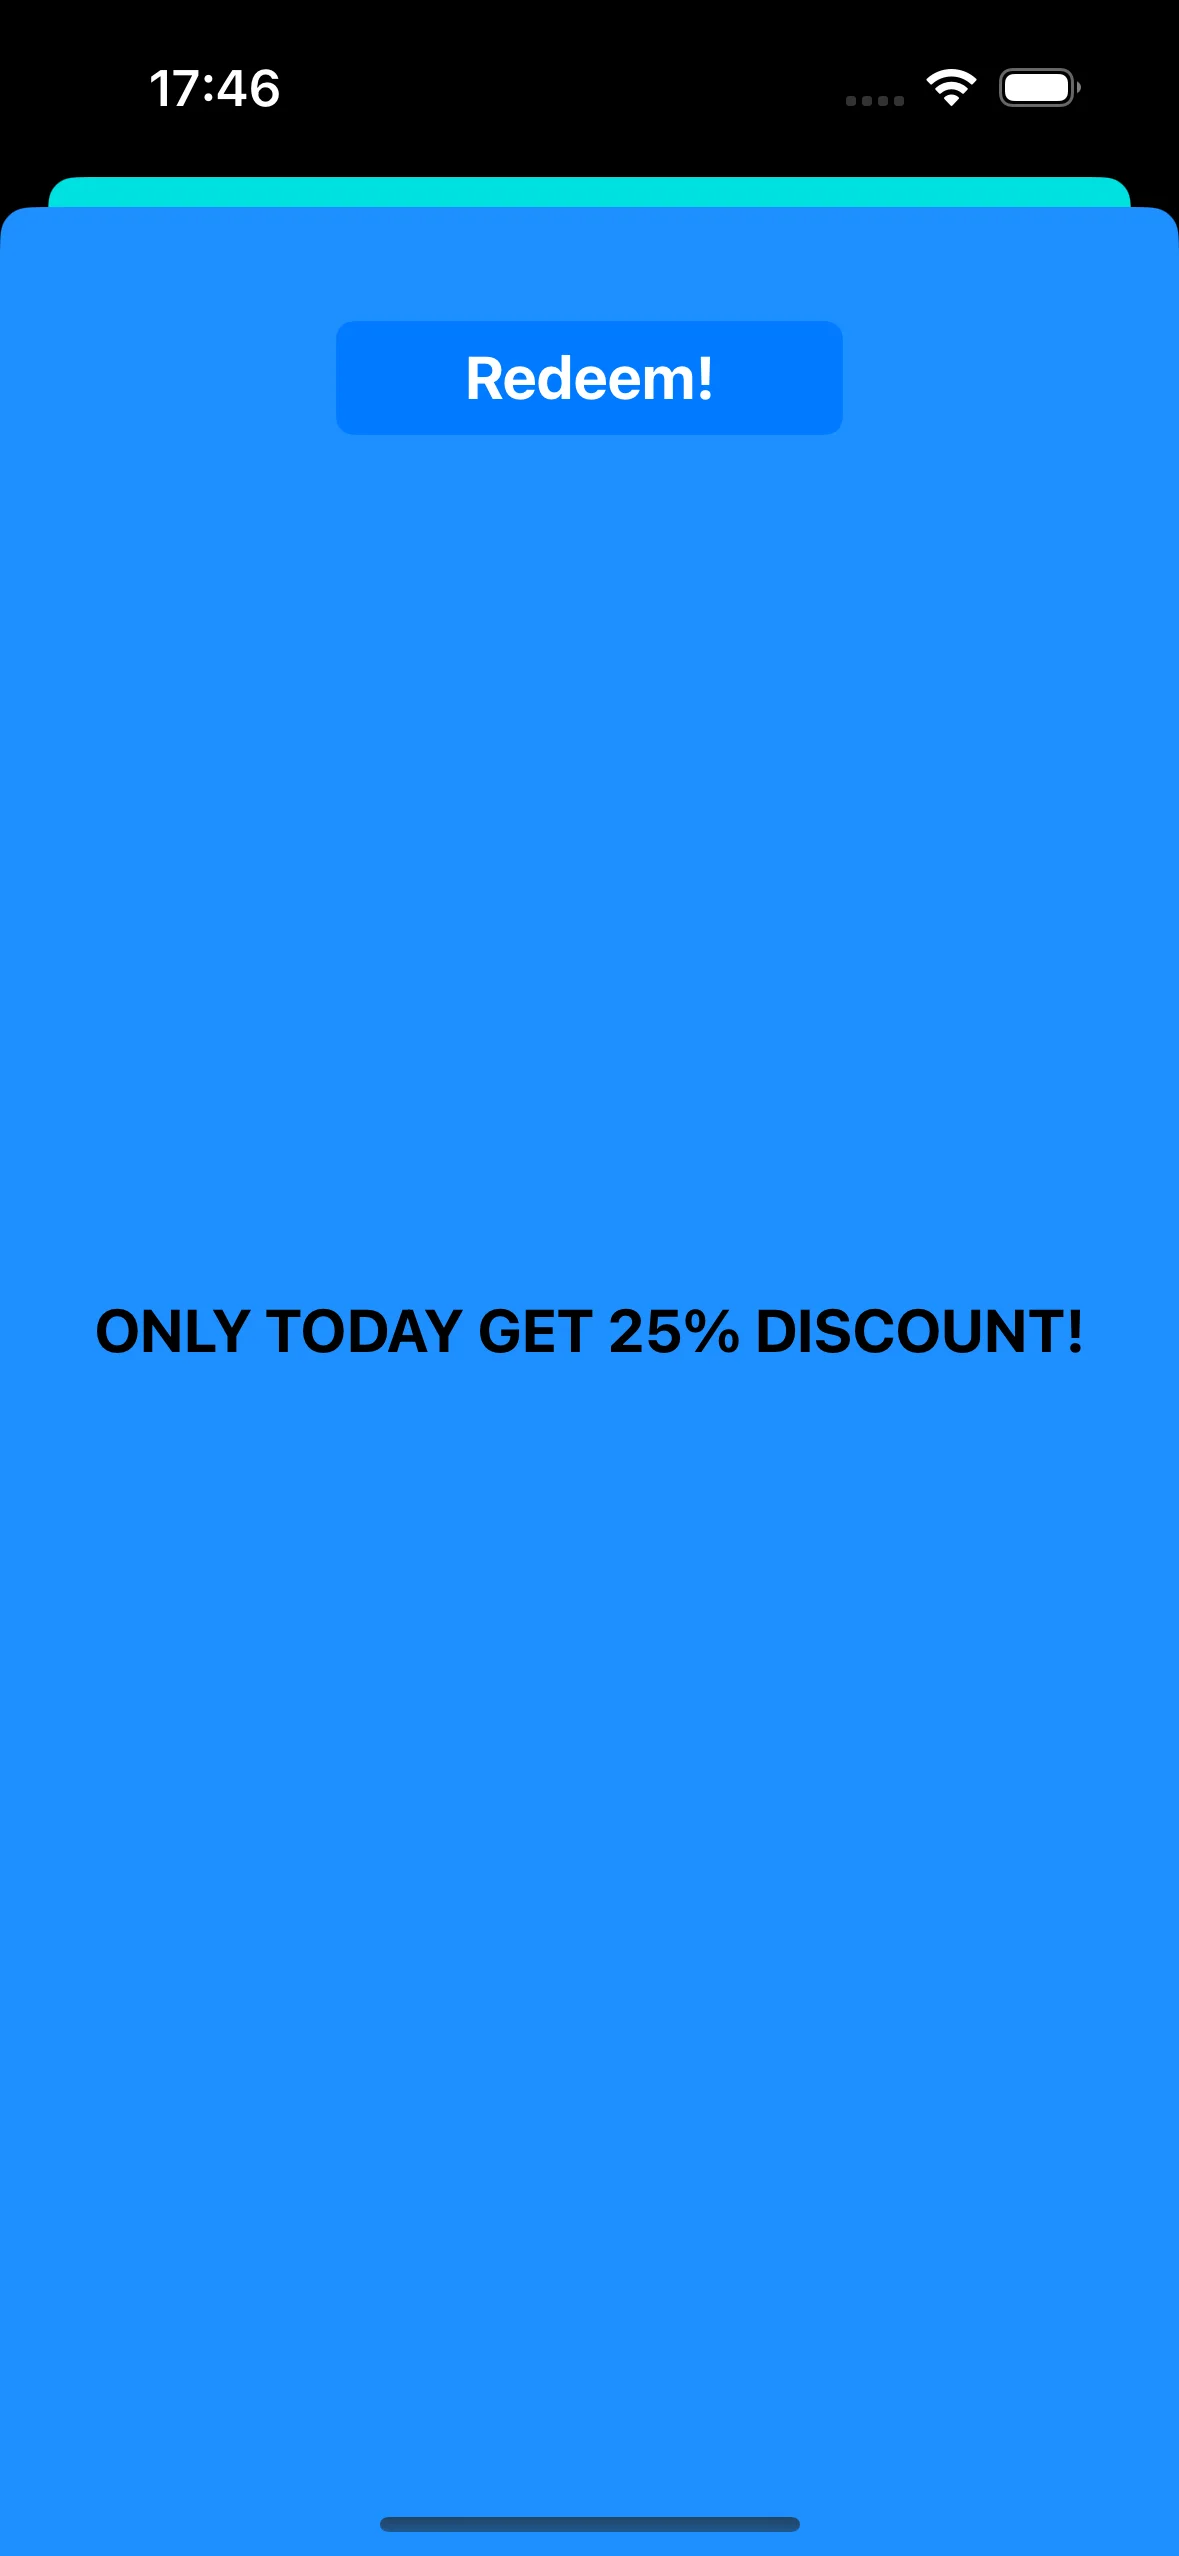
푸시 알림을 탭하면 CustomPageViewController가 열리고 배경색이 설정되며 할인이 적용됩니다:
CustomPageViewController 코드:
class CustomPageViewController: UIViewController {
    var bgColor: UIColor?    var discount: String?
    @IBOutlet weak var titleLabel: UILabel!
    override func viewDidLoad() {        super.viewDidLoad()
        self.view.backgroundColor = self.bgColor
        if self.discount != nil {            self.titleLabel?.text = "ONLY TODAY GET \(self.discount!)% DISCOUNT!"        }    }
    func showPromoPage(discount: String) {        let vc = CustomPageViewController()        vc.bgColor = self.view.backgroundColor        vc.discount = discount        vc.modalTransitionStyle = UIModalTransitionStyle.crossDissolve
        if self.presentedViewController != nil {            self.dismiss(animated: true, completion: {                self.present(vc, animated: true, completion: nil)            })        } else {            self.present(vc, animated: true, completion: nil)        }    }
    @IBAction func closeButtonAction(_ sender: Any) {        self.dismiss(animated: true)    }}
할인 값은 푸시 알림 페이로드의 JSON에서 "d" 매개변수로 올 것이라고 가정합니다. 푸시 알림 페이로드는 크기가 제한되어 있으므로 매개변수에 짧은 이름을 사용하는 것이 좋습니다.
guard let customDataJson = message.customData, let redString = customDataJson["r"] as? String, let greenString = customDataJson["g"] as? String, let blueString = customDataJson["b"] as? String, let discount = customDataJson["d"] as? String else { return}푸시 알림 페이로드에서 전달하는 매개변수에 따라 다른 View Controller를 초기화하고 여는 코드를 작성할 수 있습니다.
A/B 테스트 뷰 컨트롤러 열기
Anchor link to푸시 알림에서 사용자 지정 데이터를 사용하는 또 다른 사례를 고려해 보겠습니다. 예를 들어, 한 사용자 세그먼트에는 하나의 뷰 컨트롤러를 열고 다른 사용자 세그먼트에는 다른 뷰 컨트롤러를 열어야 합니다. 간단히 말해, 애플리케이션에서 A/B 테스트를 위해 사용자 지정 데이터를 사용할 수 있습니다.
두 개의 뷰 컨트롤러를 만들어 보겠습니다. 한 컨트롤러(A)는 할인 값으로 열리고, 두 번째 컨트롤러(B)는 다른 할인 매개변수로 열립니다.
이제 푸시 알림 페이로드에 따라 적절한 뷰 컨트롤러를 여는 코드를 작성해 보겠습니다:
func pushwoosh(_ pushwoosh: Pushwoosh, onMessageOpened message: PWMessage) {    // MARK: - A/B Testing via Custom Data    guard let customDataJson = message.customData,          let viewController = customDataJson["vc"] as? String else {        return    }
    if viewController == "A" {        setControllerA()    } else if viewController == "B" {        setControllerB()    }}
func setControllerA() {    if let topController = UIApplication.shared.topMostController() {        let storyboard = UIStoryboard(name: "Main", bundle: nil)        if let customViewController = storyboard.instantiateViewController(withIdentifier: "a_vc") as? AViewController {            customViewController.discountA = "50"            topController.present(customViewController, animated: true, completion: nil)        }    }}
func setControllerB() {    if let topController = UIApplication.shared.topMostController() {        let storyboard = UIStoryboard(name: "Main", bundle: nil)        if let customViewController = storyboard.instantiateViewController(withIdentifier: "b_vc") as? BViewController {            customViewController.discountB = "100"            topController.present(customViewController, animated: true, completion: nil)        }    }}
사용자 지정 데이터 필드에 JSON을 추가합니다.
{  "vc": "A"}
// 사용자 지정 데이터 선택 (A 또는 B)
{  "vc": "B"}
푸시 페이로드에서 보낸 사용자 지정 데이터('vc': 'A' 또는 'vc': 'B')에 따라, 한 사용자 세그먼트는 하나의 컨트롤러를 열고 다른 사용자 세그먼트는 다른 컨트롤러를 엽니다.
뷰 컨트롤러 “A”
Anchor link to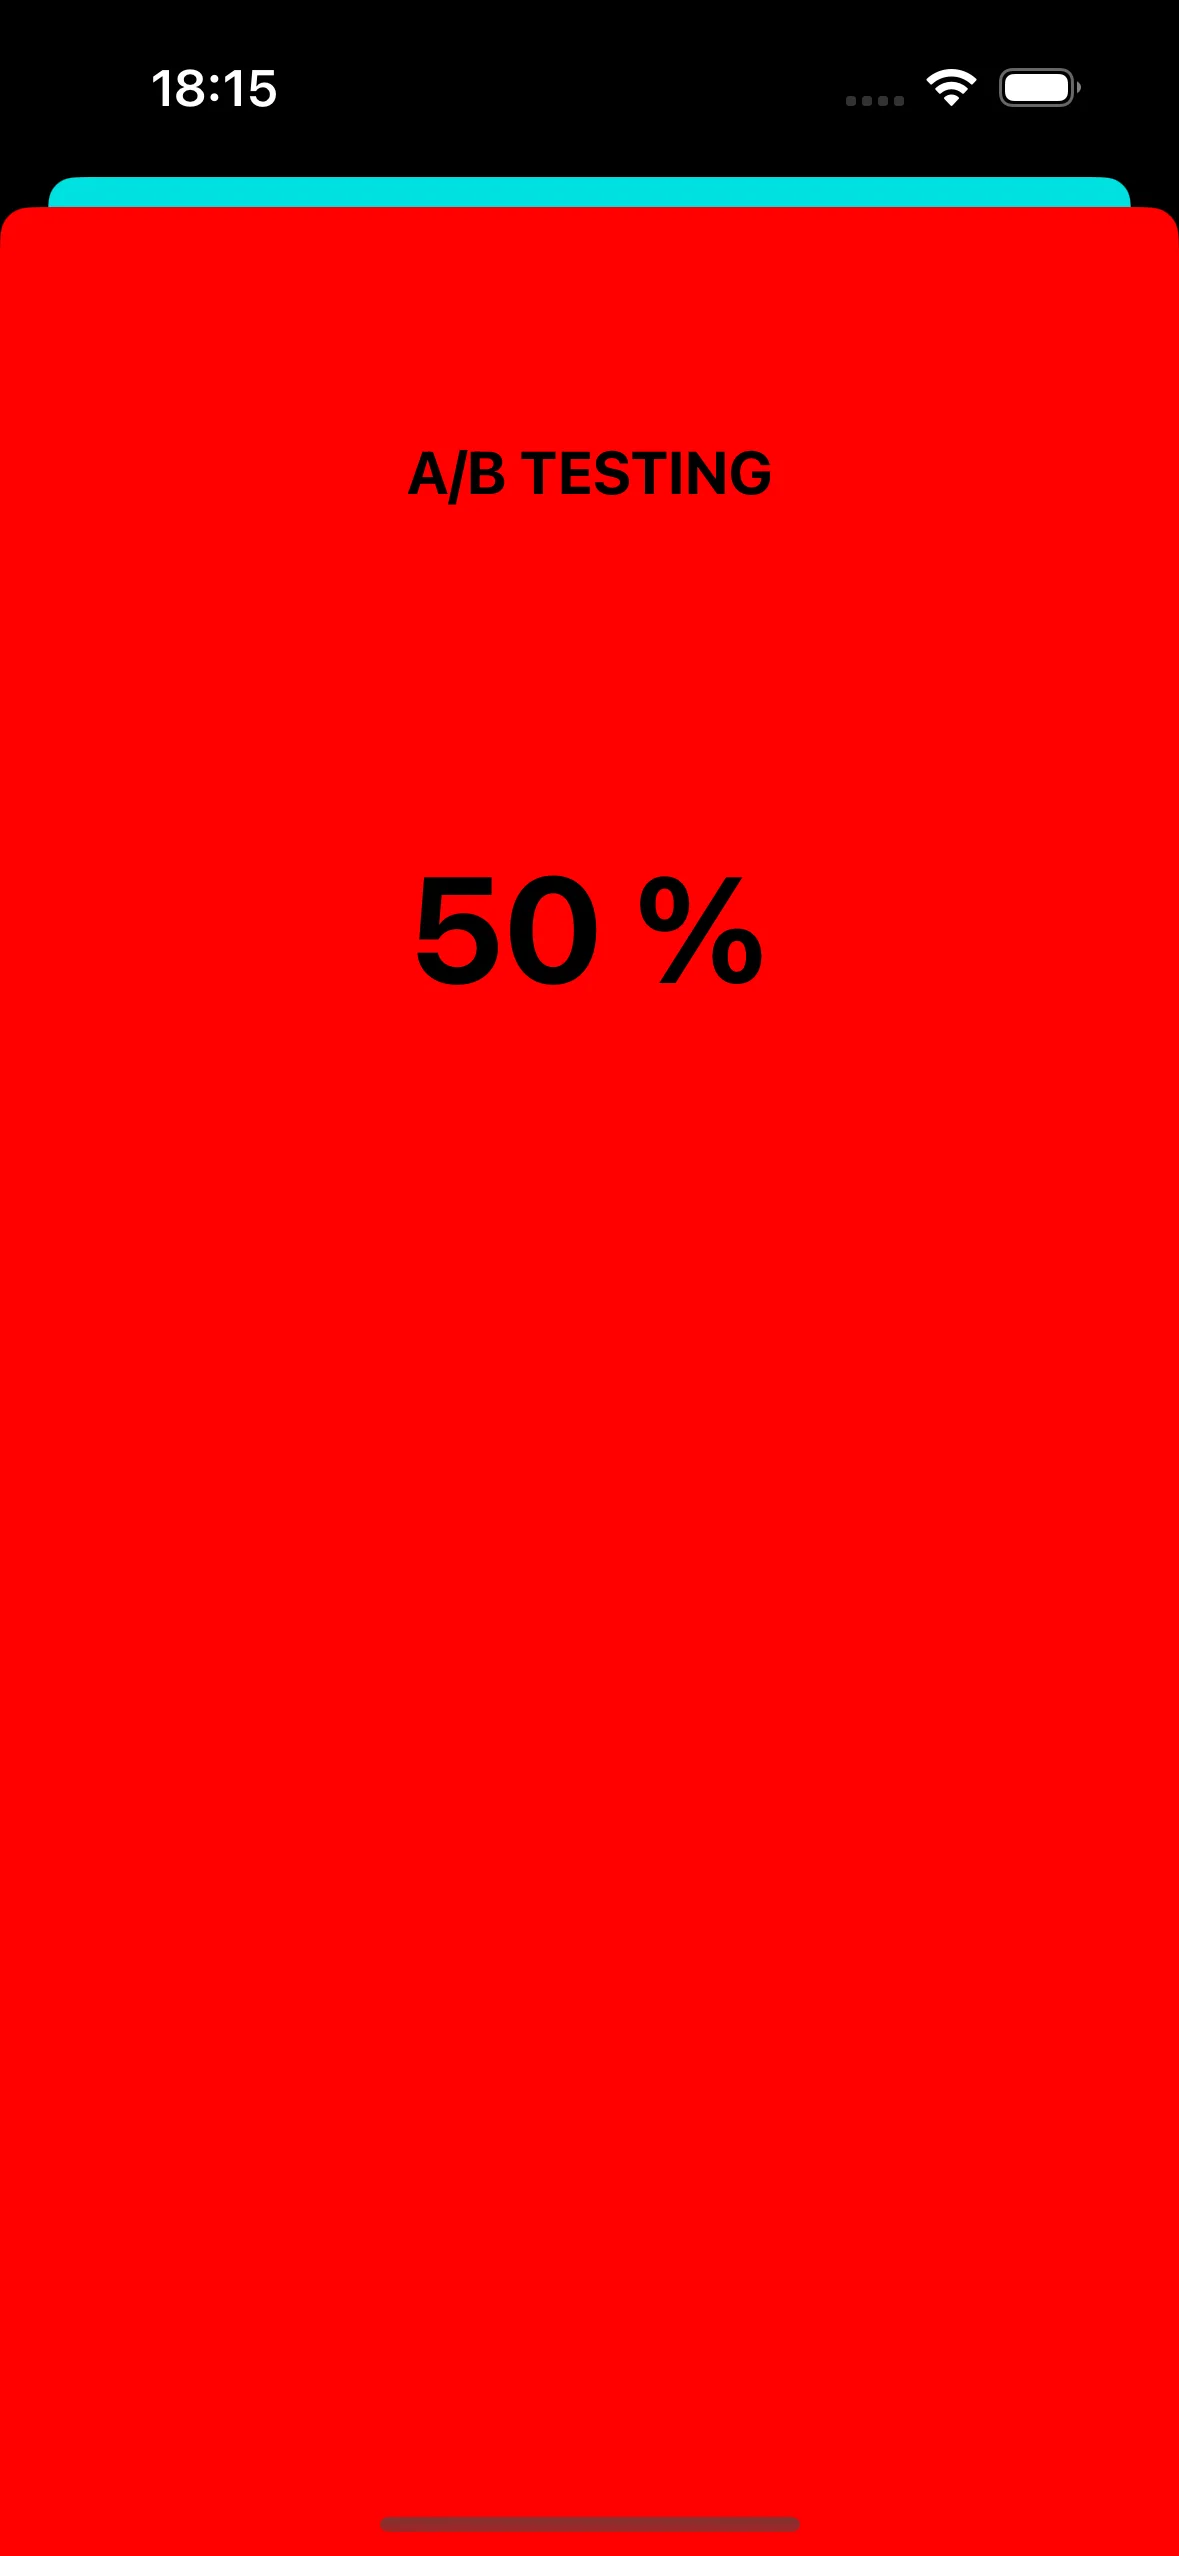
뷰 컨트롤러 “B”
Anchor link to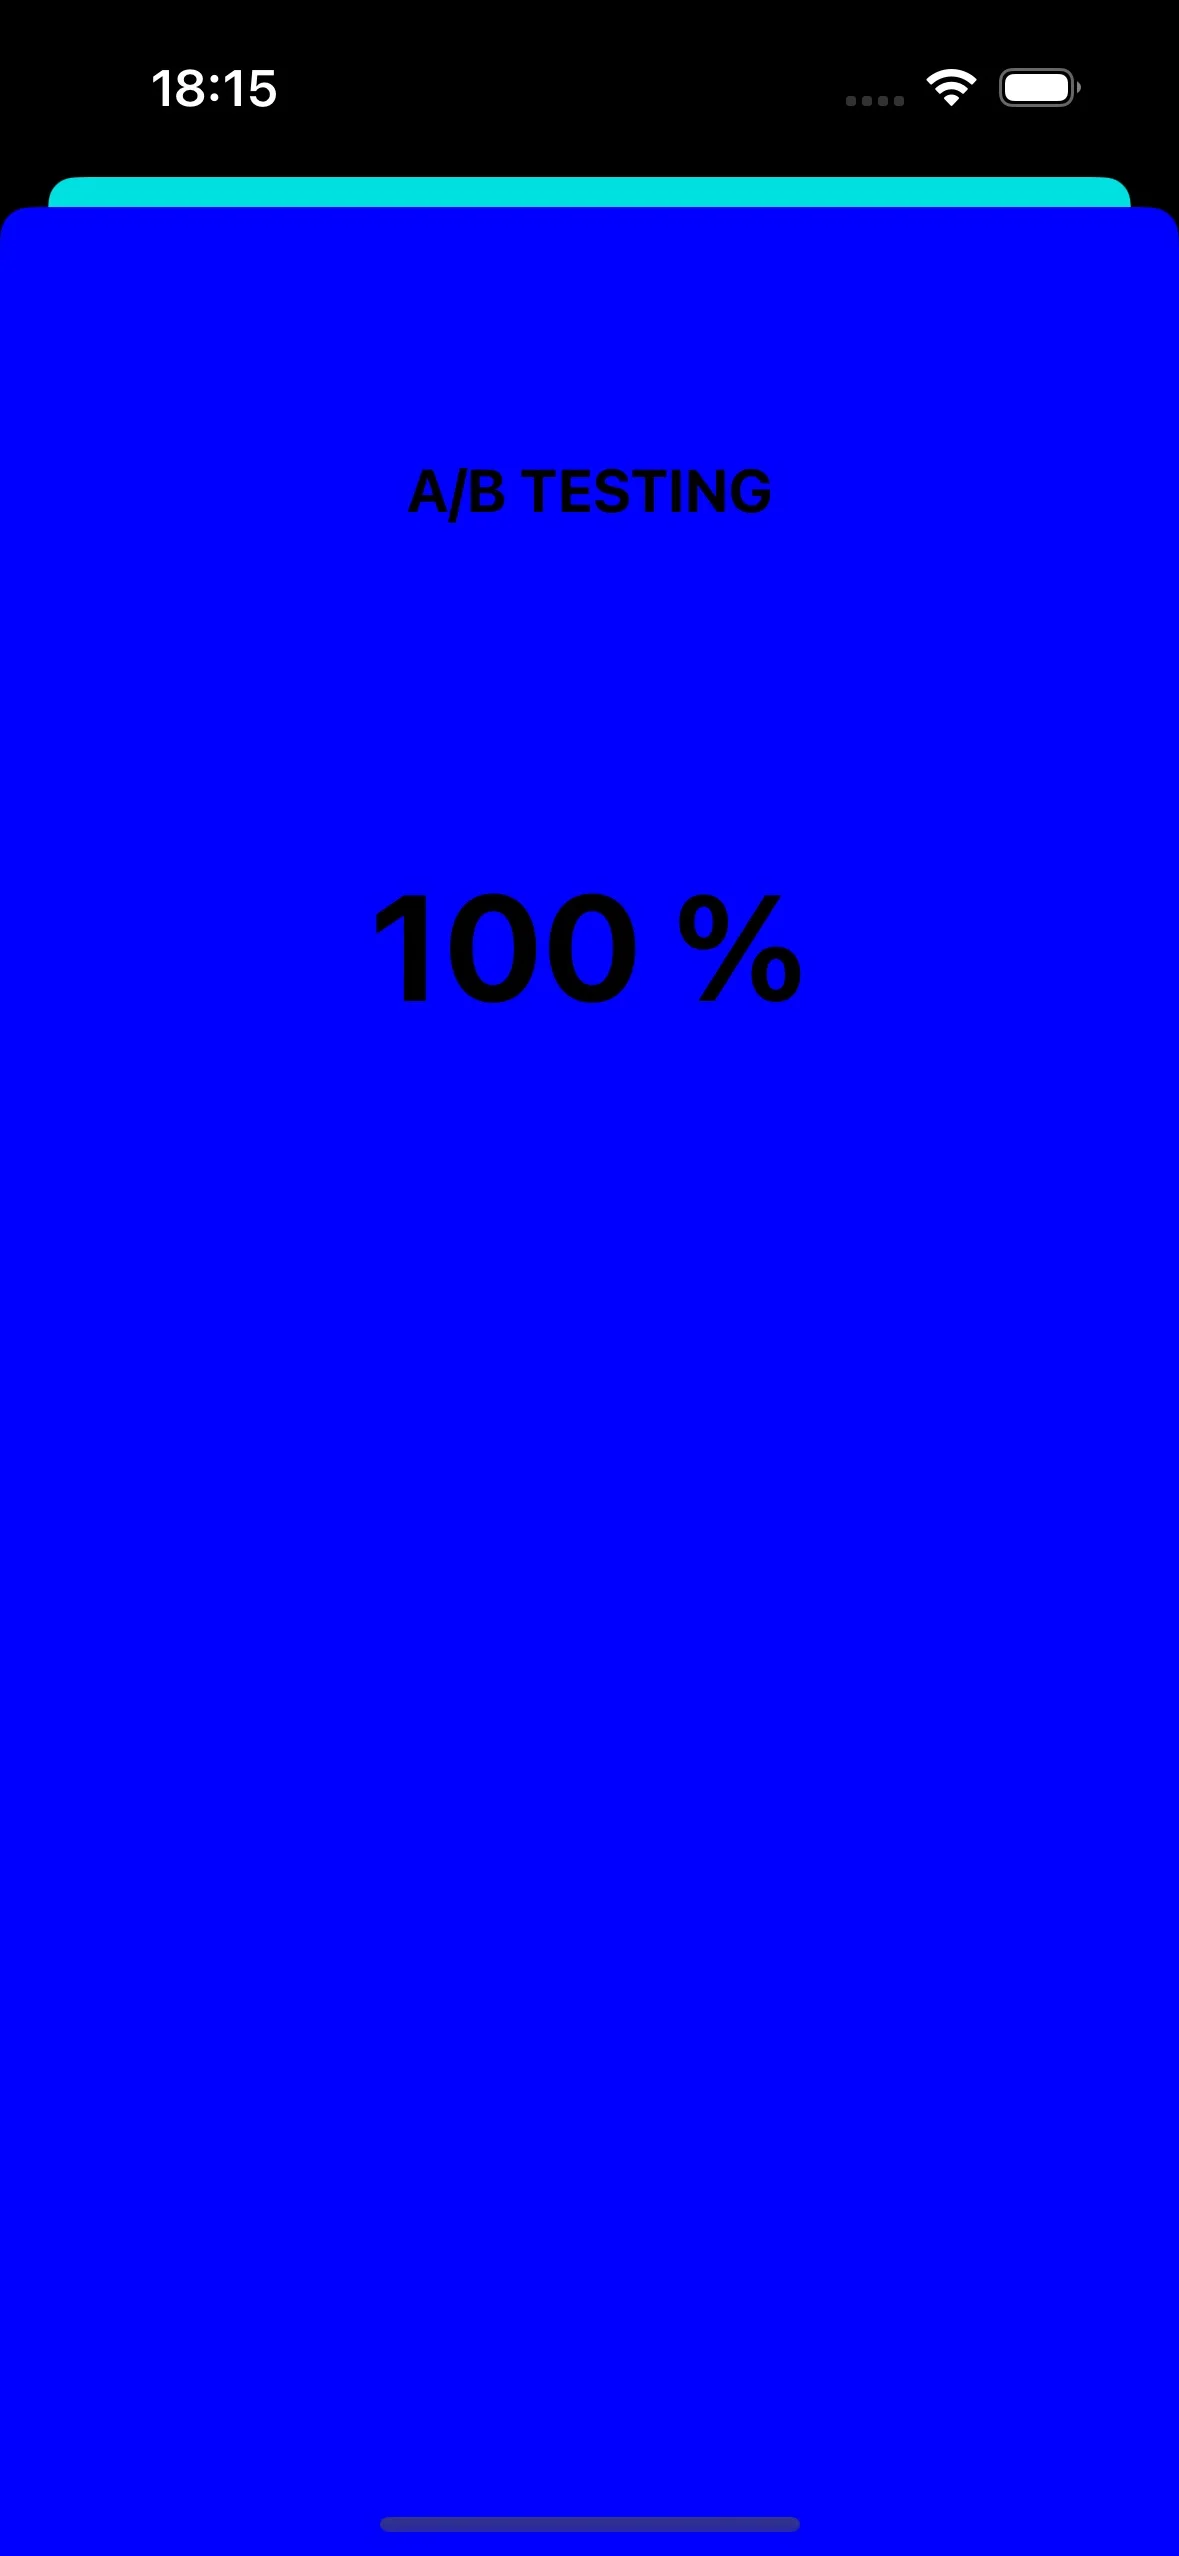
푸시 알림을 통해 앱 아이콘 변경
Anchor link toiOS에서 푸시 알림을 사용할 수 있는 또 다른 예는 앱 아이콘을 변경하는 것입니다.
먼저, 에셋에 세 가지 다른 아이콘을 추가합니다. 하나는 기본 앱 아이콘으로 사용되고, 다른 두 개는 푸시 알림의 사용자 지정 데이터에 따라 변경됩니다.

iOS 애플리케이션에서 대체 앱 아이콘을 활성화하려면 Info.plist 파일에 필요한 구성을 추가해야 합니다. 다음은 그 단계입니다:
<key>CFBundleIcons</key><dict> <key>CFBundleAlternateIcons</key> <dict> <key>AppIcon-2</key> <dict> <key>CFBundleIconFiles</key> <array> <string>Icon-2</string> </array> <key>UIPrerenderedIcon</key> <true/> </dict> <key>AppIcon-3</key> <dict> <key>CFBundleIconFiles</key> <array> <string>Icon-3</string> </array> <key>UIPrerenderedIcon</key> <true/> </dict> </dict> <key>CFBundlePrimaryIcon</key> <dict> <key>CFBundleIconFiles</key> <array> <string>Icon-1</string> </array> <key>UIPrerenderedIcon</key> <true/> </dict></dict>pushwoosh(_ pushwoosh: Pushwoosh, onMessageOpened message: PWMessage) 콜백에서 푸시 알림으로 받은 사용자 지정 데이터에 따라 앱 아이콘을 변경하는 코드를 추가할 수 있습니다. 다음과 같이 구현할 수 있습니다:
func pushwoosh(_ pushwoosh: Pushwoosh, onMessageOpened message: PWMessage) {    // MARK: - Change the app icon dynamically    guard let customDataJson = message.customData,          let appIcon = customDataJson["i"] as? String else {              return          }
    UIApplication.shared.setAlternateIconName(appIcon) { error in        if let error = error {            print(error.localizedDescription)        } else {            print("Success!")        }    }}
JSON 코드를 추가합니다:
{ "i": "AppIcon-2"}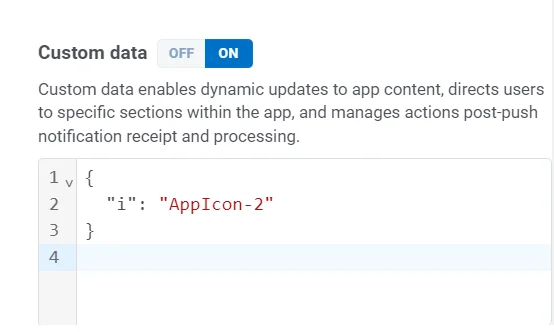
푸시 알림을 탭하면 시스템이 기기에서 앱 아이콘을 변경하라는 메시지를 표시합니다.
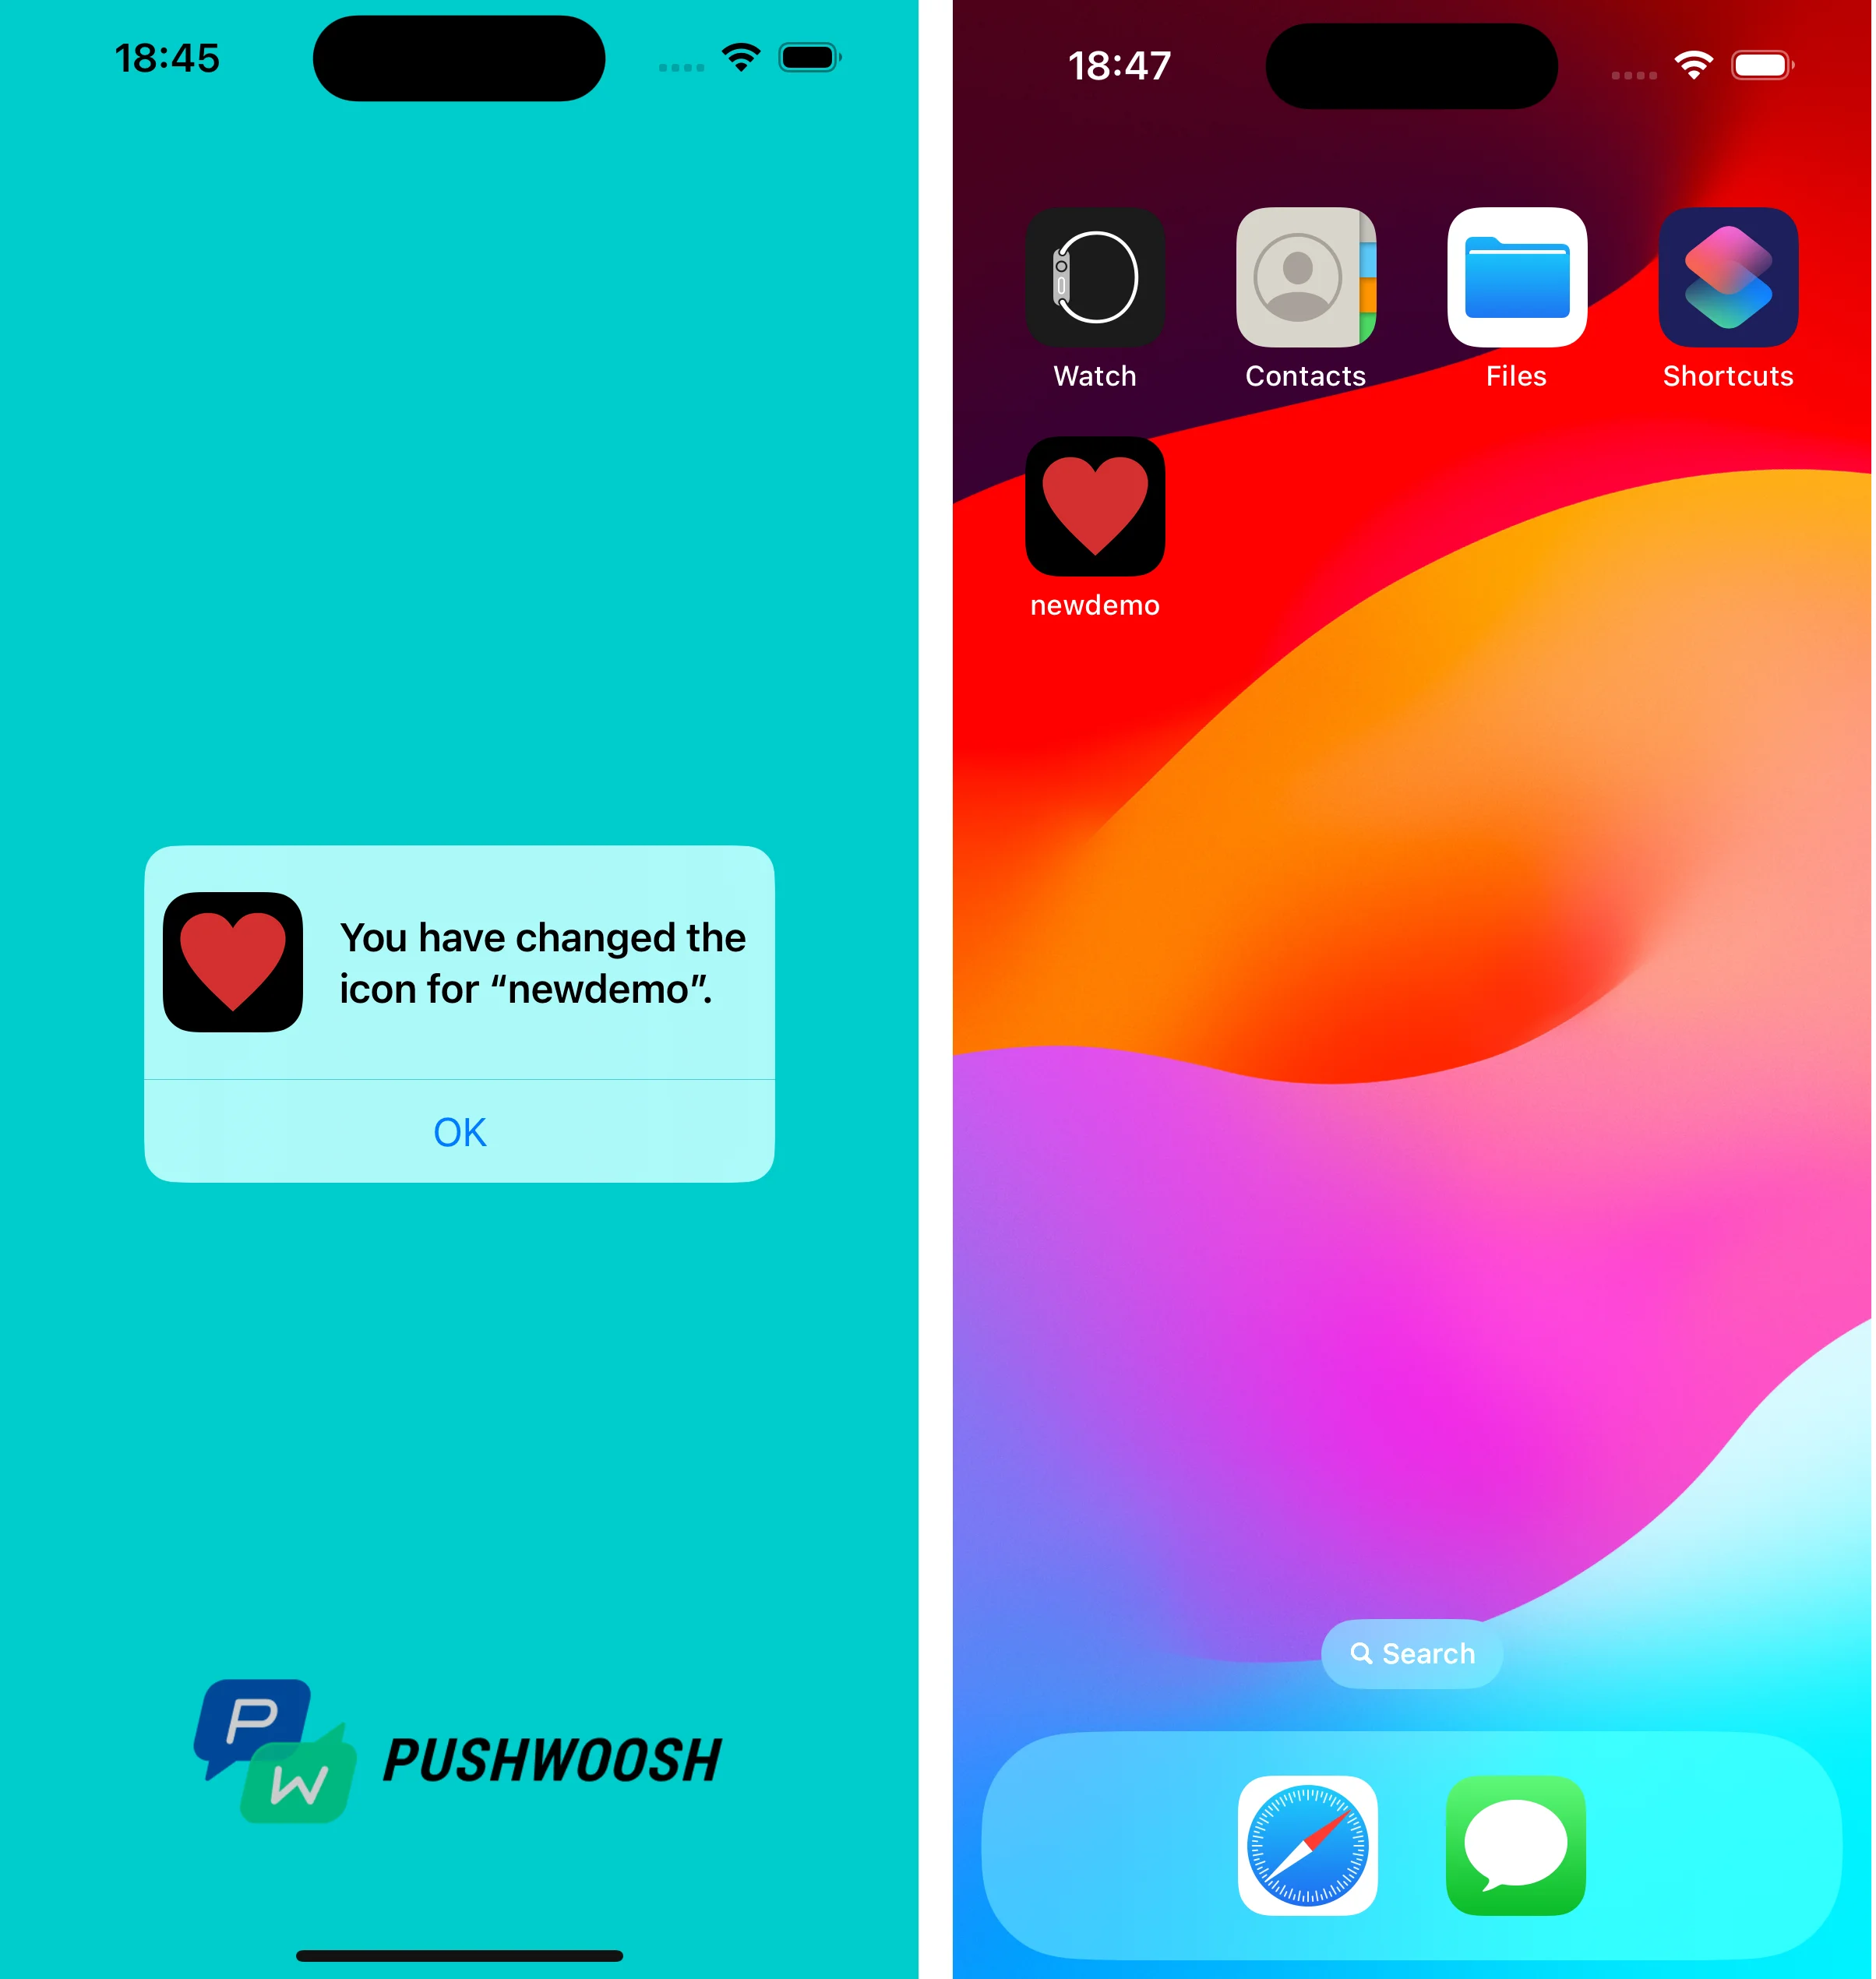
사용자 지정 데이터를 활용하는 프로젝트는 GitHub에서 찾을 수 있습니다.