添加推送测试设备
您可以使用测试设备,在向应用用户发送推送通知前,预览其在设备上的显示效果。为此,您需要将您的设备(已安装您的应用)注册为测试设备。
要添加测试设备:
- 在您的 Pushwoosh 账户中,导航至测试设备部分。
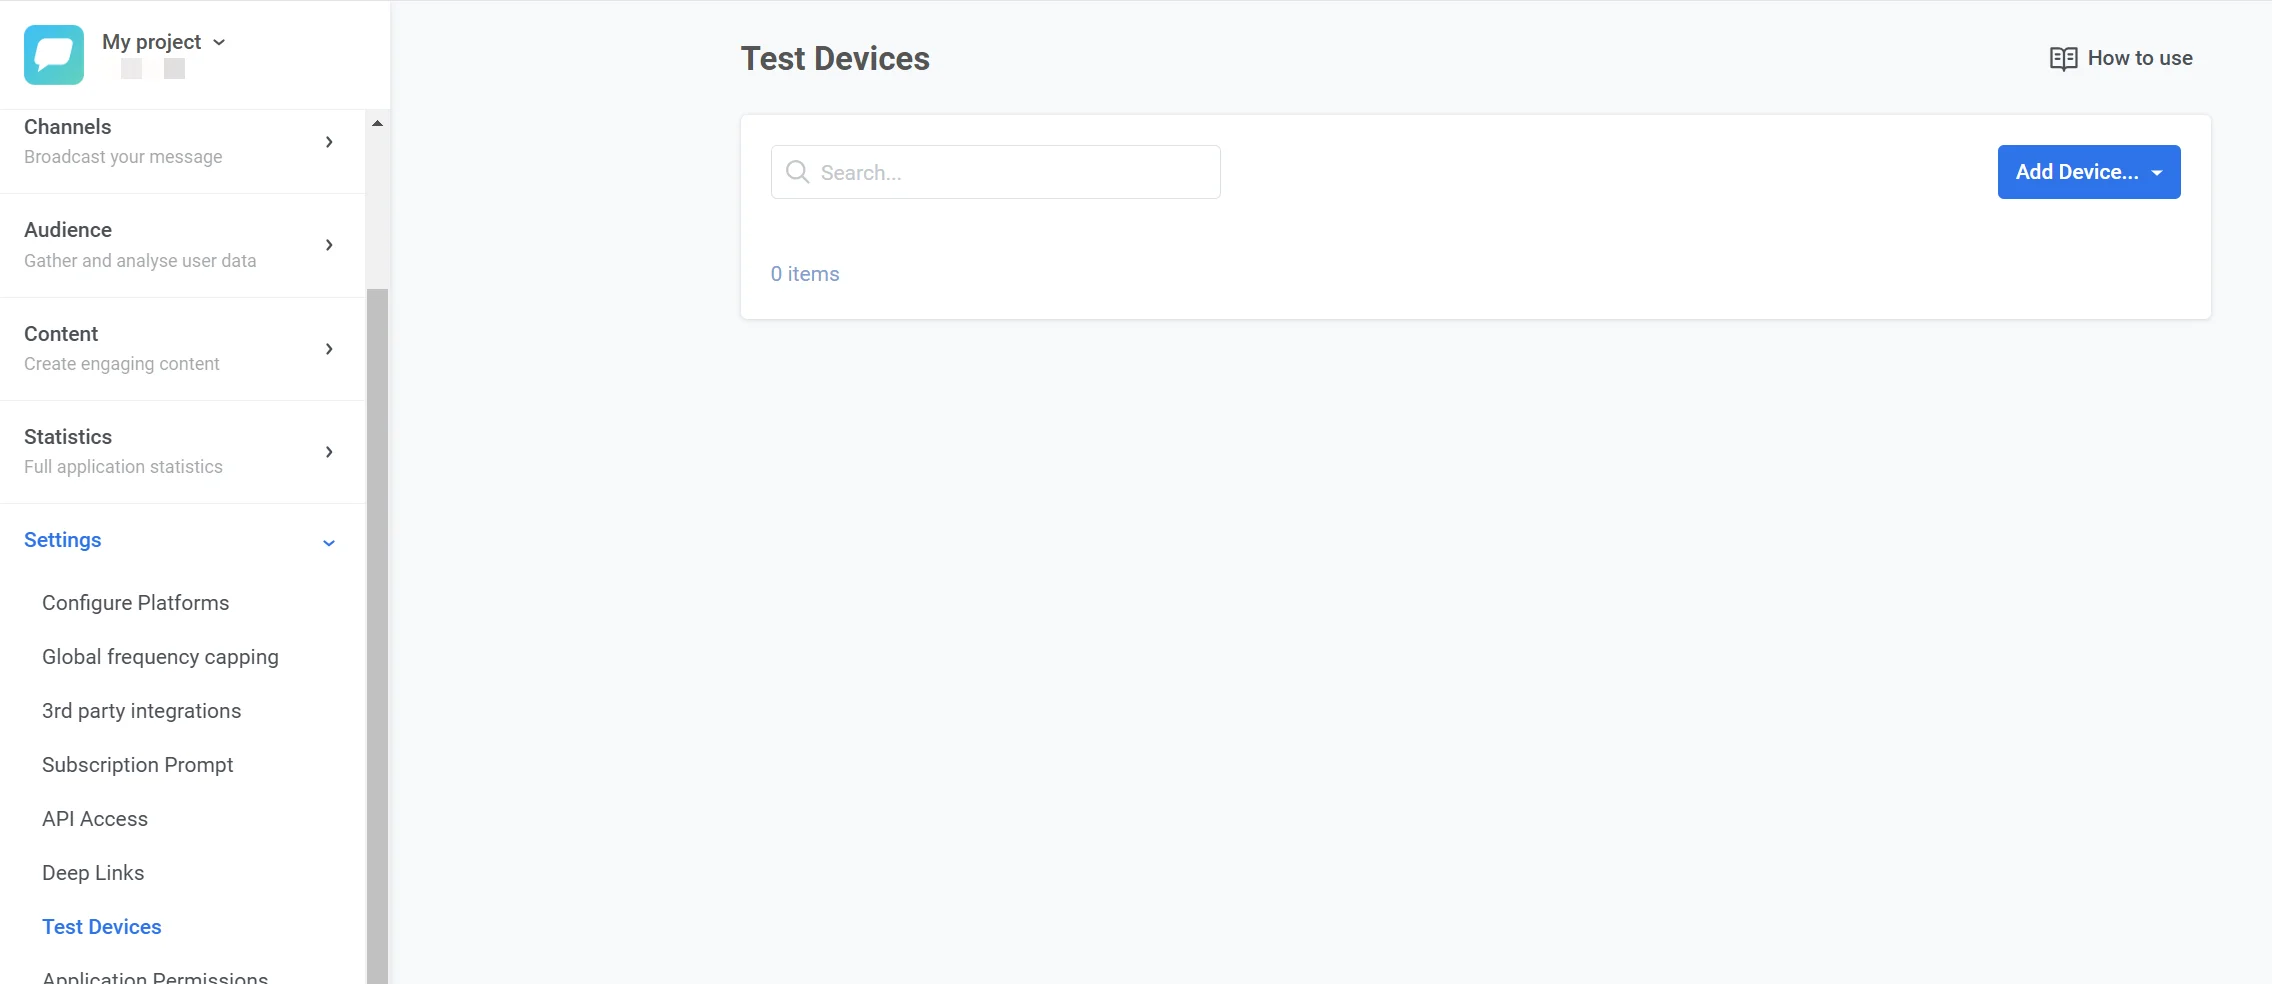
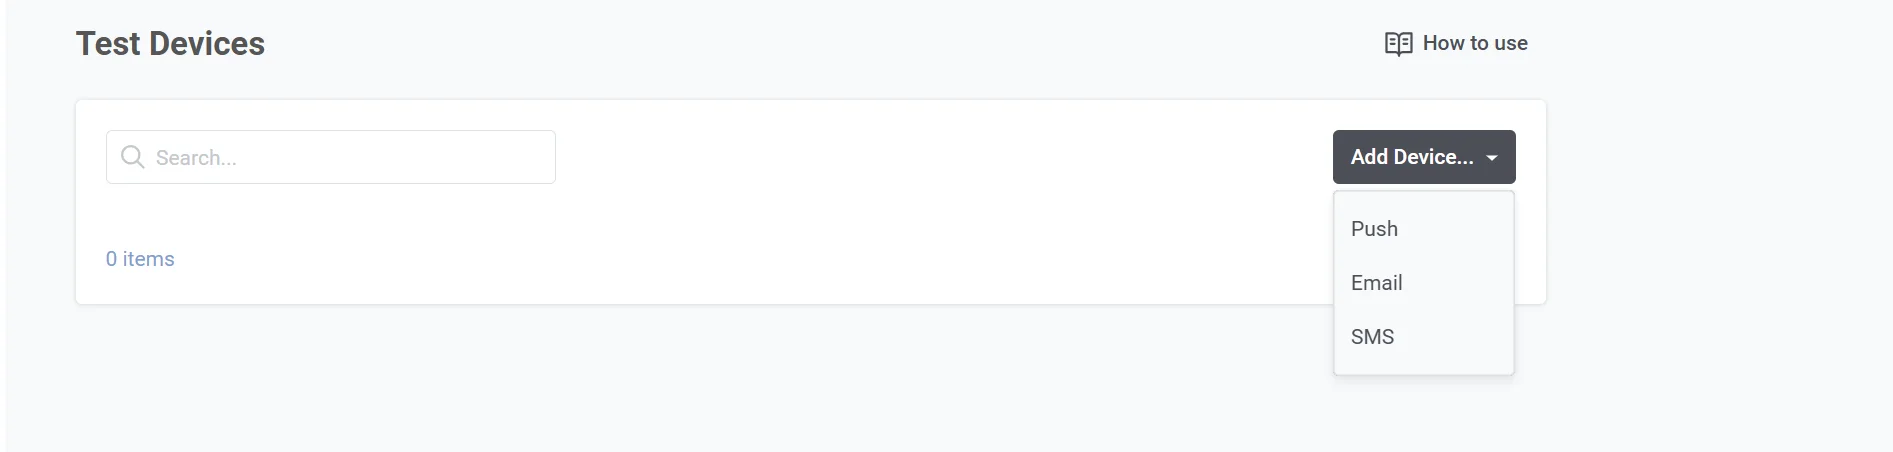
- 点击右上角的添加设备下拉按钮,然后选择推送。
您可以使用以下两种方法之一添加推送测试设备:使用二维码自动配置或手动配置。
自动添加测试设备
Anchor link to此方法仅适用于 iOS 和 Android 设备。
- 在测试设备部分,点击添加设备并选择推送。
- 扫描弹出窗口中出现的二维码。这将生成一个深层链接,Pushwoosh SDK 可以解析该链接以自动将您的设备注册为测试设备。
- 将深层链接添加到应用配置中:
- 对于 Android:将其添加到
AndroidManifest.xml文件中。 - 对于 iOS:将其添加到
Info.plist文件中。
更多详情,请遵循实现部分中针对 Android 和 iOS 的说明。
手动添加测试设备
Anchor link to如果您希望手动注册测试设备,请按以下步骤操作:
- 从成功的
/registerDeviceAPI 调用中获取设备的硬件 ID (HWID)。 - 填写必填字段:
- 设备名称:测试设备的描述性名称(例如,“John 的 Android”)。
- 设备 HWID:设备的唯一硬件 ID。
- 设备类型:选择平台(例如,iOS、Android、Web)。
- 描述(可选):添加有关设备的任何注释或详细信息以供参考。
- 点击保存以注册测试设备。
注册后,测试设备将显示在测试设备部分。
Android
Anchor link to-
将 Pushwoosh SDK 集成到您的应用程序中。
-
将 DeepLinkActivity 添加到您的 AndroidManifest.xml 中:
<activity          android:name="com.pushwoosh.DeepLinkActivity"          android:theme="@android:style/Theme.Translucent.NoTitleBar" >  <intent-filter>    <action android:name="android.intent.action.VIEW" />    <category android:name="android.intent.category.DEFAULT" />    <category android:name="android.intent.category.BROWSABLE" />
    <data android:scheme="pushwoosh-YOUR_PUSHWOOSH_APP_ID" />  </intent-filter></activity>
不要忘记将上面 xml 中的 YOUR_PUSHWOOSH_APP_ID 替换为您的 Pushwoosh App ID。 示例:<data android:scheme=“pushwoosh-ABCDE-EDCBA” />
-
启动应用程序以订阅推送通知。
-
使用任何合适的二维码扫描器应用*扫描测试设备表单中的二维码。将会出现一条 toast 消息,指示测试设备注册的状态。
-
大多数二维码扫描应用都能正确处理此类深层链接,以下仅列举其中几个:
-
将 Pushwoosh SDK 集成到您的应用程序中。
-
将 pushwoosh-YOUR_PUSHWOOSH_APP_ID URL scheme 添加到 Info.plist 文件中:
<key>CFBundleURLTypes</key><array> <dict> <key>CFBundleTypeRole</key> <string>Editor</string> <key>CFBundleURLName</key> <string>com.pushwoosh.scheme</string> <key>CFBundleURLSchemes</key> <array> <string>pushwoosh-YOUR_PUSHWOOSH_APP_ID</string> </array> </dict></array>不要忘记将上面 XML 中的 YOUR_PUSHWOOSH_APP_ID 替换为您的 Pushwoosh App ID。 示例:pushwoosh-ABCDE-EDCBA
Info.plist
将 UIApplicationSceneManifest 添加到您的 Info.plist 中。
<key>UIApplicationSceneManifest</key> <dict> <key>UIApplicationSupportsMultipleScenes</key> <true/> <key>UISceneConfigurations</key> <dict> <key>UIWindowSceneSessionRoleApplication</key> <array> <dict> <key>UISceneConfigurationName</key> <string></string> <key>UISceneDelegateClassName</key> <string>$(PRODUCT_MODULE_NAME).SceneDelegate</string> </dict> </array> </dict> </dict>SceneDelegate
如下例所示添加 SceneDelegate 代码。
import SwiftUI
@mainstruct DemoApp: App {  @UIApplicationDelegateAdaptor(AppDelegate.self) var appDelegate
  var body: some Scene {      WindowGroup {          ContentView()      }  }}
class SceneDelegate: NSObject, UIWindowSceneDelegate {
  var window: UIWindow?
  func scene(_ scene: UIScene, willConnectTo session: UISceneSession, options connectionOptions: UIScene.ConnectionOptions) {      guard let _ = (scene as? UIWindowScene) else { return }  }}
class AppDelegate: NSObject, UIApplicationDelegate, PWMessagingDelegate {
  func application(_ application: UIApplication, configurationForConnecting connectingSceneSession: UISceneSession, options: UIScene.ConnectionOptions) -> UISceneConfiguration {      let sceneConfig: UISceneConfiguration = UISceneConfiguration(name: nil, sessionRole: connectingSceneSession.role)      sceneConfig.delegateClass = SceneDelegate.self      return sceneConfig  }
}-
启动应用程序以订阅推送通知。
-
使用任何合适的二维码扫描器扫描测试设备表单中的二维码。