How to issue a wallet pass on geozone entry
Issue an Apple or Google Wallet pass when a shopper enters a store geozone, then push the install link. This guide builds that journey with the Issue wallet pass element.
Create a Wallet Pass Campaign
Anchor link toThe Issue wallet pass element can only issue passes from an existing campaign, so create one first. A campaign’s platform is permanent, so if you support both Apple Wallet and Google Wallet, repeat this section once per platform.
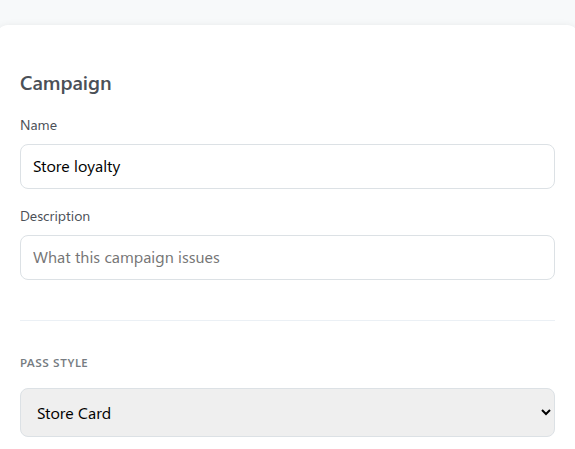
- Go to Campaigns → Wallet Passes → Campaigns and click Create campaign.
- Choose Apple Wallet or Google Wallet as the Platform, enter a Name for your own reference, for example
Store loyalty(this labels the campaign in Pushwoosh, it doesn’t appear on the pass), and pick a pass style, for example Store Card (Apple) or Loyalty card (Google).
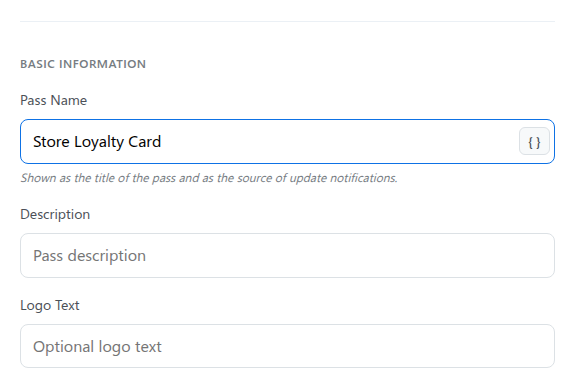
- Under Basic Information, set Pass Name to what shows on the pass itself, for example
Store Loyalty Card.
- Design the rest of the pass, then preview and create the campaign.
Full field-by-field walkthrough: Create a Wallet Pass Campaign.
Create the store’s geozone
Anchor link toThe journey needs a live geozone to trigger from, so create one before building the journey.
- Go to Campaigns → Geo campaigns and click Create geozone.
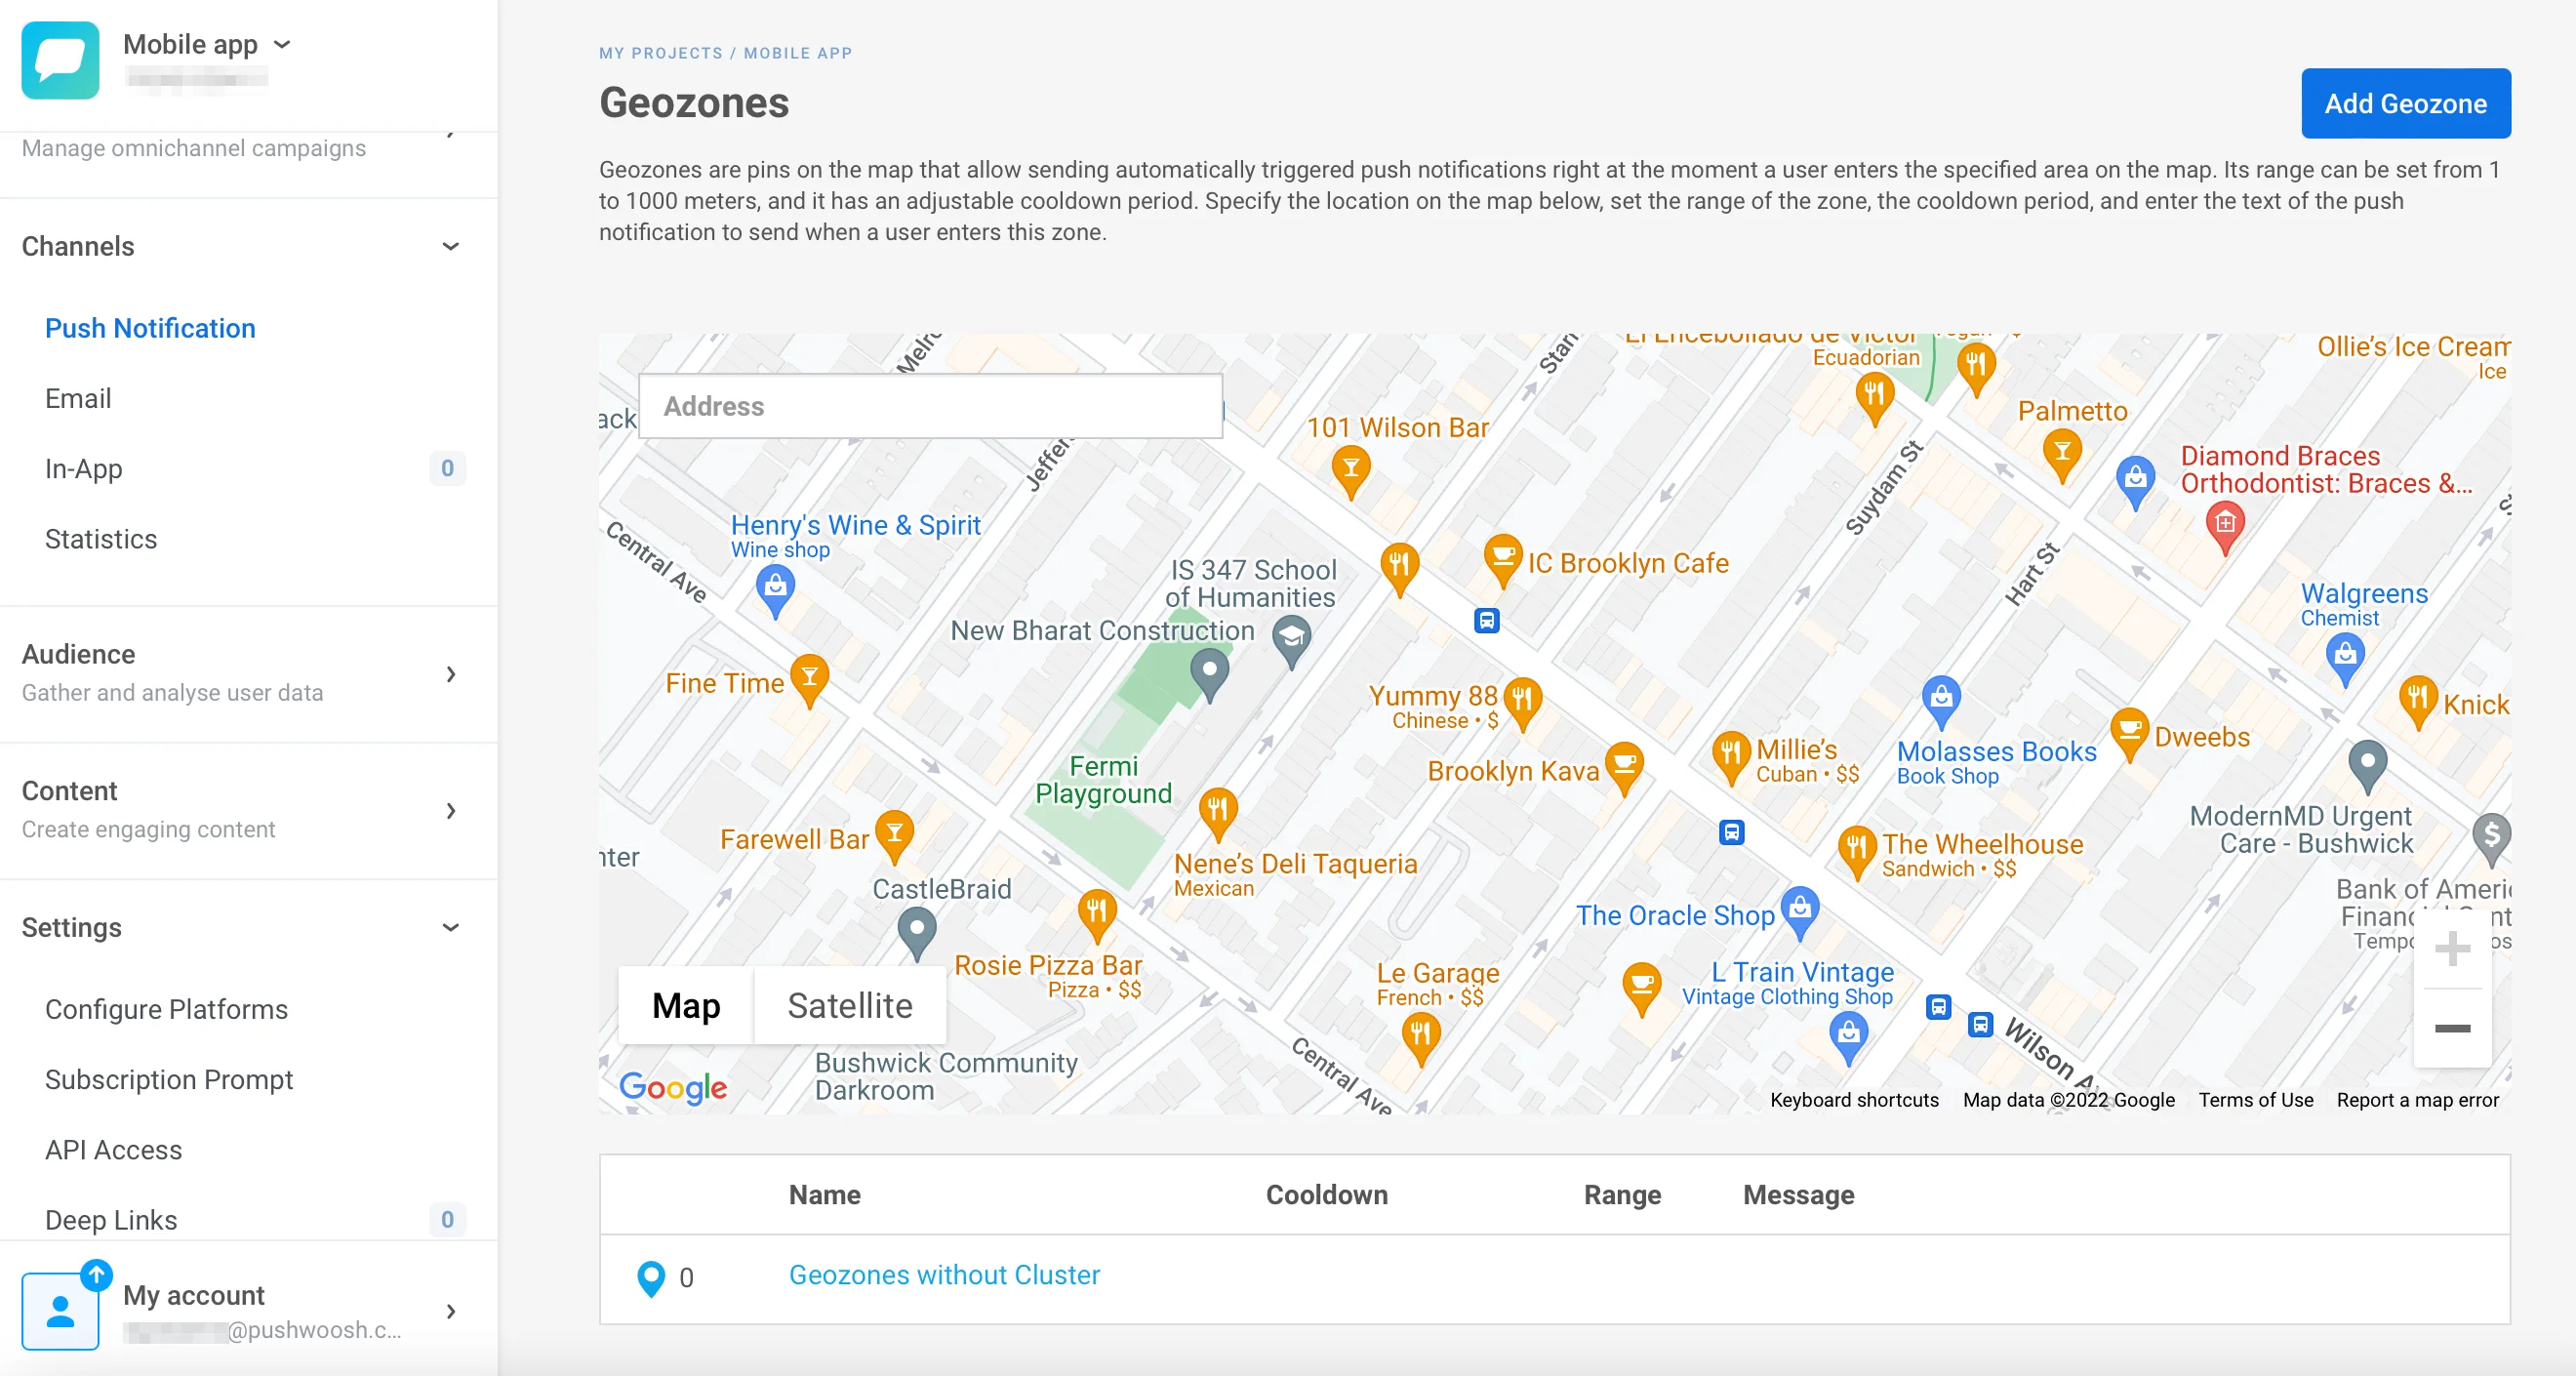
- Enter a Campaign name, for example
Downtown store.

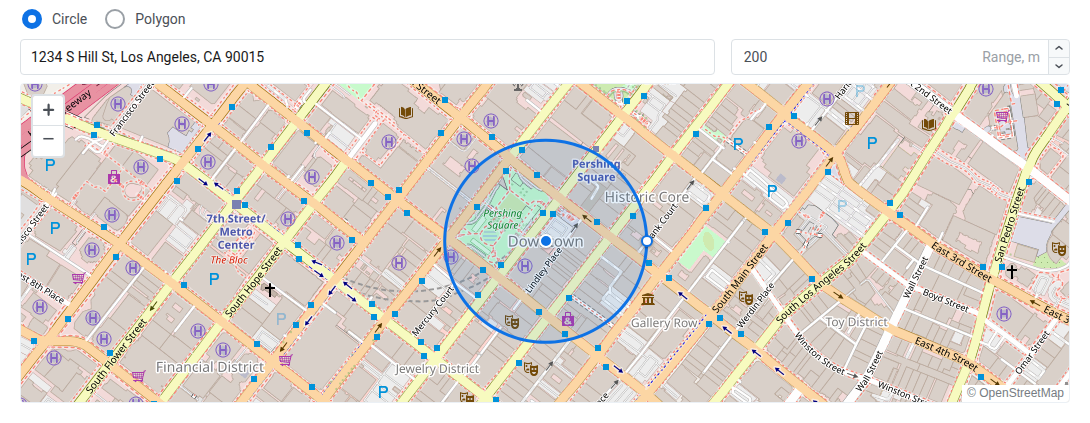
- Under Trigger location, choose Circle, search for the store’s address, and set Range, m (at least 50).
- Under Entry actions, turn on Fire event. Leave Event name empty so the default
PW_GeozoneEnteredis used. - Turn Send push off if you only want the journey to message the shopper, not a separate geozone push on the same entry.
- Set Cooldown (Standalone with a short duration is enough to start) and Campaign schedule (Always active unless you need set hours).

- Click Save. The event is available in Trigger-based entry as soon as you save.
Full field-by-field walkthrough: Create a geozone.
Build the journey
Anchor link toGo to Campaigns → Customer Journey Builder, click Create campaign, and build everything below on one canvas.
Set the entry
Anchor link to- Add a Trigger-based entry element to the canvas.
- Name it
Geozone Entry. - Select
PW_GeozoneEnteredas the Event.
Issue the wallet pass
Anchor link to- Add Issue wallet pass right after the entry.
- Name it
Store pass.
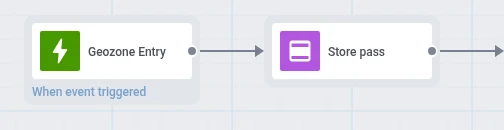
- In Apple Wallet campaign, select the campaign you created for Apple. In Google Wallet campaign, select the campaign you created for Google. Each dropdown only lists campaigns for its own platform. The element issues a pass for each platform you select.

Branch by platform and send the push
Anchor link to- After Issue wallet pass, add a Reachability check element and name it, for example,
iOS Device?. - Under Push Notifications, click iOS.
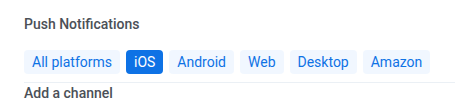
- Under Which devices to check, select Only the device that entered, so the check matches the device that triggered the geozone entry, not every device the shopper owns.

- On the Push: iOS branch, add a Push element. Select Marketing message or Transactional message, and turn off Send to all user devices (from UserID) so the push goes only to the device that entered the geozone.
- In the message body, insert
{apple_install_link|regular|}. - Turn on Personalise message with event attributes, check Overwrite placeholder, set Source event to
Store pass, and set Dynamic attribute toapple_install_link.

- After you edit the push, reselect the preset so the mapping picks up the new placeholder. Full click path: Send the pass link to the user.
- On All others, add a second Reachability check named
Android Device?, with Push Notifications narrowed to Android and the same Only the device that entered setting. - On its Push: Android branch, add Push. Set the message type and turn off Send to all user devices (from UserID) as on the iOS branch. Insert
{google_save_link|regular|}and map Dynamic attributegoogle_save_linkthe same way. - Leave the remaining All others branch unconnected, unless you have another channel for those users. A branch with no outgoing connection ends the journey there on its own, so it doesn’t need an Exit element.
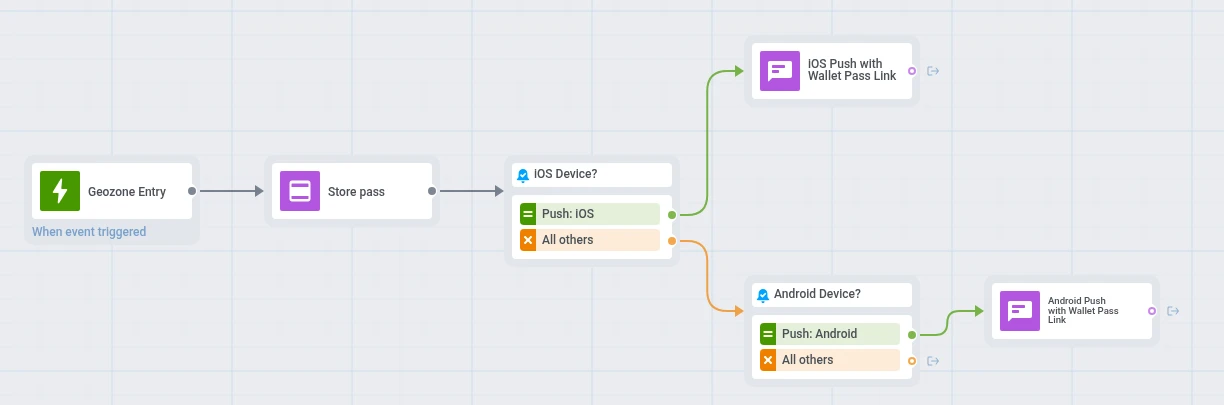
A shopper reaches All others when their device isn’t registered on the platform you’re checking, or when their Push Alerts Enabled tag isn’t true for that device (push permission off).
When PW_GeozoneEntered fires, the shopper enters the journey, Issue wallet pass issues their pass, and the matching Push delivers the install link for their platform.
Launch and check
Anchor link to- Launch the journey when the canvas is ready.
- After a test entry, check entries and drop-offs on Issue wallet pass and the stats on each Push.
Later visits
Anchor link toA repeat visit reuses the same pass and resends the push. Only the geozone’s cooldown gates a later visit, not the entry’s re-entry setting. That setting only blocks a repeat trigger while the shopper’s previous session is still active, and the session ends right after the first visit’s push, since neither branch connects to a further step. So the default Do not allow re-entry doesn’t stop a later visit. See What happens at this step for the pass-issuance side.