How to issue a wallet pass on signup
Issue an Apple or Google Wallet pass when a loyalty member joins, then deliver the install link by email. This guide builds that journey with the Issue wallet pass element.
Create a Wallet Pass Campaign
Anchor link toThe Issue wallet pass element can only issue passes from an existing campaign, so create one first. A campaign’s platform is permanent, so if you support both Apple Wallet and Google Wallet, repeat this section once per platform.
- Go to Campaigns → Wallet Passes → Campaigns and click Create campaign.
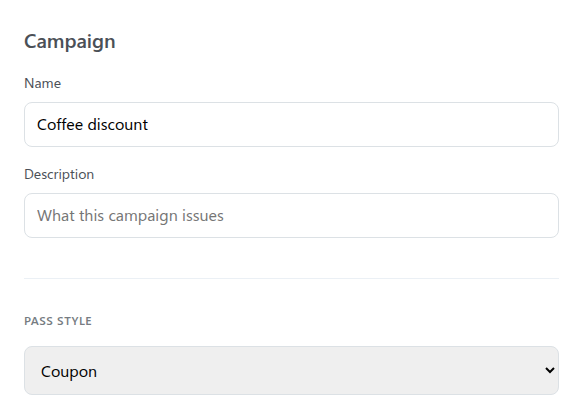
- Choose Apple Wallet or Google Wallet as the Platform, enter a Name for your own reference, for example
Coffee discount(this labels the campaign in Pushwoosh, it doesn’t appear on the pass), and pick a pass style, for example Coupon (Apple) or Loyalty card (Google).
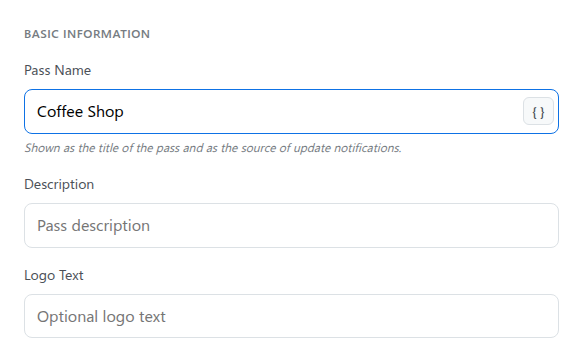
- Under Basic Information, set Pass Name to what shows on the pass itself, for example
Coffee Shop.
-
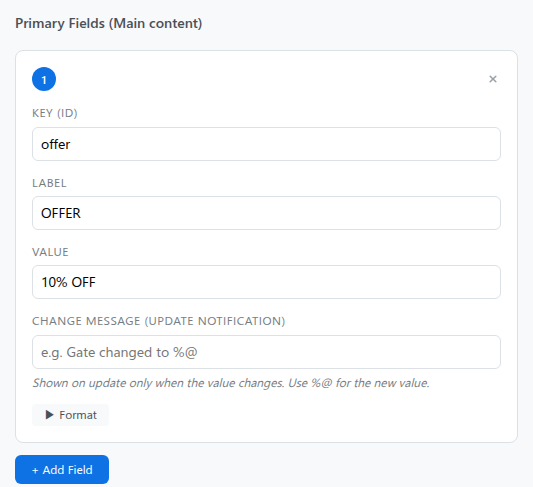
Add a field to carry the offer.
- On Apple Wallet, under Pass Fields, click Add Field under Primary Fields.
- Set its Key (ID) to
offer. - Set its Label to
OFFER.
Google Wallet’s pass types use their own named fields instead of free-form ones.
See Apple Wallet pass fields or Google Wallet fields for the exact field names your pass style offers.
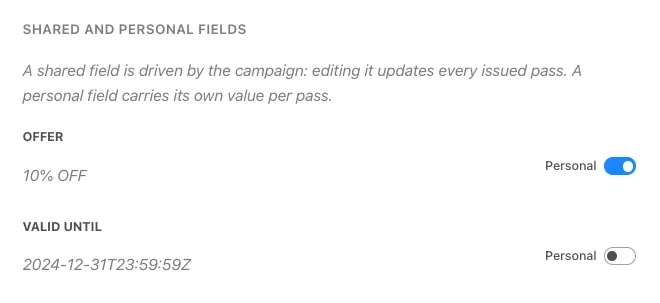
- In Shared and personal fields, that field now appears under its Label. Mark it Personal. Later, Issue wallet pass lists it by its Key (ID), shown in capitals (
OFFER), and fills it with each member’s ownoffer_code.
- Preview and create the campaign.
Full field-by-field walkthrough: Create a Wallet Pass Campaign.
Create the signup event
Anchor link to- Go to Audience → Events, click Create event, and choose Custom Event (not Default Event).

- Name it
CoffeeClubJoinedand add an attribute for the welcome offer, for exampleoffer_code.
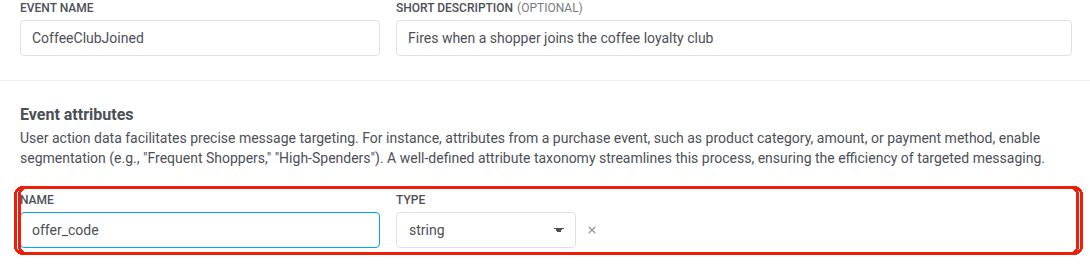
- Ask development to send that event when a member joins, with the member’s User ID and
offer_code. The pass is issued to that User ID, so send it once the member’s User ID is set. Learn more about creating events
Build the journey
Anchor link toGo to Campaigns → Customer Journey Builder, click Create campaign, and build everything below on one canvas.
Set the entry
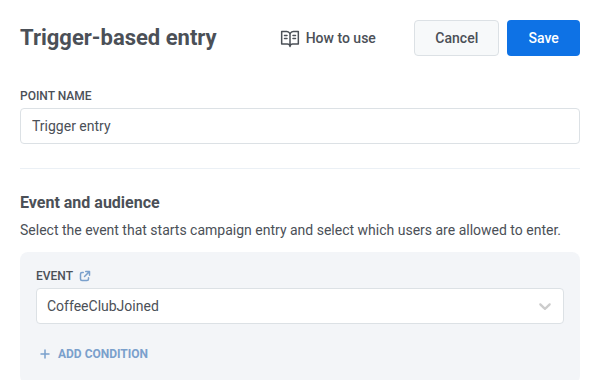
Anchor link to- Add a Trigger-based entry element to the canvas.
- Select
CoffeeClubJoinedas the Event, so every new member enters as soon as they join.
Issue the wallet pass
Anchor link to- Add an Issue wallet pass element after the entry.
- Name it
Loyalty card.

- In Apple Wallet campaign, select the campaign you created for Apple. In Google Wallet campaign, select the campaign you created for Google, if you support Android. Each dropdown only lists campaigns for its own platform.

- Under Personal fields on the pass, the list shows the personal field(s) from the campaign(s) you selected. Set OFFER (or the field you added on Google Wallet, if you support it) to the trigger entry event and choose
offer_codeas the Attribute, so each member’s pass carries their own welcome offer.

Deliver the pass by email
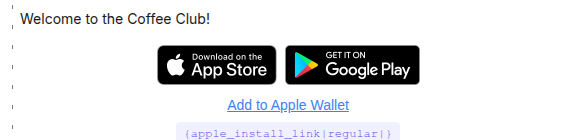
Anchor link to- Add an Email element right after Issue wallet pass and name it
Welcome email. - In the message body, insert the install link with vertical bars, for example
{apple_install_link|regular|}(or{google_save_link|regular|}). Do not use a plain{apple_install_link}.
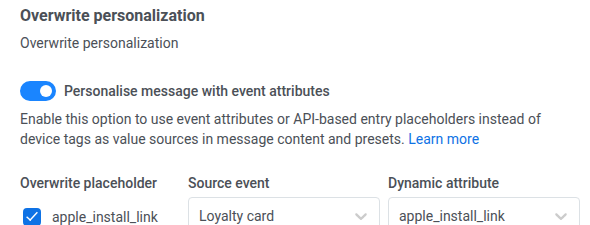
- Turn on Personalise message with event attributes.
- Check Overwrite placeholder, set Source event to your Issue wallet pass Step Name (
Loyalty card), and set Dynamic attribute to match the placeholder. Full click path: Send the pass link to the user.
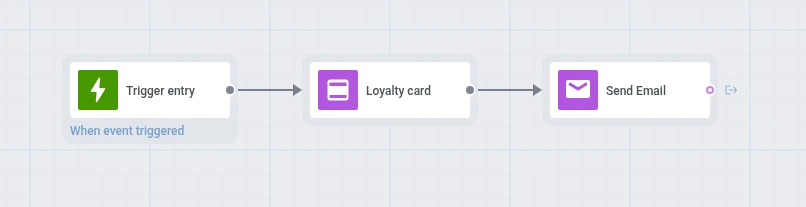
When CoffeeClubJoined fires, the member enters the journey, Issue wallet pass issues their pass with that event’s offer_code, and Welcome email sends the welcome message with the link to add it.
Launch and check
Anchor link to- Launch the journey when the canvas is ready.
- After a test signup event, check entries and drop-offs on Issue wallet pass and the stats on Welcome email.