إشعارات الويب لصفحات AMP
AMP هو إطار عمل مفتوح المصدر من Google لتطوير صفحات ويب تركز على المستخدم أولاً ويتم تحميلها بشكل فوري تقريبًا.
من خلال دمج مكون AMP Web Push في صفحات الويب AMP الخاصة بك، يمكنك الوصول إلى عملائك أثناء تصفحهم للويب على متصفحاتهم المحمولة.
دمج AMP في موقعك على الويب
Anchor link toأضف الملفات التالية إلى الدليل الجذر لموقعك على الويب:
هناك كتلتان قابلتان للتخصيص في ملف permission-dialog.html:
<div class="subscribe" permission="default"> <p class="message"> {Subscribe to push notifications} </p></div><div class="blocked" permission="denied"> <p class="message"> {Unblock push notifications in your browser settings} </p></div>حيث:
{Subscribe to push notifications}— رسالة دعوة لاتخاذ إجراء تطلب من المستخدمين السماح بالإشعارات الفورية؛{Unblock push notifications in your browser settings}— رسالة دعوة لاتخاذ إجراء تحث المستخدمين على إلغاء حظر الإشعارات الفورية في إعدادات متصفحهم (في حالة حظر الإشعارات الفورية صراحةً من قبل المستخدم).
لتخصيص مظهر مربع حوار الأذونات، أضف الكود التالي إلى وسم <head>:
 <style amp-custom>    .subscribe {        /* your css here */    }
    .blocked {        /* your css here */    }</style>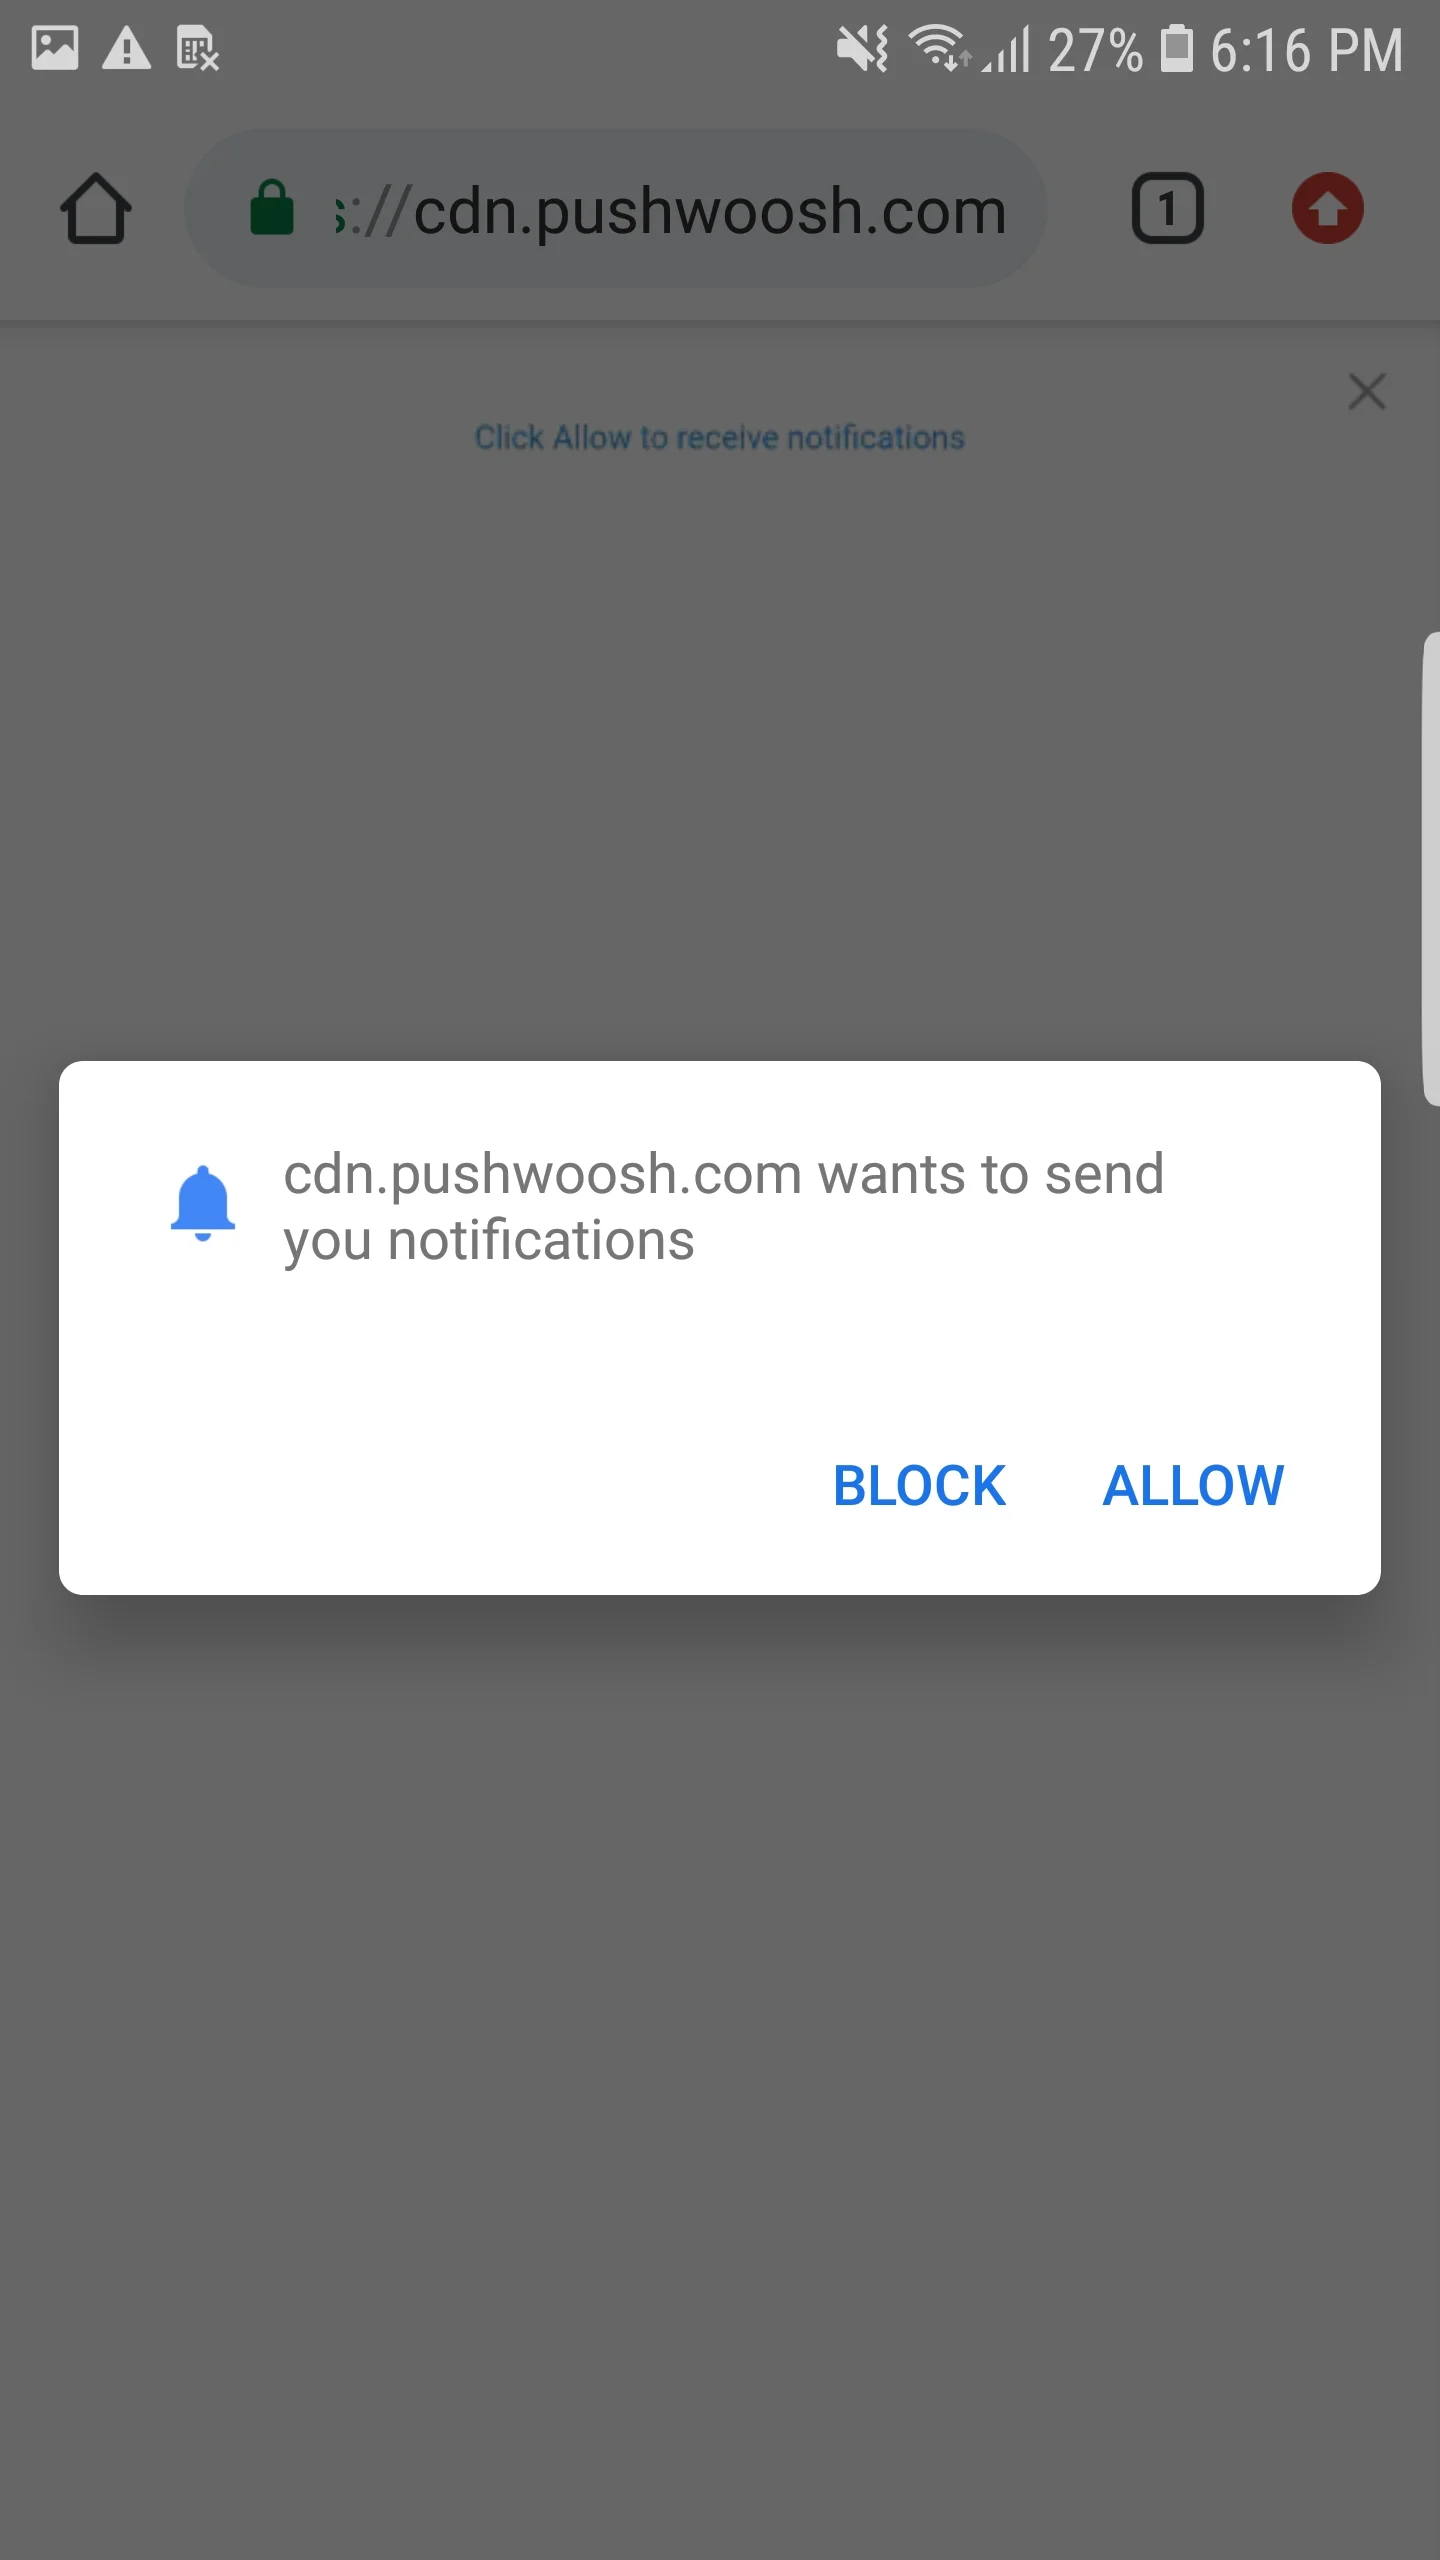
دمج إشعارات الويب لصفحات AMP
Anchor link toلتنفيذ إشعارات الويب على صفحات AMP، أضف مكون amp-web-push إلى كل صفحة AMP.
للقيام بذلك، اتبع هاتين الخطوتين:
1. أضف النص البرمجي التالي إلى وسم <head>:
<head> ... <script async custom-element="amp-web-push" src="https://cdn.ampproject.org/v0/amp-web-push-0.1.js"></script> ...</head>2. أضف الكود التالي إلى وسم <body>:
<body> <amp-web-push id="amp-web-push" layout="nodisplay" helper-iframe-url="https://{domain}/helper-iframe.html" permission-dialog-url="https://{domain}/permission-dialog.html"service-worker-url="https://{domain}/service-worker.js?applicationCode={applicationCode}&senderId={senderId}&applicationServerKey={applicationServerKey}" ></amp-web-push> ... <!-- Start Subscribe to notifications button --> <amp-web-push-widget visibility="unsubscribed" layout="fixed" width="250" height="80"> <button class="subscribe" on="tap:amp-web-push.subscribe"> {Text on Subscribe button} </button> </amp-web-push-widget> <!-- End the Subscribe to notifications button --> <!-- Start Unsubscribe from notifications button --> <amp-web-push-widget visibility="subscribed" layout="fixed" width="250" height="80"> <button class="unsubscribe" on="tap:amp-web-push.unsubscribe"> {Text on Unsubscribe button} </button> </amp-web-push-widget> <!-- End Unsubscribe from notifications button --> <!-- Start Fallback if a user blocks notifications --> <amp-web-push-widget visibility="blocked" layout="fixed" width="250" height="80"> <div class="fallback"> {Fallback if a user blocks notifications} </div> </amp-web-push-widget> <!-- End Fallback if a user blocks notifications -->...</body>حيث:
{domain}— عنوان URL لموقعك على الويب،{applicationCode}— كود تطبيق Pushwoosh الخاص بك،{senderId}— معرف المرسل (Sender ID) من وحدة تحكم Firebase الخاصة بك،{applicationServerKey}— مفتاح الخادم (Server Key) من وحدة تحكم Firebase الخاصة بك،{Text on Subscribe button}— نص على زر يُمكّن الإشعارات الفورية،{Text on Unsubscribe button}— نص على زر يُعطّل الإشعارات الفورية،{Fallback if a user blocks notifications}— كتلة احتياطية يتم عرضها عندما يحظر المستخدم الإشعارات الفورية.
لتخصيص نمط الأزرار، أضف الكود التالي إلى وسم <head>:
<style amp-custom> amp-web-push-widget button.subscribe { /* your css here */ } amp-web-push-widget button.unsubscribe { /* your css here */ } amp-web-push-widget .fallback { /* your css here */ }</style>للتحقق مما إذا كنت قد قمت بكل شيء بشكل صحيح، يرجى استخدام https://search.google.com/test/amp\