إعداد الشارات لـ React Native
نظرًا لأن إضافة React Native لا تحتوي على رأس PWNotificationExtensionManager، يجب عليك تنفيذ عدة خطوات إضافية لتطبيق الشارات لمشروع React Native الخاص بك.
1. أضف Notification Service Extension (File -> New -> Target…)
Anchor link to
2. حدد “Notification Service Extension”
Anchor link to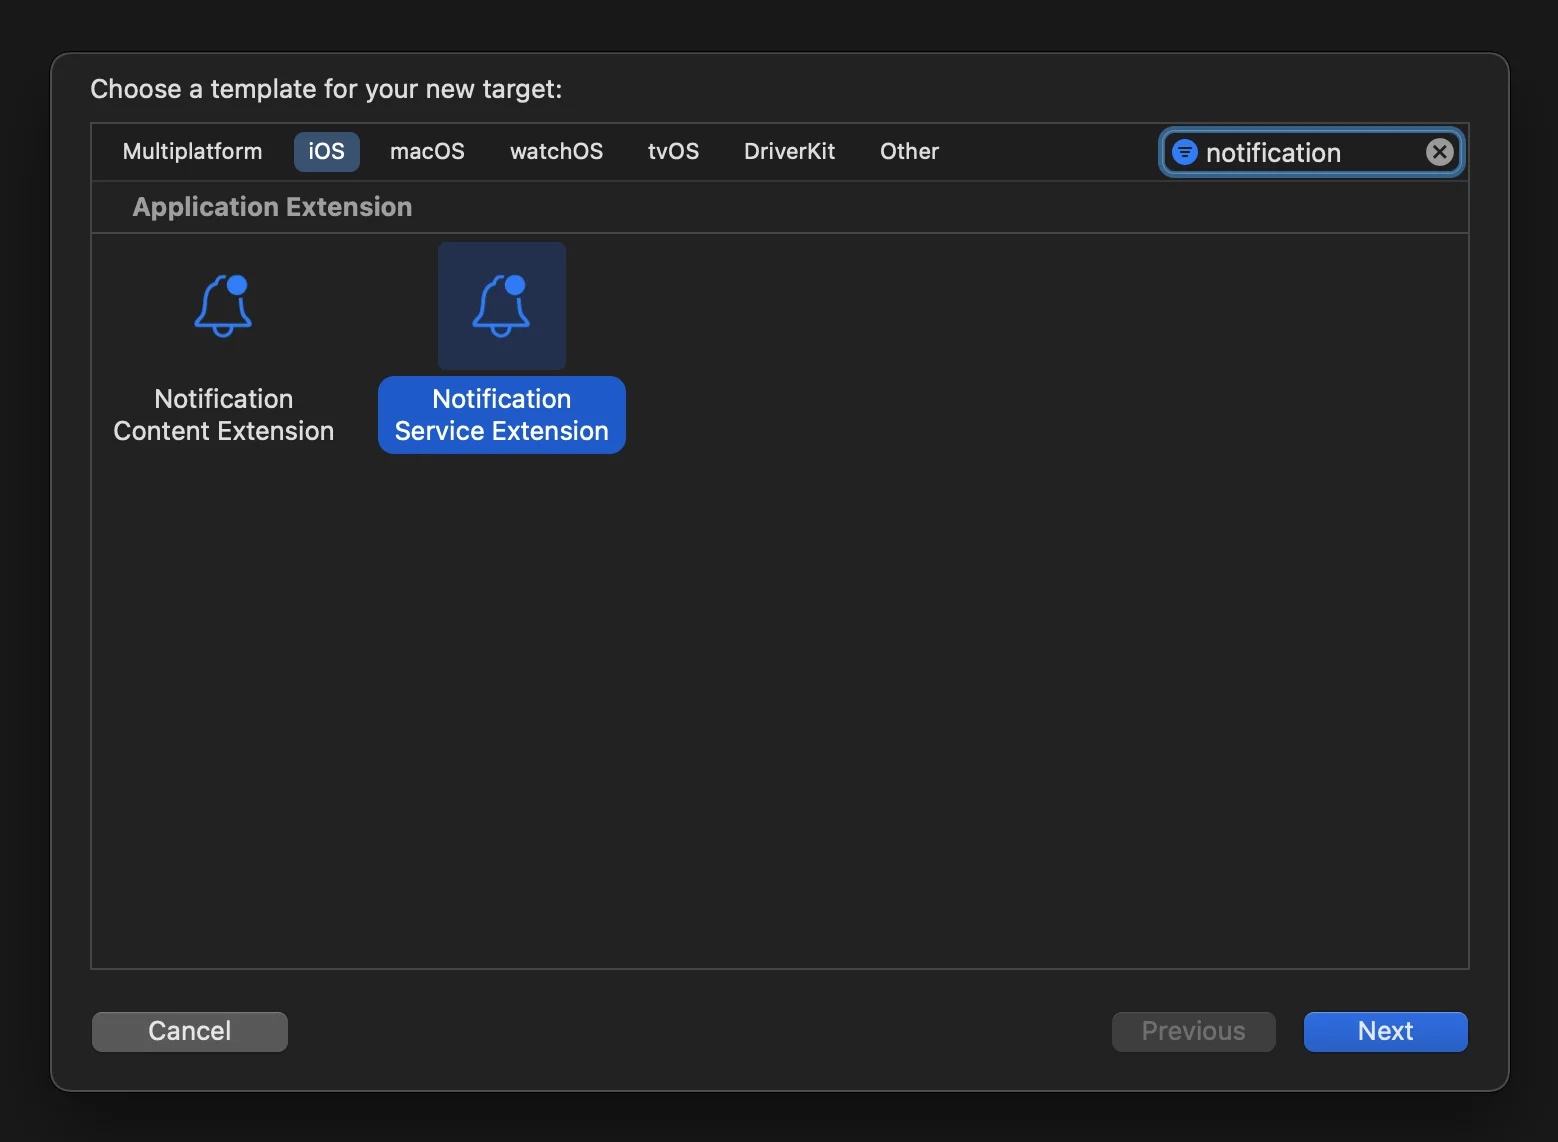
3. قم بتحديث كود Notification Service Extension كما يلي:
Anchor link to#import "NotificationService.h"#import <Pushwoosh/PWNotificationExtensionManager.h>
@interface NotificationService ()
@property (nonatomic, strong) void (^contentHandler)(UNNotificationContent *contentToDeliver);@property (nonatomic, strong) UNMutableNotificationContent *bestAttemptContent;
@end
@implementation NotificationService
- (void)didReceiveNotificationRequest:(UNNotificationRequest *)request withContentHandler:(void (^)(UNNotificationContent * _Nonnull))contentHandler { self.contentHandler = contentHandler; self.bestAttemptContent = [request.content mutableCopy];
[[PWNotificationExtensionManager sharedManager] handleNotificationRequest:request contentHandler:contentHandler];}
- (void)serviceExtensionTimeWillExpire { // Called just before the extension will be terminated by the system. // Use this as an opportunity to deliver your "best attempt" at modified content, otherwise the original push payload will be used. self.contentHandler(self.bestAttemptContent);}
@end4. ربط التبعيات بالهدف (target)
Anchor link toلا يقوم React Native بربط جميع التبعيات المطلوبة تلقائيًا بالهدف (target) الذي تم إنشاؤه يدويًا، لذا يجب عليك تحديث Build Phases للهدف وتقديم المعلومات اللازمة:
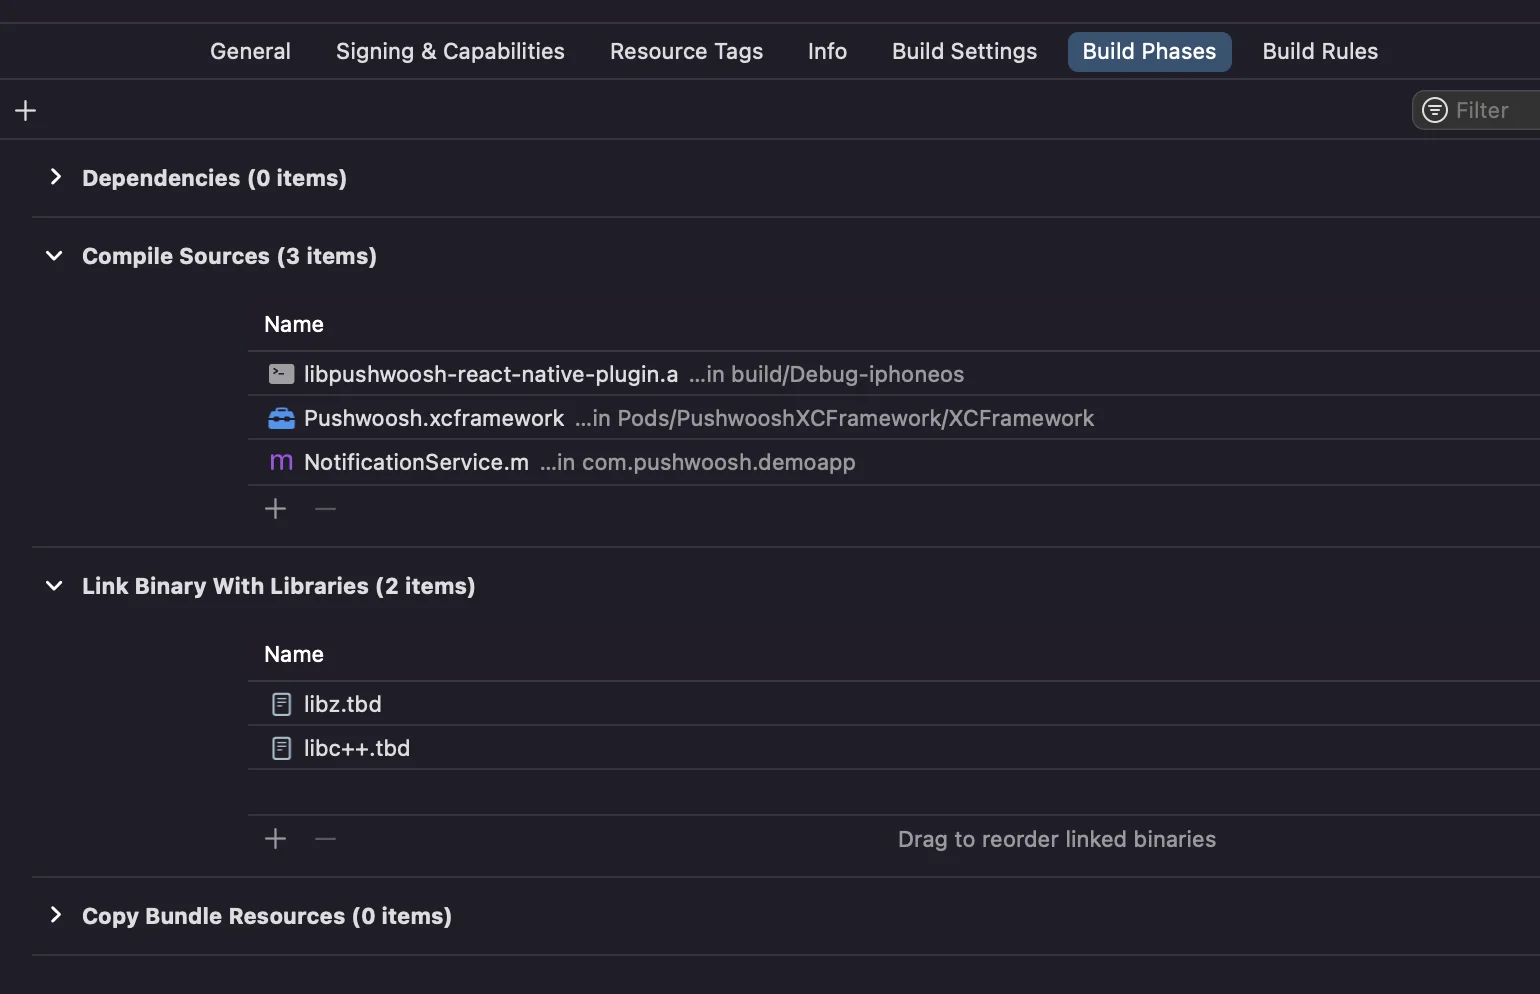
فقط انقر على علامة + تحت Compile Sources و Link Binary With Libraries وابحث عن المكتبات/الأطر المطلوبة.
5. أضف إمكانية App Groups إلى كلا الهدفين في Xcode وقم بتعيين نفس المجموعة لكل من التطبيق والامتداد:
Anchor link to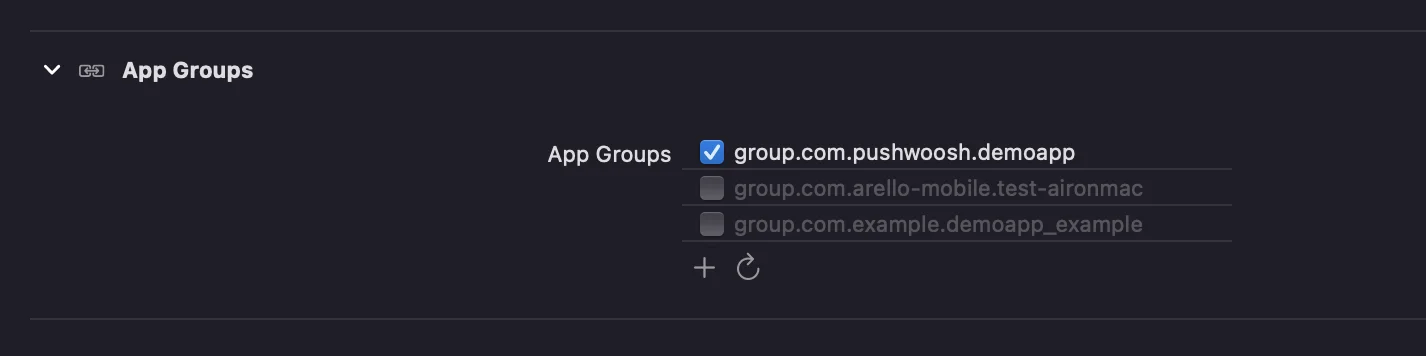
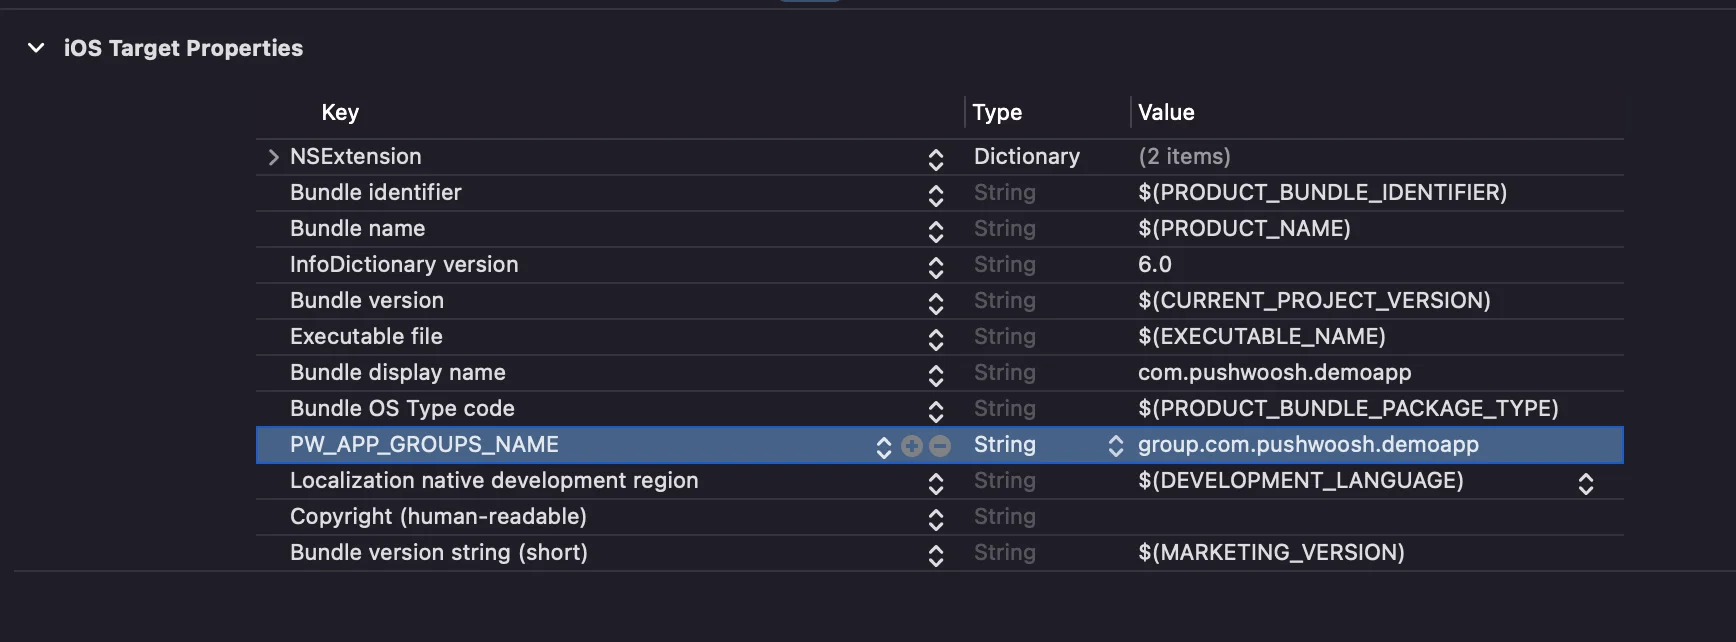
6. أضف مفتاح PW_APP_GROUPS_NAME إلى ملفات info.plists لكلا الهدفين. القيمة هي اسم مجموعة التطبيق الخاصة بك:
Anchor link to