# How to send WhatsApp order confirmations and delivery updates
When a customer places an order, your backend sends an event to Pushwoosh, and a journey replies on WhatsApp with an approved Meta template filled with the order number, the item, and the delivery date. When the order ships, a second event and a second journey send the tracking link the same way.
## Prerequisites
* WhatsApp is connected to your Pushwoosh project. [Learn more](/product/first-steps/start-with-your-project/configure-platforms/whatsapp-configuration/)
* Customers' WhatsApp numbers are registered under their User IDs. Pushwoosh sends the message to the WhatsApp number registered under the User ID the event comes with. [Learn more](/product/messaging-channels/whatsapp-messages/register-phone-numbers-for-whatsapp/)
* Two templates are approved in WhatsApp Manager. Only approved templates appear in Pushwoosh. [Learn more about templates](https://www.facebook.com/business/help/2055875911147364?id=2129163877102343)
This guide uses the following templates:
| Template | Body | Button |
| :---- | :---- | :---- |
| `order_confirmation` | `Hi! We've received your order {{1}}: {{2}}. Estimated delivery: {{3}}.` | None |
| `order_shipped` | `Your order {{1}} is on its way.` | **Track order** with the URL `https://yourshop.com/track/{{1}}` |
## Step 1. Create the order events
Create two custom events that carry the order data:
1. Go to **Audience > Events**.
2. Click **Create event** and select **Custom Event**.
3. Create the events with the attributes below, all of type **string**. [Learn more about creating events](/product/audience-data-and-segmentation/events/custom-events/)
| Event | Attributes |
| :---- | :---- |
| `OrderPlaced` | `order_id`, `item_name`, `delivery_date` |
| `OrderShipped` | `order_id`, `tracking_id` |
Your backend sends each event with [`postEvent`](/developer/api-reference/user-centric-api/#postevent) when the order status changes. Pass the customer's User ID in `userId` and the order data in `attributes`.
## Step 2. Build the order confirmation journey
Set up the entry so that every order starts its own session:
1. Go to **Campaigns > Customer Journey Builder** and click **Create campaign**.
2. Add a **Trigger-based entry** to the canvas.
3. Select the `OrderPlaced` event.
4. Under **How many sessions can user have at once in campaign?**, select **Multiple active sessions per user**.
5. In **Session identifier attribute**, select `order_id`. [Learn more about sessions](/product/customer-journey/journey-elements/entry-elements/trigger-based-entry/#multiple-active-sessions-per-user)
Then add the message:
1. Add a **WhatsApp** element after the entry.
2. In **Content**, select the `order_confirmation` template. Each template language is a separate item, for example `order_confirmation:en`. The **Message** preview marks each variable with a placeholder and shows **Please specify all variables** until you fill them in.
3. Click the first placeholder.
4. Set **Variable type** to **Event property**.
5. Select the `OrderPlaced` event and the `order_id` attribute, then click **Insert**.
6. Repeat for the other variables: `{{2}}` is `item_name`, `{{3}}` is `delivery_date`.
7. Select **Transactional** as the message type, so that frequency capping doesn't hold back an order confirmation. [Learn more](/product/messaging-channels/marketing-vs-transactional/)
8. (Optional) Turn on **Branch when the provider rejects the message** and connect the **Rejected by provider** branch to an SMS or email element with the same order details. [Learn more](/product/customer-journey/journey-elements/channels/whatsapp/#branch-when-the-provider-rejects-the-message)
9. Click **Apply**.
10. End the branch with an **Exit** element and click **Launch**.
Selecting a template turns on **Split flow based on message read status** with a one-day wait. Leave it on to follow up with customers who haven't read the message, or turn it off if the confirmation is the only step.
## Step 3. Build the delivery update journey
Create a second journey for shipping updates. Repeat step 2 with these values:
1. In the **Trigger-based entry**, select the `OrderShipped` event, **Multiple active sessions per user**, and `order_id` as the session identifier.
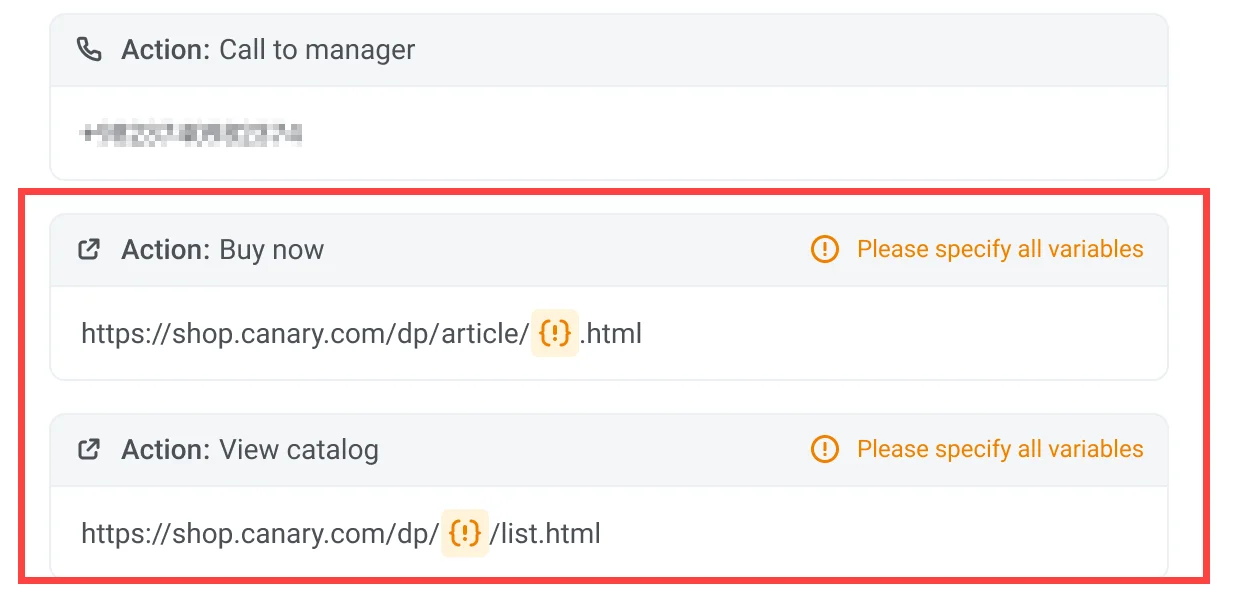
2. In the WhatsApp element, select the `order_shipped` template. Its **Track order** button shows a placeholder in the URL.
3. Map the body variable `{{1}}` to the `order_id` attribute of `OrderShipped`, as an **Event property**.
4. Click the placeholder in the **Track order** URL and map it to the `tracking_id` attribute the same way.
5. Select **Transactional** as the message type and click **Apply**.
6. End the branch with an **Exit** element and click **Launch**.
## Check the results
Send a test `OrderPlaced` event for your own User ID, then open the journey statistics. The WhatsApp panel includes **Sent**, **Delivered**, **Read**, and **Delivery issues**. [Learn more](/product/statistics-and-analytics/journey-statistics/overall-journey-statistics/)
If a customer has no registered WhatsApp number, the WhatsApp element skips them and they continue along the journey.
 3. Map the body variable `{{1}}` to the `order_id` attribute of `OrderShipped`, as an **Event property**.
4. Click the placeholder in the **Track order** URL and map it to the `tracking_id` attribute the same way.
5. Select **Transactional** as the message type and click **Apply**.
6. End the branch with an **Exit** element and click **Launch**.
## Check the results
Send a test `OrderPlaced` event for your own User ID, then open the journey statistics. The WhatsApp panel includes **Sent**, **Delivered**, **Read**, and **Delivery issues**. [Learn more](/product/statistics-and-analytics/journey-statistics/overall-journey-statistics/)
If a customer has no registered WhatsApp number, the WhatsApp element skips them and they continue along the journey.