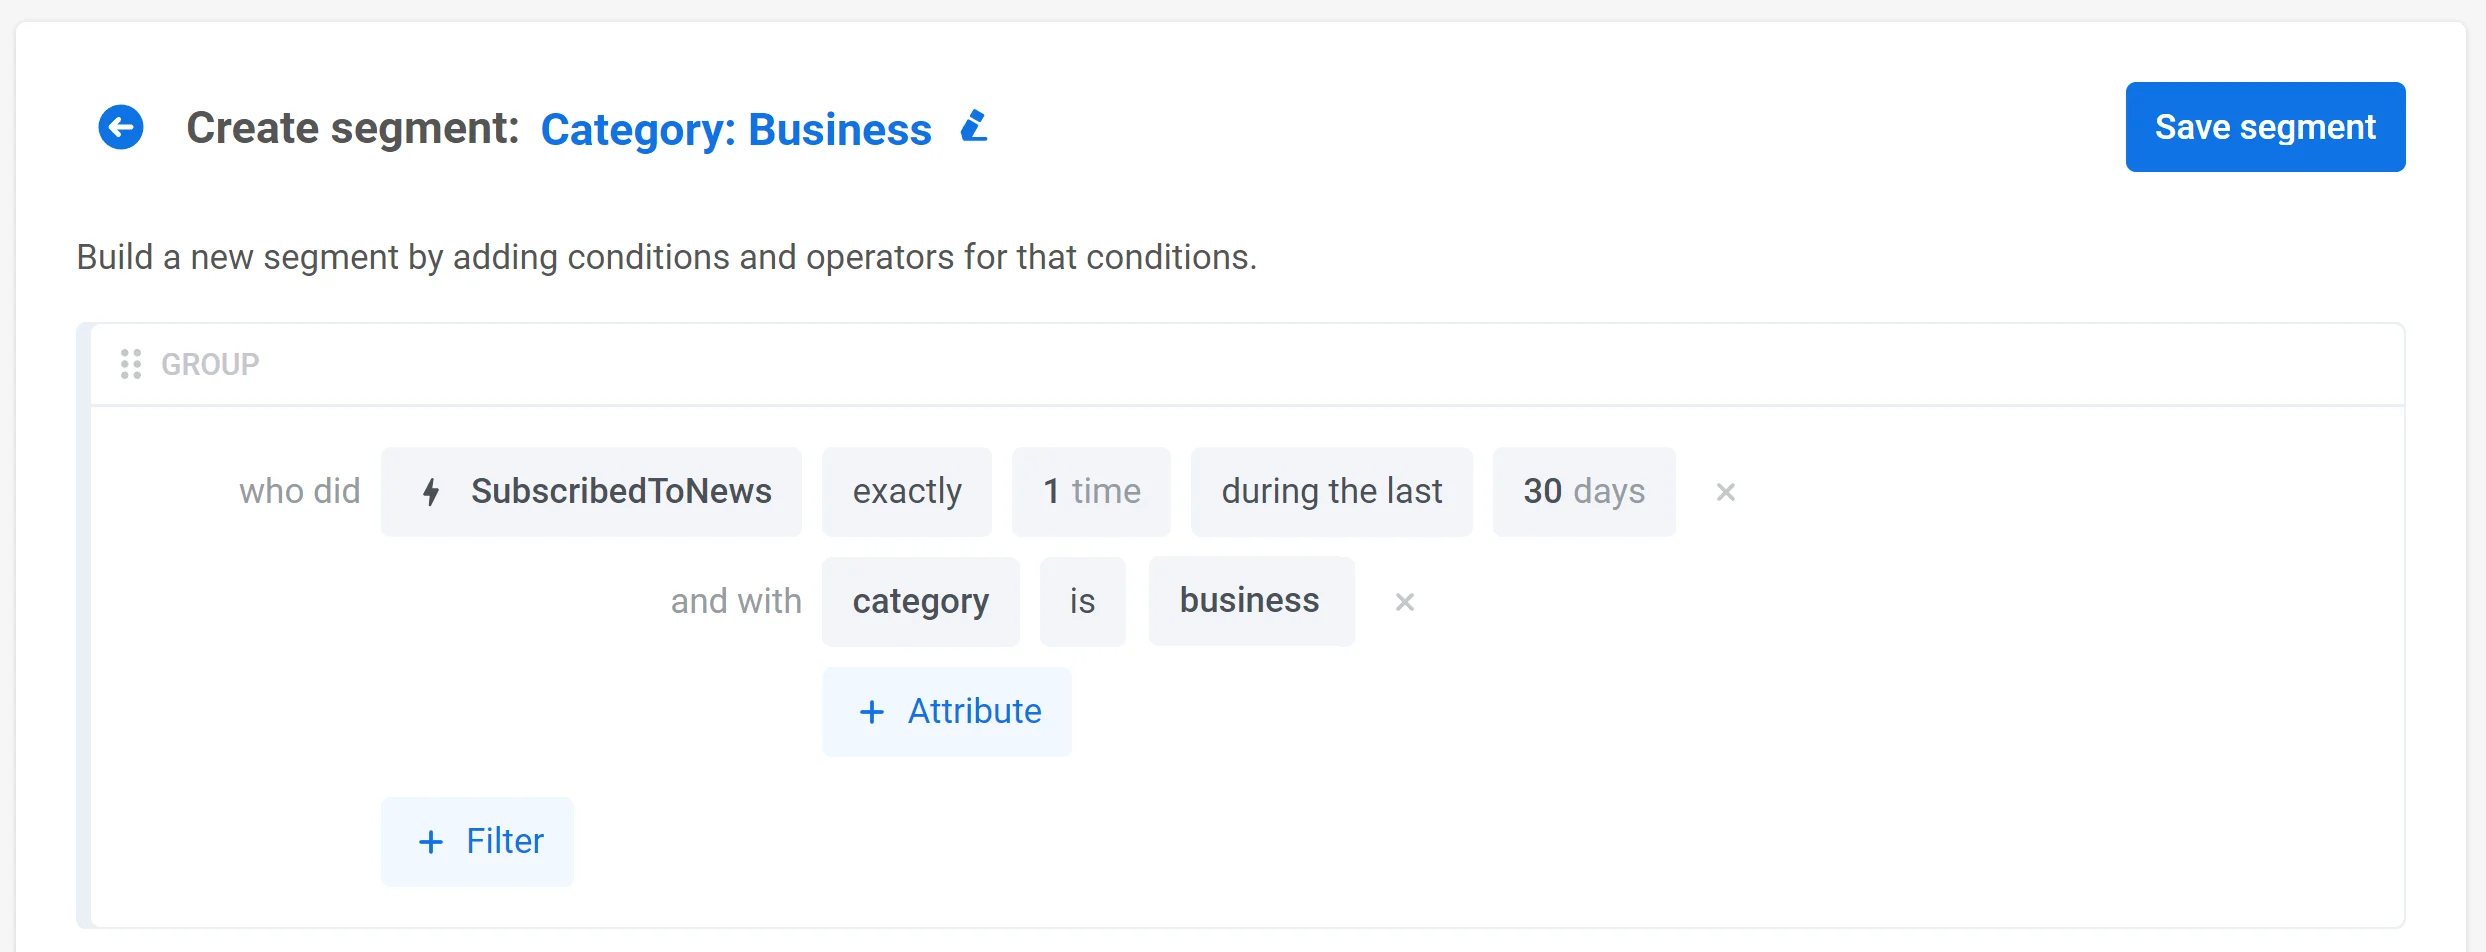
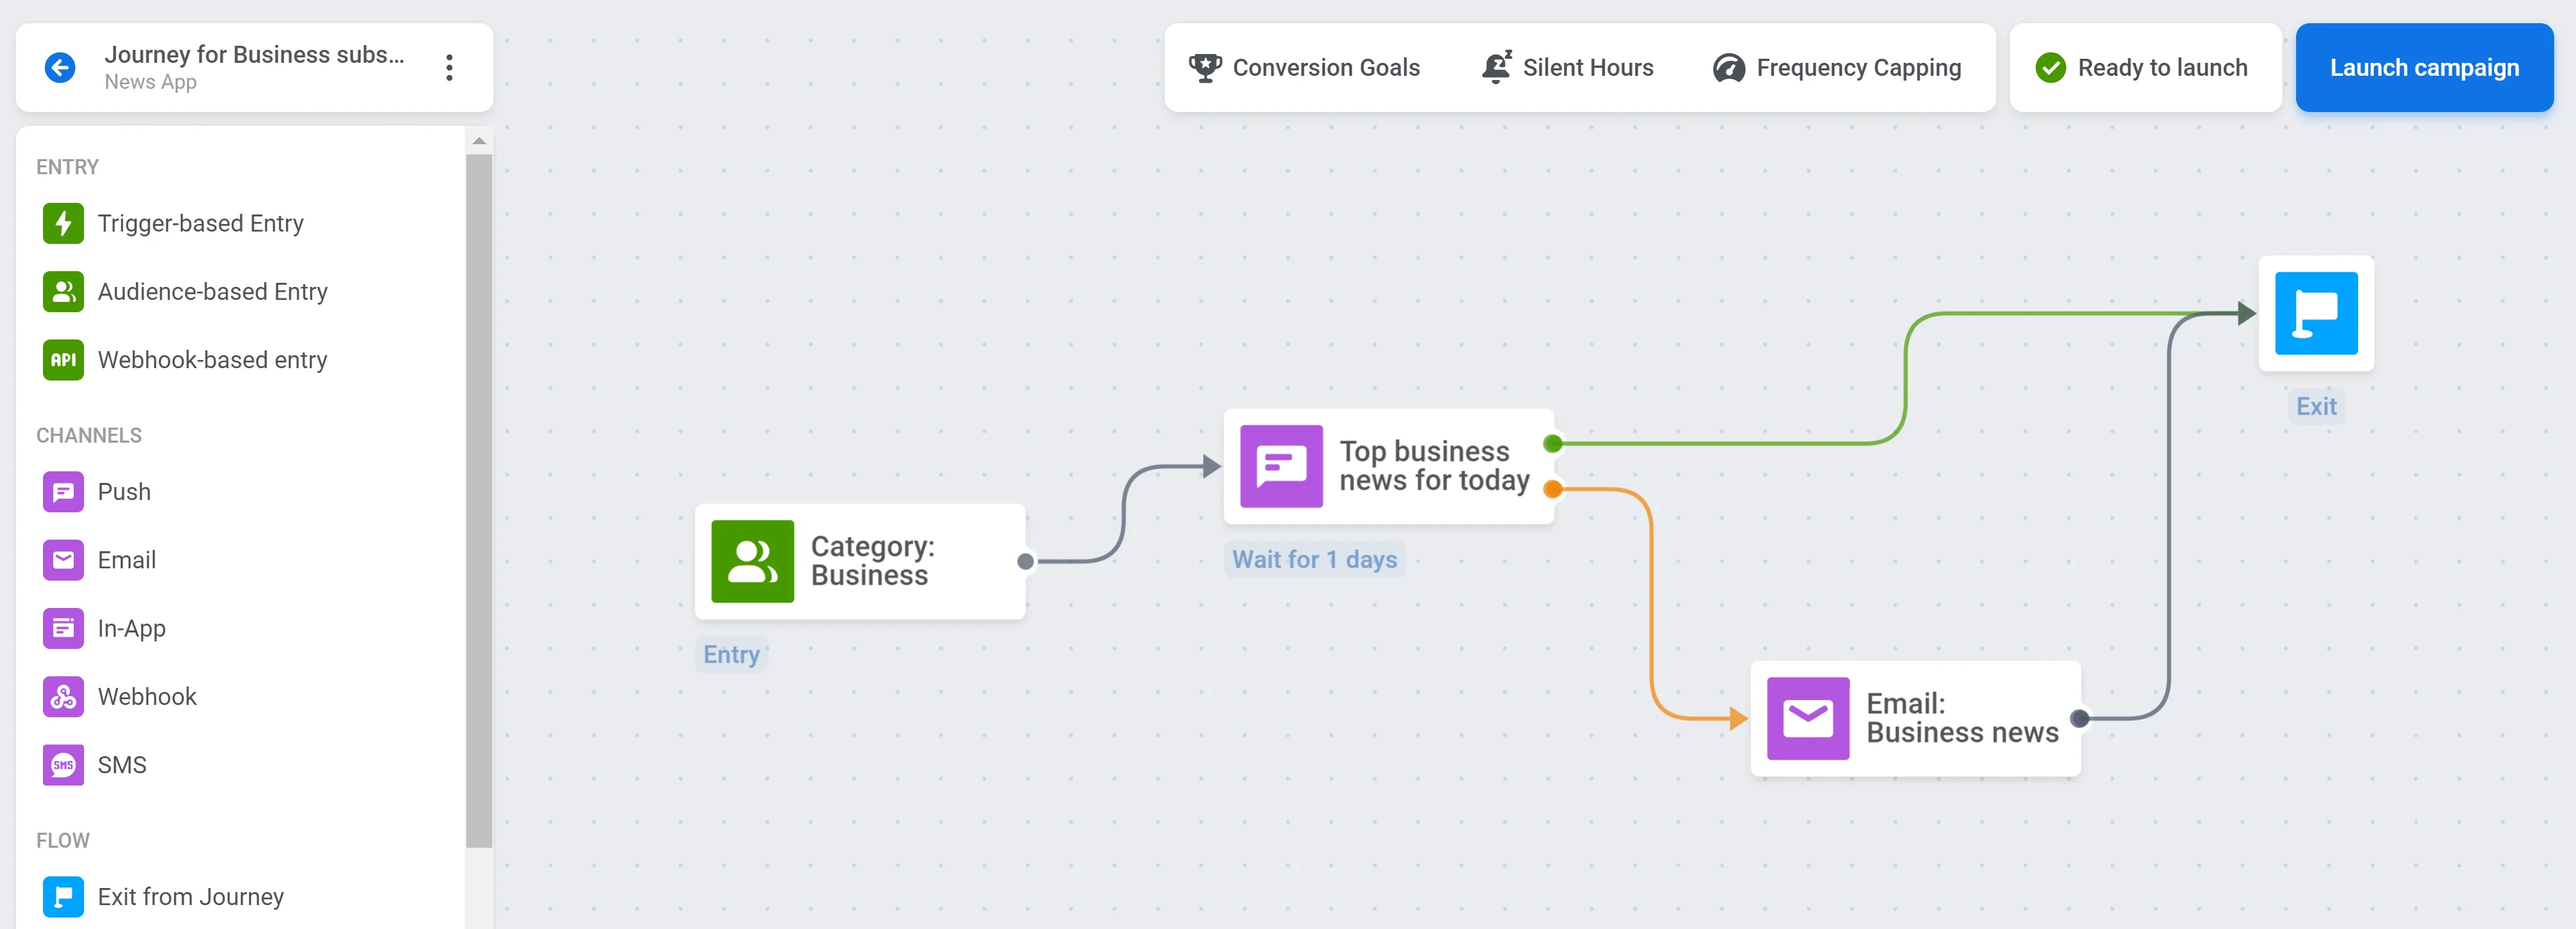
 现在,您可以创建针对对特定新闻类型感兴趣的用户的营销活动:
 **2. 基于 AppsFlyer 的用户行为数据个性化消息。**
在此示例中,我们将使用一个在线购物应用。假设 AppsFlyer 跟踪 _AddToWishlist_ 事件,该事件在用户每次将商品添加到心愿单时触发。此事件具有 item 属性,用于指示添加到心愿单的商品名称。
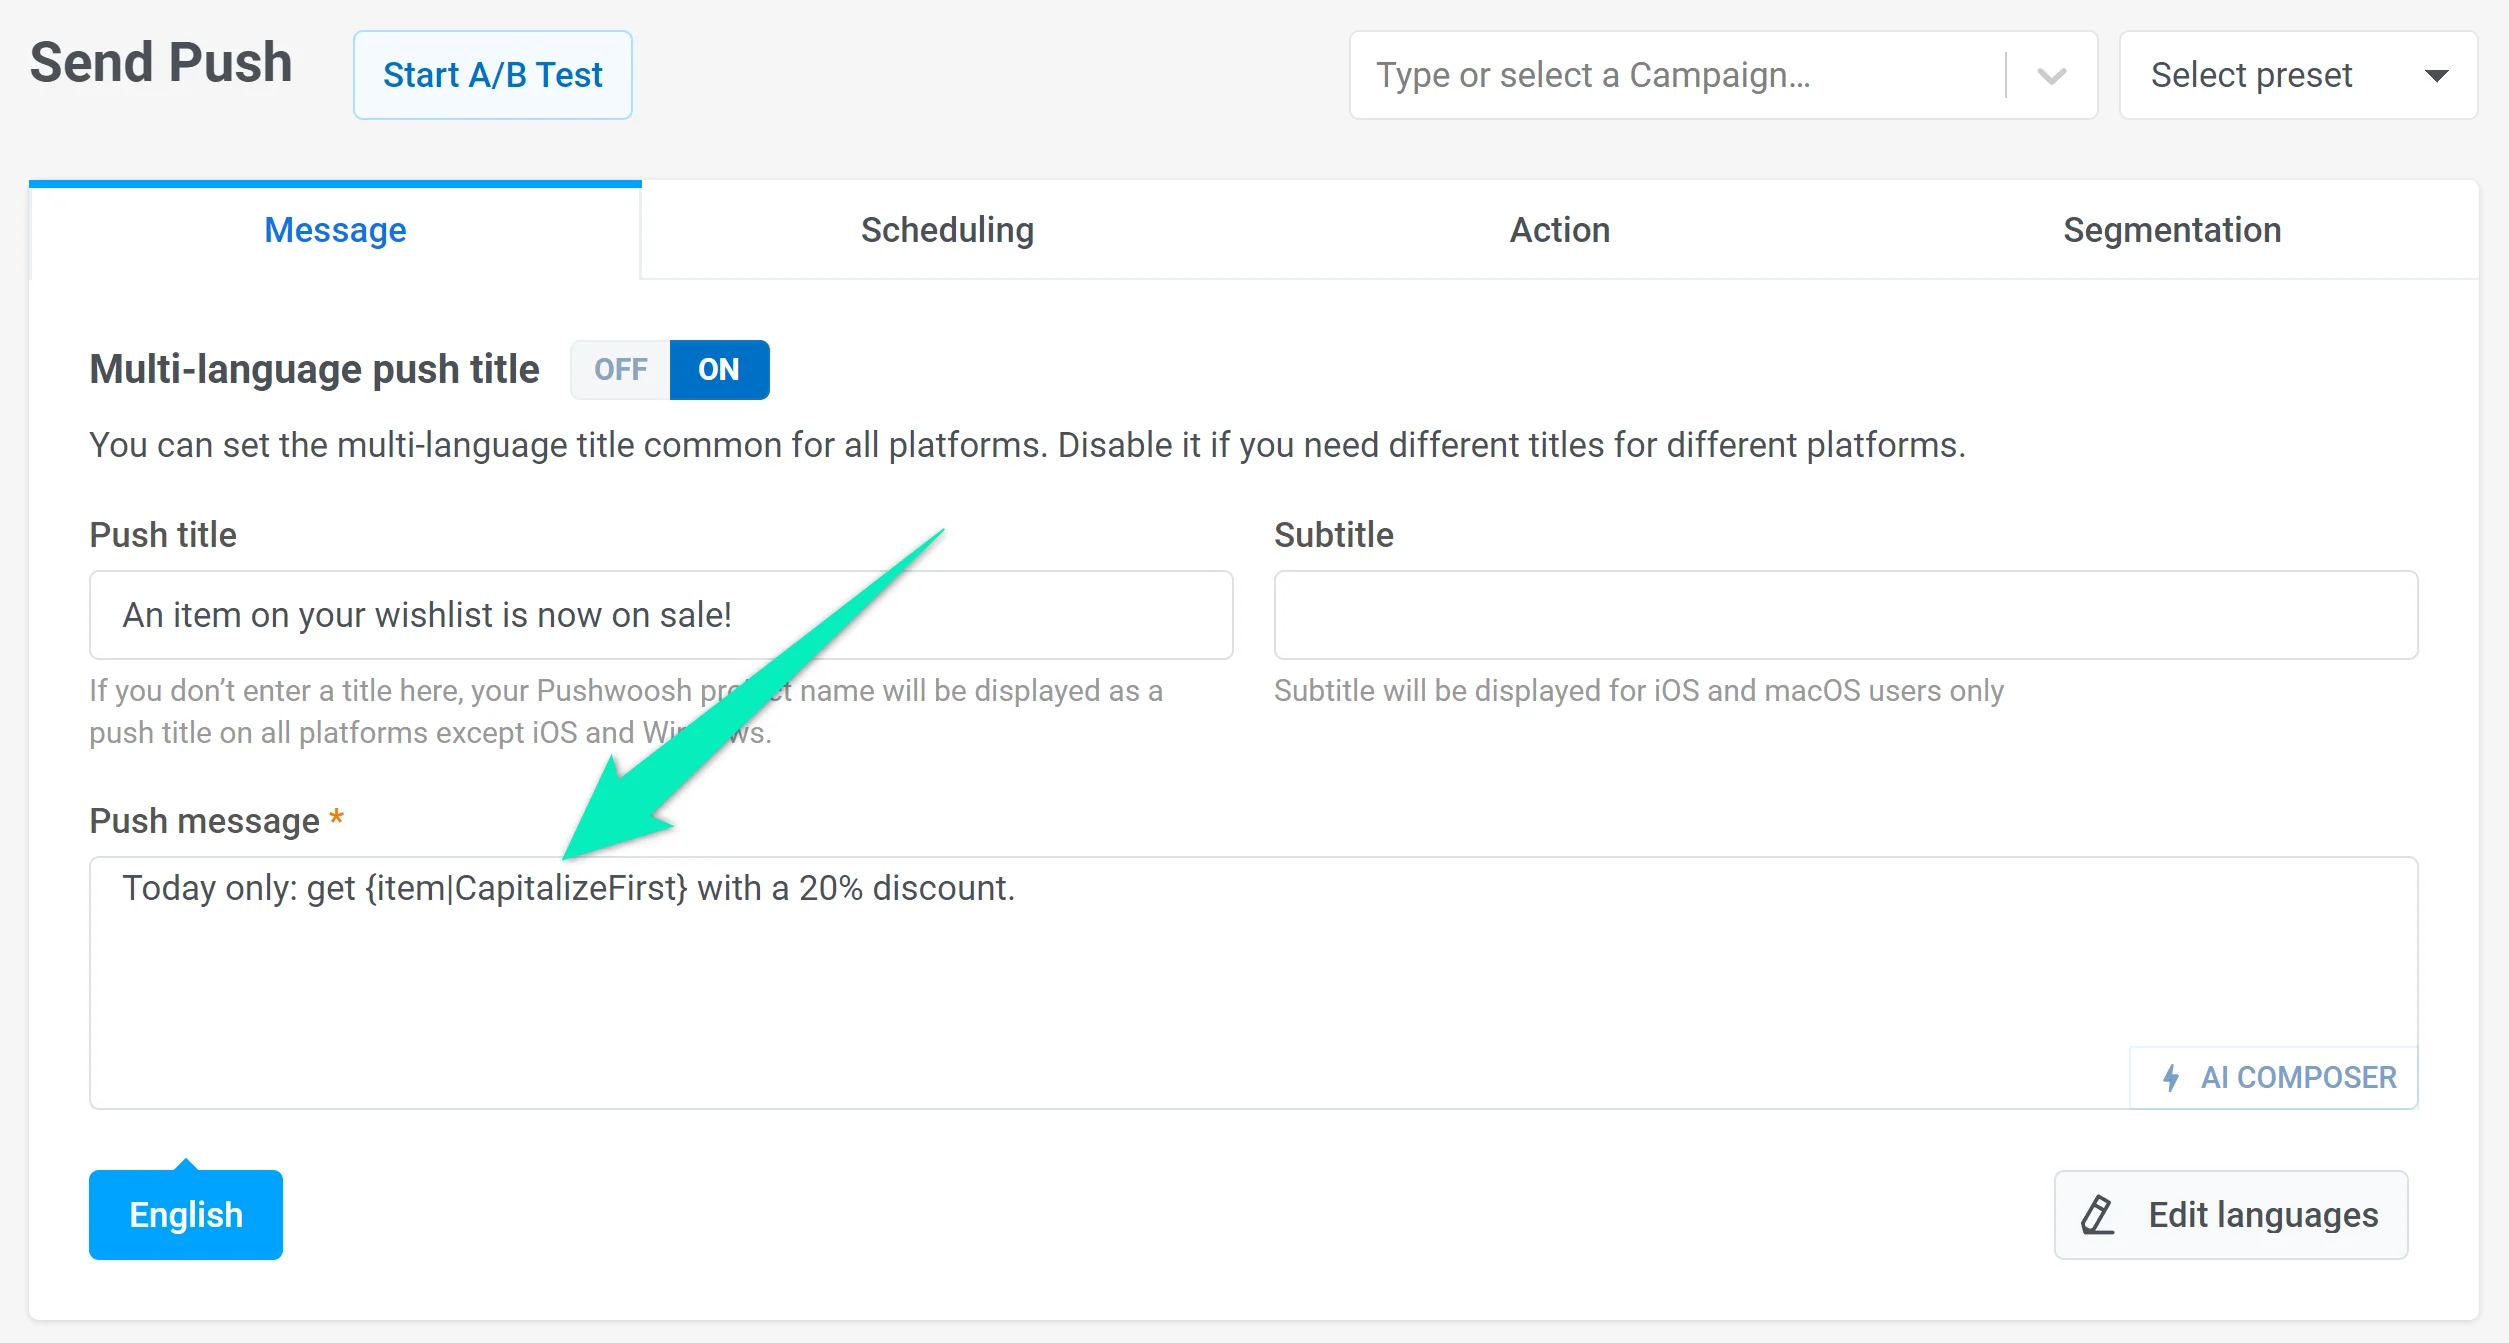
AppsFlyer 将 _AddToWishlist_ 事件数据发送到 Pushwoosh,您可以在其中根据用户的选择个性化消息。例如,您可以创建一个推送预设,为用户添加到心愿单的商品提供折扣。使用 _item_ 属性的 [动态内容占位符](/zh/developer/guides/personalization/dynamic-content/#personalizing-messages-sent-via-api-with-dynamic-content) 来代替商品名称:
**2. 基于 AppsFlyer 的用户行为数据个性化消息。**
在此示例中,我们将使用一个在线购物应用。假设 AppsFlyer 跟踪 _AddToWishlist_ 事件,该事件在用户每次将商品添加到心愿单时触发。此事件具有 item 属性,用于指示添加到心愿单的商品名称。
AppsFlyer 将 _AddToWishlist_ 事件数据发送到 Pushwoosh,您可以在其中根据用户的选择个性化消息。例如,您可以创建一个推送预设,为用户添加到心愿单的商品提供折扣。使用 _item_ 属性的 [动态内容占位符](/zh/developer/guides/personalization/dynamic-content/#personalizing-messages-sent-via-api-with-dynamic-content) 来代替商品名称:
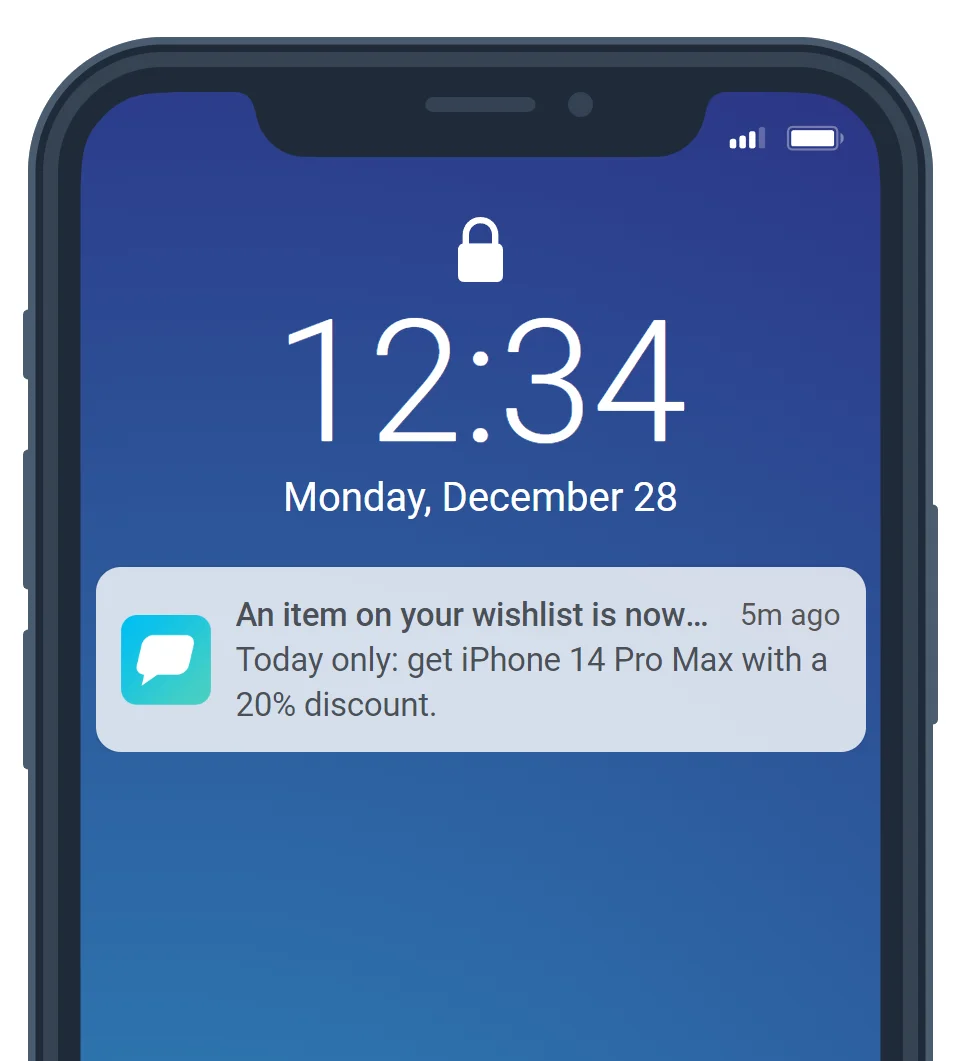
 如果用户将商品添加到心愿单,他们将收到一条包含该商品信息的推送。例如,选择 iPhone 14 Pro Max 的用户将看到此消息:
 ## 设置集成
1. 如果您尚未将 Pushwoosh SDK 集成到您的应用中,请先进行集成。有关更详细的说明,请[阅读本指南](/zh/developer/pushwoosh-sdk/pushwoosh-sdk-overview)。
2. 为确保将正确的数据发送到 AppsFlyer,请将此代码片段集成到您的代码中。确保它在 Pushwoosh SDK 和 AppsFlyer SDK 都初始化之后执行。
## 设置集成
1. 如果您尚未将 Pushwoosh SDK 集成到您的应用中,请先进行集成。有关更详细的说明,请[阅读本指南](/zh/developer/pushwoosh-sdk/pushwoosh-sdk-overview)。
2. 为确保将正确的数据发送到 AppsFlyer,请将此代码片段集成到您的代码中。确保它在 Pushwoosh SDK 和 AppsFlyer SDK 都初始化之后执行。
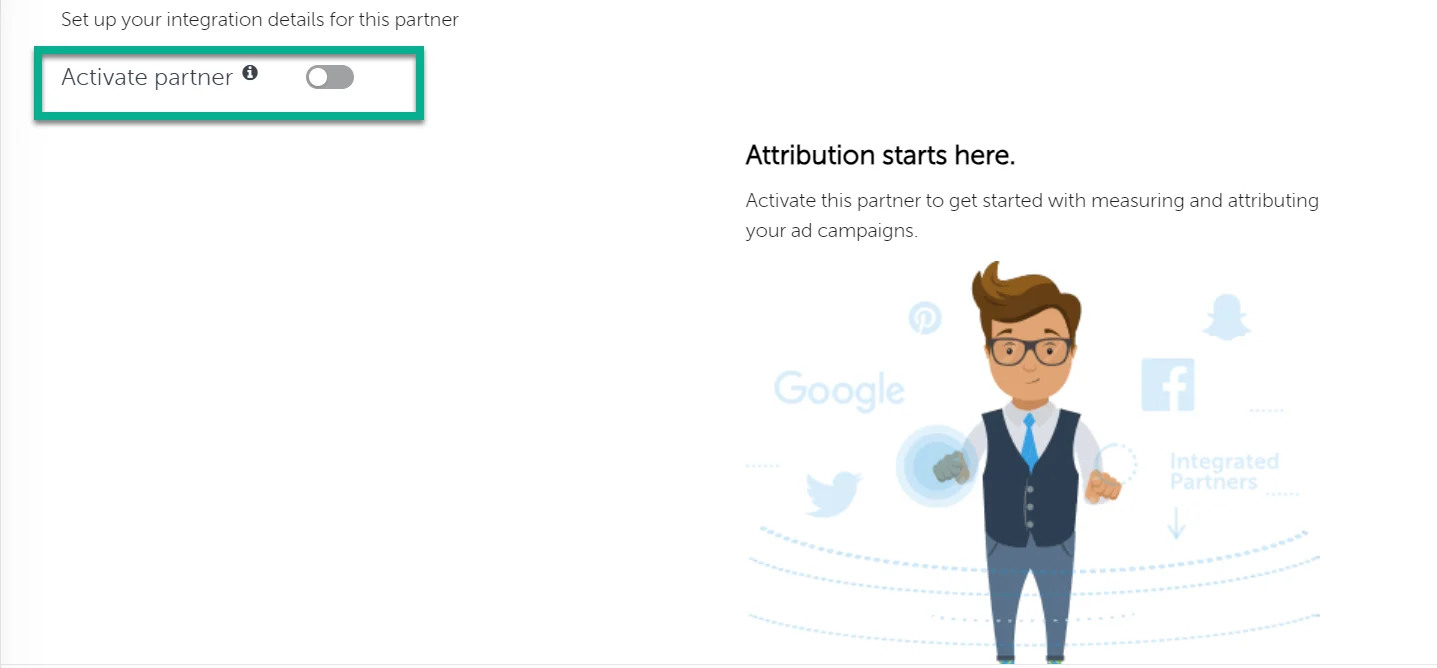
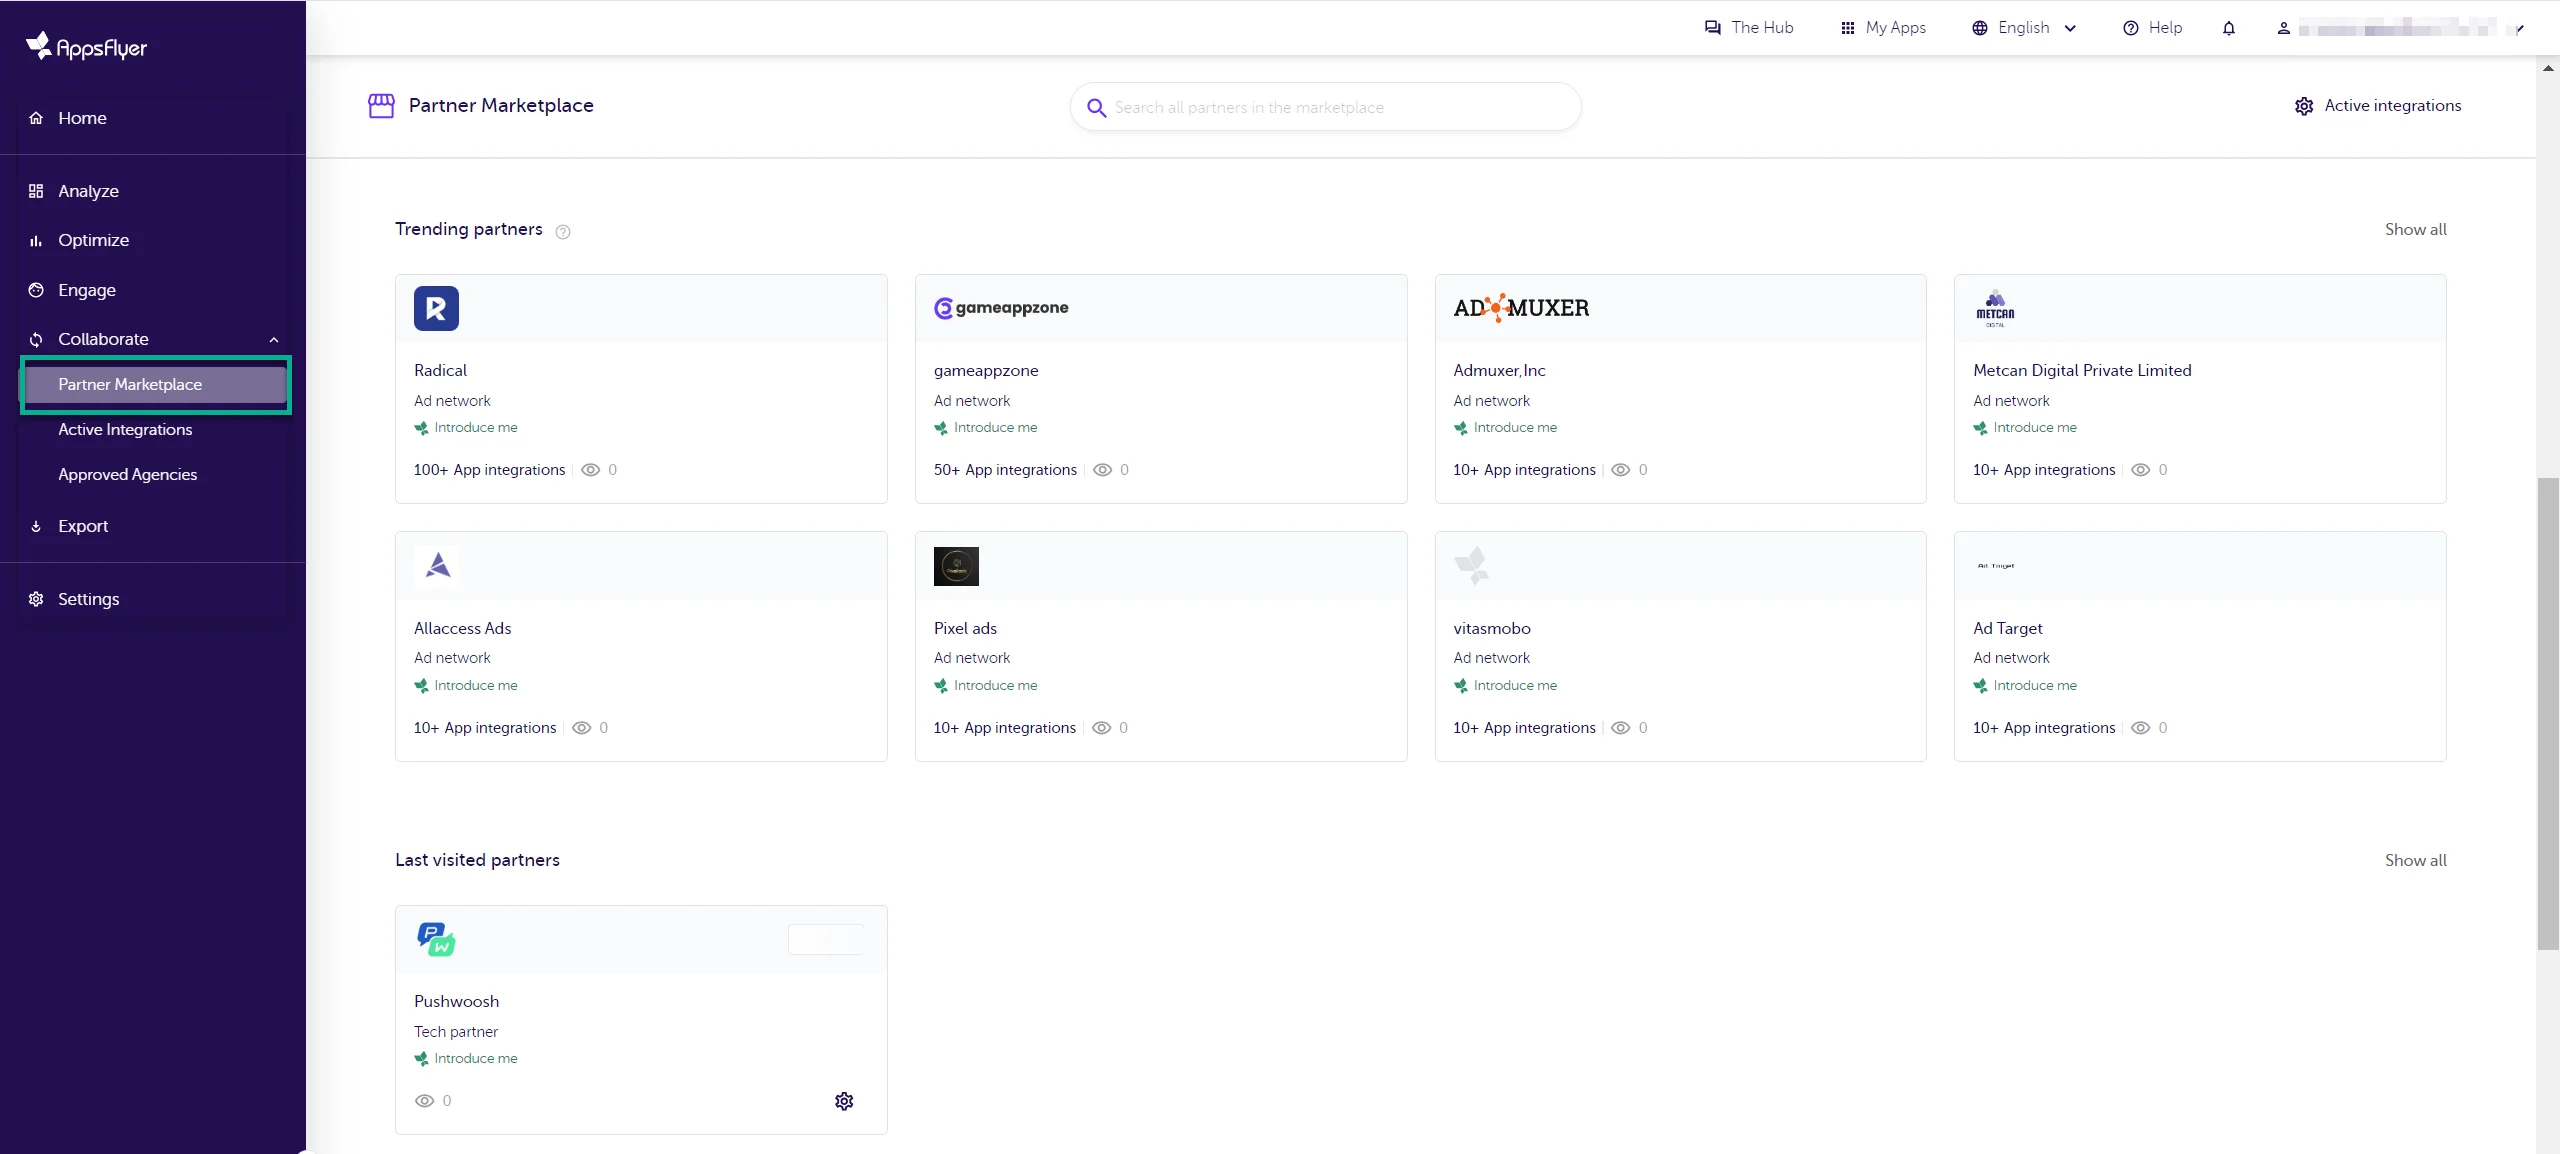 4. 点击 **Set up integration**。然后您将被引导至集成设置页面。在此页面,启用 **Activate partner** 开关。
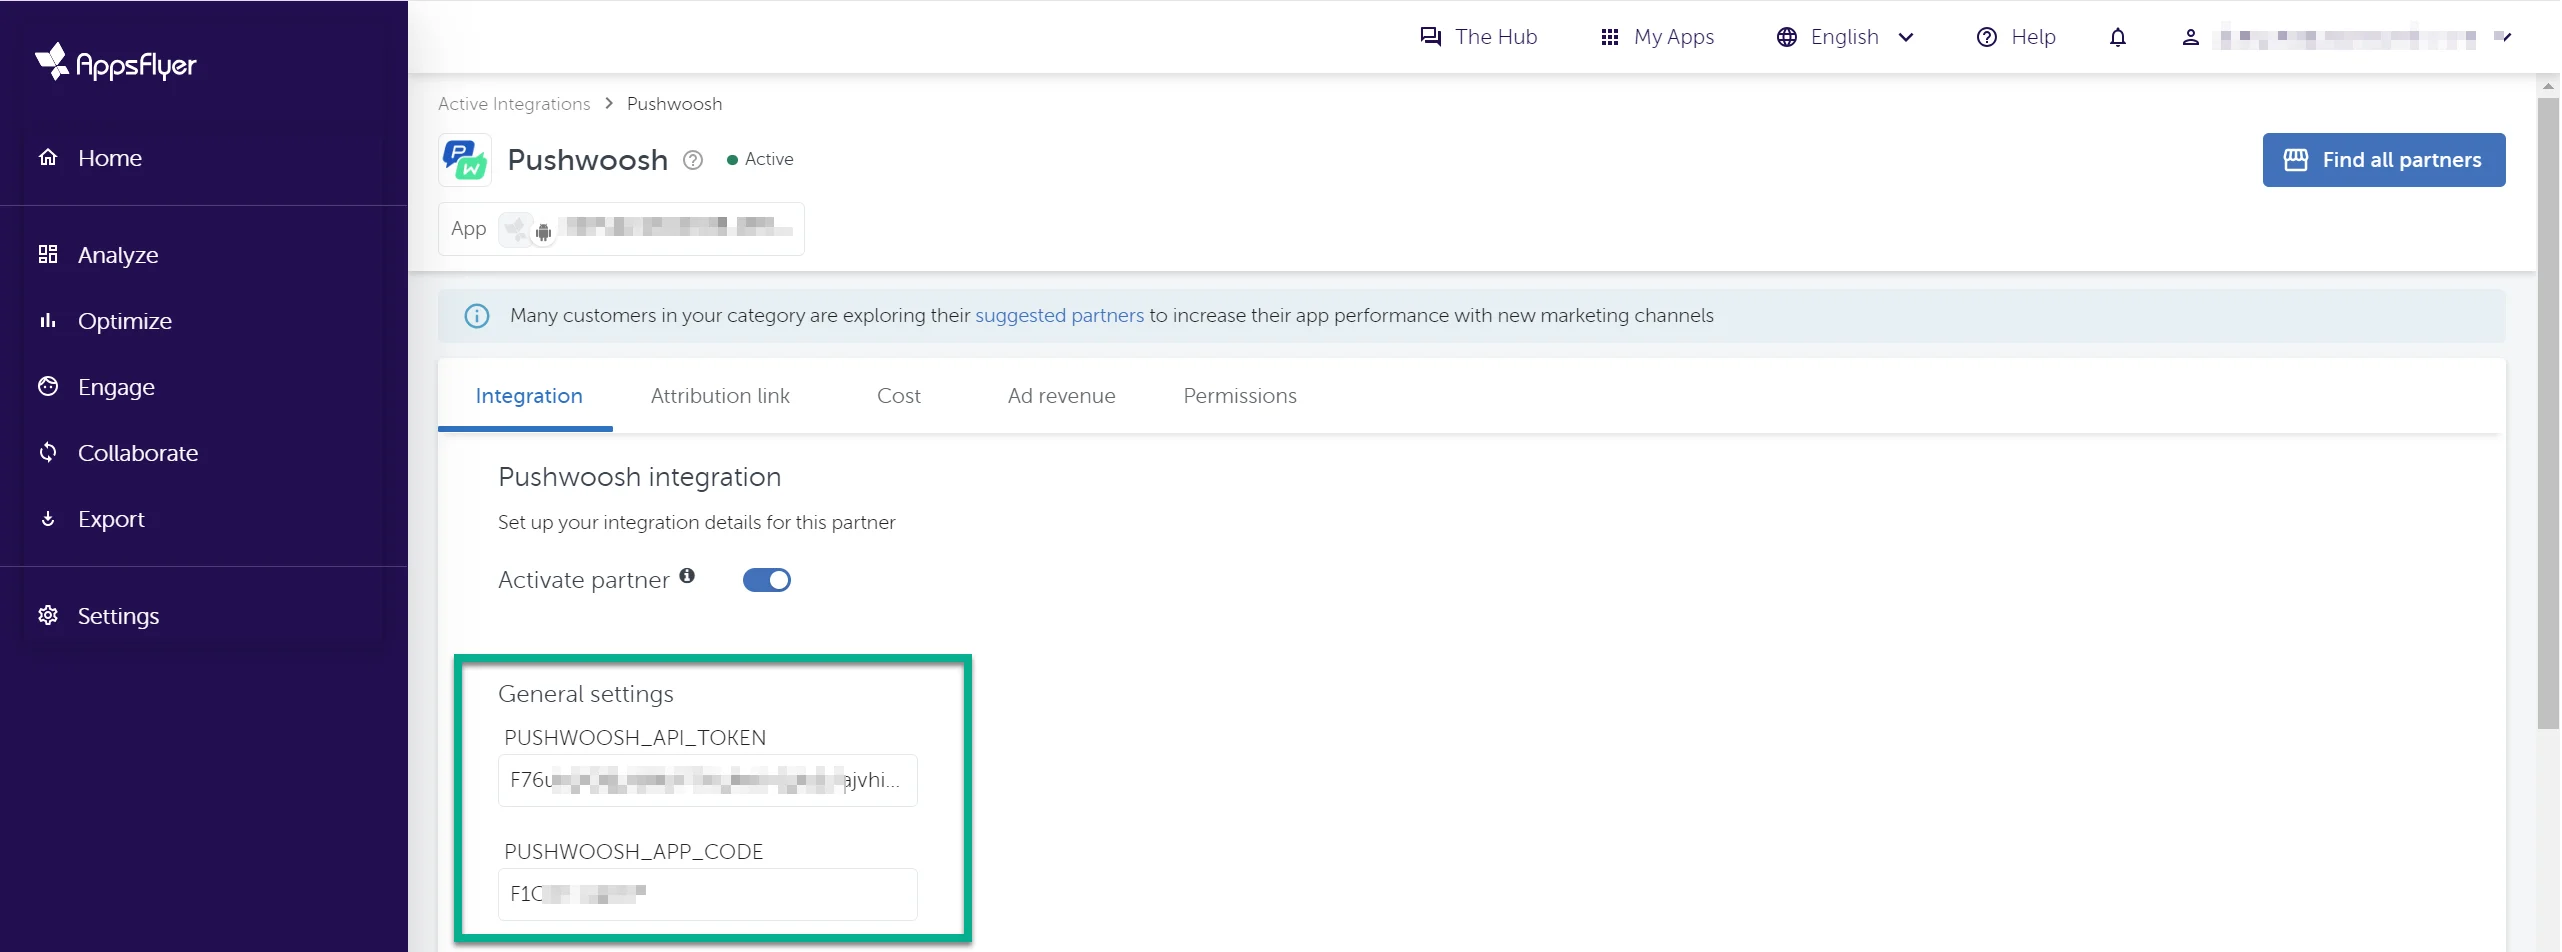
 5. 在 **General settings** 部分,输入您的 Pushwoosh 凭据:
* **API Access Token**。要获取此令牌,请在您的 Pushwoosh 账户中转到 **Settings > API Access** 并复制该代码。您可以[在本指南中](/zh/developer/api-reference/api-access-token)了解有关 API Access Token 的更多信息。
* **Application Code** (XXXXX-XXXXX),您可以在 Pushwoosh 账户中您的应用名称下方找到它。
5. 在 **General settings** 部分,输入您的 Pushwoosh 凭据:
* **API Access Token**。要获取此令牌,请在您的 Pushwoosh 账户中转到 **Settings > API Access** 并复制该代码。您可以[在本指南中](/zh/developer/api-reference/api-access-token)了解有关 API Access Token 的更多信息。
* **Application Code** (XXXXX-XXXXX),您可以在 Pushwoosh 账户中您的应用名称下方找到它。
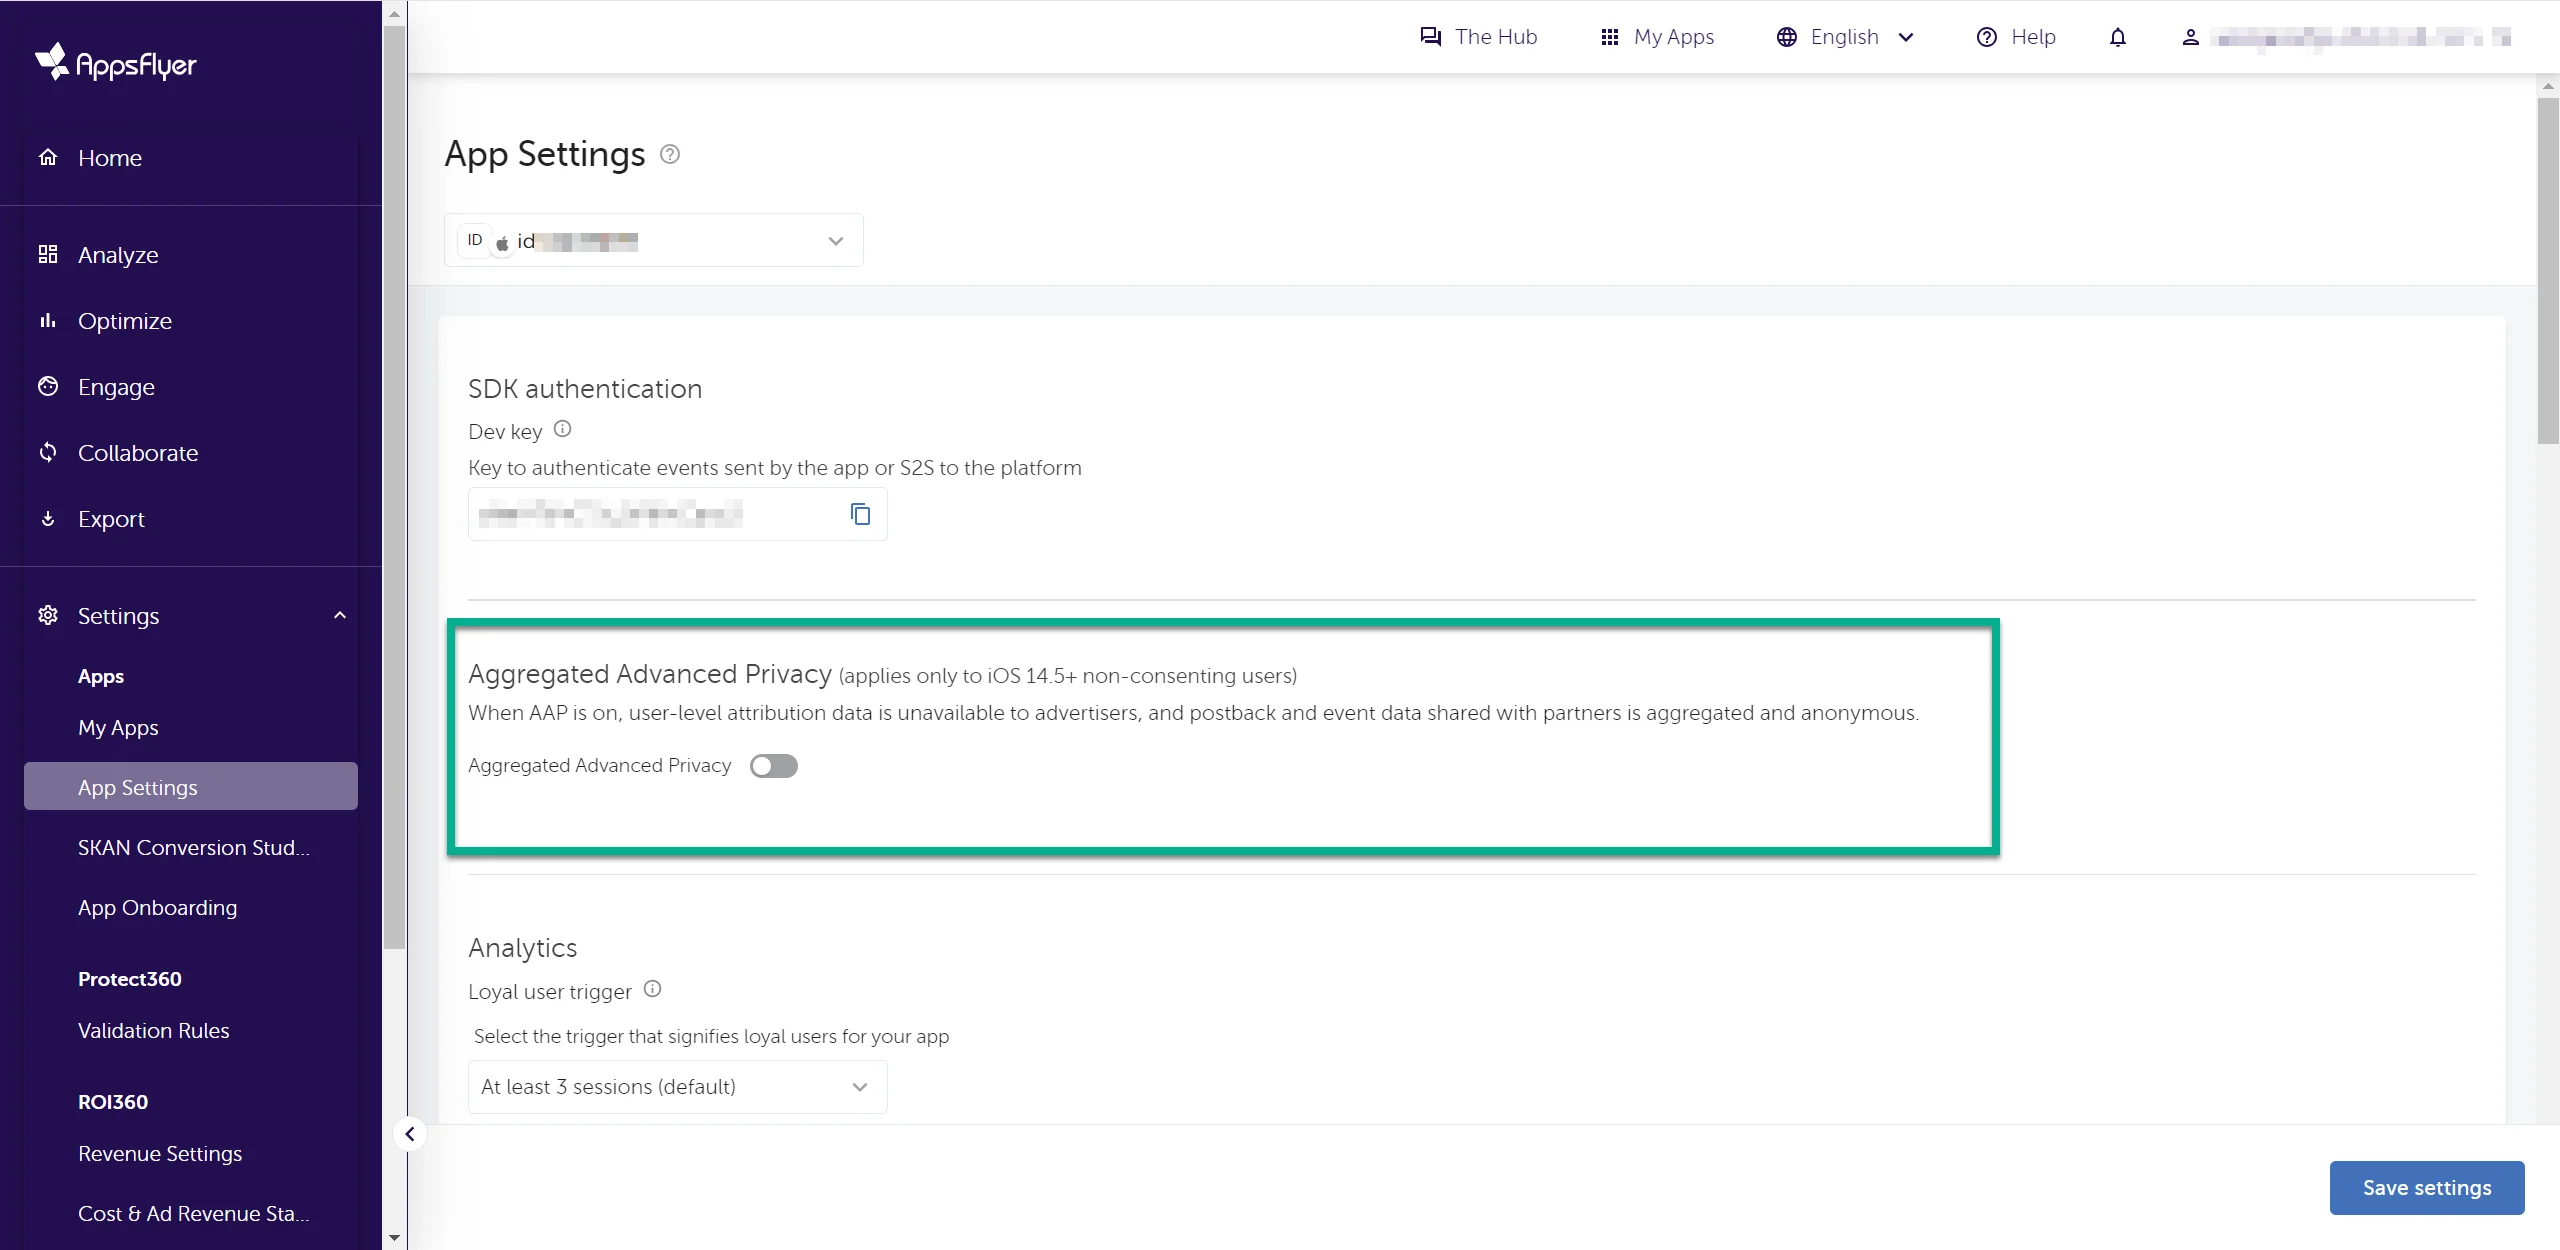
 6. 在 **Default postback** 部分,选择 **All media sources, including organic**。
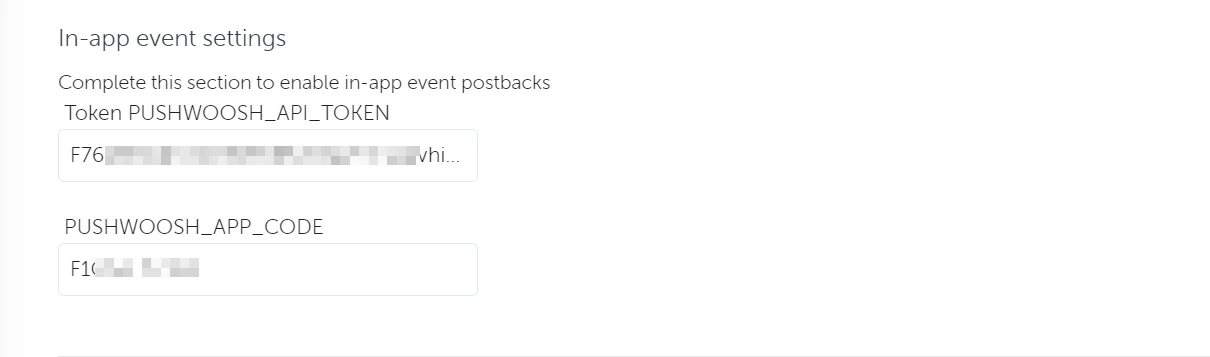
 7. 在 **In-app event settings** 部分,输入您的 Pushwoosh **Application Code** 和 **API Access Token**。
 8. 启用 **In-app event postback** 开关,并配置要包含在发送到 Pushwoosh 的回传中的事件和数据。
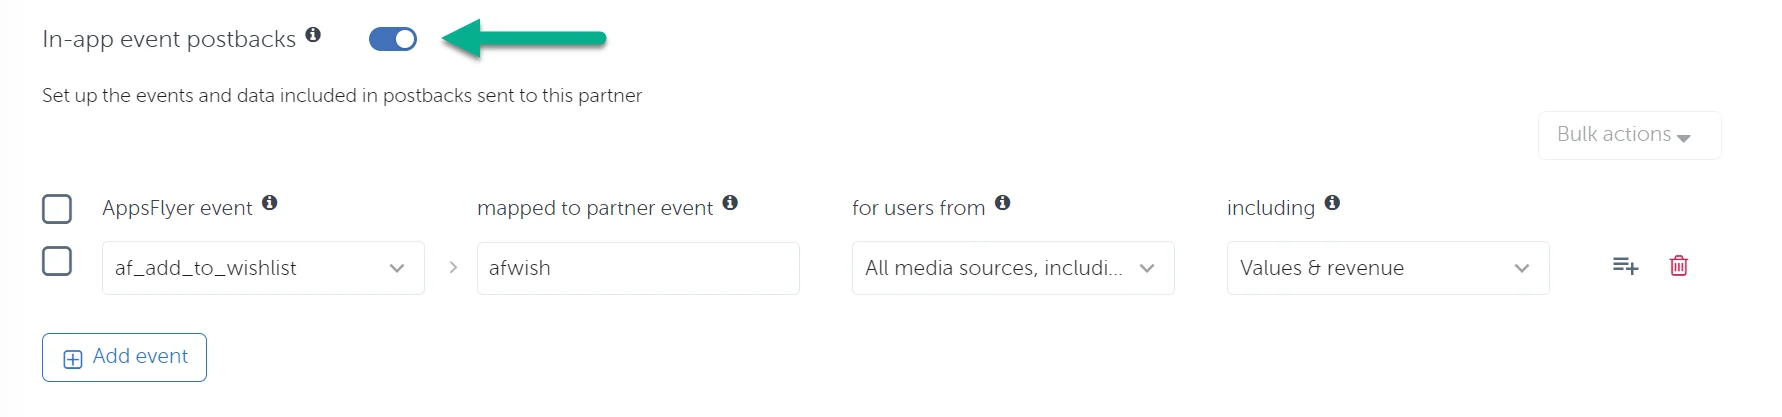 从下拉菜单中选择一个或多个要发送到 Pushwoosh 的 AppsFlyer 事件,并填写必要的参数。
| 参数 | 描述 |
| ------------------------------- | ------------------------------------------------------------------------------------------------------------------------------------------------------------------------------------------------------------------------------------------------------------------------------------------------------------------------------------------------------------------------------------------------------------------------------------------------------------------------------------------------------------------------------- |
| **the mapped to partner event** | 尽管此字段是必填项,但您无需担心输入的内容,因为它不会改变事件的命名方式。Pushwoosh 仍将接收到与它们在 AppsFlyer 中显示的名称相同的事件。 |
| **for users from** | 在此字段中,选择是仅为归因于此合作伙伴的用户发送回传,还是为所有媒体来源(包括自然来源)发送回传。 |
| **including** |
从下拉菜单中选择一个或多个要发送到 Pushwoosh 的 AppsFlyer 事件,并填写必要的参数。
| 参数 | 描述 |
| ------------------------------- | ------------------------------------------------------------------------------------------------------------------------------------------------------------------------------------------------------------------------------------------------------------------------------------------------------------------------------------------------------------------------------------------------------------------------------------------------------------------------------------------------------------------------------- |
| **the mapped to partner event** | 尽管此字段是必填项,但您无需担心输入的内容,因为它不会改变事件的命名方式。Pushwoosh 仍将接收到与它们在 AppsFlyer 中显示的名称相同的事件。 |
| **for users from** | 在此字段中,选择是仅为归因于此合作伙伴的用户发送回传,还是为所有媒体来源(包括自然来源)发送回传。 |
| **including** | 选择如何与 Pushwoosh 共享事件数据: