# AMP Web Push

<Aside type="caution">
**AMP 页面仅支持 Android 设备上的移动 Web Push。**
</Aside>


AMP 是一个开源的 Google 框架，用于开发可几乎瞬时加载的“用户优先”网页。

通过将 AMP Web Push 组件集成到您的 AMP 网页中，您可以在客户使用移动浏览器上网时与他们取得联系。

## 将 AMP 集成到您的网站

**将以下文件添加到您网站的** **根目录**：

1. [helper-iframe.html](https://cdn.pushwoosh.com/amp-web-push/helper-iframe.html)
2. [service-worker.js](https://cdn.pushwoosh.com/amp-web-push/service-worker.js)
3. [permission-dialog.html](https://cdn.pushwoosh.com/amp-web-push/permission-dialog.html)

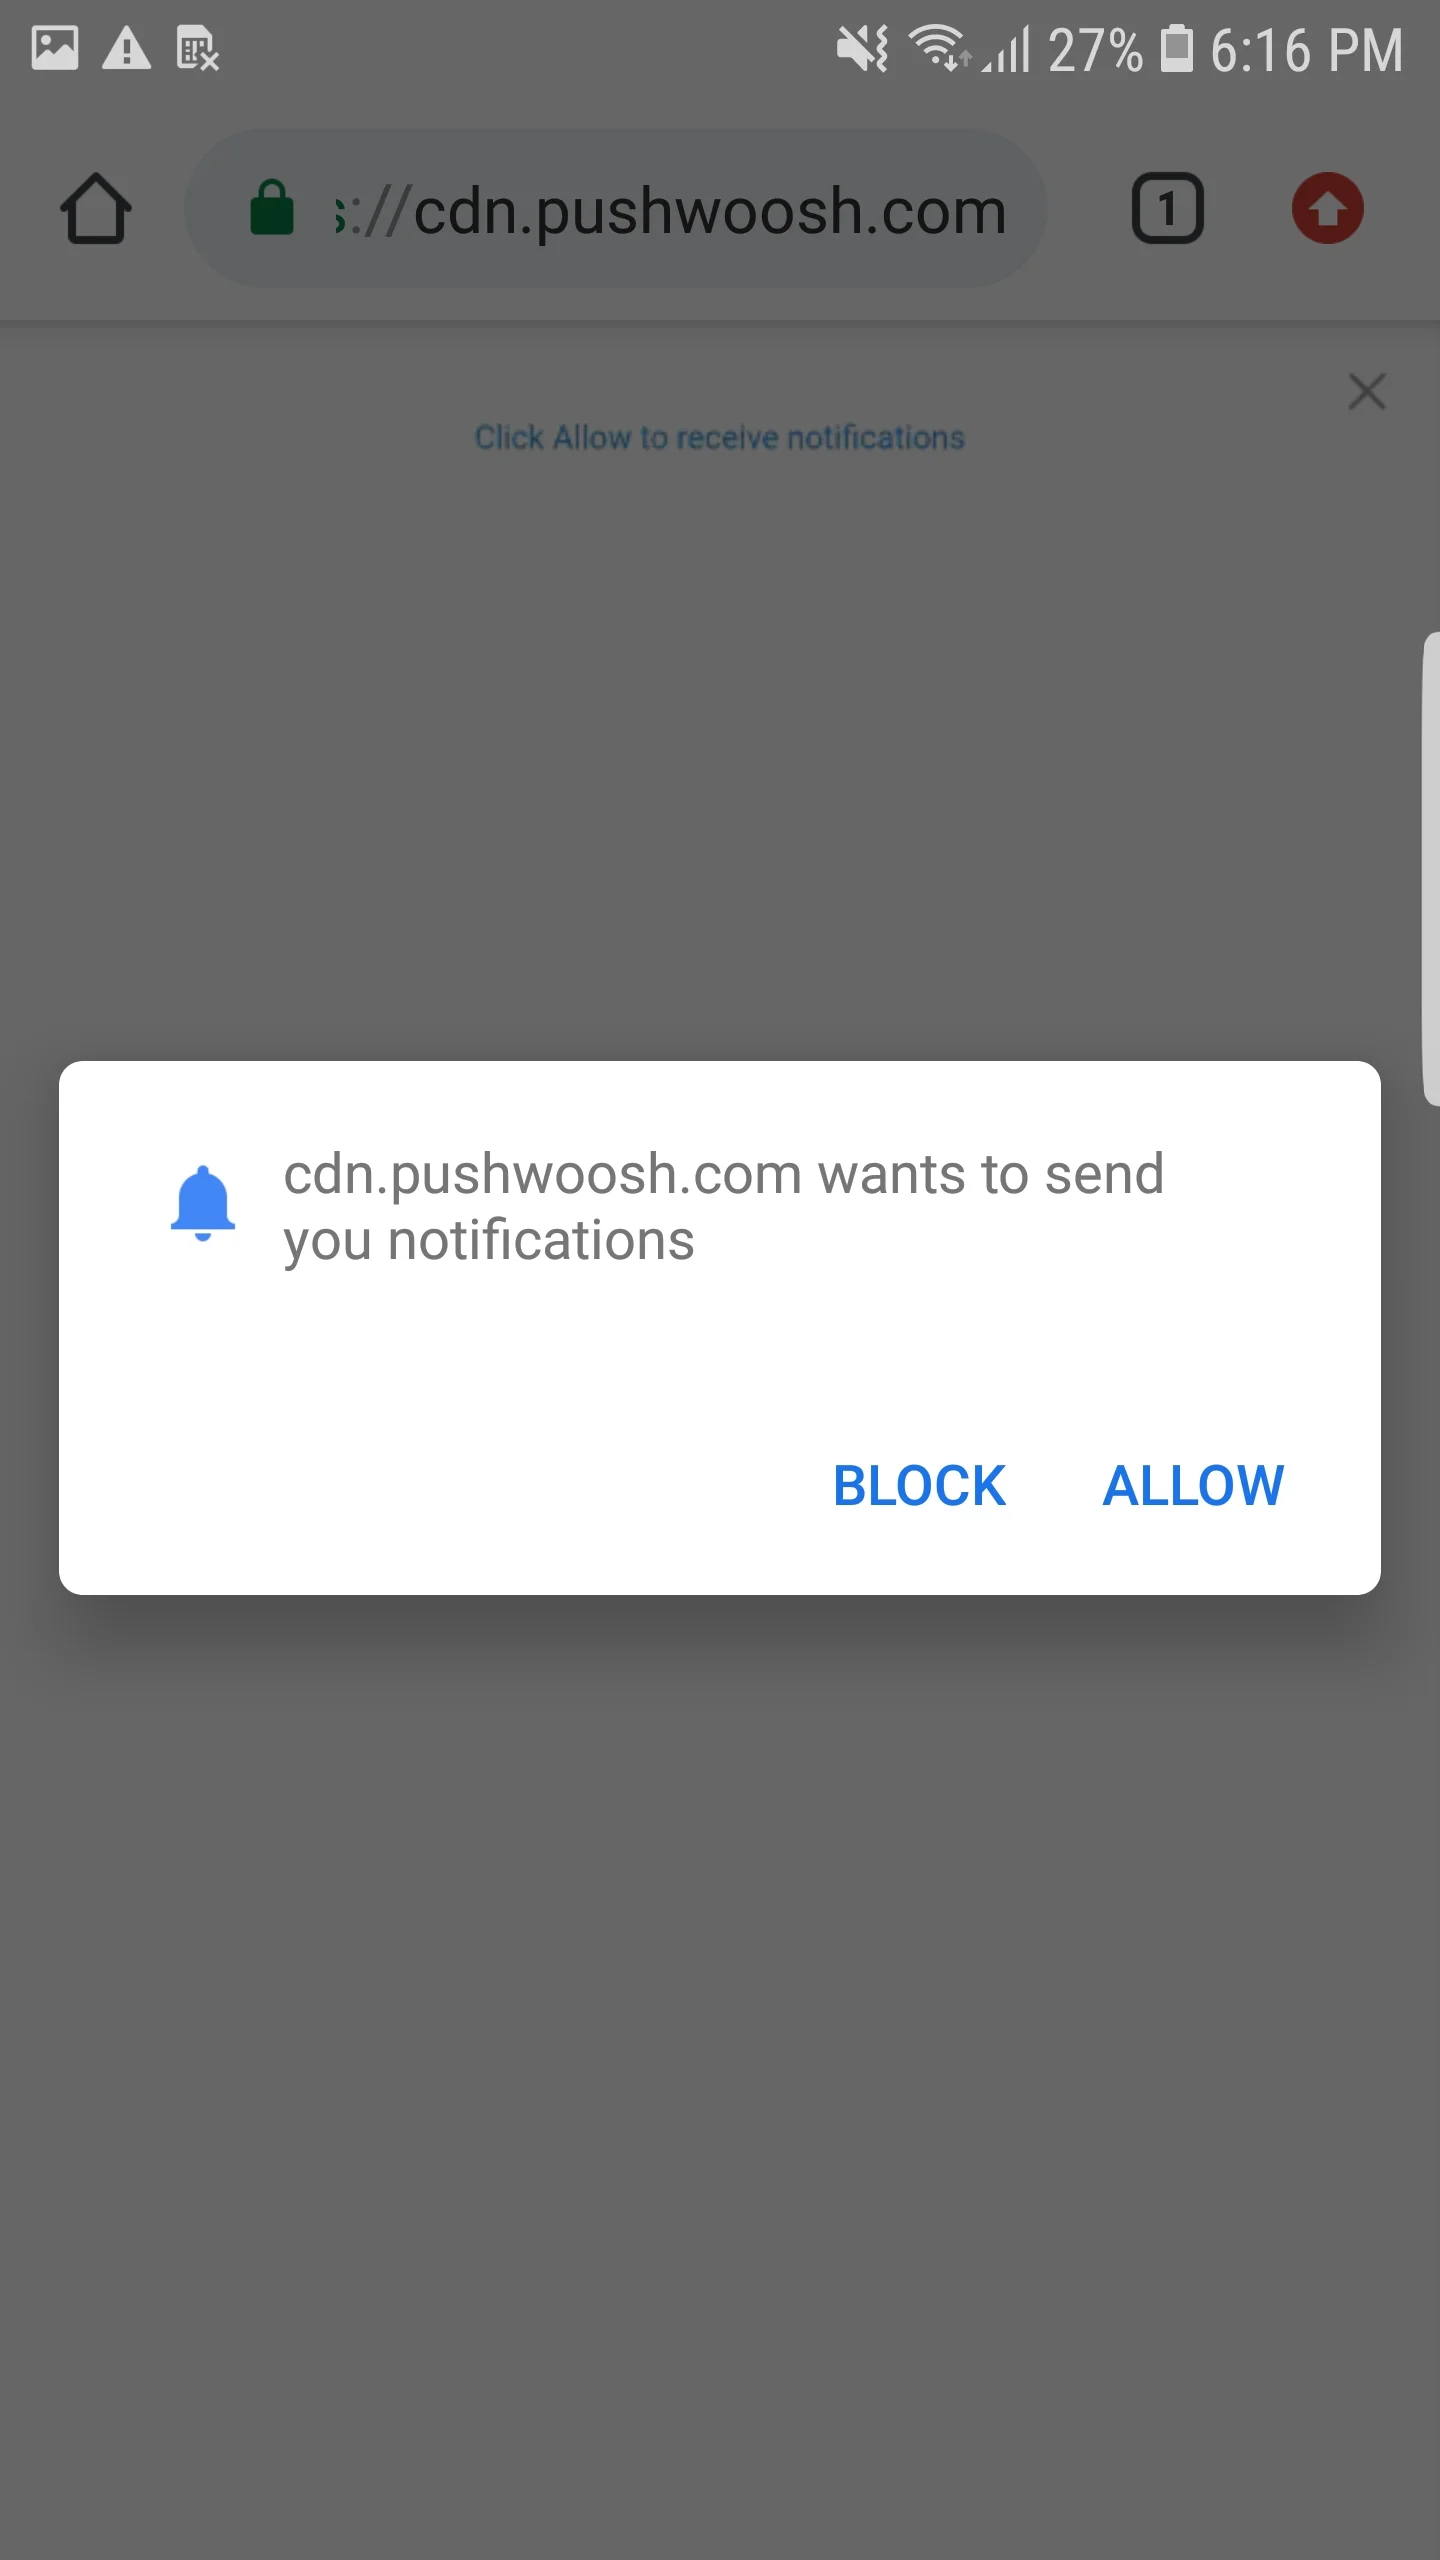
在 `permission-dialog.html` 文件中有两个可自定义的块：

```txt title="订阅推送通知"
<div class="subscribe" permission="default">
    <p class="message">
    {订阅推送通知}
    </p>
</div>
```

```txt title="取消阻止推送通知"
<div class="blocked" permission="denied">
    <p class="message">
    {在您的浏览器设置中取消阻止推送通知}
    </p>
</div>
```

其中：

*   `{订阅推送通知}` — 一条 CTA 消息，请求用户允许推送通知；
*   `{在您的浏览器设置中取消阻止推送通知}` — 一条 CTA 消息，提示用户在其浏览器设置中取消阻止推送通知（以防用户明确阻止了推送通知）。

要自定义权限对话框的外观，请将以下代码添加到 `<head>` 标签中：

```
 <style amp-custom>
    .subscribe {
        /* your css here */
    }

    .blocked {
        /* your css here */
    }
</style>
```

<img src="/web-push-notifications-amp-web-push-1.webp" alt="权限对话框"/>

## 集成 AMP Web Push

要在 AMP 页面上实现 Web Push 通知，请将 [amp-web-push](https://amp.dev/documentation/components/amp-web-push?format=websites) 组件添加到每个 AMP 页面。

为此，请遵循以下两个步骤：

**1. 将以下脚本添加到 `<head>` 标签中**：

```txt title="amp-web-push"
<head>
    ...
    <script async custom-element="amp-web-push" src="https://cdn.ampproject.org/v0/amp-web-push-0.1.js"></script>
    ...
</head>
```

**2. 将以下代码添加到 `<body>` 标签中**：

```txt title="amp-web-push"
<body>
    <amp-web-push
    id="amp-web-push"
    layout="nodisplay"
    helper-iframe-url="https://{domain}/helper-iframe.html"
                 permission-dialog-url="https://{domain}/permission-dialog.html"
service-worker-url="https://{domain}/service-worker.js?applicationCode={applicationCode}&senderId={senderId}&applicationServerKey={applicationServerKey}"
    ></amp-web-push>
    ...
    <!-- 开始订阅通知按钮 -->
    <amp-web-push-widget visibility="unsubscribed" layout="fixed" width="250" height="80">
    <button class="subscribe" on="tap:amp-web-push.subscribe">
        {订阅按钮上的文本}
    </button>
    </amp-web-push-widget>
    <!-- 结束订阅通知按钮 -->
    <!-- 开始取消订阅通知按钮 -->
    <amp-web-push-widget visibility="subscribed" layout="fixed" width="250" height="80">
    <button class="unsubscribe" on="tap:amp-web-push.unsubscribe">
        {取消订阅按钮上的文本}
    </button>
    </amp-web-push-widget>
    <!-- 结束取消订阅通知按钮 -->
    <!-- 开始用户阻止通知时的后备内容 -->
    <amp-web-push-widget visibility="blocked" layout="fixed" width="250" height="80">
    <div class="fallback">
            {用户阻止通知时的后备内容}
        </div>
    </amp-web-push-widget>
    <!-- 结束用户阻止通知时的后备内容 -->
...
</body>
```

其中：

*   `{domain}` — 您的网站 URL，
*   `{applicationCode}` — 您的 Pushwoosh 应用代码，
*   `{senderId}` — 来自您 Firebase 控制台的 Sender ID，
*   `{applicationServerKey}` — 来自您 Firebase 控制台的 Server Key，
*   `{订阅按钮上的文本}` — 启用推送通知的按钮上的文本，
*   `{取消订阅按钮上的文本}` — 禁用推送通知的按钮上的文本，
*   `{用户阻止通知时的后备内容}` — 当用户阻止推送通知时显示的后备块。

要**自定义按钮样式**，请将以下代码添加到 **&lt;head&gt;** 标签中：

```txt title="css"
<style amp-custom>
    amp-web-push-widget button.subscribe {
        /* your css here */
    }
    amp-web-push-widget button.unsubscribe {
        /* your css here */
    }
    amp-web-push-widget .fallback {
        /* your css here */
    }
</style>
```

要检查您是否已正确完成所有操作，请使用 [https://search.google.com/test/amp](https://search.google.com/test/amp)\