AMP web push
AMP เป็นเฟรมเวิร์กโอเพนซอร์สของ Google สำหรับการพัฒนาหน้าเว็บที่เน้นผู้ใช้เป็นหลักซึ่งโหลดได้เกือบจะในทันที
การผสานรวมคอมโพเนนต์ AMP Web Push เข้ากับหน้าเว็บ AMP ของคุณ จะช่วยให้คุณสามารถเข้าถึงลูกค้าของคุณได้ในขณะที่พวกเขากำลังท่องเว็บด้วยเบราว์เซอร์บนมือถือ
ผสานรวม AMP เข้ากับเว็บไซต์ของคุณ
Anchor link toเพิ่มไฟล์ต่อไปนี้ไปยัง root directory ของเว็บไซต์ของคุณ:
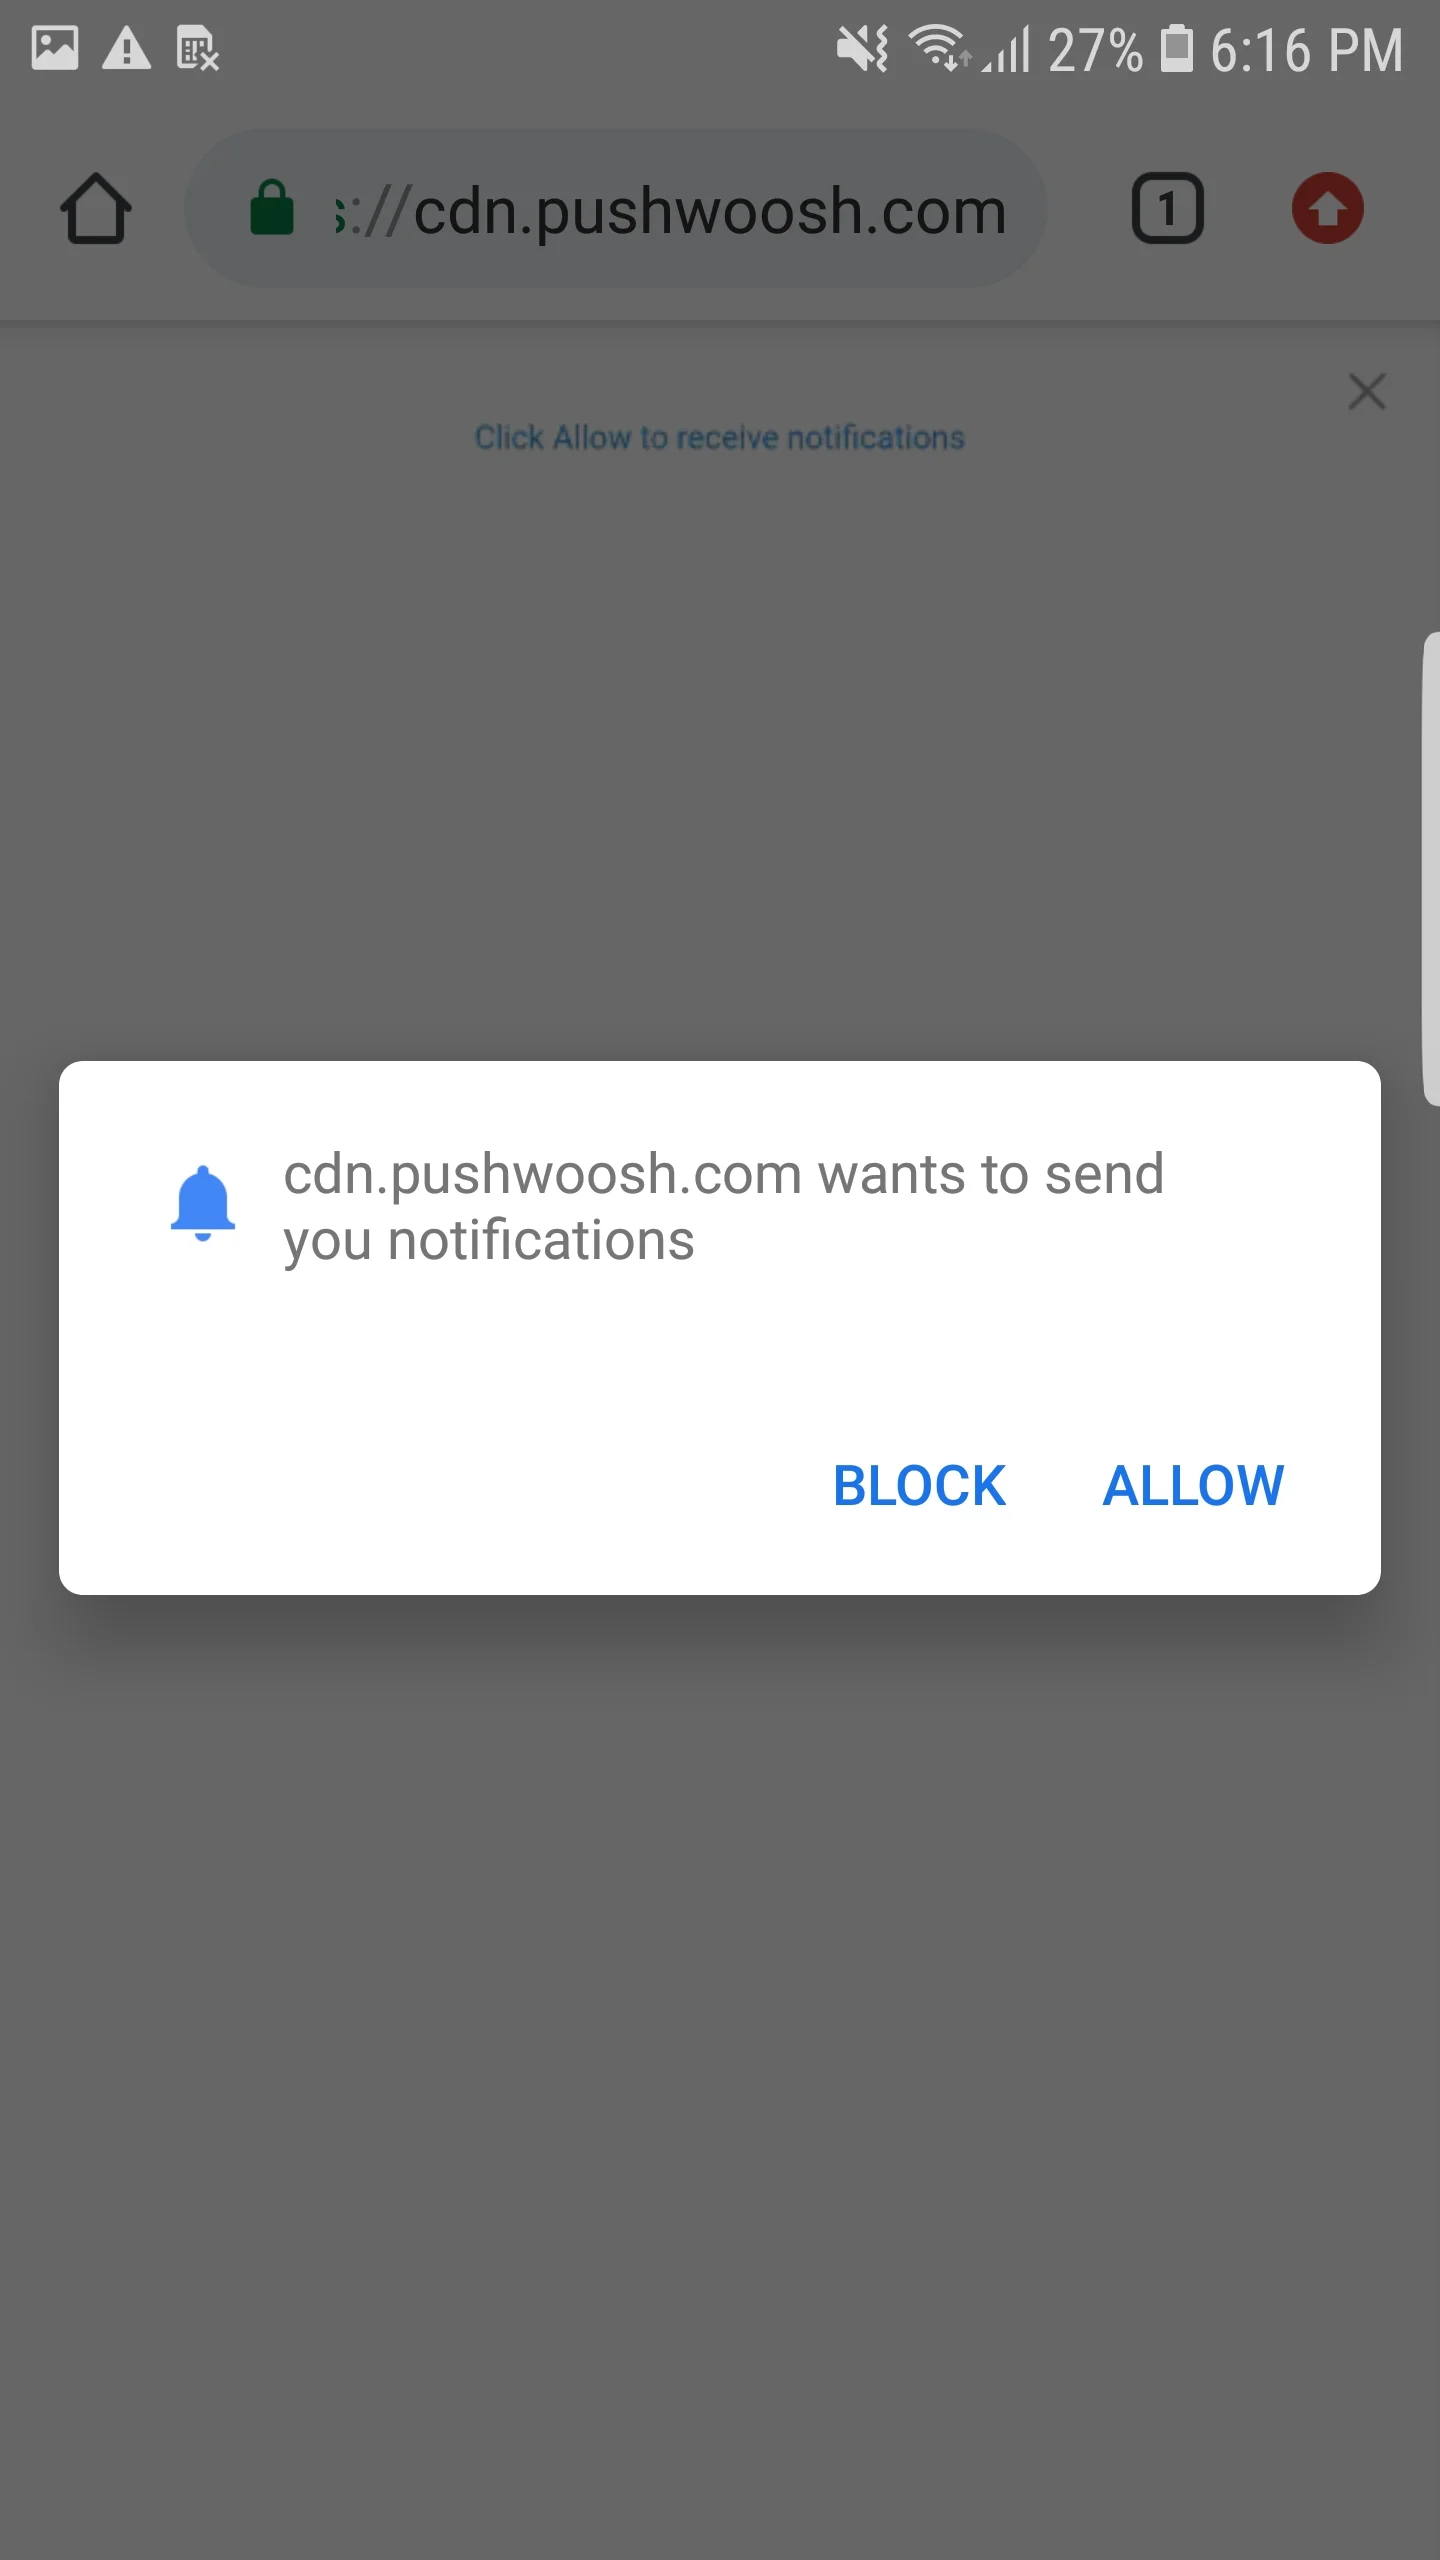
มีสองบล็อกที่สามารถปรับแต่งได้ในไฟล์ permission-dialog.html:
<div class="subscribe" permission="default"> <p class="message"> {สมัครรับการแจ้งเตือนแบบพุช} </p></div><div class="blocked" permission="denied"> <p class="message"> {ปลดบล็อกการแจ้งเตือนแบบพุชในการตั้งค่าเบราว์เซอร์ของคุณ} </p></div>โดยที่:
{สมัครรับการแจ้งเตือนแบบพุช}— ข้อความ CTA ที่ขอให้ผู้ใช้อนุญาตการแจ้งเตือนแบบพุช{ปลดบล็อกการแจ้งเตือนแบบพุชในการตั้งค่าเบราว์เซอร์ของคุณ}— ข้อความ CTA ที่แจ้งให้ผู้ใช้ปลดบล็อกการแจ้งเตือนแบบพุชในการตั้งค่าเบราว์เซอร์ (ในกรณีที่ผู้ใช้บล็อกการแจ้งเตือนแบบพุชไว้อย่างชัดเจน)
หากต้องการปรับแต่งลักษณะที่ปรากฏของกล่องโต้ตอบการขออนุญาต ให้เพิ่มโค้ดต่อไปนี้ลงในแท็ก <head>:
 <style amp-custom>    .subscribe {        /* your css here */    }
    .blocked {        /* your css here */    }</style>
ผสานรวม AMP Web Push
Anchor link toหากต้องการติดตั้งการแจ้งเตือนแบบ web push บนหน้า AMP ให้เพิ่มคอมโพเนนต์ amp-web-push ในแต่ละหน้า AMP
ในการทำเช่นนั้น ให้ทำตามสองขั้นตอนต่อไปนี้:
1. เพิ่มสคริปต์ต่อไปนี้ลงในแท็ก <head>:
<head> ... <script async custom-element="amp-web-push" src="https://cdn.ampproject.org/v0/amp-web-push-0.1.js"></script> ...</head>2. เพิ่มโค้ดต่อไปนี้ลงในแท็ก <body>:
<body> <amp-web-push id="amp-web-push" layout="nodisplay" helper-iframe-url="https://{domain}/helper-iframe.html" permission-dialog-url="https://{domain}/permission-dialog.html"service-worker-url="https://{domain}/service-worker.js?applicationCode={applicationCode}&senderId={senderId}&applicationServerKey={applicationServerKey}" ></amp-web-push> ... <!-- Start Subscribe to notifications button --> <amp-web-push-widget visibility="unsubscribed" layout="fixed" width="250" height="80"> <button class="subscribe" on="tap:amp-web-push.subscribe"> {ข้อความบนปุ่มสมัครรับข้อมูล} </button> </amp-web-push-widget> <!-- End the Subscribe to notifications button --> <!-- Start Unsubscribe from notifications button --> <amp-web-push-widget visibility="subscribed" layout="fixed" width="250" height="80"> <button class="unsubscribe" on="tap:amp-web-push.unsubscribe"> {ข้อความบนปุ่มยกเลิกการสมัคร} </button> </amp-web-push-widget> <!-- End Unsubscribe from notifications button --> <!-- Start Fallback if a user blocks notifications --> <amp-web-push-widget visibility="blocked" layout="fixed" width="250" height="80"> <div class="fallback"> {ข้อความสำรองหากผู้ใช้บล็อกการแจ้งเตือน} </div> </amp-web-push-widget> <!-- End Fallback if a user blocks notifications -->...</body>โดยที่:
{domain}— URL เว็บไซต์ของคุณ{applicationCode}— รหัสแอป Pushwoosh ของคุณ{senderId}— Sender ID จากคอนโซล Firebase ของคุณ{applicationServerKey}— Server Key จากคอนโซล Firebase ของคุณ{ข้อความบนปุ่มสมัครรับข้อมูล}— ข้อความบนปุ่มที่เปิดใช้งานการแจ้งเตือนแบบพุช{ข้อความบนปุ่มยกเลิกการสมัคร}— ข้อความบนปุ่มที่ปิดใช้งานการแจ้งเตือนแบบพุช{ข้อความสำรองหากผู้ใช้บล็อกการแจ้งเตือน}— บล็อกสำรองที่จะแสดงเมื่อผู้ใช้บล็อกการแจ้งเตือนแบบพุช
หากต้องการปรับแต่งสไตล์ของปุ่ม ให้เพิ่มโค้ดต่อไปนี้ลงในแท็ก <head>:
<style amp-custom> amp-web-push-widget button.subscribe { /* your css here */ } amp-web-push-widget button.unsubscribe { /* your css here */ } amp-web-push-widget .fallback { /* your css here */ }</style>หากต้องการตรวจสอบว่าคุณได้ทำทุกอย่างถูกต้องหรือไม่ โปรดใช้ https://search.google.com/test/amp\