Mac OS X
ดาวน์โหลด SDK
โปรเจกต์ตัวอย่าง
เอกสาร SDK API
การเชื่อมโยง Pushwoosh.framework
Anchor link toเพิ่ม Pushwoosh.framework ไปยังโปรเจกต์ของคุณผ่าน dependency manager โดยใส่บรรทัดต่อไปนี้ใน podfile หรือ cartfile ของคุณ:
platform :osx, '10.7'
target 'MyApp' do  pod 'Pushwoosh_mac'end
github "Pushwoosh/pushwoosh-mac-sdk"หรืออีกวิธีหนึ่ง คุณสามารถลากและวาง framework ไปที่ Link Binaries With Libraries ใน Build Phases ของโปรเจกต์ของคุณได้เลย
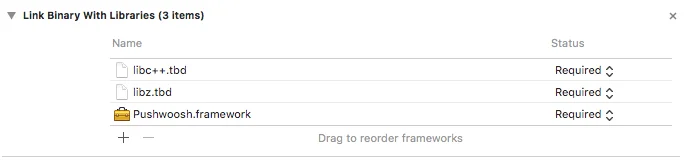
การเพิ่มไลบรารี
Anchor link toในแท็บ Build Phases ของโปรเจกต์ของคุณ เปิด Link Binaries With Libraries และคลิกที่ Add items (ปุ่ม ”+”) ค้นหาและเพิ่มไลบรารี libz.tbd และ libc++.tbd ไปยังโปรเจกต์ของคุณ:
การเชื่อมโยงแอปกับ Pushwoosh Control Panel
Anchor link toใน Info.plist ของคุณ เพิ่มคีย์ประเภท string Pushwoosh_APPID โดยมี Pushwoosh Application Code ของคุณเป็นค่า
การแก้ไข AppDelegate
Anchor link toเพิ่มโค้ดต่อไปนี้ไปยัง AppDelegate ของคุณ:
import PushKitimport Pushwoosh
func application(_ application: UIApplication, didFinishLaunchingWithOptions launchOptions: [UIApplicationLaunchOptionsKey : Any]? = nil) -> Bool {
//lots of your initialization code
//-----------PUSHWOOSH PART-----------
NSUserNotificationCenter.default.delegate = Pushwoosh.sharedInstance()?.notificationCenterDelegateProxy
// set custom delegate for push handling, in our case - view controllerPushwoosh.sharedInstance().delegate = self
// handling push on app startPushwoosh.sharedInstance().handlePushReceived(aNotification.userInfo)
// register for push notifications!Pushwoosh.sharedInstance().registerForPushNotifications()
#import <Pushwoosh/Pushwoosh.h>
- (void)applicationDidFinishLaunching:(NSNotification *)aNotification{ //lots of your initialization code
//-----------PUSHWOOSH PART-----------
[NSUserNotificationCenter defaultUserNotificationCenter].delegate = [Pushwoosh sharedInstance].notificationCenterDelegateProxy;
// set custom delegate for push handling, in our case - view controller [Pushwoosh sharedInstance].delegate = self;
// handling push on app start [[Pushwoosh sharedInstance] handlePushReceived:[aNotification userInfo]];
// register for push notifications! [[Pushwoosh sharedInstance] registerForPushNotifications]; }เพิ่มโค้ดต่อไปนี้ไปยัง UIApplicationDelegate ของคุณ (ไฟล์เดียวกับด้านบน)
// system push notification registration success callback, delegate to PWMessagingDelegatefunc application(_ application: NSApplication, didRegisterForRemoteNotificationsWithDeviceToken deviceToken: Data) {   Pushwoosh.sharedInstance()?.handlePushRegistration(deviceToken)}
// system push notification registration error callback, delegate to PWMessagingDelegatefunc application(_ application: NSApplication, didFailToRegisterForRemoteNotificationsWithError error: Error) {   Pushwoosh.sharedInstance()?.handlePushRegistrationFailure(error)}
// system push notification registration success callback, delegate to pushManager- (void)application:(NSApplication *)application didRegisterForRemoteNotificationsWithDeviceToken:(NSData *)deviceToken { [[Pushwoosh sharedInstance] handlePushRegistration:deviceToken];}
// system push notification registration error callback, delegate to pushManager- (void)application:(NSApplication *)application didFailToRegisterForRemoteNotificationsWithError:(NSError *)error { [[Pushwoosh sharedInstance] handlePushRegistrationFailure:error];}เพื่อจัดการ push notifications ให้เพิ่มฟังก์ชันต่อไปนี้ไปยัง UIApplicationDelegate ของคุณ (ไฟล์เดียวกับสามขั้นตอนข้างต้น):
//this event is fired when the push gets receivedfunc pushwoosh(_ pushwoosh: Pushwoosh!, onMessageReceived message: PWMessage!) {   print("onMessageReceived: \(String(describing: message.payload))")}
//this event is fired when user taps the notificationfunc pushwoosh(_ pushwoosh: Pushwoosh!, onMessageOpened message: PWMessage!) {   print("onMessageOpened: \(String(describing: message.payload))")}
//this event is fired when the push gets received- (void)pushwoosh:(Pushwoosh *)pushwoosh onMessageReceived:(PWMessage *)message { NSLog(@"onMessageReceived: %@", message.payload);}
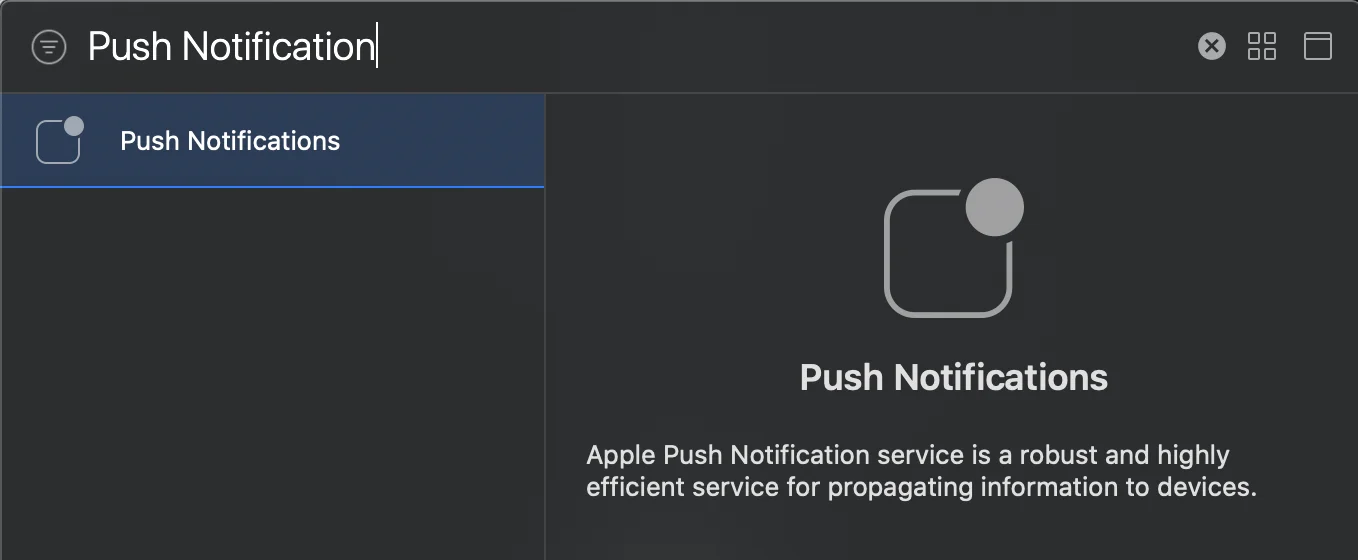
//this event is fired when user taps the notification- (void)pushwoosh:(Pushwoosh *)pushwoosh onMessageOpened:(PWMessage *)message { NSLog(@"onMessageOpened: %@", message.payload);}การเปิดใช้งาน Push Notifications
Anchor link toไปที่ Signing and Capabilities ใน target ของคุณ กด + Capability และเพิ่ม Push Notifications