# Push notifications แบบภาพสไลด์สำหรับ iOS
โปรโตคอล `UNNotificationContentExtension` เป็นจุดเริ่มต้นสำหรับส่วนขยายเนื้อหาการแจ้งเตือนของแอป (notification content app extension) ซึ่งจะแสดงอินเทอร์เฟซที่กำหนดเองสำหรับการแจ้งเตือนของแอปของคุณ
## 1. เพิ่ม Notification Content Extension
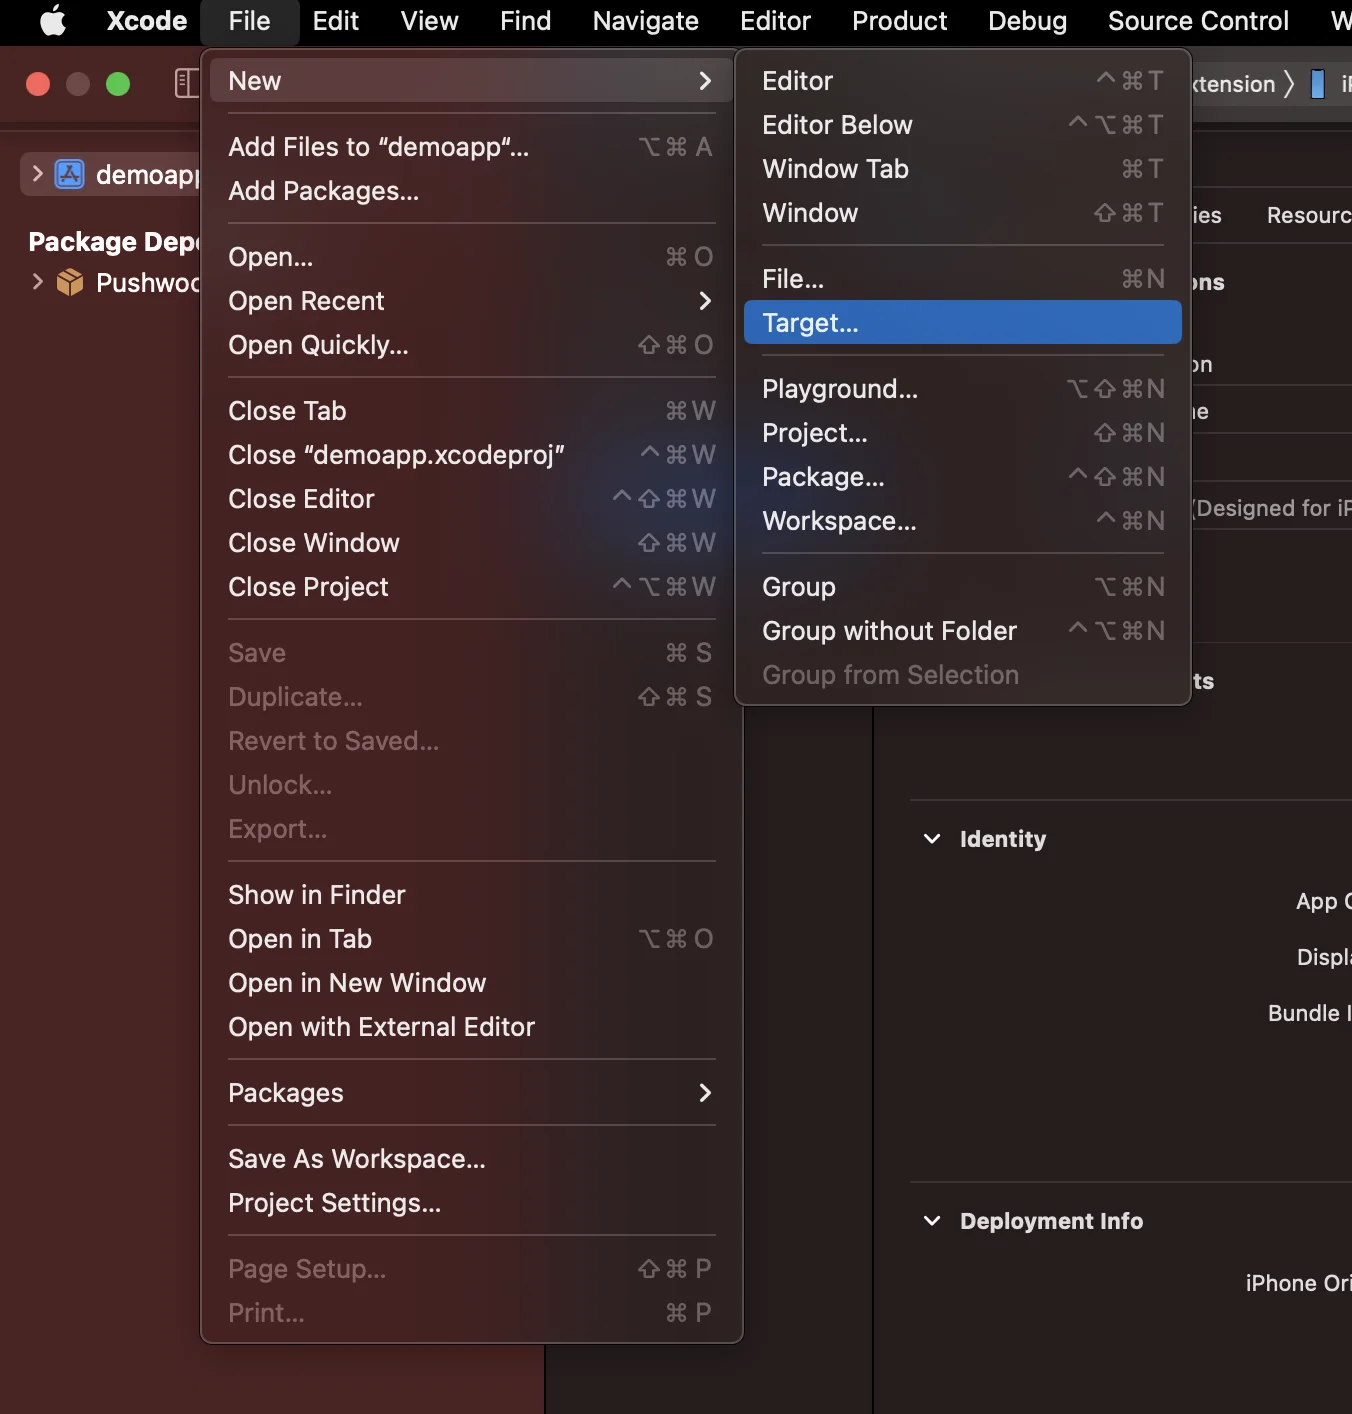
ใน Xcode เลือก File > New > Target...
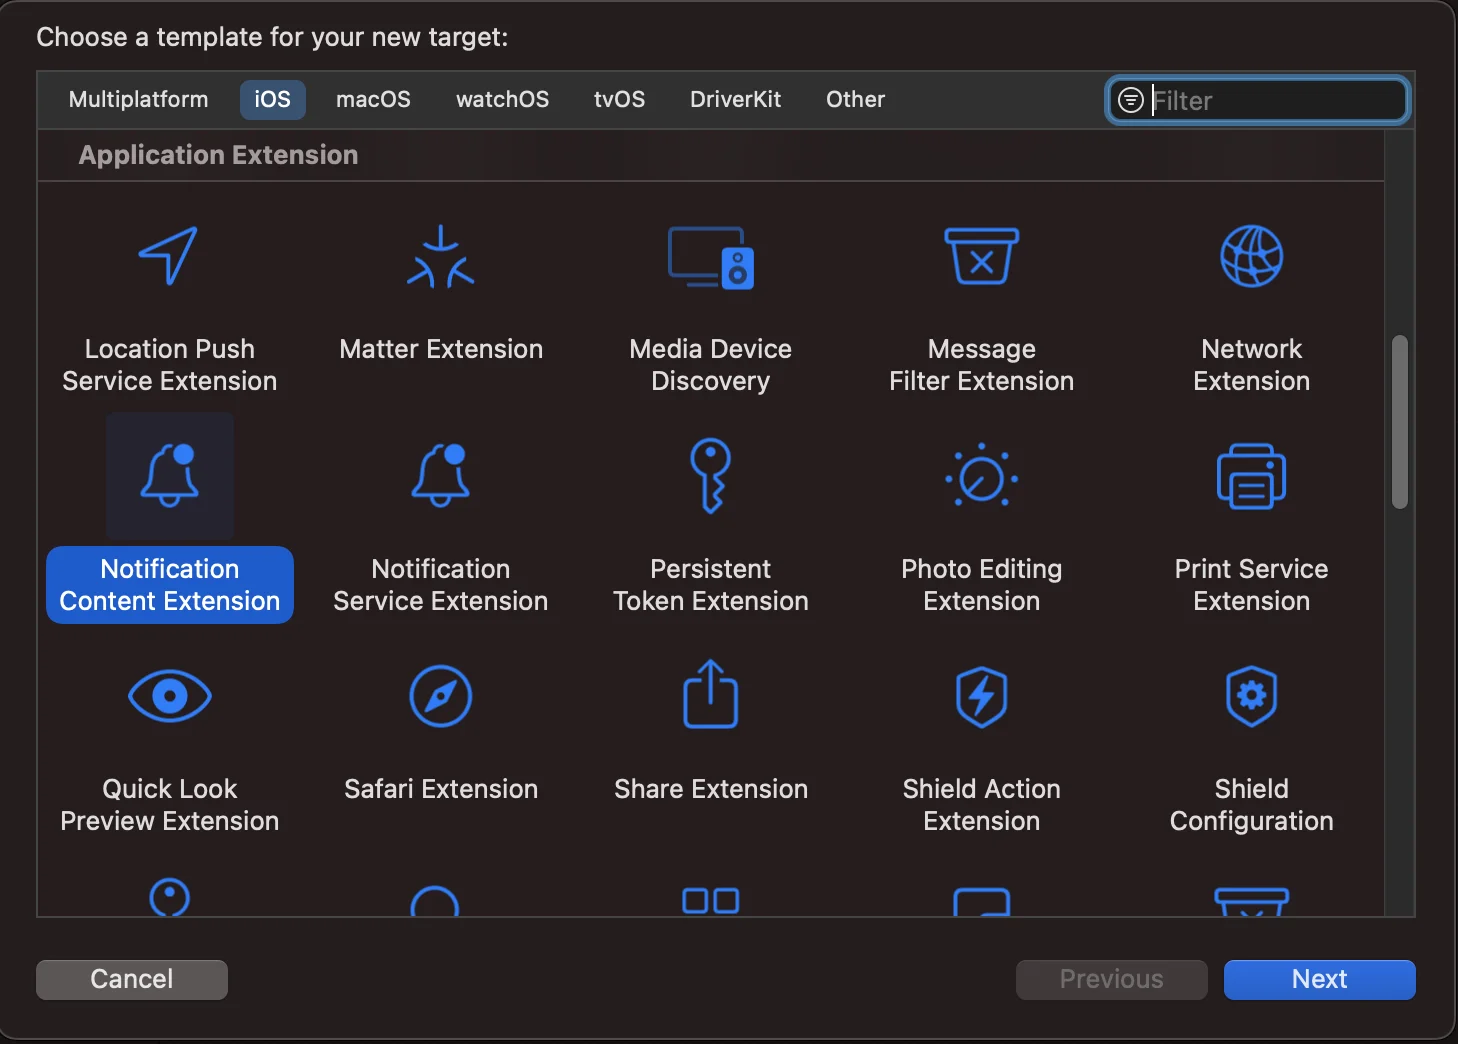
 เลือก Notification Content Extension
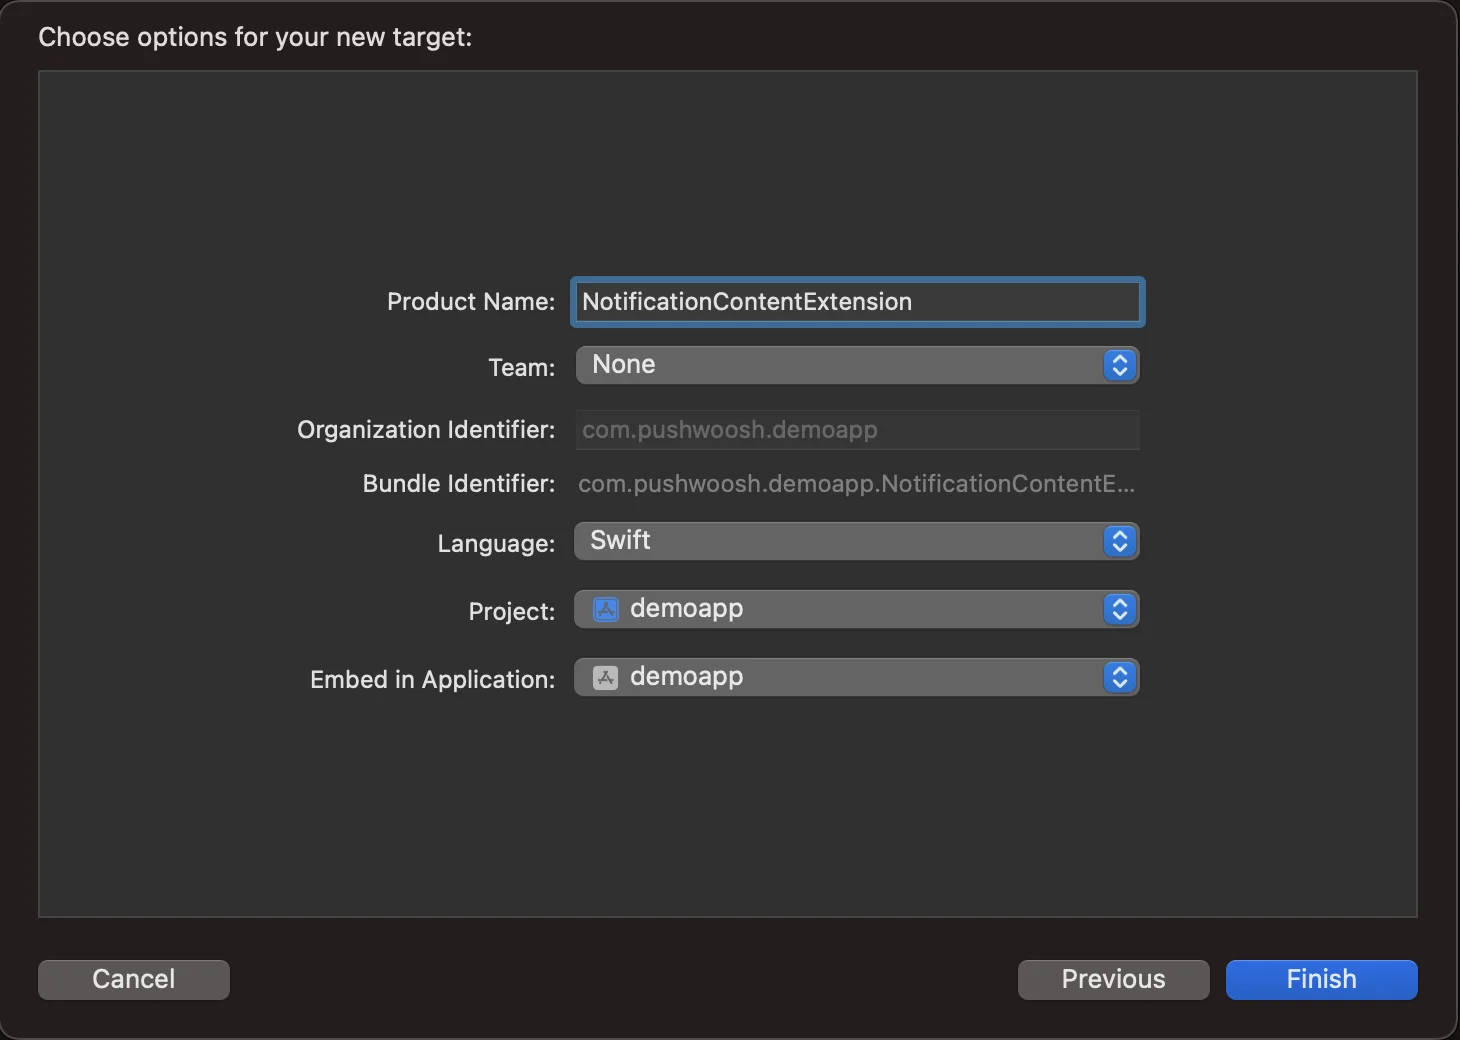
 ตั้งชื่อเป็น **NotificationContentExtension**
 ## 2. เพิ่มโค้ดลงในแอปของคุณ
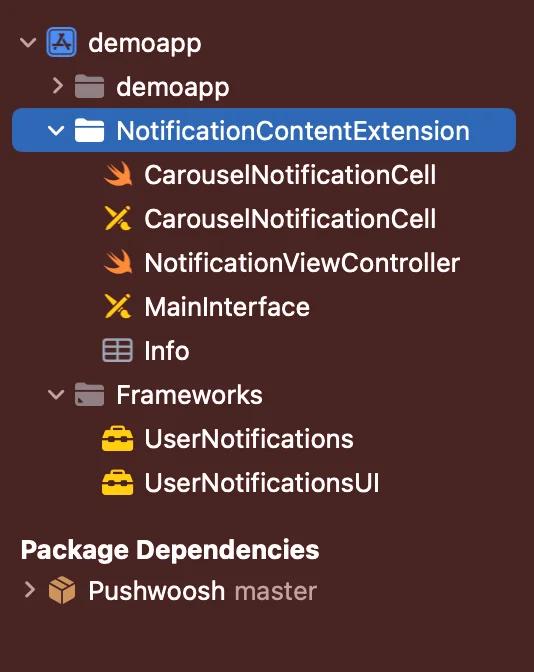
[ดาวน์โหลด PWNotificationExtension จาก Github](https://github.com/Pushwoosh/PWNotificationContentExtension) และแทนที่ **`PWNotificationContentExtension`** ใน Xcode Project ของคุณด้วยไฟล์เดียวกันจาก Github
## 2. เพิ่มโค้ดลงในแอปของคุณ
[ดาวน์โหลด PWNotificationExtension จาก Github](https://github.com/Pushwoosh/PWNotificationContentExtension) และแทนที่ **`PWNotificationContentExtension`** ใน Xcode Project ของคุณด้วยไฟล์เดียวกันจาก Github
 ## 3. หมวดหมู่การแจ้งเตือน
เพิ่มโค้ดด้านล่างลงในไฟล์ **AppDelegate.swift** ของคุณ
```swift
func application(_ application: UIApplication, didFinishLaunchingWithOptions launchOptions: [UIApplication.LaunchOptionsKey: Any]?) -> Bool {
if #available(iOS 10.0, *) {
let options: UNAuthorizationOptions = [.alert]
UNUserNotificationCenter.current().requestAuthorization(options: options) { (authorized, error) in
if authorized {
let categoryIdentifier = "PWNotificationCarousel"
let carouselNext = UNNotificationAction(identifier: "PWNotificationCarousel.next", title: "➡️ RIGHT", options: [])
let carouselPrevious = UNNotificationAction(identifier: "PWNotificationCarousel.previous", title: "⬅️ LEFT", options: [])
let carouselCategory = UNNotificationCategory(identifier: categoryIdentifier, actions: [carouselNext, carouselPrevious], intentIdentifiers: [], options: [])
UNUserNotificationCenter.current().setNotificationCategories([carouselCategory])
}
}
}
return true
}
```
## 4. ส่ง push notification
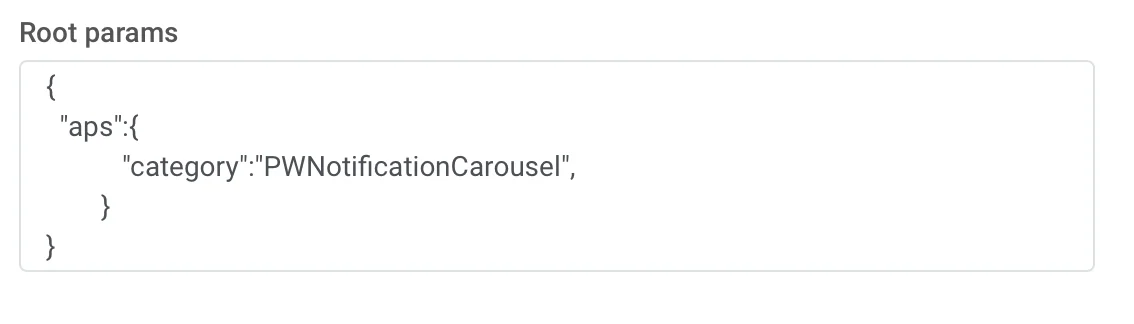
**หมวดหมู่ iOS (iOS Category):**
ส่ง push notification พร้อม APS json:
## 3. หมวดหมู่การแจ้งเตือน
เพิ่มโค้ดด้านล่างลงในไฟล์ **AppDelegate.swift** ของคุณ
```swift
func application(_ application: UIApplication, didFinishLaunchingWithOptions launchOptions: [UIApplication.LaunchOptionsKey: Any]?) -> Bool {
if #available(iOS 10.0, *) {
let options: UNAuthorizationOptions = [.alert]
UNUserNotificationCenter.current().requestAuthorization(options: options) { (authorized, error) in
if authorized {
let categoryIdentifier = "PWNotificationCarousel"
let carouselNext = UNNotificationAction(identifier: "PWNotificationCarousel.next", title: "➡️ RIGHT", options: [])
let carouselPrevious = UNNotificationAction(identifier: "PWNotificationCarousel.previous", title: "⬅️ LEFT", options: [])
let carouselCategory = UNNotificationCategory(identifier: categoryIdentifier, actions: [carouselNext, carouselPrevious], intentIdentifiers: [], options: [])
UNUserNotificationCenter.current().setNotificationCategories([carouselCategory])
}
}
}
return true
}
```
## 4. ส่ง push notification
**หมวดหมู่ iOS (iOS Category):**
ส่ง push notification พร้อม APS json:
 ```json
{
"aps":{
"category":"PWNotificationCarousel"
}
}
```
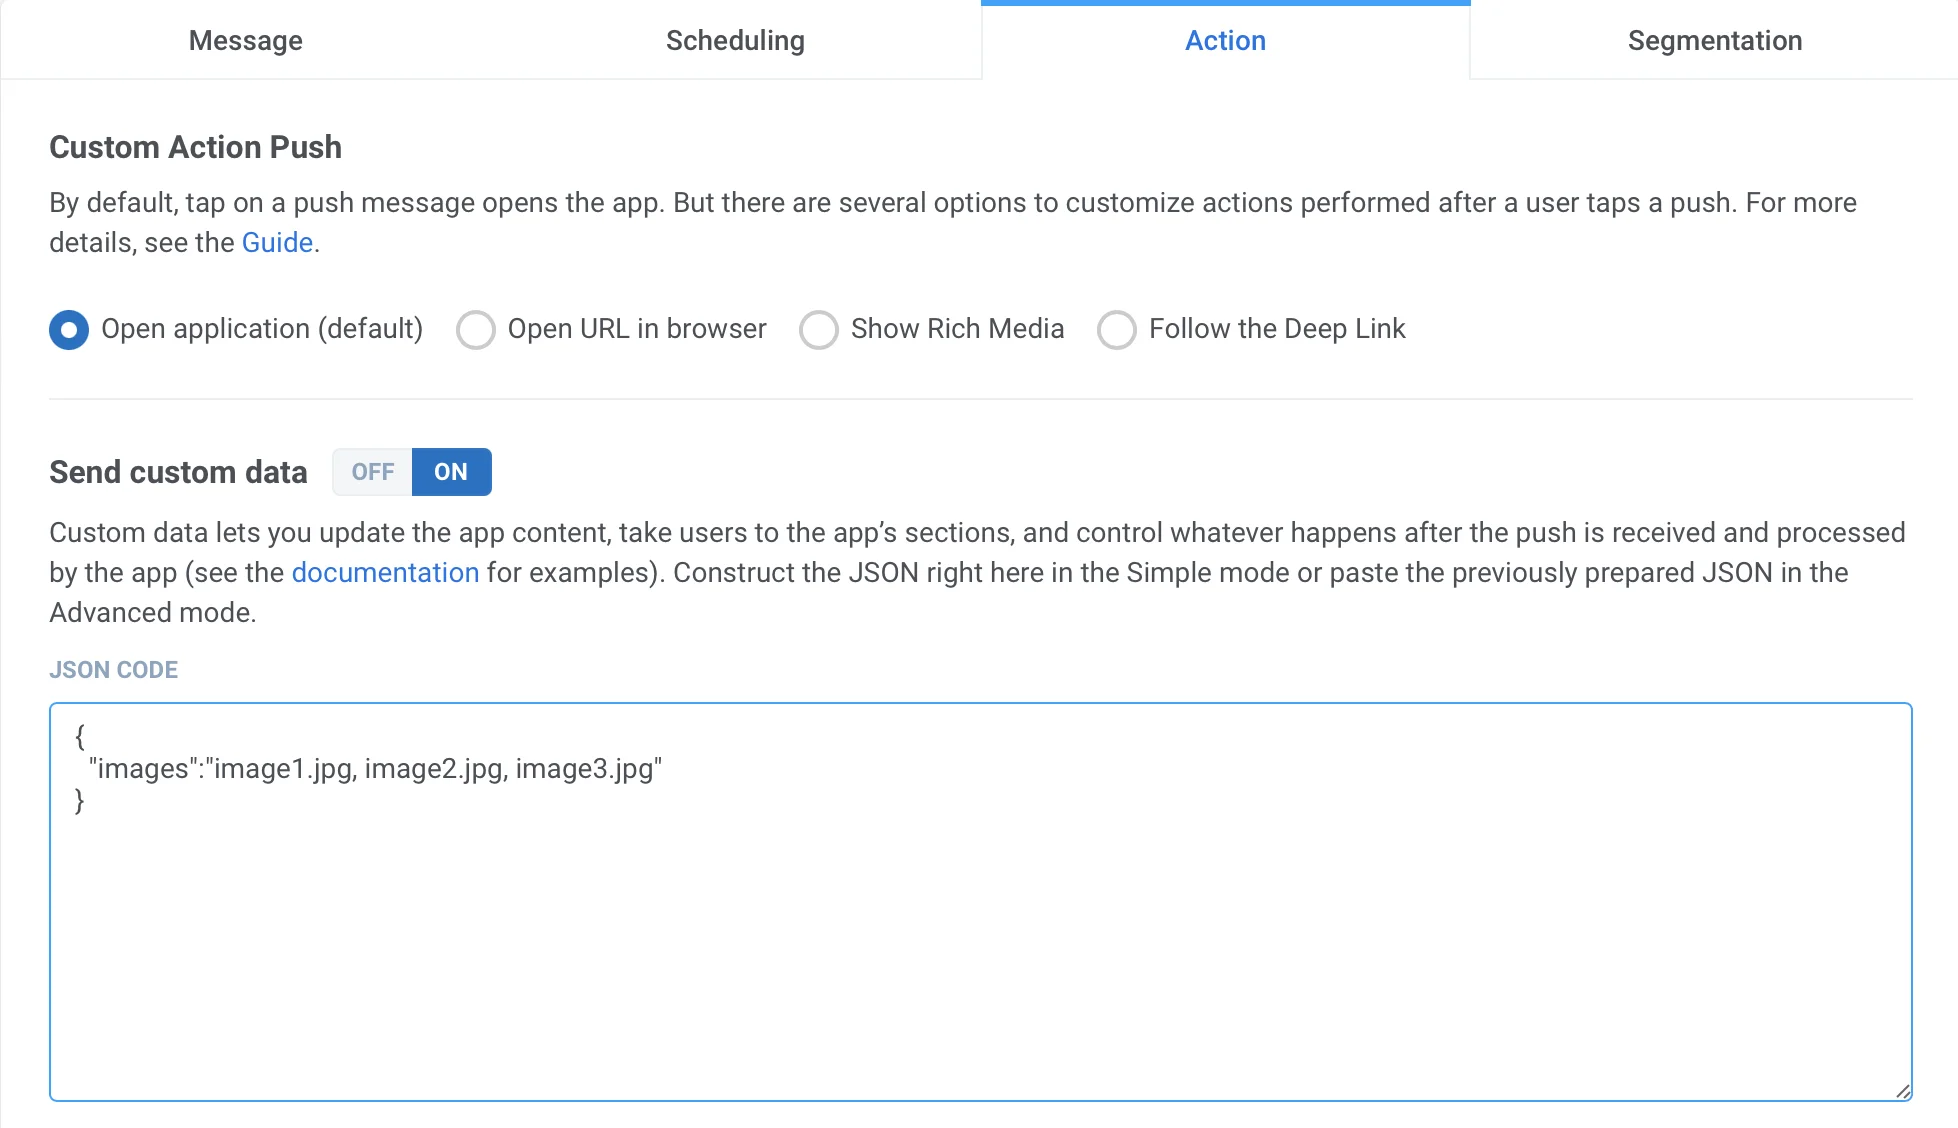
**ข้อมูลที่กำหนดเอง (Custom Data)**
คุณต้องระบุรายการ URL ของรูปภาพโดยคั่นด้วยเครื่องหมายจุลภาค `,`
```json
{
"aps":{
"category":"PWNotificationCarousel"
}
}
```
**ข้อมูลที่กำหนดเอง (Custom Data)**
คุณต้องระบุรายการ URL ของรูปภาพโดยคั่นด้วยเครื่องหมายจุลภาค `,`
 ```json
{
"images":"image1.jpg, image2.jpg, image3.jpg"
}
```
เมื่อคุณได้รับการแจ้งเตือน คุณจะต้องกดค้างหรือปัดไปทางซ้ายแล้วคลิก "View" เพื่อขยายการแจ้งเตือน ทั้งนี้ขึ้นอยู่กับเวอร์ชันของ iOS
```json
{
"images":"image1.jpg, image2.jpg, image3.jpg"
}
```
เมื่อคุณได้รับการแจ้งเตือน คุณจะต้องกดค้างหรือปัดไปทางซ้ายแล้วคลิก "View" เพื่อขยายการแจ้งเตือน ทั้งนี้ขึ้นอยู่กับเวอร์ชันของ iOS