Register phone numbers for WhatsApp
For a customer to receive WhatsApp messages, they must have a valid phone number and be registered as a WhatsApp platform subscriber in Pushwoosh.
Additionally, WhatsApp requires businesses to obtain opt-in consent from customers before messaging them. For guidelines on obtaining consent, refer to WhatsApp Opt-In Best Practices.
Methods to register WhatsApp subscribers
Anchor link toThere are three main methods to register phone numbers as WhatsApp subscribers:
-
Using Pushwoosh SDK. Learn more
-
Using Pushwoosh API. Learn more
-
Importing WhatsApp contacts from a CSV file
How to import WhatsApp contacts from a CSV file
Anchor link toTo import WhatsApp contacts, upload a CSV file containing the contact list. The imported numbers will be registered as WhatsApp subscribers, enabling personalized messaging and audience segmentation.
Prepare your CSV file
Anchor link toCSV formatting rules
Anchor link toGeneral structure
Anchor link to- The first row must contain column headers describing the data in each column.
- Each subsequent row represents a single contact, with values corresponding to the headers.
- Values must be separated by commas.
- Save the file in UTF-8 encoding to ensure proper character display.
- The maximum allowable file size is 100 MB.
Required columns
Anchor link to- Phone Number – Must be in E.164 format, including the
+sign and country code. - User ID – A unique identifier for the user (e.g., name or email).
Optional columns
Anchor link toAdding optional columns allows for more advanced segmentation and personalization in your WhatsApp campaigns.
- Name – First name or full name of the user.
- Location – Specifies the user’s city, state, or country. Useful for sending location-based promotions (e.g., Get 20% off at our Los Angeles store today!).
- Birthday – Enables sending birthday messages with special discounts (e.g., Happy Birthday, Sarah! Here’s a 10% discount just for you!). Can trigger automated birthday campaigns.
- Language – Stores the user’s language preference (e.g., English, Spanish, French). Helps send messages in the recipient’s language for better engagement.
- Customer Type – Identifies whether the user is a new customer, VIP, or inactive. Enables targeted messaging (e.g., Exclusive VIP offer just for you!).
- Custom Tags – Any additional data relevant to your campaign (e.g., user preferences, purchase history). These can be mapped to system tags and used for segmentation in Pushwoosh.
Example CSV file
Anchor link toHere’s an example of a properly formatted CSV file:
Phone Number,User ID,Name,Location+1XXXXXXXXXX,john.doe@email.com,John Doe,New York+1XXXXXXXXXX,jane.smith@email.com,Jane Smith,Los AngelesUpload the CSV file
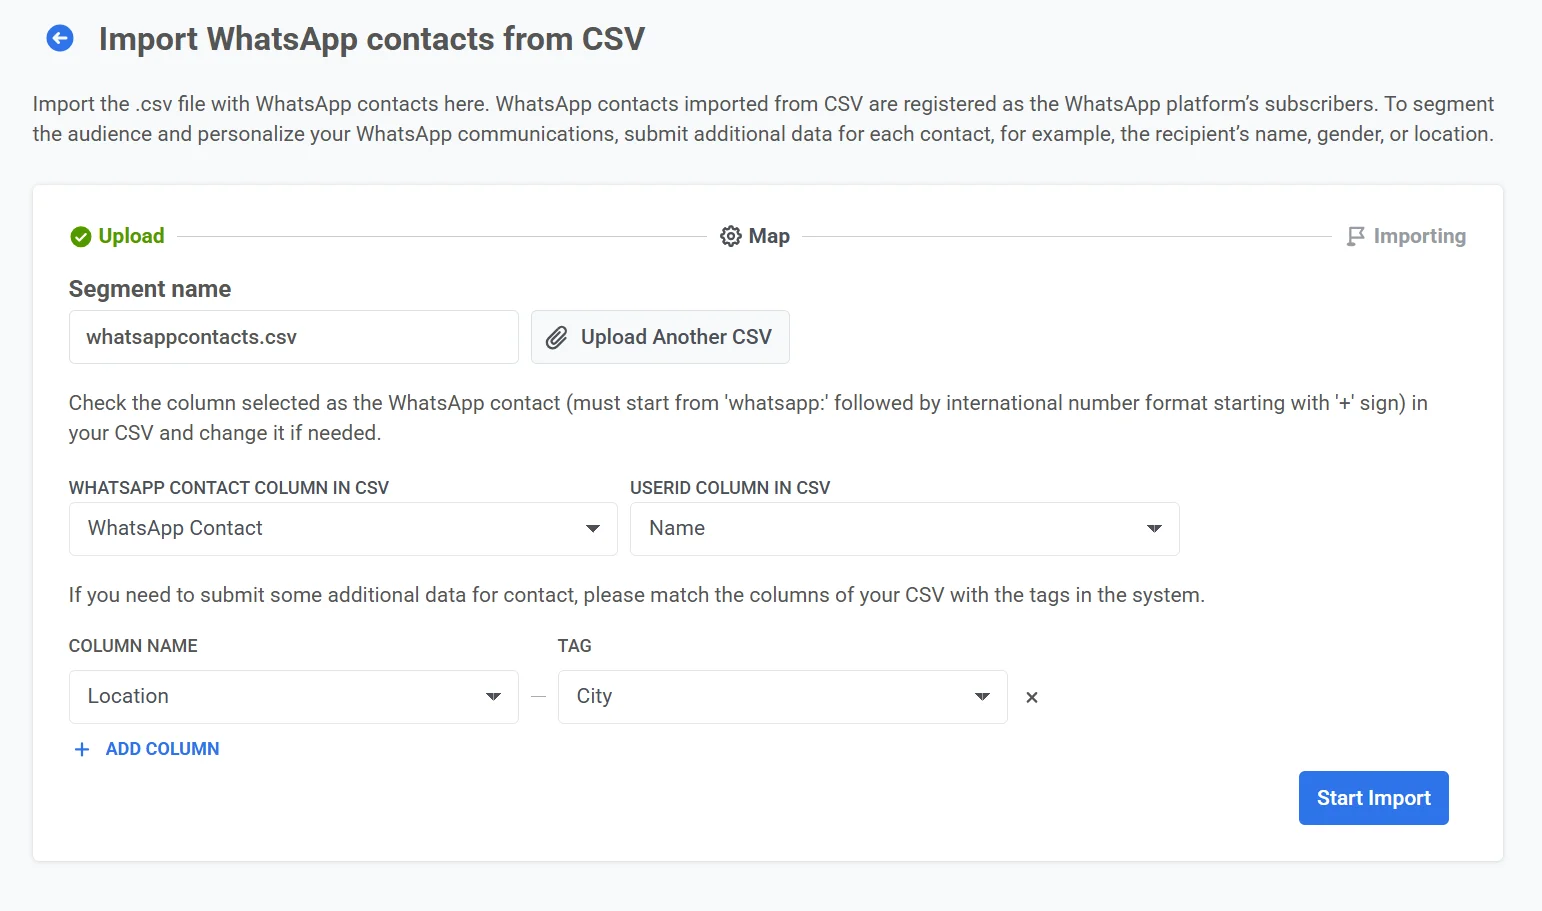
Anchor link to- Go to Campaigns > WhatsApp messages > Upload contacts.
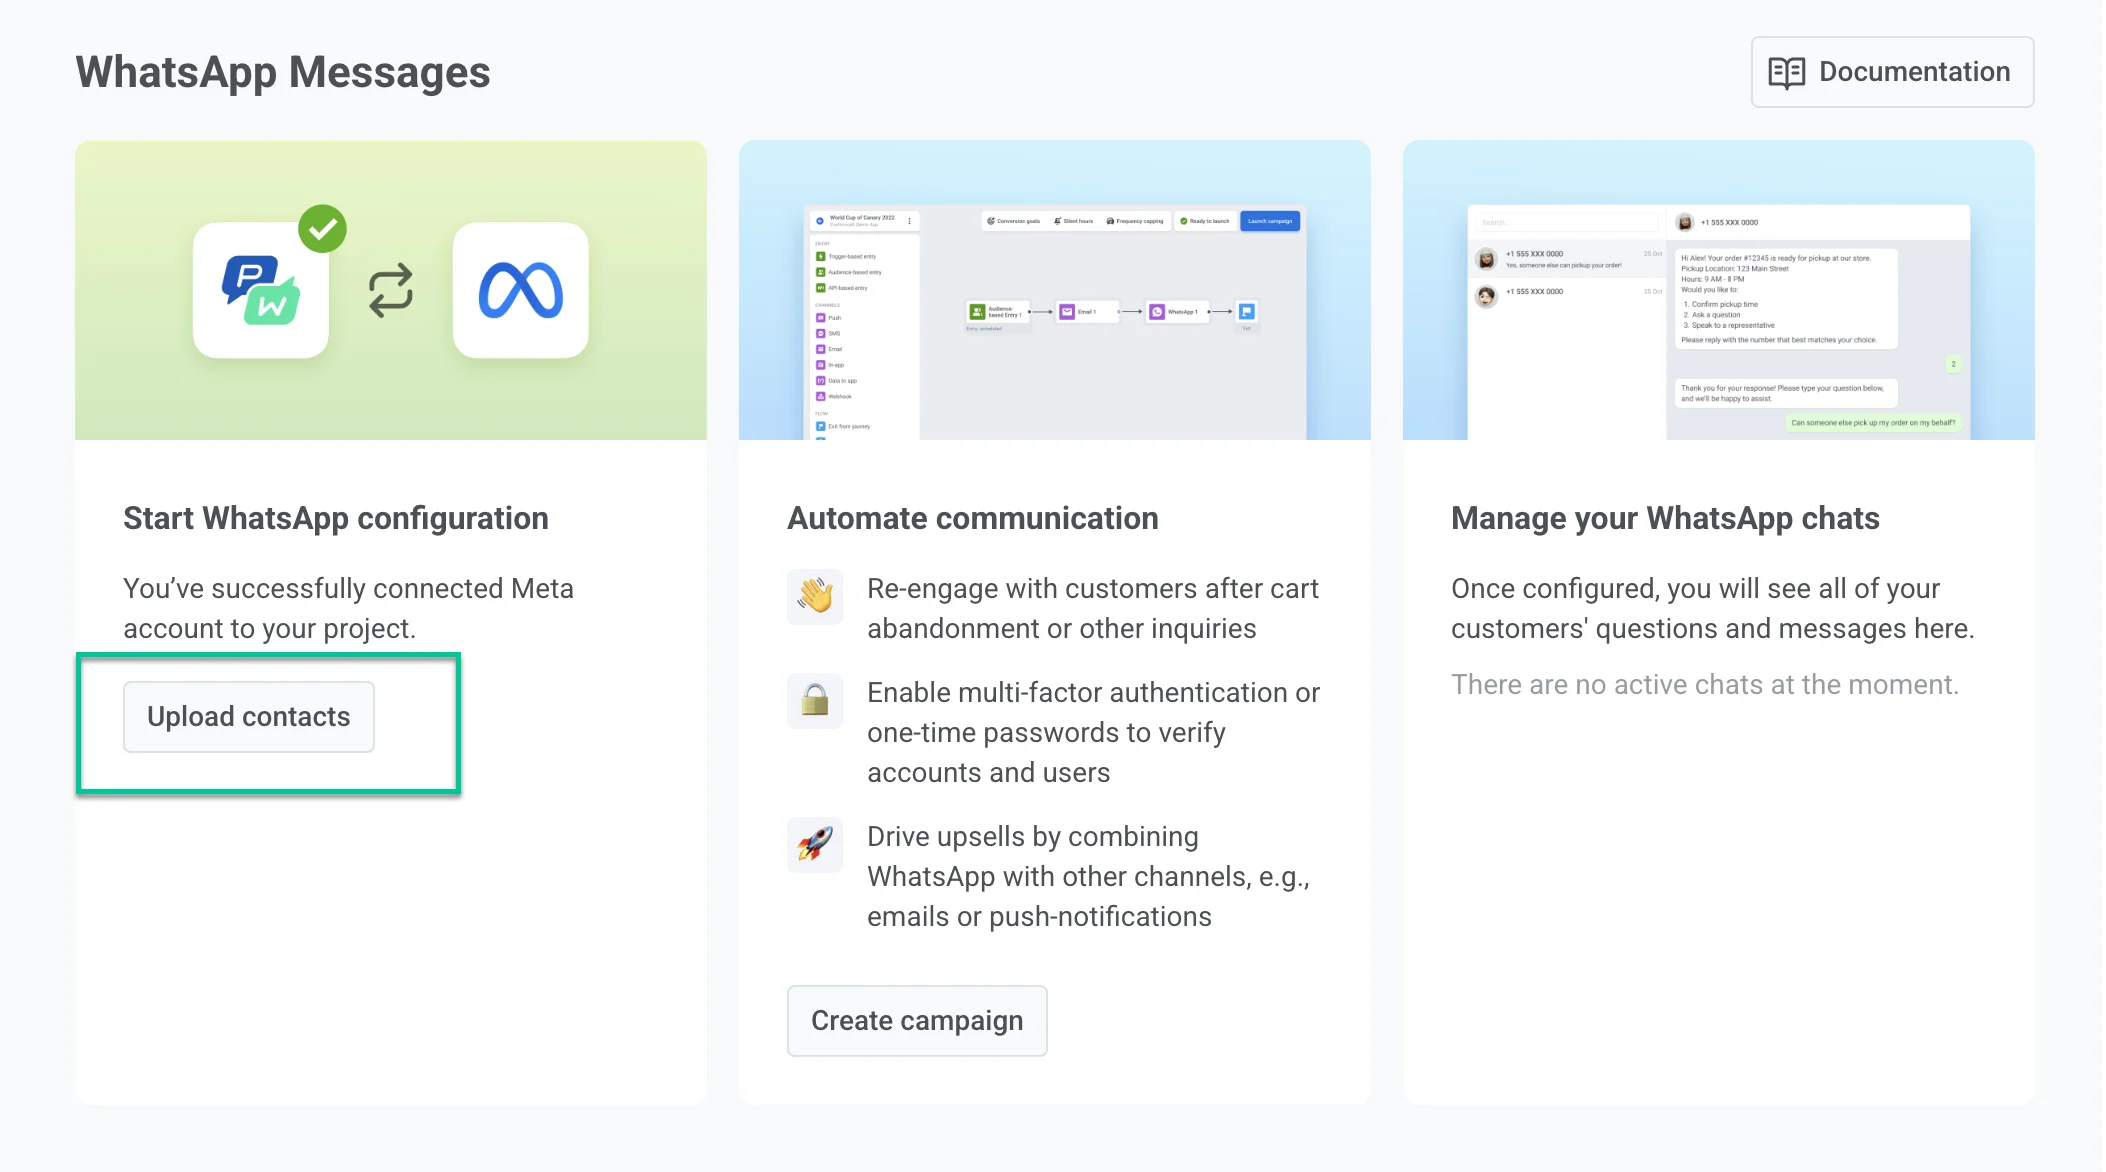
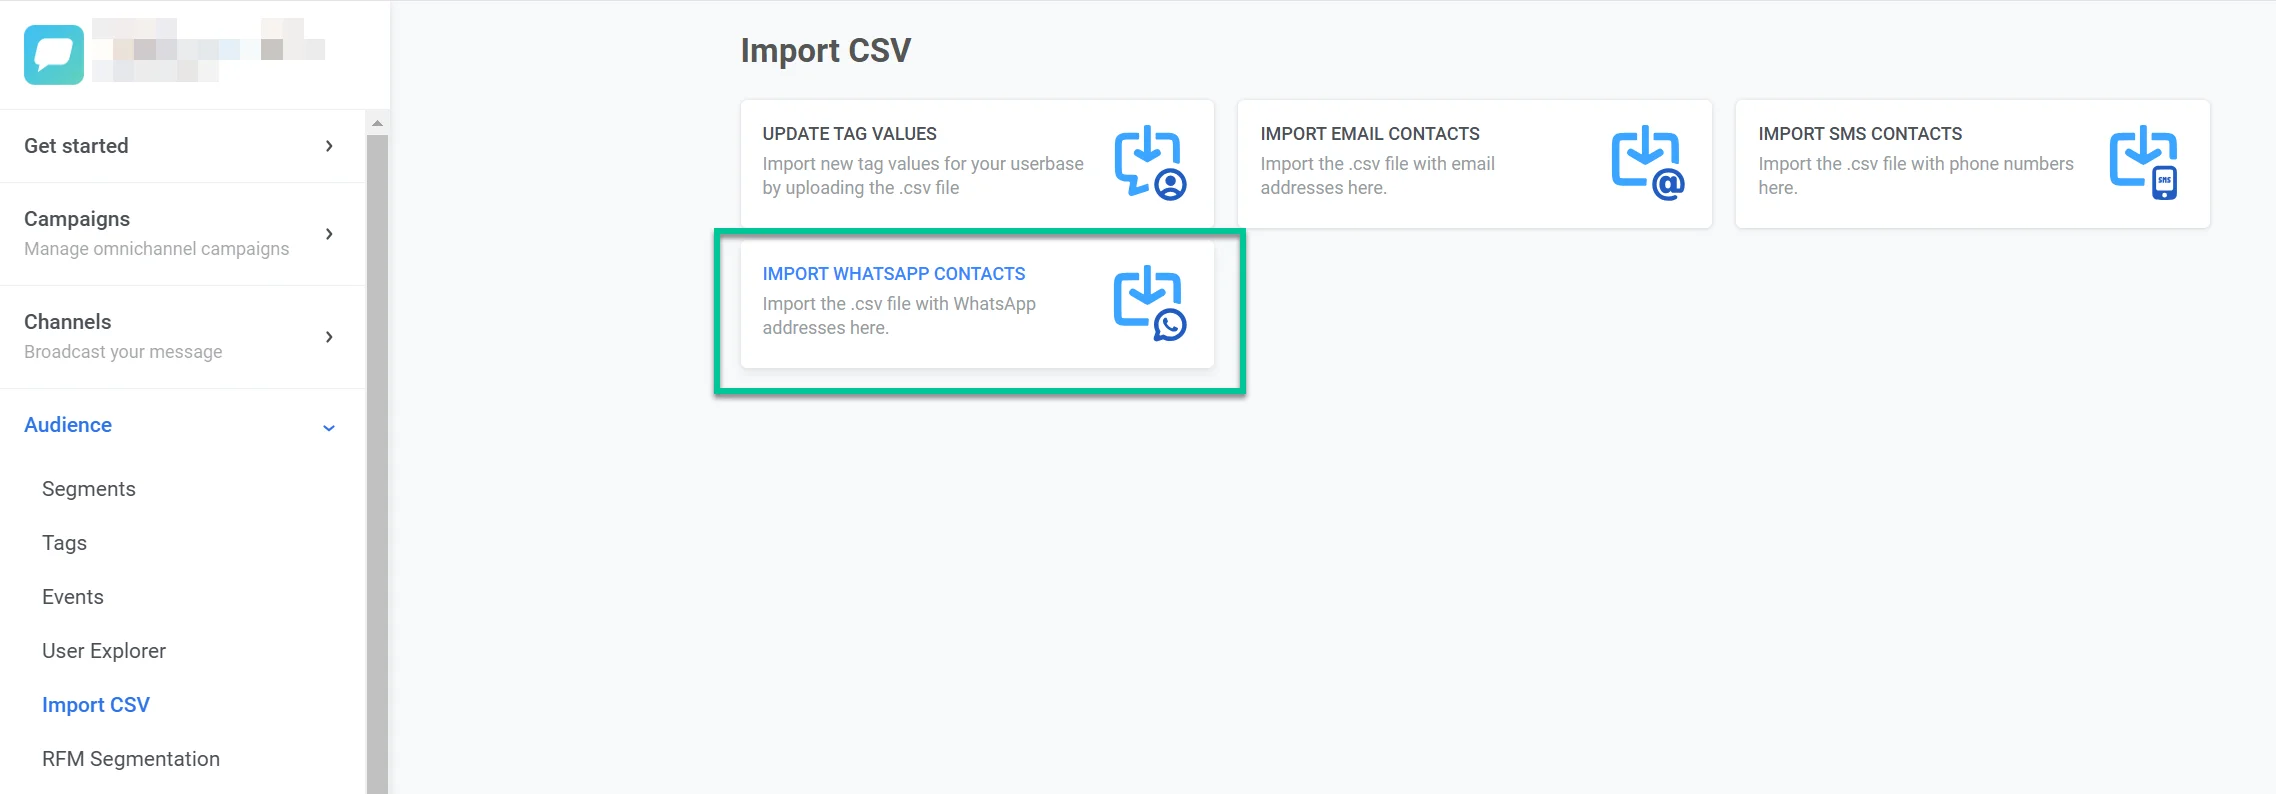
Alternatively, go to Audience > Import CSV > Import WhatsApp contacts > Upload CSV.
-
Select your CSV file from your computer.
-
Map columns:
- WhatsApp Contact Column in CSV: Choose the column containing phone numbers formatted as
whatsapp:+. - User ID Column in CSV: Select the column with unique user identifiers (e.g., email or name).
-
Add additional data (optional)
If you want to include extra details for segmentation:
- Select a Column Name from your CSV.
- Assign it a Tag to link it with user data in the system.
- Click + Add Column to include more attributes. 4. Click Start Import to begin processing the file.
Once the CSV import is complete, the contacts will appear as a new segment in the Segments list and will also be available in User explorer.
You can then use this data to create segmented and personalized WhatsApp campaigns.