# Understanding Web popups
Web popups are on-site messages that appear over your web pages. You can use them for promotions, onboarding hints, and other goals while visitors browse your site.
## When to use Web popups
Common use cases:
* **Promotions and sales:** discounts, coupons, or seasonal offers on browsing or category URLs where the message fits what the visitor is doing on that page.
* **Welcome or first-purchase offers:** **New visitors** (or a broad audience) on the home page, signup flow, or a dedicated landing path.
* **Product or feature announcements:** draw attention on the sections of the site where the news is relevant (for example a product area or changelog page).
* **Lead capture:** point to a form, demo, or download on pages that already match the offer (pricing, resources, contact).
* **Onboarding or guidance:** short tips on specific pages you target in the campaign audience settings, such as pricing, help, or account settings.
## Start working with Web popups
Before you can show Web popups on your website, complete the following steps:
1. **Integrate the Web Push SDK and turn on Web popups**
Your development team needs to add the Web Push SDK to your site and enable Web popups in the SDK settings.
[Learn more](/developer/pushwoosh-sdk/web-push-notifications/web-push-sdk-30/#initialize-the-sdk)
2. **Create Web popup content**
Open **Content → Web popup content** and click **Create web popup content** to design the Web popup. You choose this content when you configure the campaign.
[Learn more](/product/content/web-popups-content/)
Alternatively, you can show an existing [subscription form](/product/audience-data-and-segmentation/subscription-forms/) instead of a banner — pick this option in the campaign wizard's Content step.
3. **Create a Web popup campaign**
Go to **Campaigns → Web popups**, click **Create campaign**, and configure content, audience, display settings.
[Learn more](/product/messaging-channels/web-popups/create-web-popups-campaigns/)
## View and manage campaigns
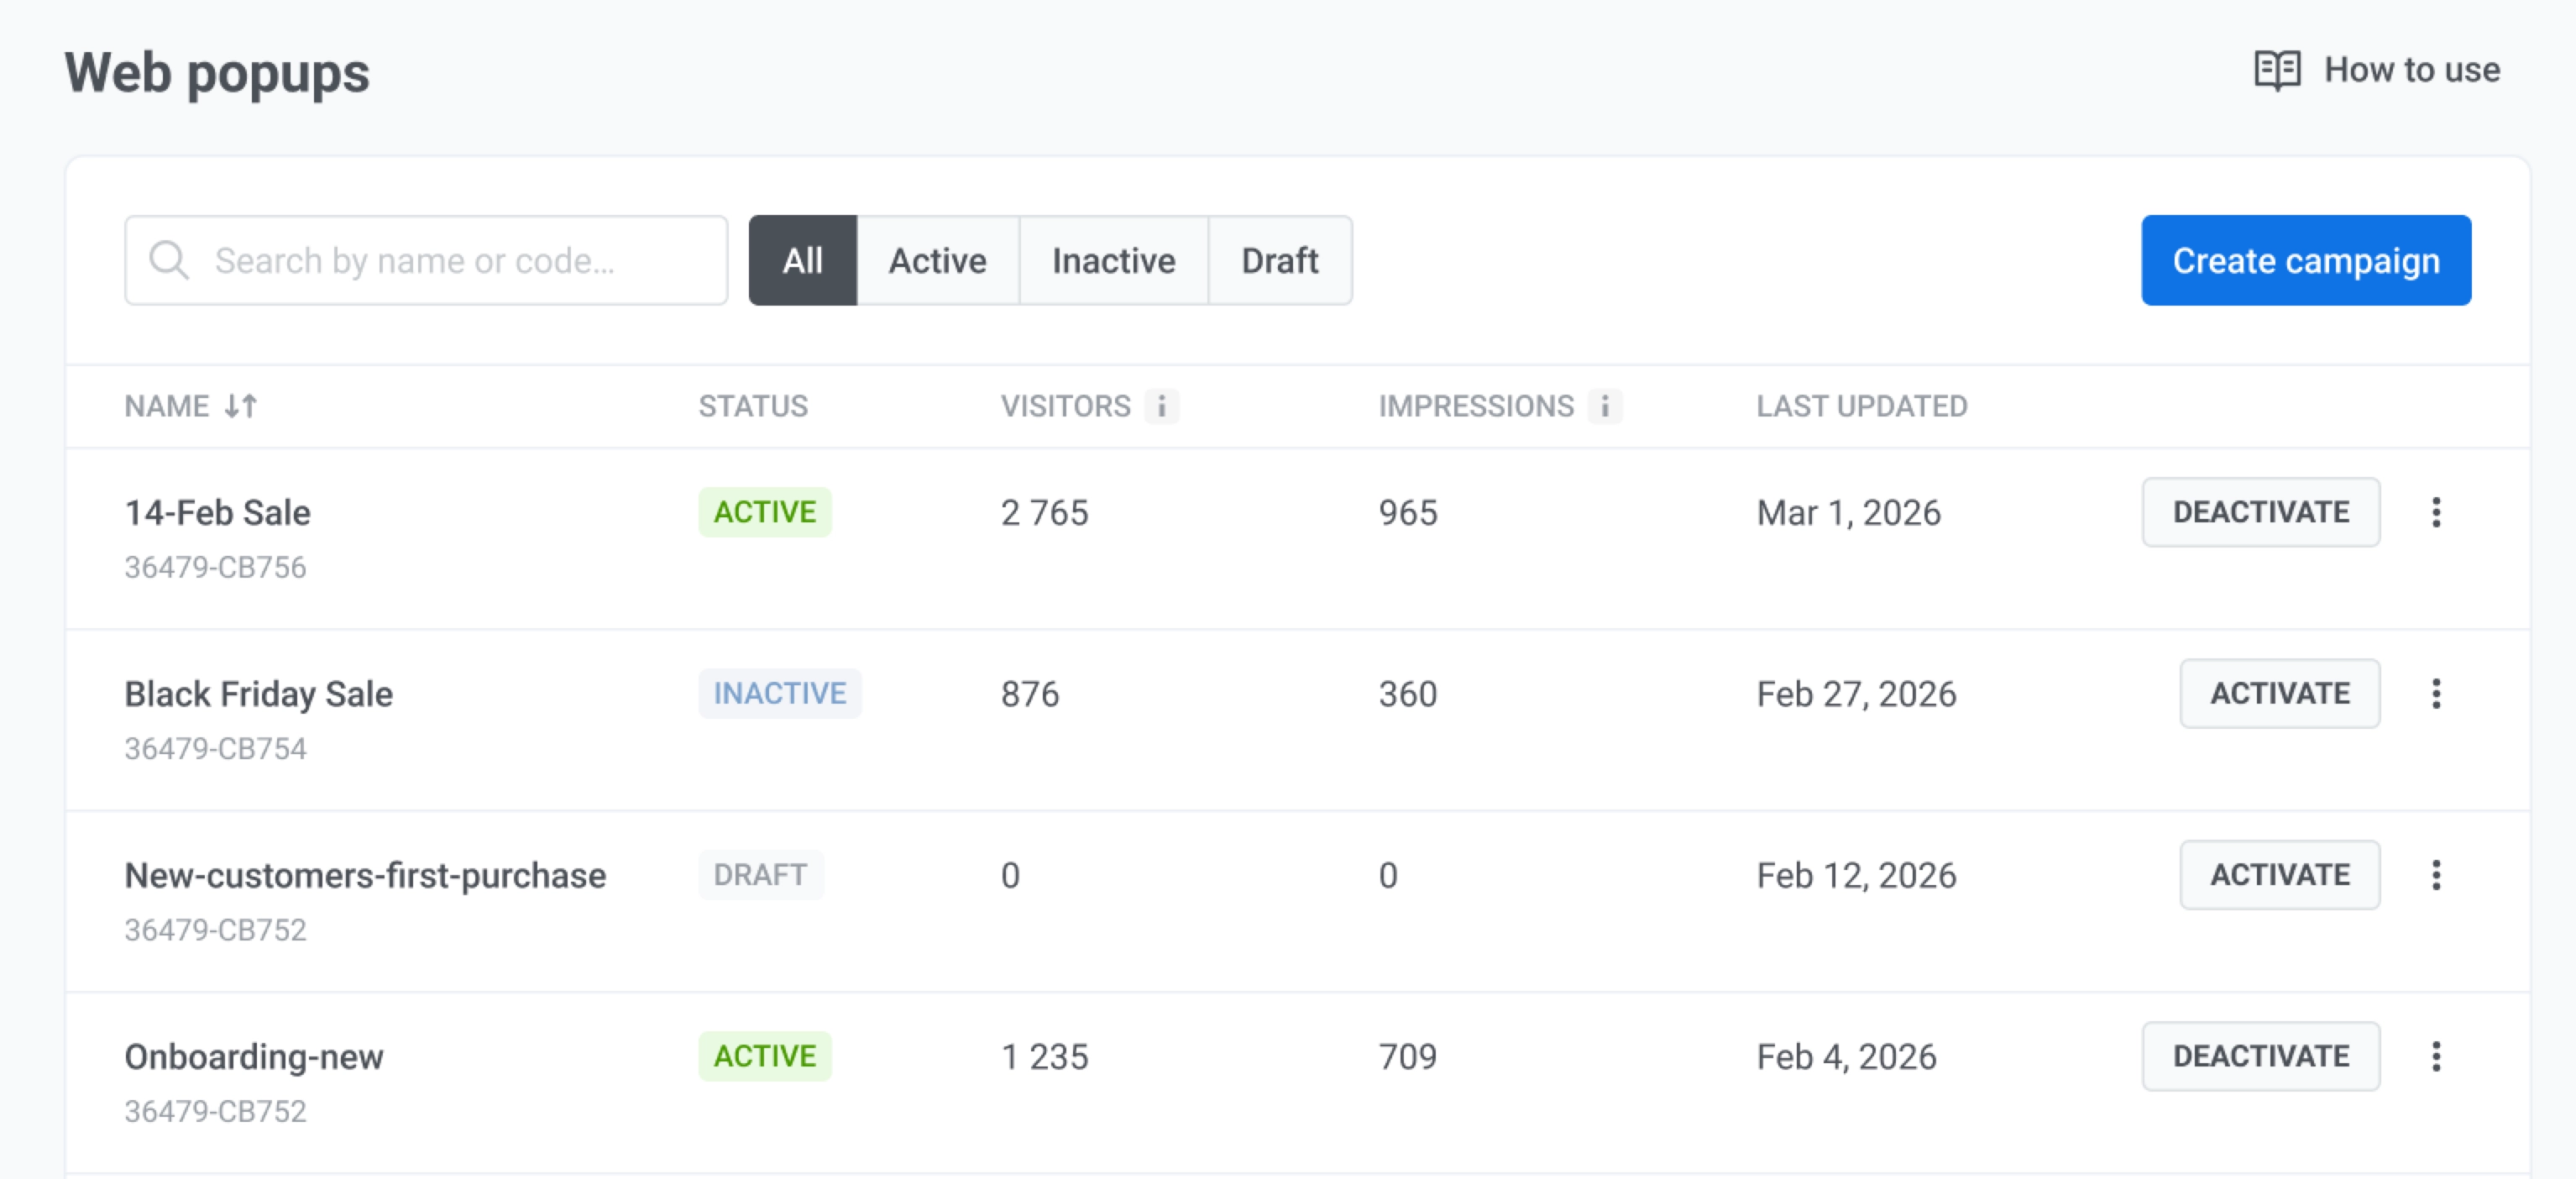
Go to **Campaigns → Web popups** to manage all Web popup campaigns in one place. Use **Create campaign** to start a new wizard.
Search by campaign name or code, or filter the list by **All**, **Draft**, **Active**, or **Inactive**.
 ### Monitor your campaigns
In the table, you can review how each Web popup campaign is performing. Check **Status** to see whether a campaign is live.
The columns report the following:
* **Visitors:** how many visitors are associated with the campaign.
* **Impressions:** how many times the Web popup was shown.
### Take action on a campaign
On each row you can activate or deactivate the campaign, or open the menu for other actions.
Click the three dots on the row to open the actions menu.
* Choose **Edit campaign** to change content, audience, or display settings.
* Choose **Duplicate campaign** to copy settings as a starting point.
* Choose **Delete campaign** to remove the campaign. This action cannot be undone.
### Monitor your campaigns
In the table, you can review how each Web popup campaign is performing. Check **Status** to see whether a campaign is live.
The columns report the following:
* **Visitors:** how many visitors are associated with the campaign.
* **Impressions:** how many times the Web popup was shown.
### Take action on a campaign
On each row you can activate or deactivate the campaign, or open the menu for other actions.
Click the three dots on the row to open the actions menu.
* Choose **Edit campaign** to change content, audience, or display settings.
* Choose **Duplicate campaign** to copy settings as a starting point.
* Choose **Delete campaign** to remove the campaign. This action cannot be undone.