Targeted push
This flow shows how to send a targeted push notification _to a specific audience segment. The way you’ll build your segments for targeted pushes differs depending on whether a push notification initiates a communication flow or continues an existing one.
If a push notification initiates a communication flow
Anchor link toOnce you’ve created a basic push flow, you can set up your targeted push.
Double-click the Audience-based Entry element to select the audience for your push notification. Build a segment from scratch, choose from your existing segments, or import a segment file.
1. Build a segment from scratch
Anchor link toClick Create segment and select Build segment from the dropdown.
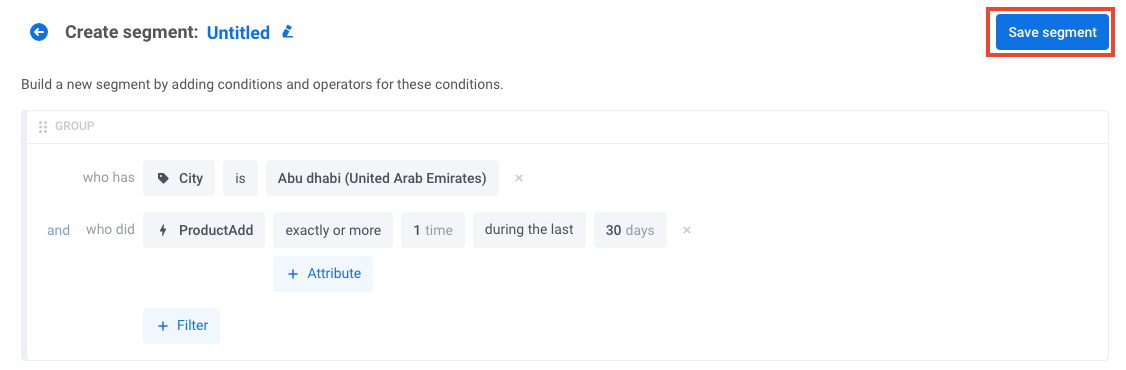
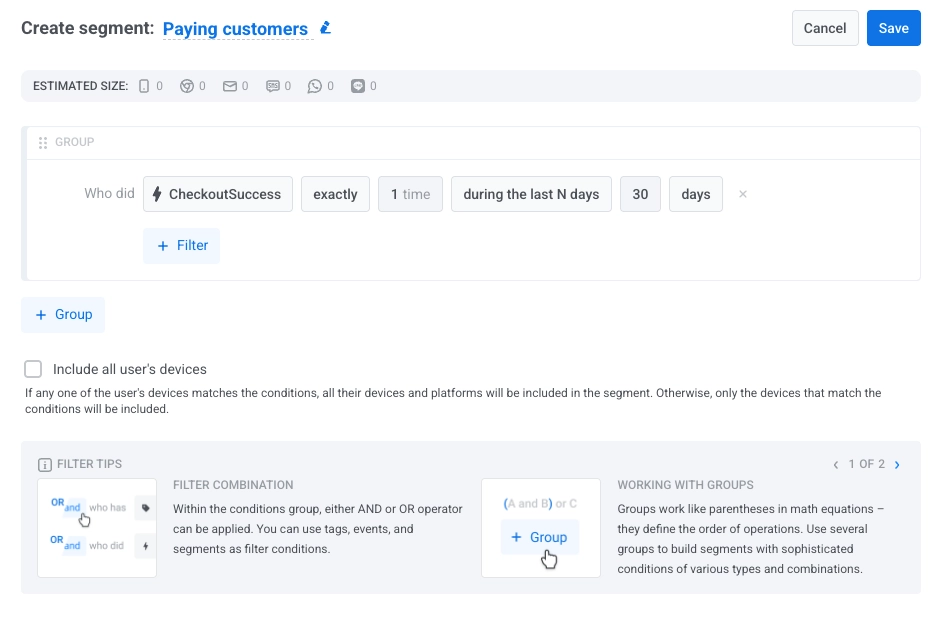
In the drawer that opens, build the segment. Learn how to create segments.
2. Select an existing segment
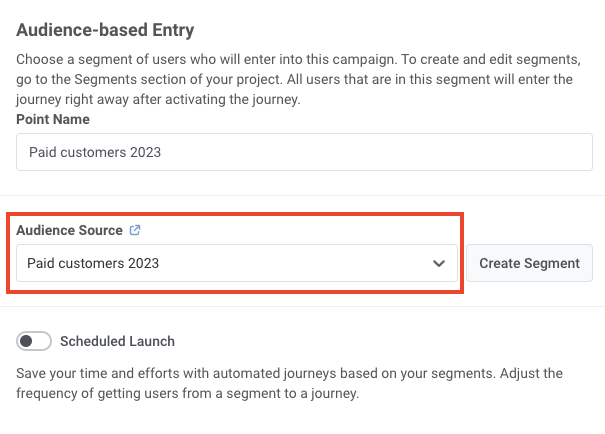
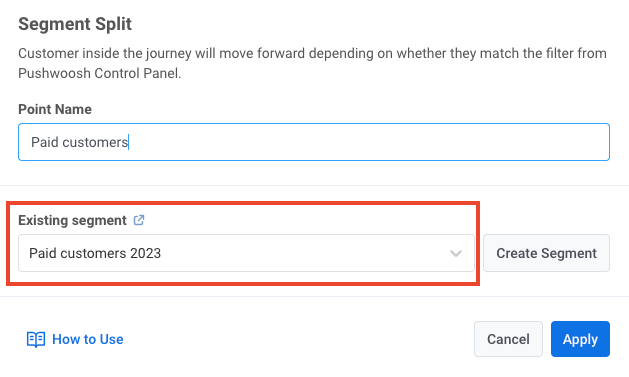
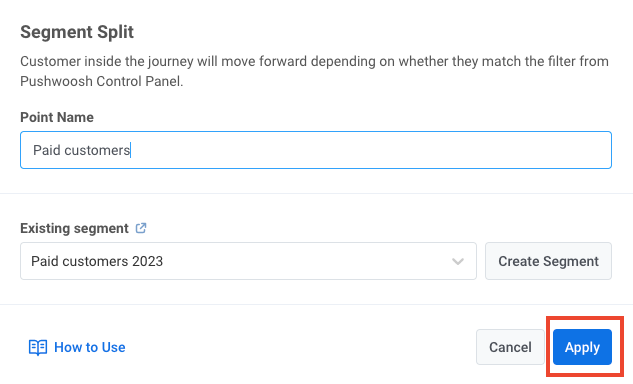
Anchor link toSelect one of your existing segments in the Audience source field. In the following example, a push will be targeted at paid customers:
3. Import a segment file
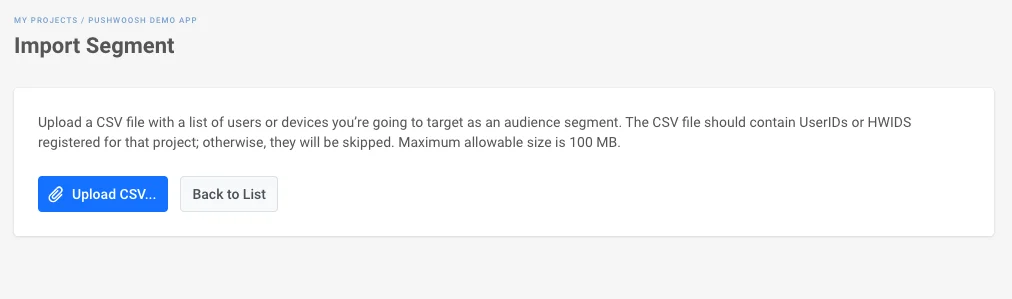
Anchor link toIn the Audience source section, click Create segment and select Import segment from the dropdown:
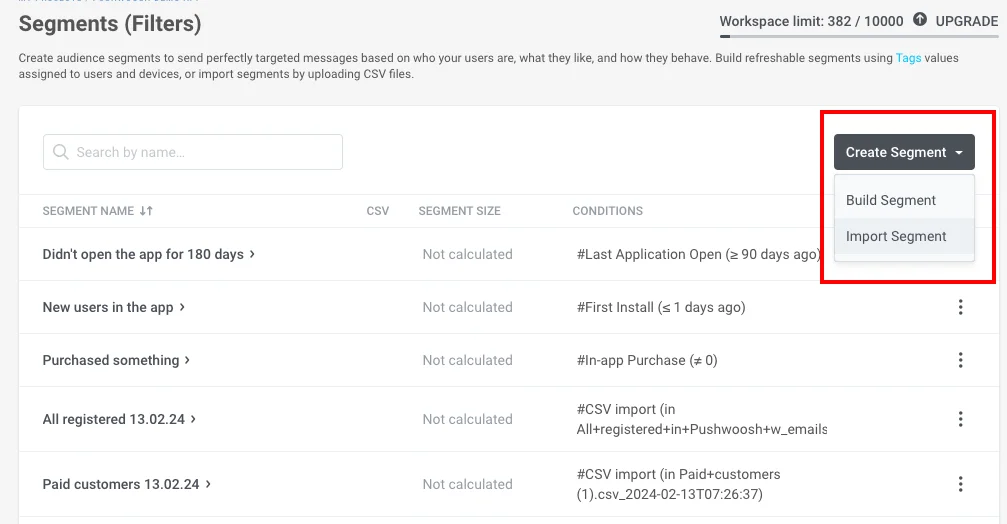
Then import your file in CSV format. For step-by-step instructions and file requirements, see How to import a segment.
Once you’ve selected the audience source and set up the element, click Save.
If a push notification continues a communication flow
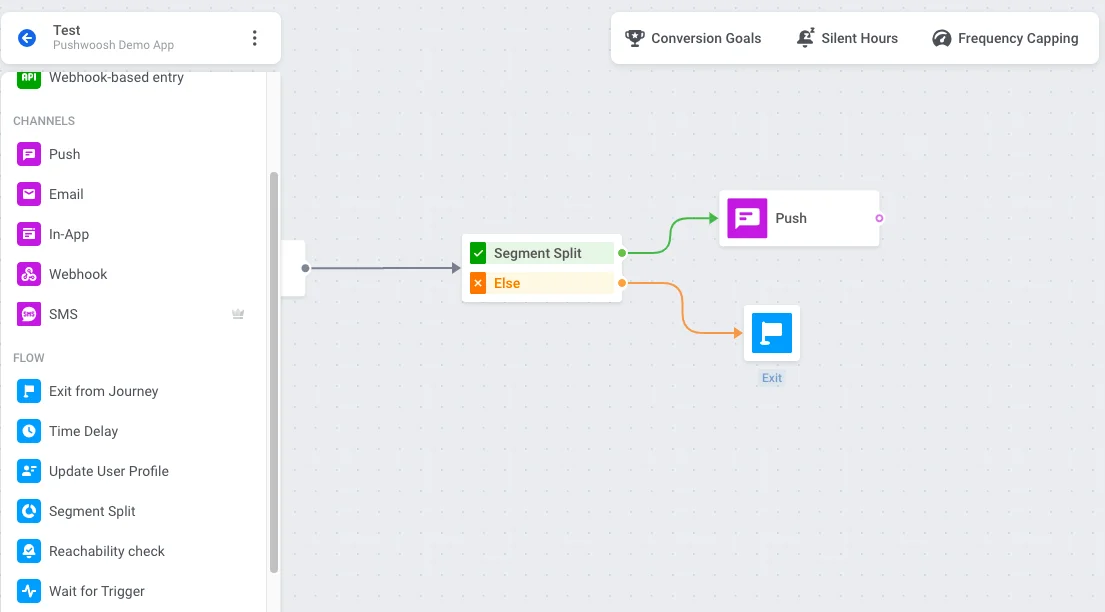
Anchor link toInsert the Condition split element between the preceding communication elements and the push notification you wish to target. Double-click the element to open its configuration.
Define the segment
Anchor link toUnder What defines the user flow?, select Segment.
You can then set the segment in one of three ways:
Select an existing segment
Anchor link toUse the Existing segment field to choose one of your segments.
Build a segment from scratch
Anchor link toClick Create segment next to the Branches section and select Build segment from the dropdown. A drawer opens where you can build the segment.
Import a segment file
Anchor link toClick Create segment and select Import segment from the dropdown. Then import your file in CSV format.
For step-by-step instructions and file requirements, see How to import a segment.
Configure the branches
Anchor link toThe Branches section shows the available paths, such as Users in a segment (users who match the segment you set) and All other users.
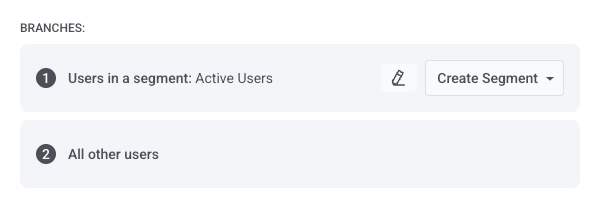
On the journey canvas, add the push notification to the Users in a segment branch. Add an exit or another element to the All other users branch so that path is defined.
When done, click Save.