# Targeted push
This flow shows how to send a targeted push notification _to a specific audience segment. The way you’ll build your segments for targeted pushes differs depending on whether a push notification initiates a communication flow or continues an existing one.
## If a push notification initiates a communication flow
Once you've created [a basic push flow](/product/messaging-channels/push-notifications/send-push-notifications/one-time-push-via-customer-journey/), you can set up your targeted push.
Double-click the [**Audience-based Entry**](/product/customer-journey/journey-elements/entry-elements/audience-based-entry/) element to select the audience for your push notification. Build a segment from scratch, choose from your existing segments, or import a segment file.
#### 1. Build a segment from scratch
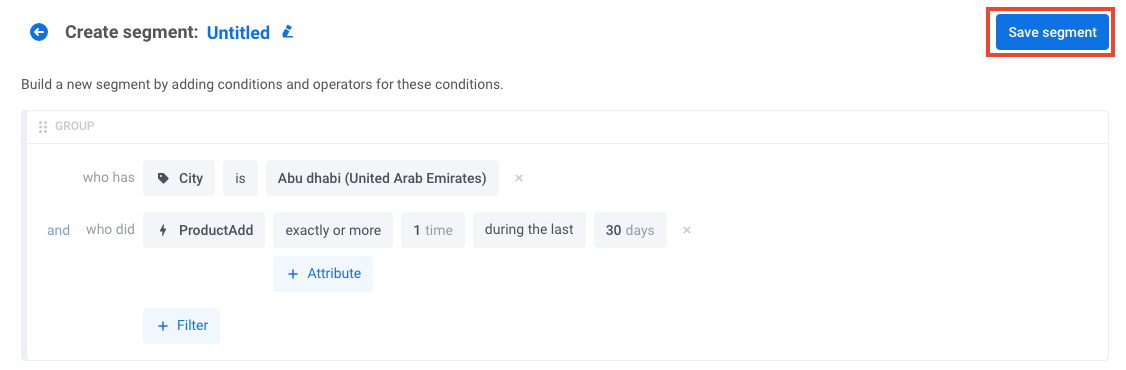
Click **Create segment** and select **Build segment** from the dropdown.
In the drawer that opens, build the segment. [Learn how to create segments](/product/audience-data-and-segmentation/segmentation/create-segments/).
#### 2. Select an existing segment
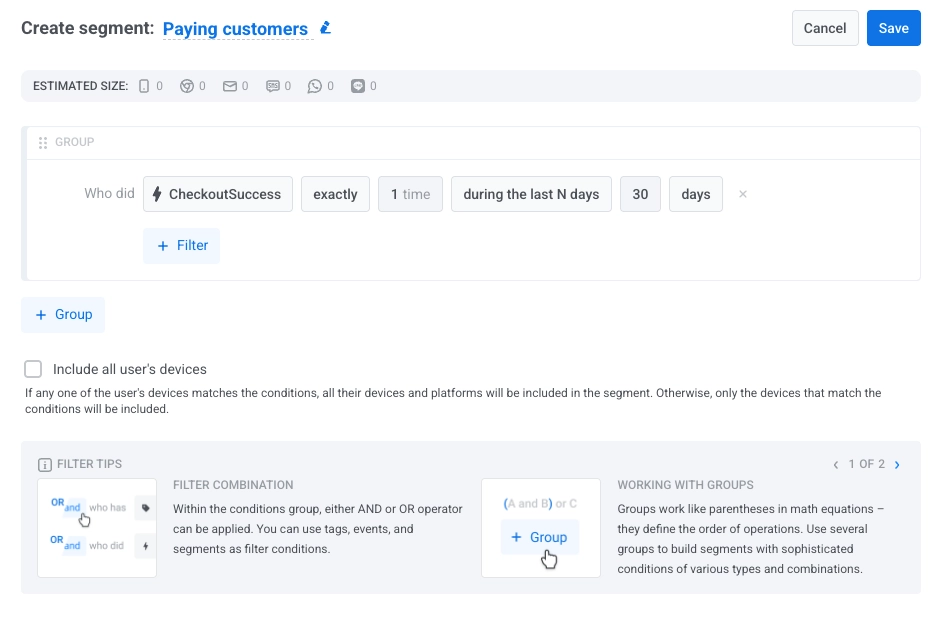
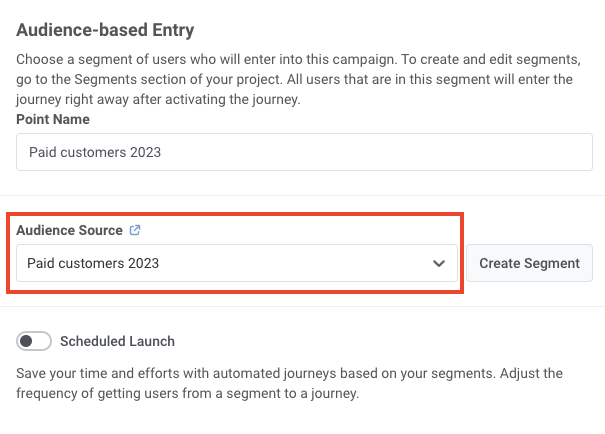
Select one of your existing segments in the **Audience source** field. In the following example, a push will be targeted at paid customers:
#### 3. Import a segment file
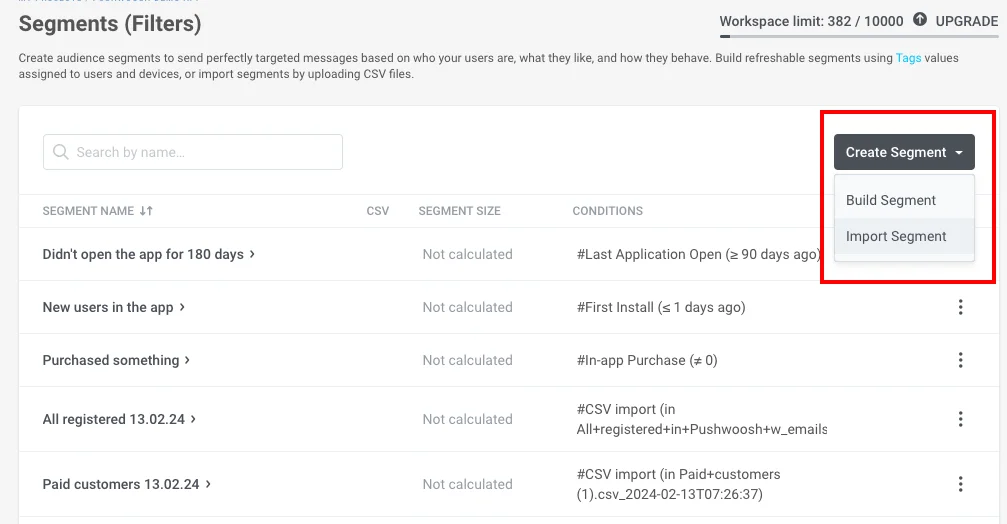
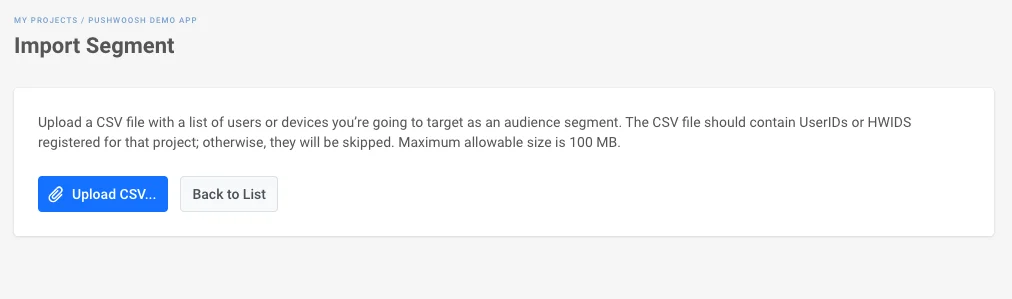
In the **Audience source** section, click **Create segment** and select **Import segment** from the dropdown:
Then import your file in CSV format. For step-by-step instructions and file requirements, see [How to import a segment](/product/audience-data-and-segmentation/segmentation/create-segments/by-import/#how-to-import-a-segment).
Once you've selected the audience source and set up the element, click **Save**.
## If a push notification continues a communication flow
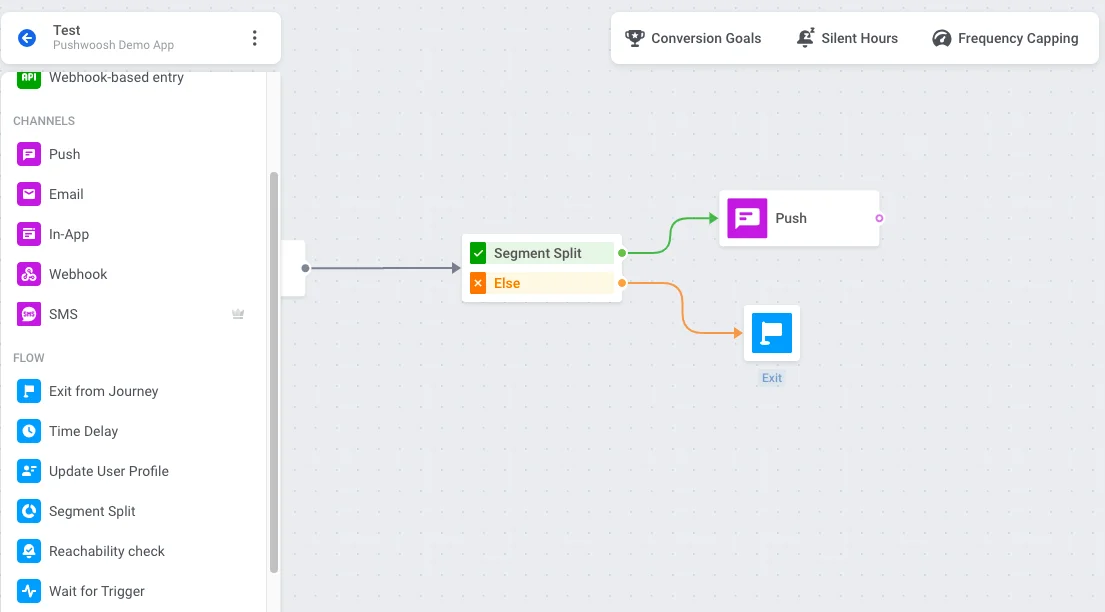
Insert the [**Condition split**](/product/customer-journey/journey-elements/flow-controls/segment-split/) element between the preceding communication elements and the push notification you wish to target. Double-click the element to open its configuration.
### Define the segment
Under **What defines the user flow?**, select **Segment**.
You can then set the segment in one of three ways:
#### Select an existing segment
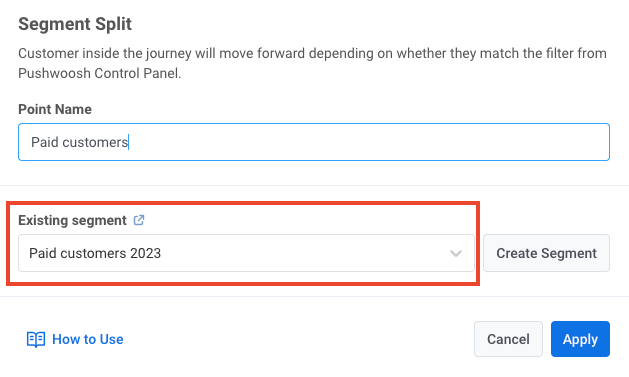
Use the **Existing segment** field to choose one of your segments.
#### Build a segment from scratch
Click **Create segment** next to the **Branches** section and select **Build segment** from the dropdown. A drawer opens where you can build the segment.
[Learn how to create segments](/product/audience-data-and-segmentation/segmentation/create-segments/)
#### Import a segment file
Click **Create segment** and select **Import segment** from the dropdown. Then import your file in CSV format.
For step-by-step instructions and file requirements, see [How to import a segment](/product/audience-data-and-segmentation/segmentation/create-segments/by-import/#how-to-import-a-segment).
### Configure the branches
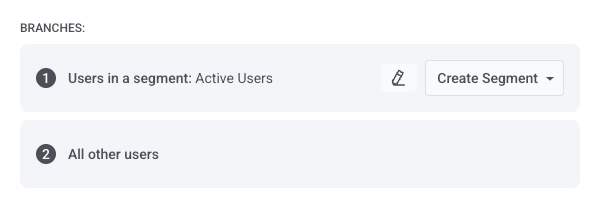
The **Branches** section shows the available paths, such as **Users in a segment** (users who match the segment you set) and **All other users**.
On the journey canvas, add the push notification to the **Users in a segment** branch. Add an exit or another element to the **All other users** branch so that path is defined.
When done, click **Save**.
 In the drawer that opens, build the segment. [Learn how to create segments](/product/audience-data-and-segmentation/segmentation/create-segments/).
 #### 2. Select an existing segment
Select one of your existing segments in the **Audience source** field. In the following example, a push will be targeted at paid customers:
#### 2. Select an existing segment
Select one of your existing segments in the **Audience source** field. In the following example, a push will be targeted at paid customers:
 #### 3. Import a segment file
In the **Audience source** section, click **Create segment** and select **Import segment** from the dropdown:
#### 3. Import a segment file
In the **Audience source** section, click **Create segment** and select **Import segment** from the dropdown:
 Then import your file in CSV format. For step-by-step instructions and file requirements, see [How to import a segment](/product/audience-data-and-segmentation/segmentation/create-segments/by-import/#how-to-import-a-segment).
 Once you've selected the audience source and set up the element, click **Save**.
 You can then set the segment in one of three ways:
#### Select an existing segment
Use the **Existing segment** field to choose one of your segments.
You can then set the segment in one of three ways:
#### Select an existing segment
Use the **Existing segment** field to choose one of your segments.
 #### Build a segment from scratch
Click **Create segment** next to the **Branches** section and select **Build segment** from the dropdown. A drawer opens where you can build the segment.
[Learn how to create segments](/product/audience-data-and-segmentation/segmentation/create-segments/)
#### Import a segment file
Click **Create segment** and select **Import segment** from the dropdown. Then import your file in CSV format.
For step-by-step instructions and file requirements, see [How to import a segment](/product/audience-data-and-segmentation/segmentation/create-segments/by-import/#how-to-import-a-segment).
### Configure the branches
The **Branches** section shows the available paths, such as **Users in a segment** (users who match the segment you set) and **All other users**.
#### Build a segment from scratch
Click **Create segment** next to the **Branches** section and select **Build segment** from the dropdown. A drawer opens where you can build the segment.
[Learn how to create segments](/product/audience-data-and-segmentation/segmentation/create-segments/)
#### Import a segment file
Click **Create segment** and select **Import segment** from the dropdown. Then import your file in CSV format.
For step-by-step instructions and file requirements, see [How to import a segment](/product/audience-data-and-segmentation/segmentation/create-segments/by-import/#how-to-import-a-segment).
### Configure the branches
The **Branches** section shows the available paths, such as **Users in a segment** (users who match the segment you set) and **All other users**.
 On the journey canvas, add the push notification to the **Users in a segment** branch. Add an exit or another element to the **All other users** branch so that path is defined.
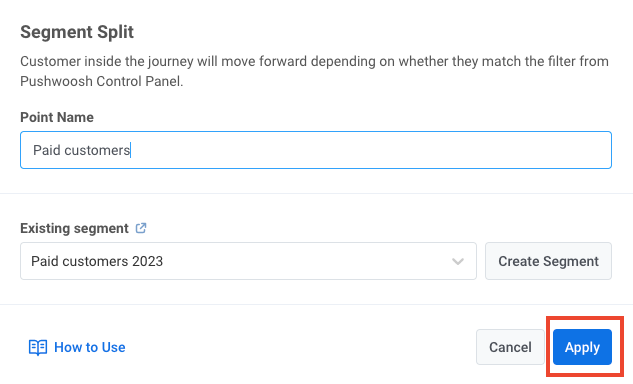 When done, click **Save**.