# Send LINE messages
This guide walks you through how LINE messaging works in Pushwoosh, the conditions under which messages can be delivered, and how to send LINE messages via Customer Journey or free-form chat.
## LINE message delivery conditions
LINE messages can only be delivered under the following conditions:
* The user has added your LINE Official Account as a friend.
* Your LINE Official Account is part of a group or multi-person chat.
* The user has messaged your LINE Official Account in a 1:1 chat within the last 7 days, even if they have not added you as a friend.
When a message is sent, a **`200 OK`** status code may be returned even if the message is not delivered. Delivery will fail under the following circumstances:
* The user has deleted their LINE account.
* The user has blocked your LINE Official Account.
* The user has not added your LINE Official Account as a friend.
Refer to the official [LINE Messaging API documentation](https://developers.line.biz/en/reference/messaging-api/#send-push-message) for more details.
## Send LINE messages via Customer Journey
Pushwoosh allows you to integrate LINE messaging into [Customer Journeys](/product/customer-journey/pushwoosh-journey-overview/). Follow these steps to configure it:
### Add an Entry element
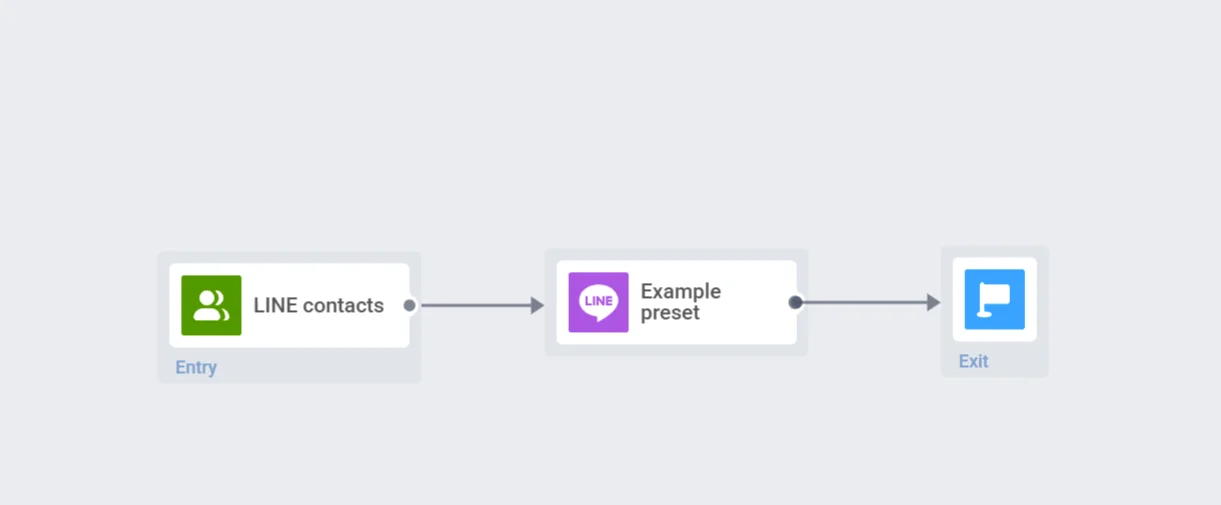
Begin by adding an **Entry** element to define who enters the journey.
[Learn how to configure the Entry elements](/product/customer-journey/journey-elements/#entry)
### Add and configure the LINE message element
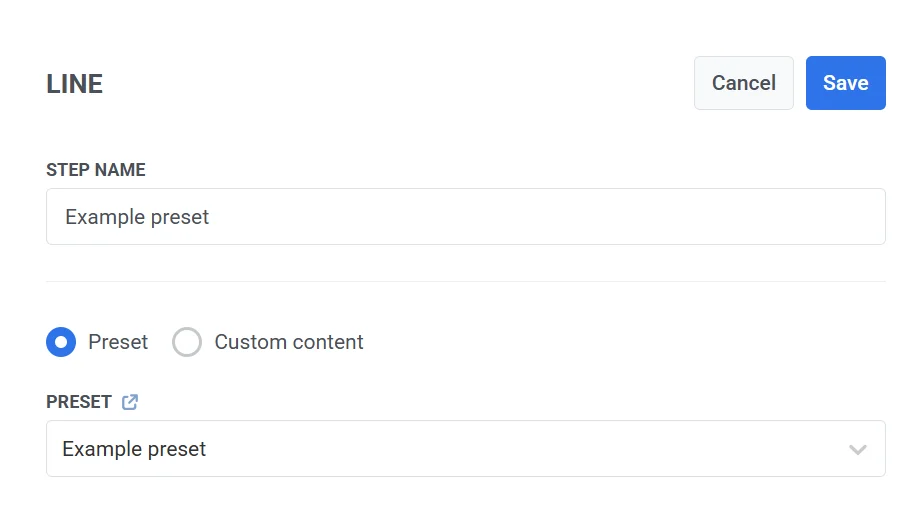
First, provide an internal name for the step (e.g., “LINE Welcome Message”).
Next, choose one of the following:
* **Preset:** Select from existing LINE message presets under **Content \> LINE Presets**.
[Learn more about creating LINE presets](/product/content/line-presets/)
* **Custom content:** Enter plain text directly into the content field.
### Split flow depending on whether this message is delivered or not (optional)
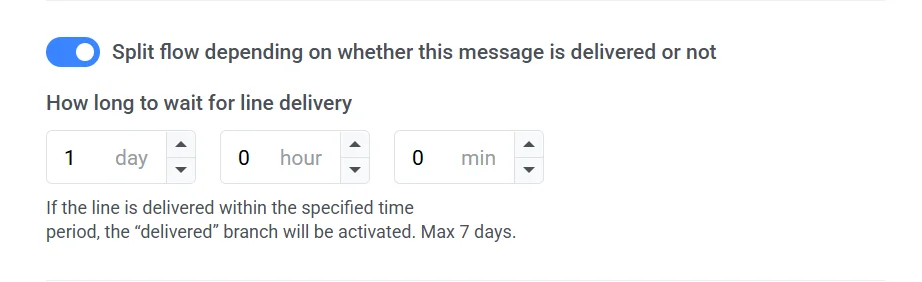
Toggle **Split flow depending on whether this message is delivered or not** to adjust the journey path based on delivery status:
* **Enabled:** The journey will split into two paths, one if the message is delivered successfully, and another if it fails.
* **Disabled:** The journey will follow the same path no matter whether the message is delivered or not.
Click **Save** to apply the changes and return to the journey canvas.
### Finalize and save the journey
Complete the journey setup and add the exit element. When you're ready, click **Launch journey** to activate it.
## Send free-form messages and view your LINE conversations
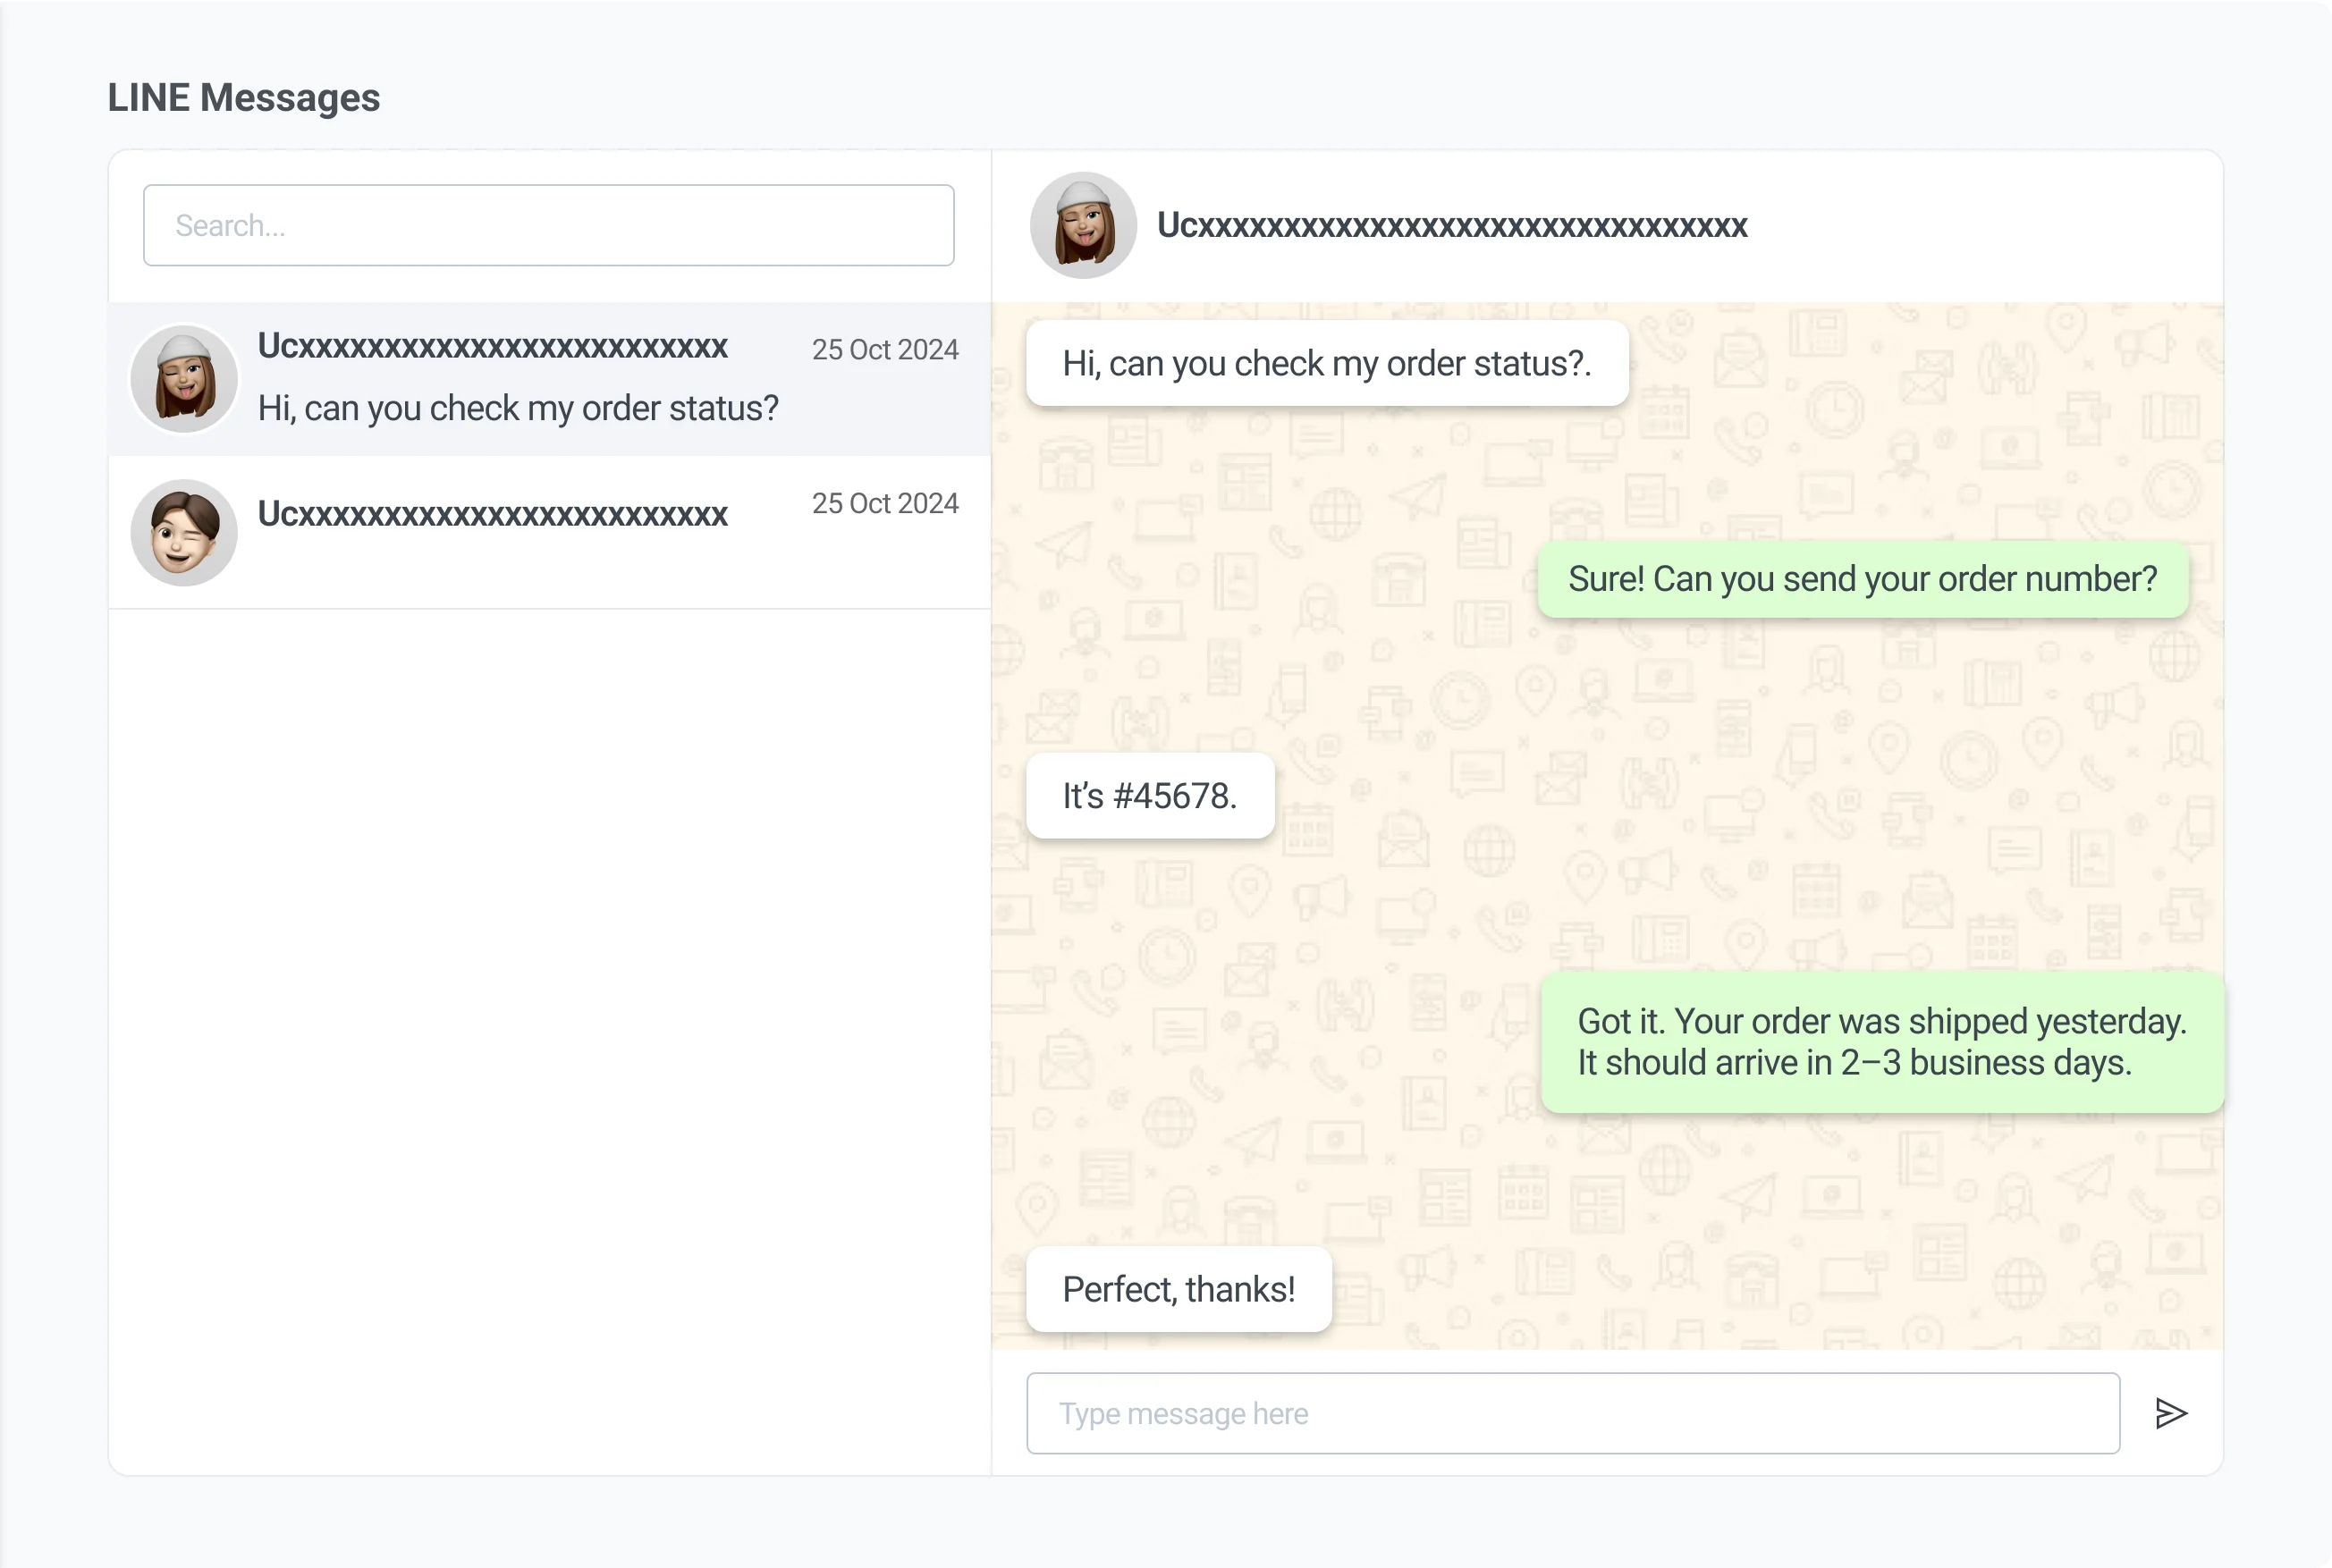
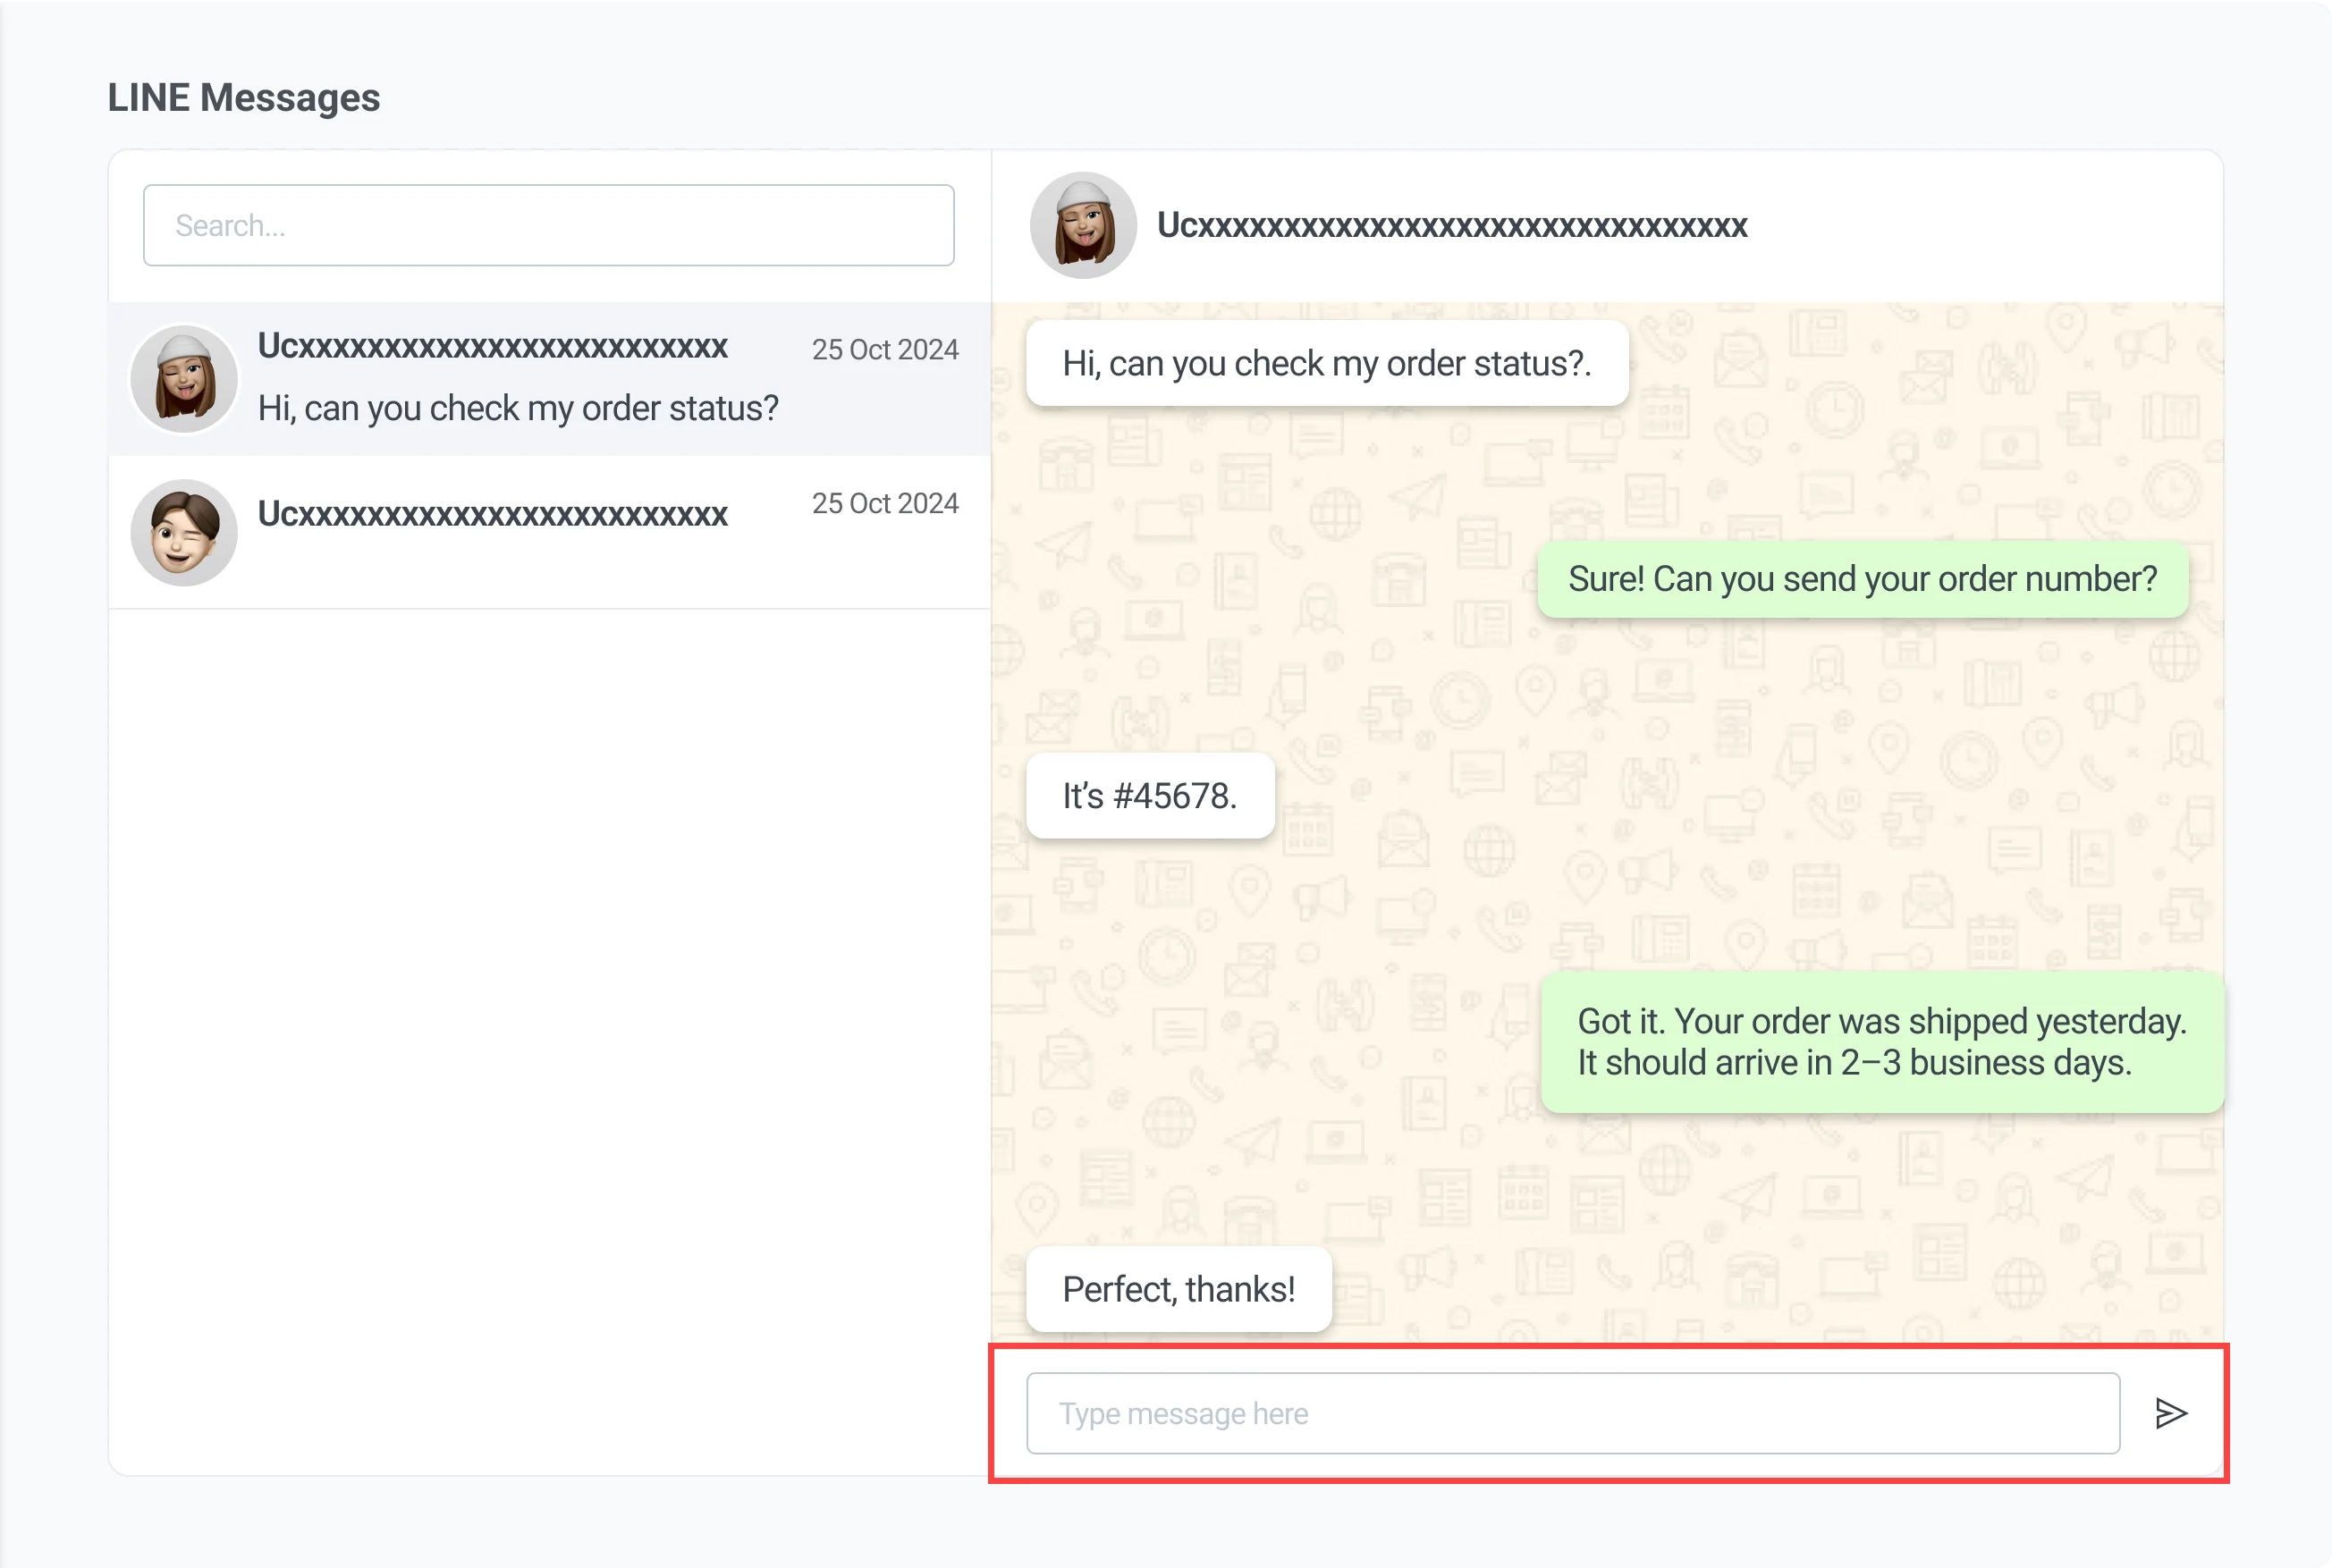
Use the LINE Messages interface to view and manage direct conversations with users on the LINE platform. This inbox automatically displays users you've interacted with. You can view message history and reply in a 1:1 chat format.
Messages sent through this interface are delivered as standard LINE chat messages and follow LINE’s delivery rules (e.g., the user must have contacted your LINE Official Account within the last 7 days if they haven’t added it as a friend).
### Search for users
Use the **Search** field at the top left to look up users by identifier. This helps you quickly find the conversation you want to continue.
### View message history
Once you select a user from the list, their message history will appear in the center panel. This allows you to review past interactions before replying.
### Send a message
To send a message:
1. Type your message in the **Message** field at the bottom of the screen.
2. Click **Send** to send the message.
## Send LINE messages via API
Use the Pushwoosh API to send LINE messages. This method supports both template-based and plain-text (free-form) messages.