Get email subscribers
To effectively benefit from email marketing, the first step is building a strong email audience. Collecting email addresses and importing existing contacts are crucial to start engaging your users and sending targeted campaigns.
Collect email addresses
Anchor link toThink about where and when it makes sense to ask users for their email addresses. For example, you might ask for an email:
- On your website with subscription forms. Learn more
- On the login or registration page of your app.
- When users sign up for a newsletter or special offer.
- After a purchase is completed.
How to import your email list from CSV
Anchor link toImporting email contacts into Pushwoosh is straightforward, but your CSV file must be correctly formatted to ensure a smooth import process. Follow the guidelines below to prepare and upload your email list.
Prepare your CSV file
Anchor link toCSV formatting rules
Anchor link toTo successfully import email contacts, your CSV file must follow these formatting rules:
General structure
Anchor link to- The first row must contain column headers that describe the data in each column.
- Each subsequent row represents a single contact, with values corresponding to the headers.
- Values must be separated by commas.
- Save the file in UTF-8 encoding to ensure proper character display.
- The maximum file size is 100 MB.
Required columns
Anchor link to- Email identifier: The recipient’s email address. Email addresses must be valid and properly formatted.
- User ID: A unique identifier for the user (e.g., name).
Optional columns
Anchor link toIncluding additional columns allows for better segmentation and personalization in email campaigns:
- City: Specifies the user’s city. Useful for location-based targeting (e.g., Exclusive event in New York!).
- Language: Indicates the user’s preferred language. Helps send messages in the recipient’s language for better engagement.
- Customer type: Identifies the user’s type (e.g., New Customer, VIP, Returning). Useful for sending personalized offers.
- Any additional data that can be mapped to Pushwoosh system tags for further segmentation.
Example CSV file
Anchor link toEmail_address, Name, City, Languageexampleemail@gmail.com, Marko, Belgrade,Serbianexampleemail2@gmail.com, Alex, New York, EnglishUpload the CSV file
Anchor link to- Go to Audience > Import CSV > Import Email Contacts.
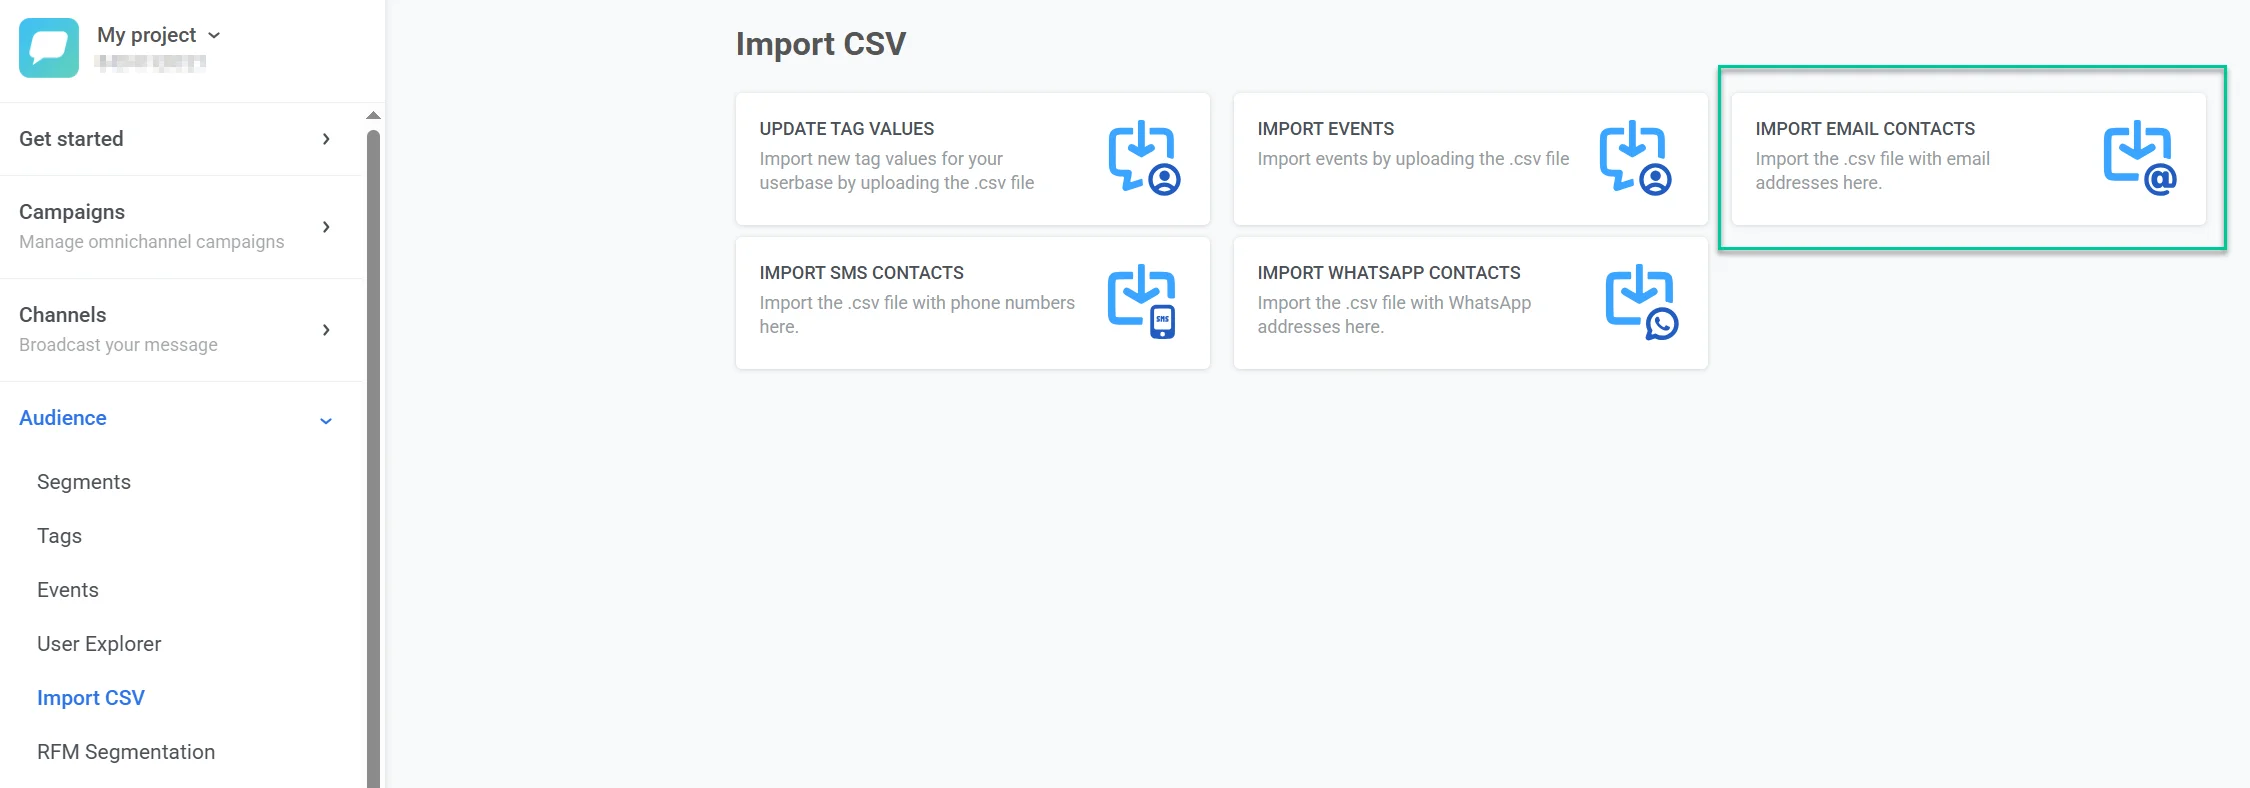
- Click Upload CSV and upload your CSV file.
- Map columns:
- Under Email Identifier Column in CSV, select the column that contains email addresses (e.g., “Email”).
- Under the User ID Column in CSV, select the column that contains unique user identifiers (e.g., “Name”).
- If you have additional data, match Column Names from your CSV to system Tags (e.g., “City” → “City”, “Country” → “Country”).
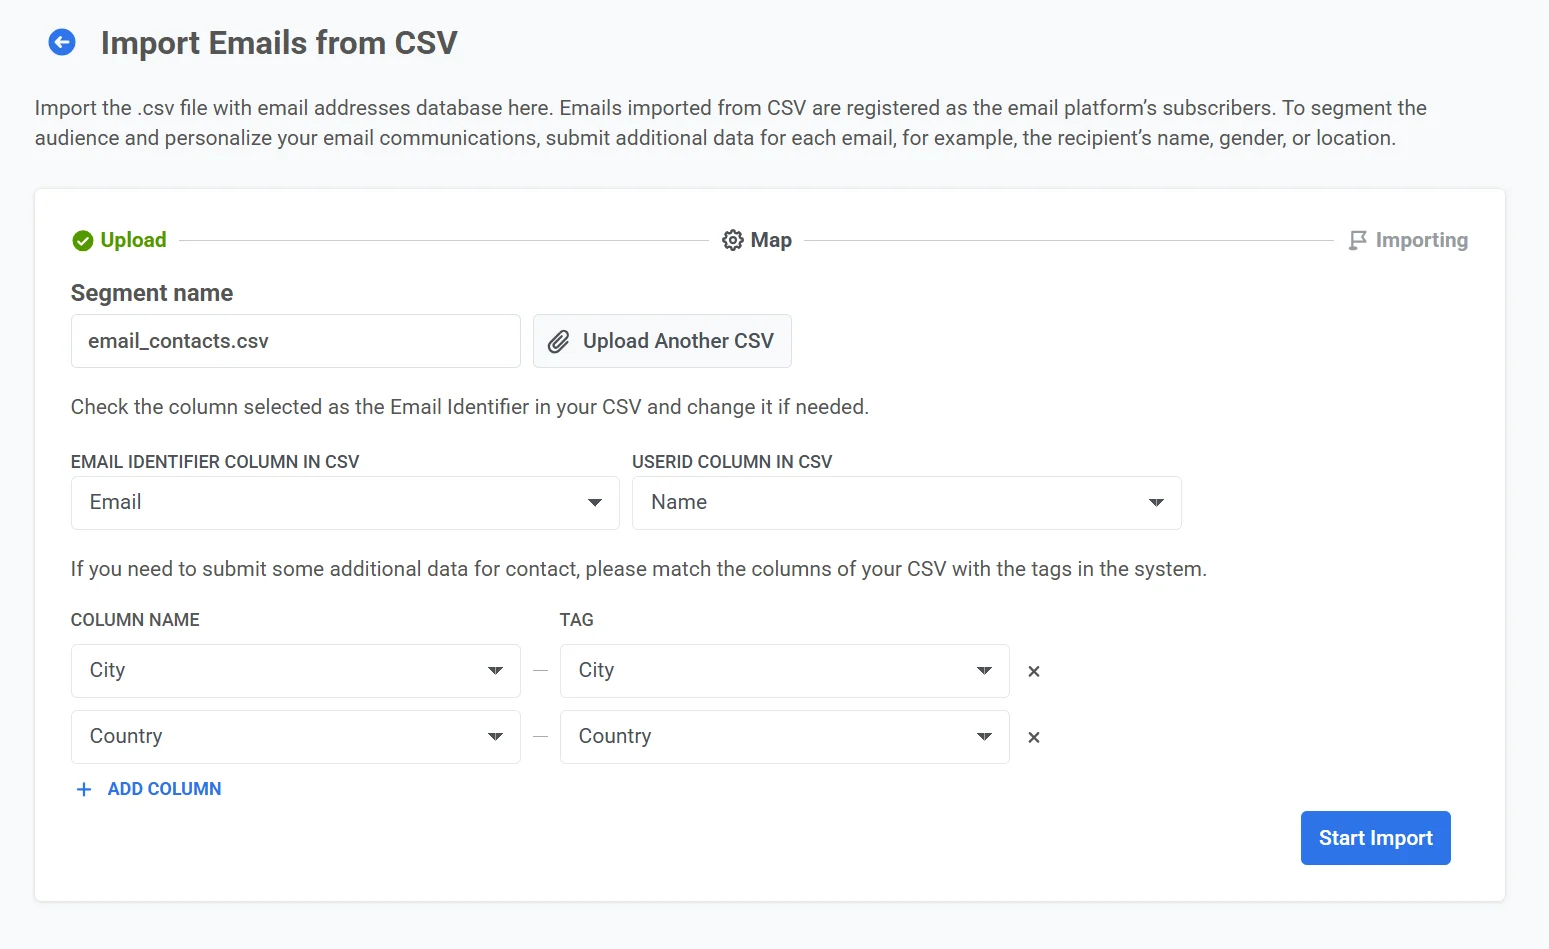
- Click Import to process the file.
After the import, the contacts will be available for email campaigns in Pushwoosh. They will appear as a new segment in the Segments list and can also be accessed via User explorer.
With your email contacts imported, set up the subscription preference center so you can assign categories when sending and let users manage their preferences. Then create email content using the Drag & drop or HTML code editor and send an email.