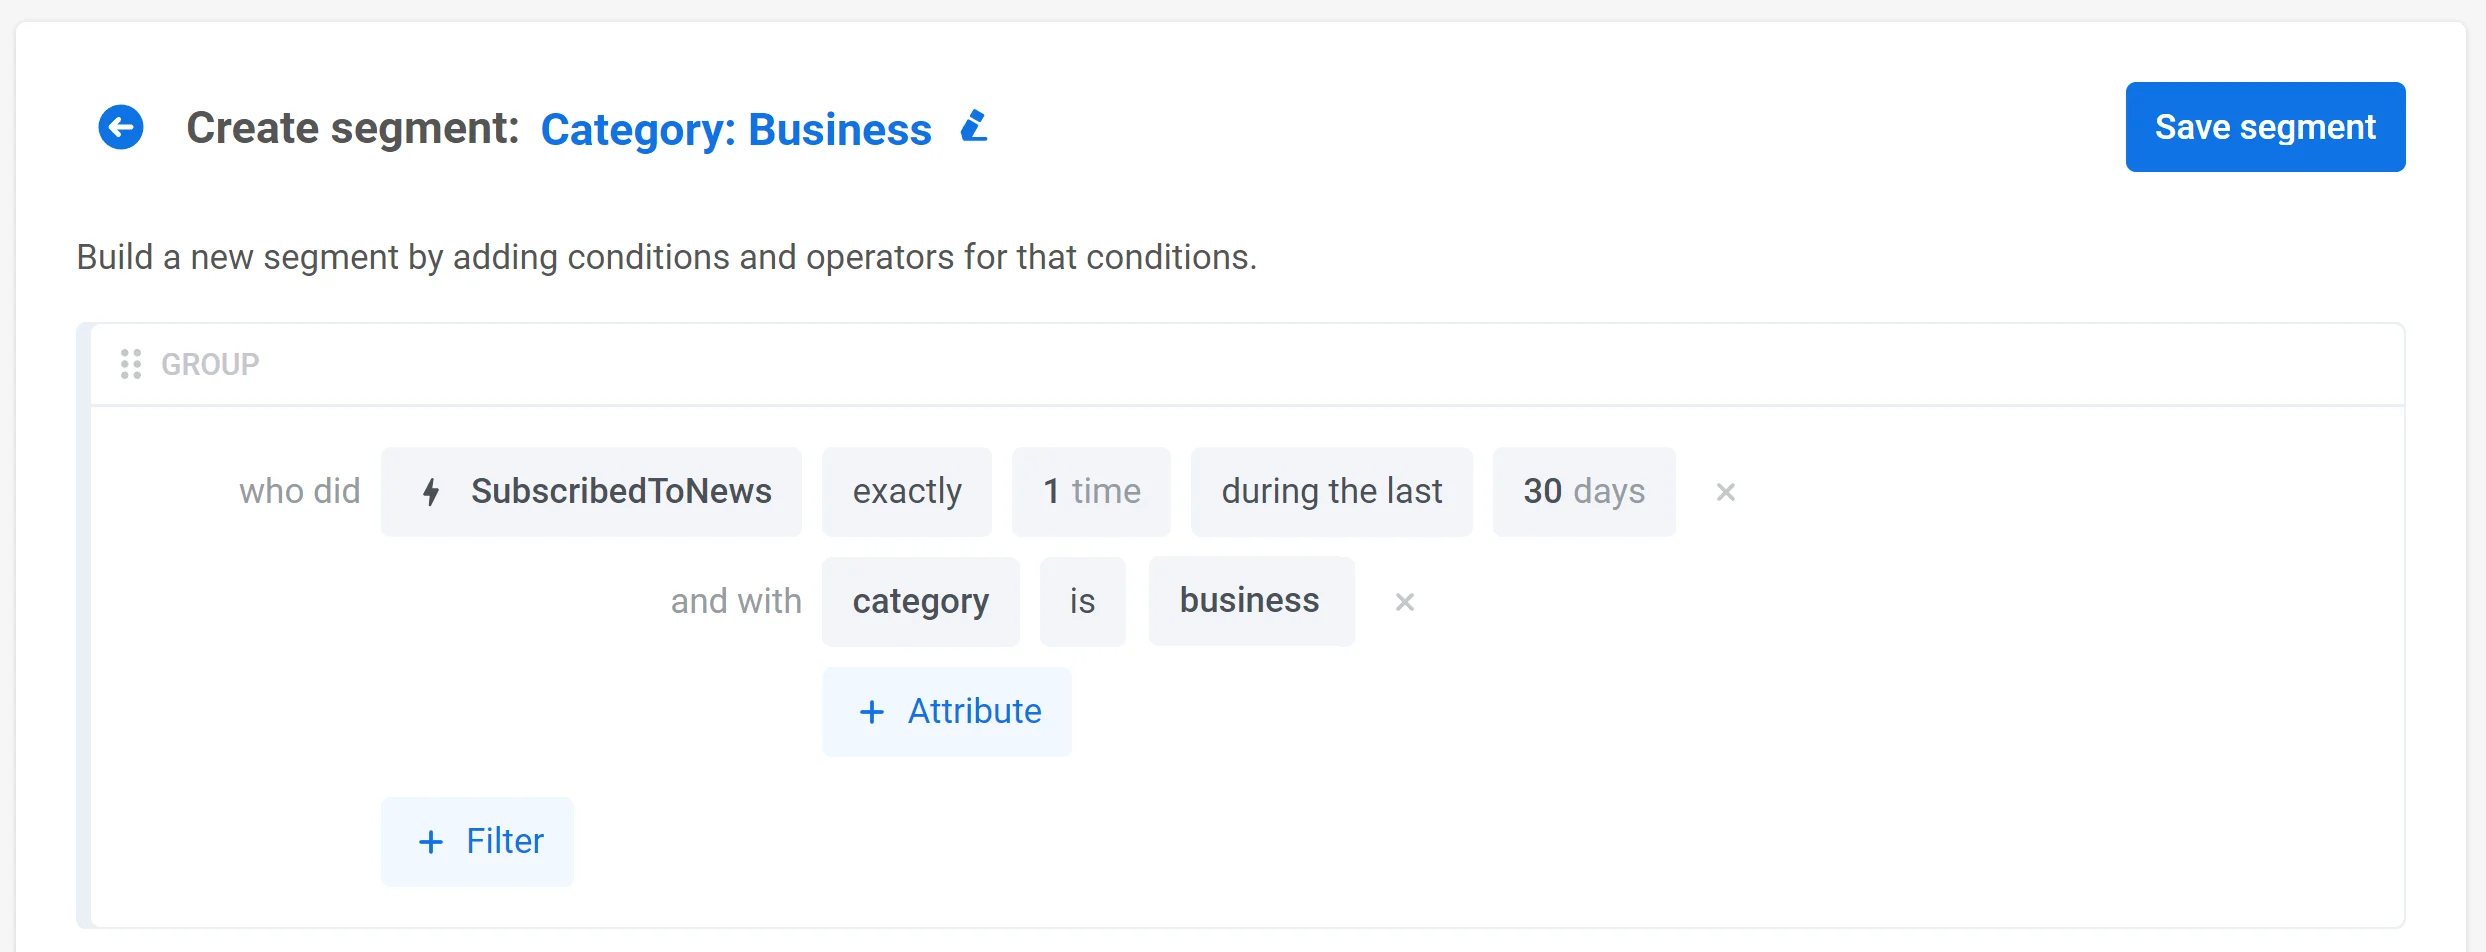
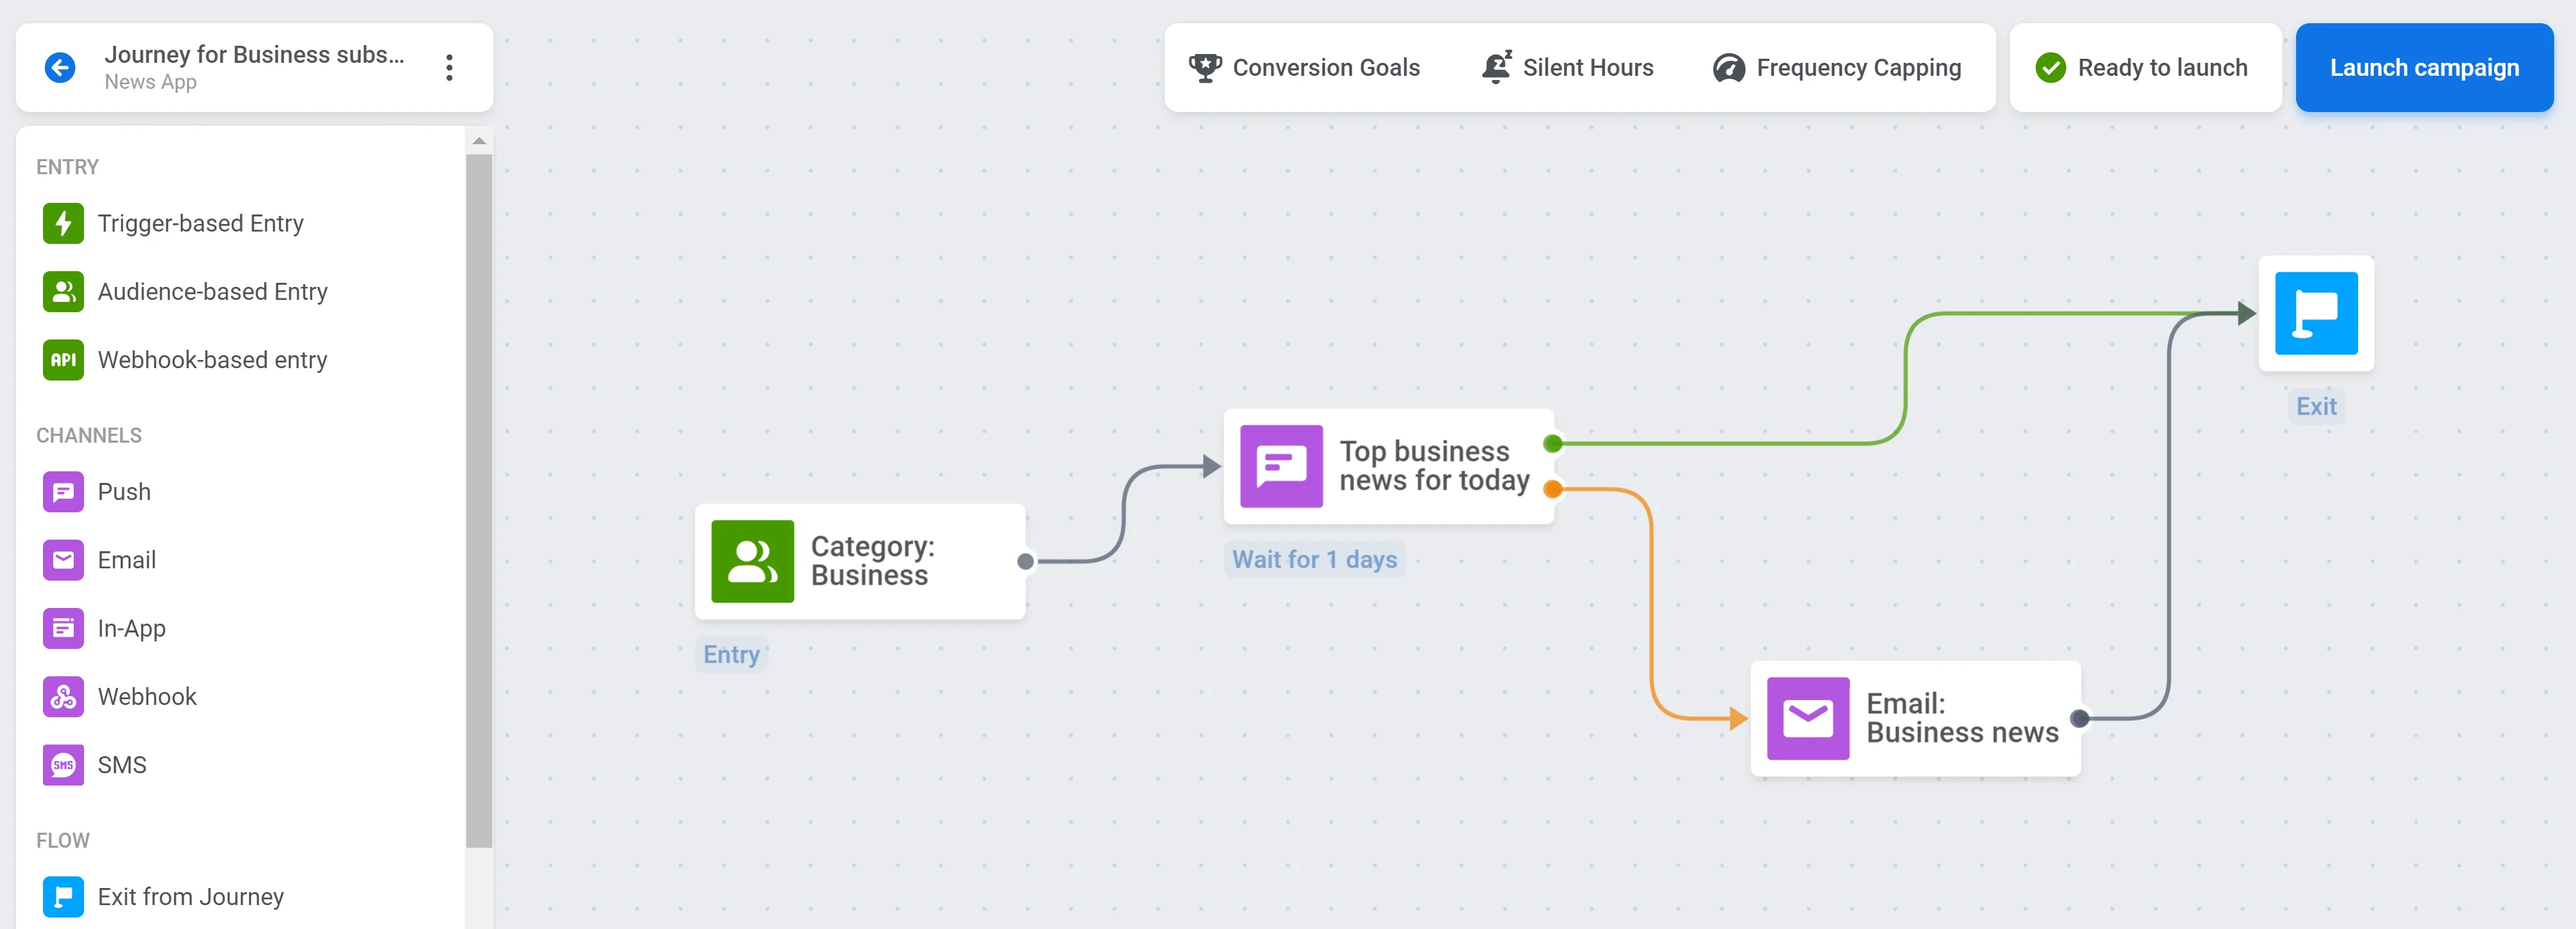
 Now you can create campaigns targeted at users who are interested in a particular type of news:
 **2. Personalize messaging based on user behavior data from AppsFlyer.**
In this example, we will use an online shopping app. Let’s say AppsFlyer tracks the _AddToWishlist_ event that fires whenever a user adds an item to their wishlist. This event has the item attribute indicating the name of the item added to the wishlist.
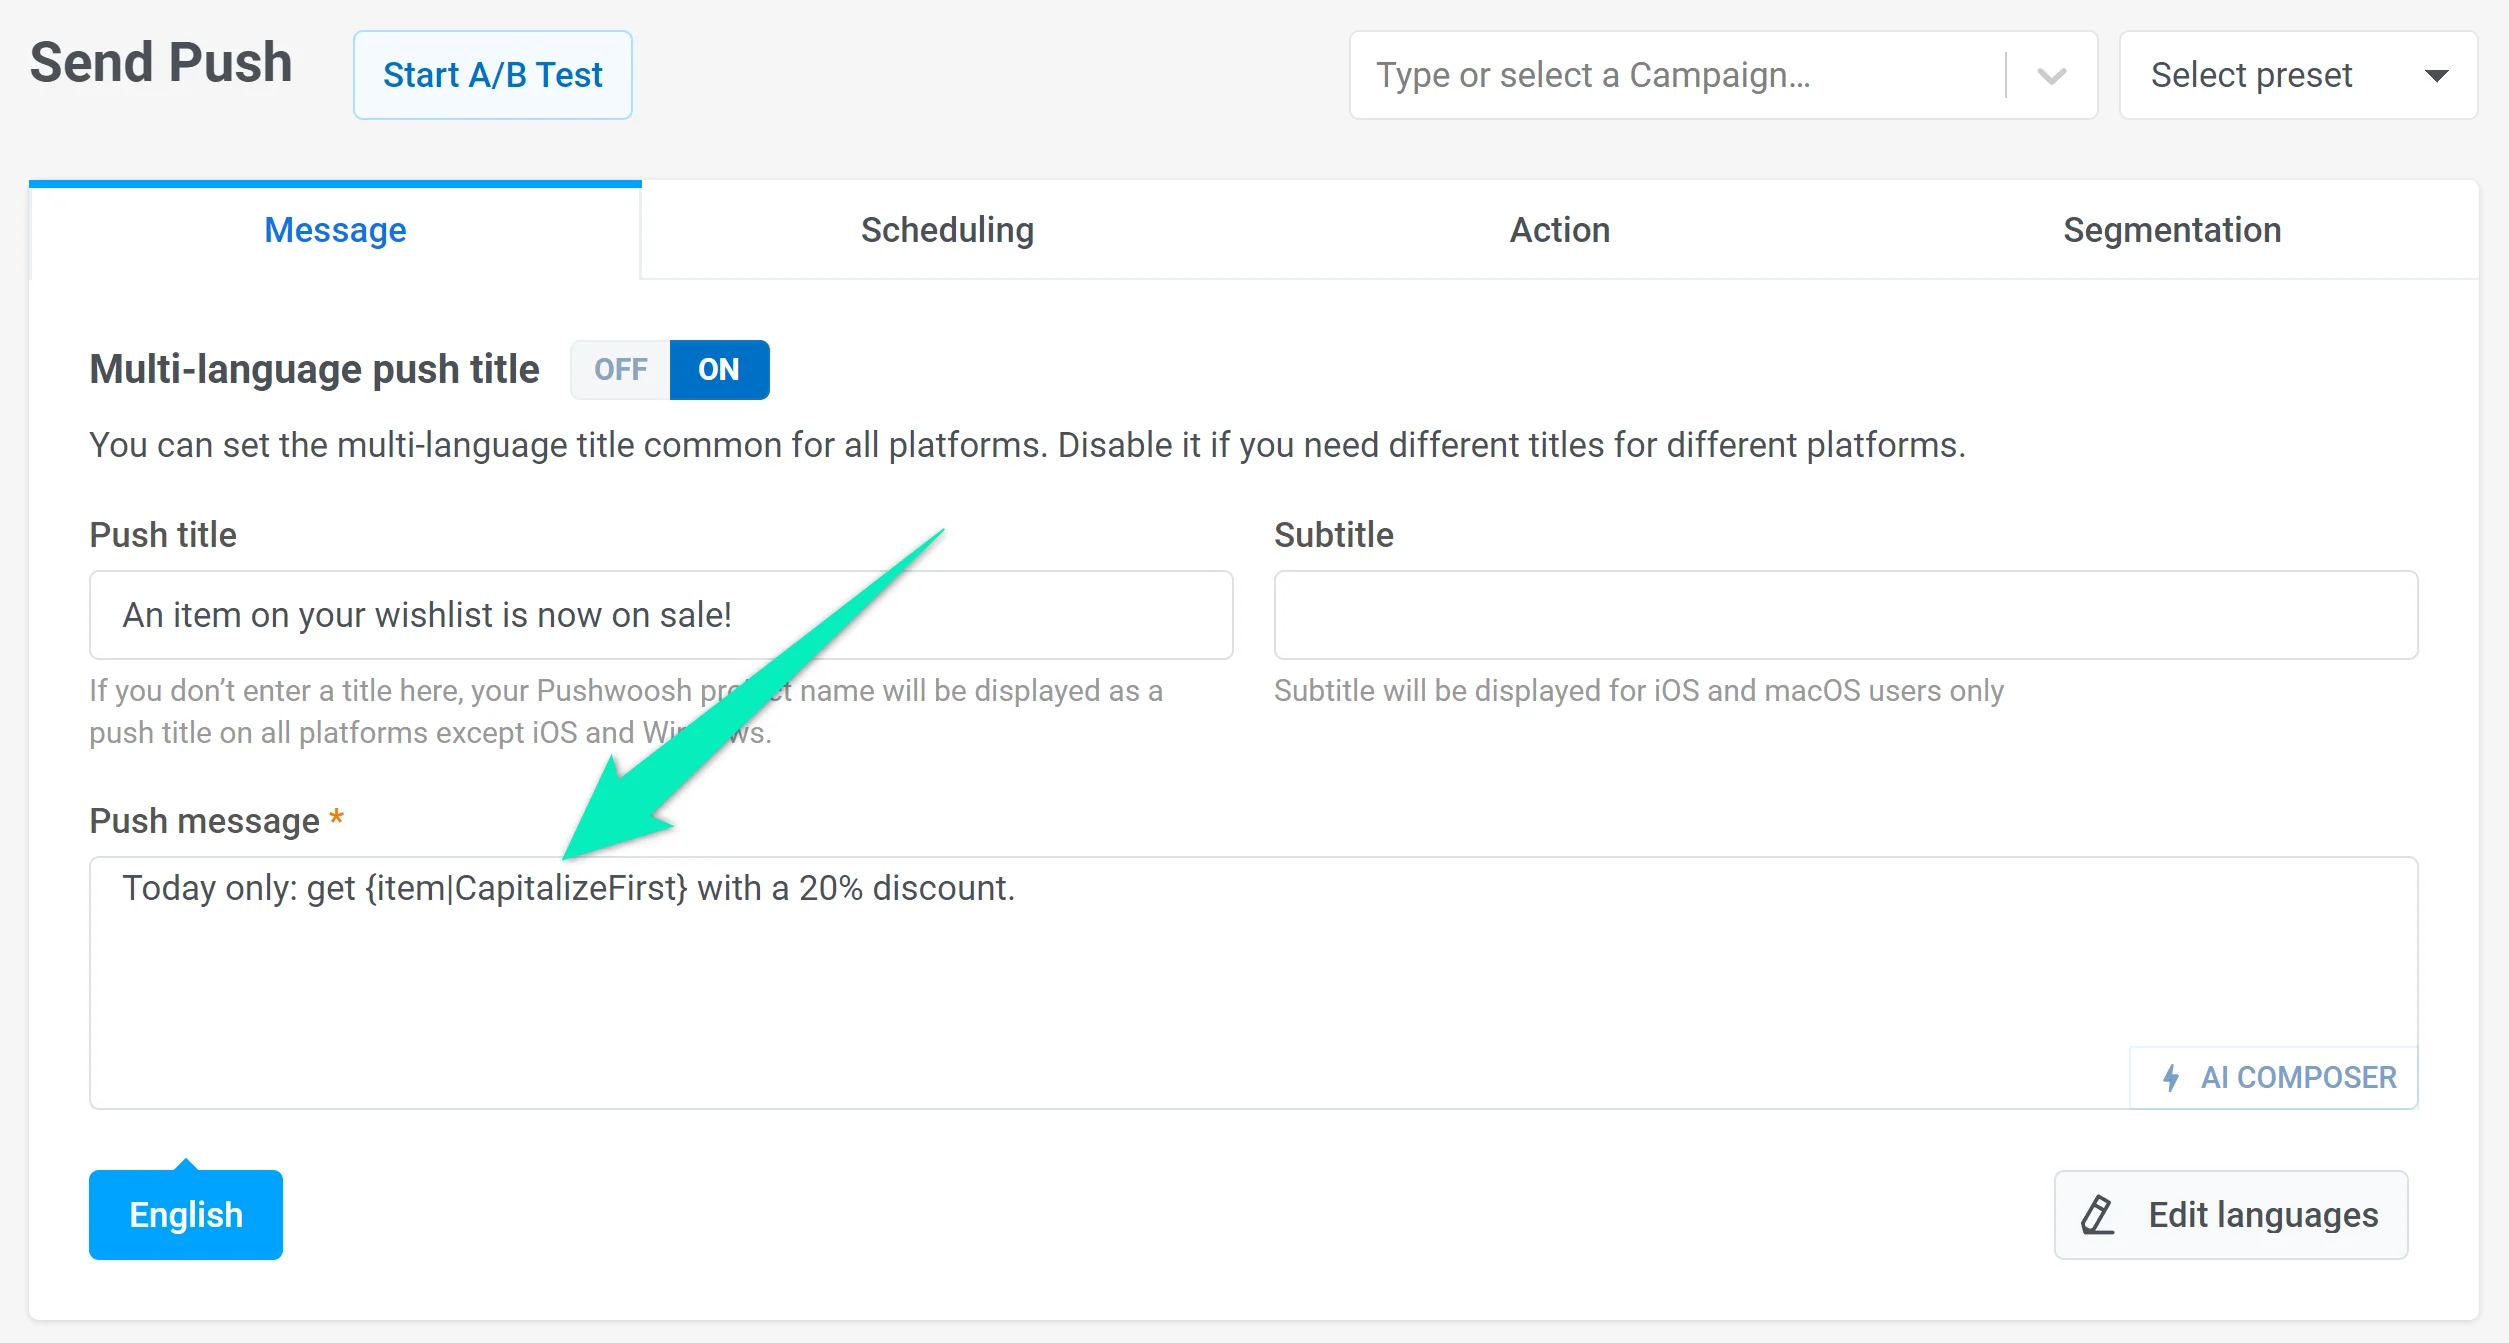
AppsFlyer sends the _AddToWishlist_ event data to Pushwoosh, where you can personalize messages depending on users’ choices. For example, you can create a push preset offering a discount on an item a user has added to their wishlist. Instead of the item name, add a [Dynamic Content placeholder](/developer/guides/personalization/dynamic-content/#personalizing-messages-sent-via-api-with-dynamic-content) with the _item_ attribute:
**2. Personalize messaging based on user behavior data from AppsFlyer.**
In this example, we will use an online shopping app. Let’s say AppsFlyer tracks the _AddToWishlist_ event that fires whenever a user adds an item to their wishlist. This event has the item attribute indicating the name of the item added to the wishlist.
AppsFlyer sends the _AddToWishlist_ event data to Pushwoosh, where you can personalize messages depending on users’ choices. For example, you can create a push preset offering a discount on an item a user has added to their wishlist. Instead of the item name, add a [Dynamic Content placeholder](/developer/guides/personalization/dynamic-content/#personalizing-messages-sent-via-api-with-dynamic-content) with the _item_ attribute:
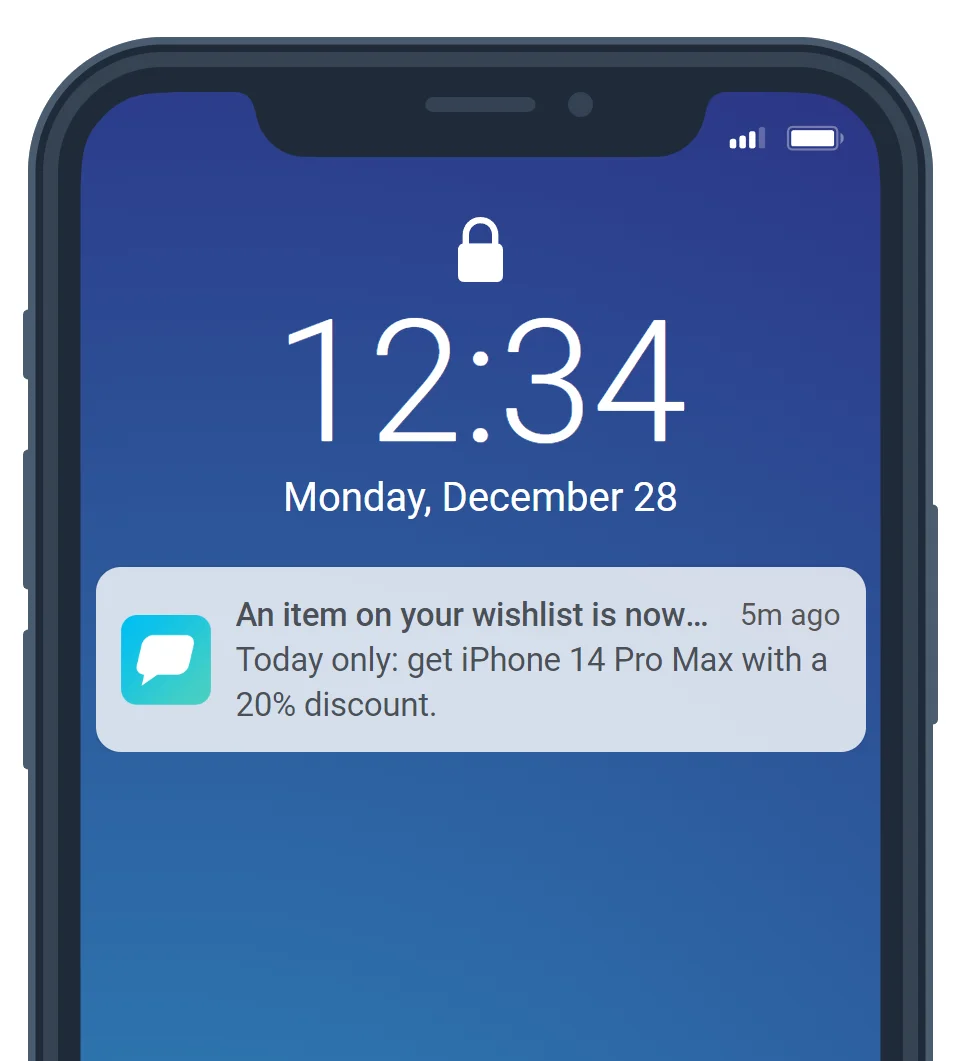
 If a user adds an item to their wishlist, they will receive a push containing information about it. For example, those who select iPhone 14 Pro Max will see this message:
 ## Setting up the integration
1. Integrate the Pushwoosh SDK into your app if you haven't already done so. For more detailed instructions, [read the guide](/developer/pushwoosh-sdk/pushwoosh-sdk-overview).
2. To ensure that the correct data is sent to AppsFlyer, integrate this code snippet into your code. Make sure that it is executed after both Pushwoosh SDK and AppsFlyer SDK are initialized.
## Setting up the integration
1. Integrate the Pushwoosh SDK into your app if you haven't already done so. For more detailed instructions, [read the guide](/developer/pushwoosh-sdk/pushwoosh-sdk-overview).
2. To ensure that the correct data is sent to AppsFlyer, integrate this code snippet into your code. Make sure that it is executed after both Pushwoosh SDK and AppsFlyer SDK are initialized.
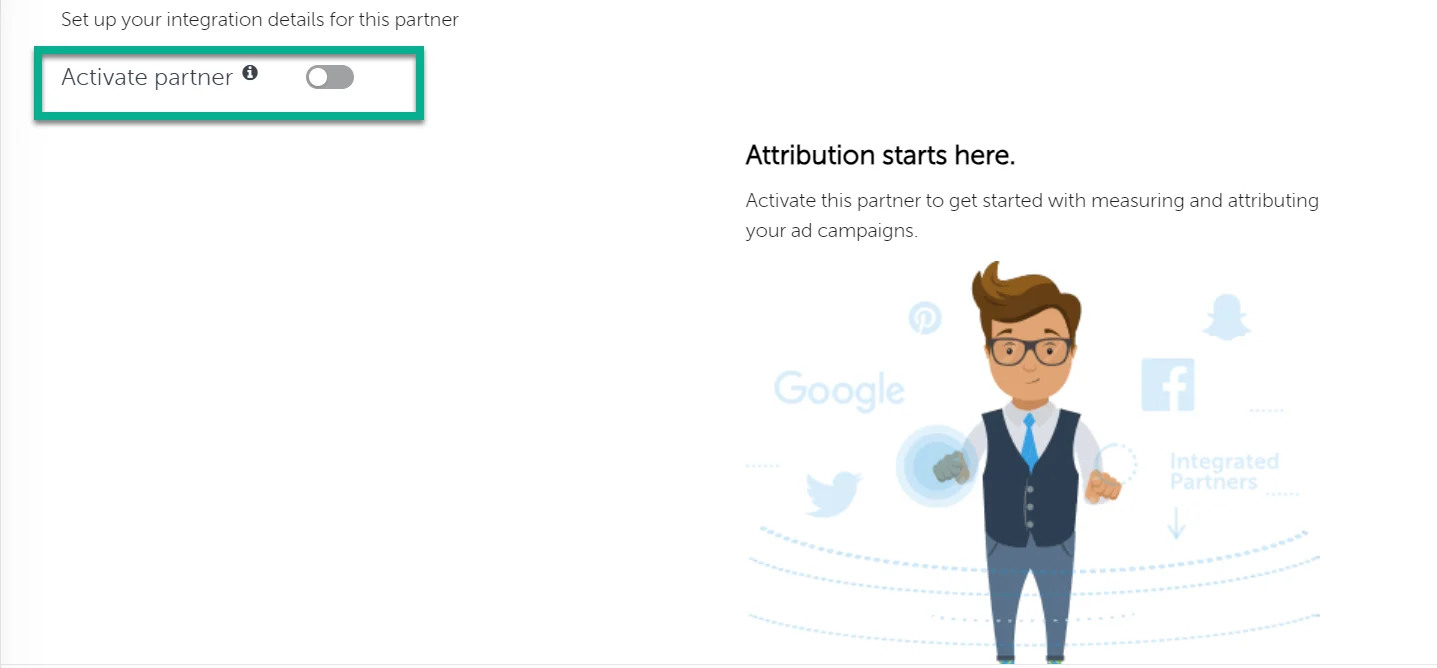
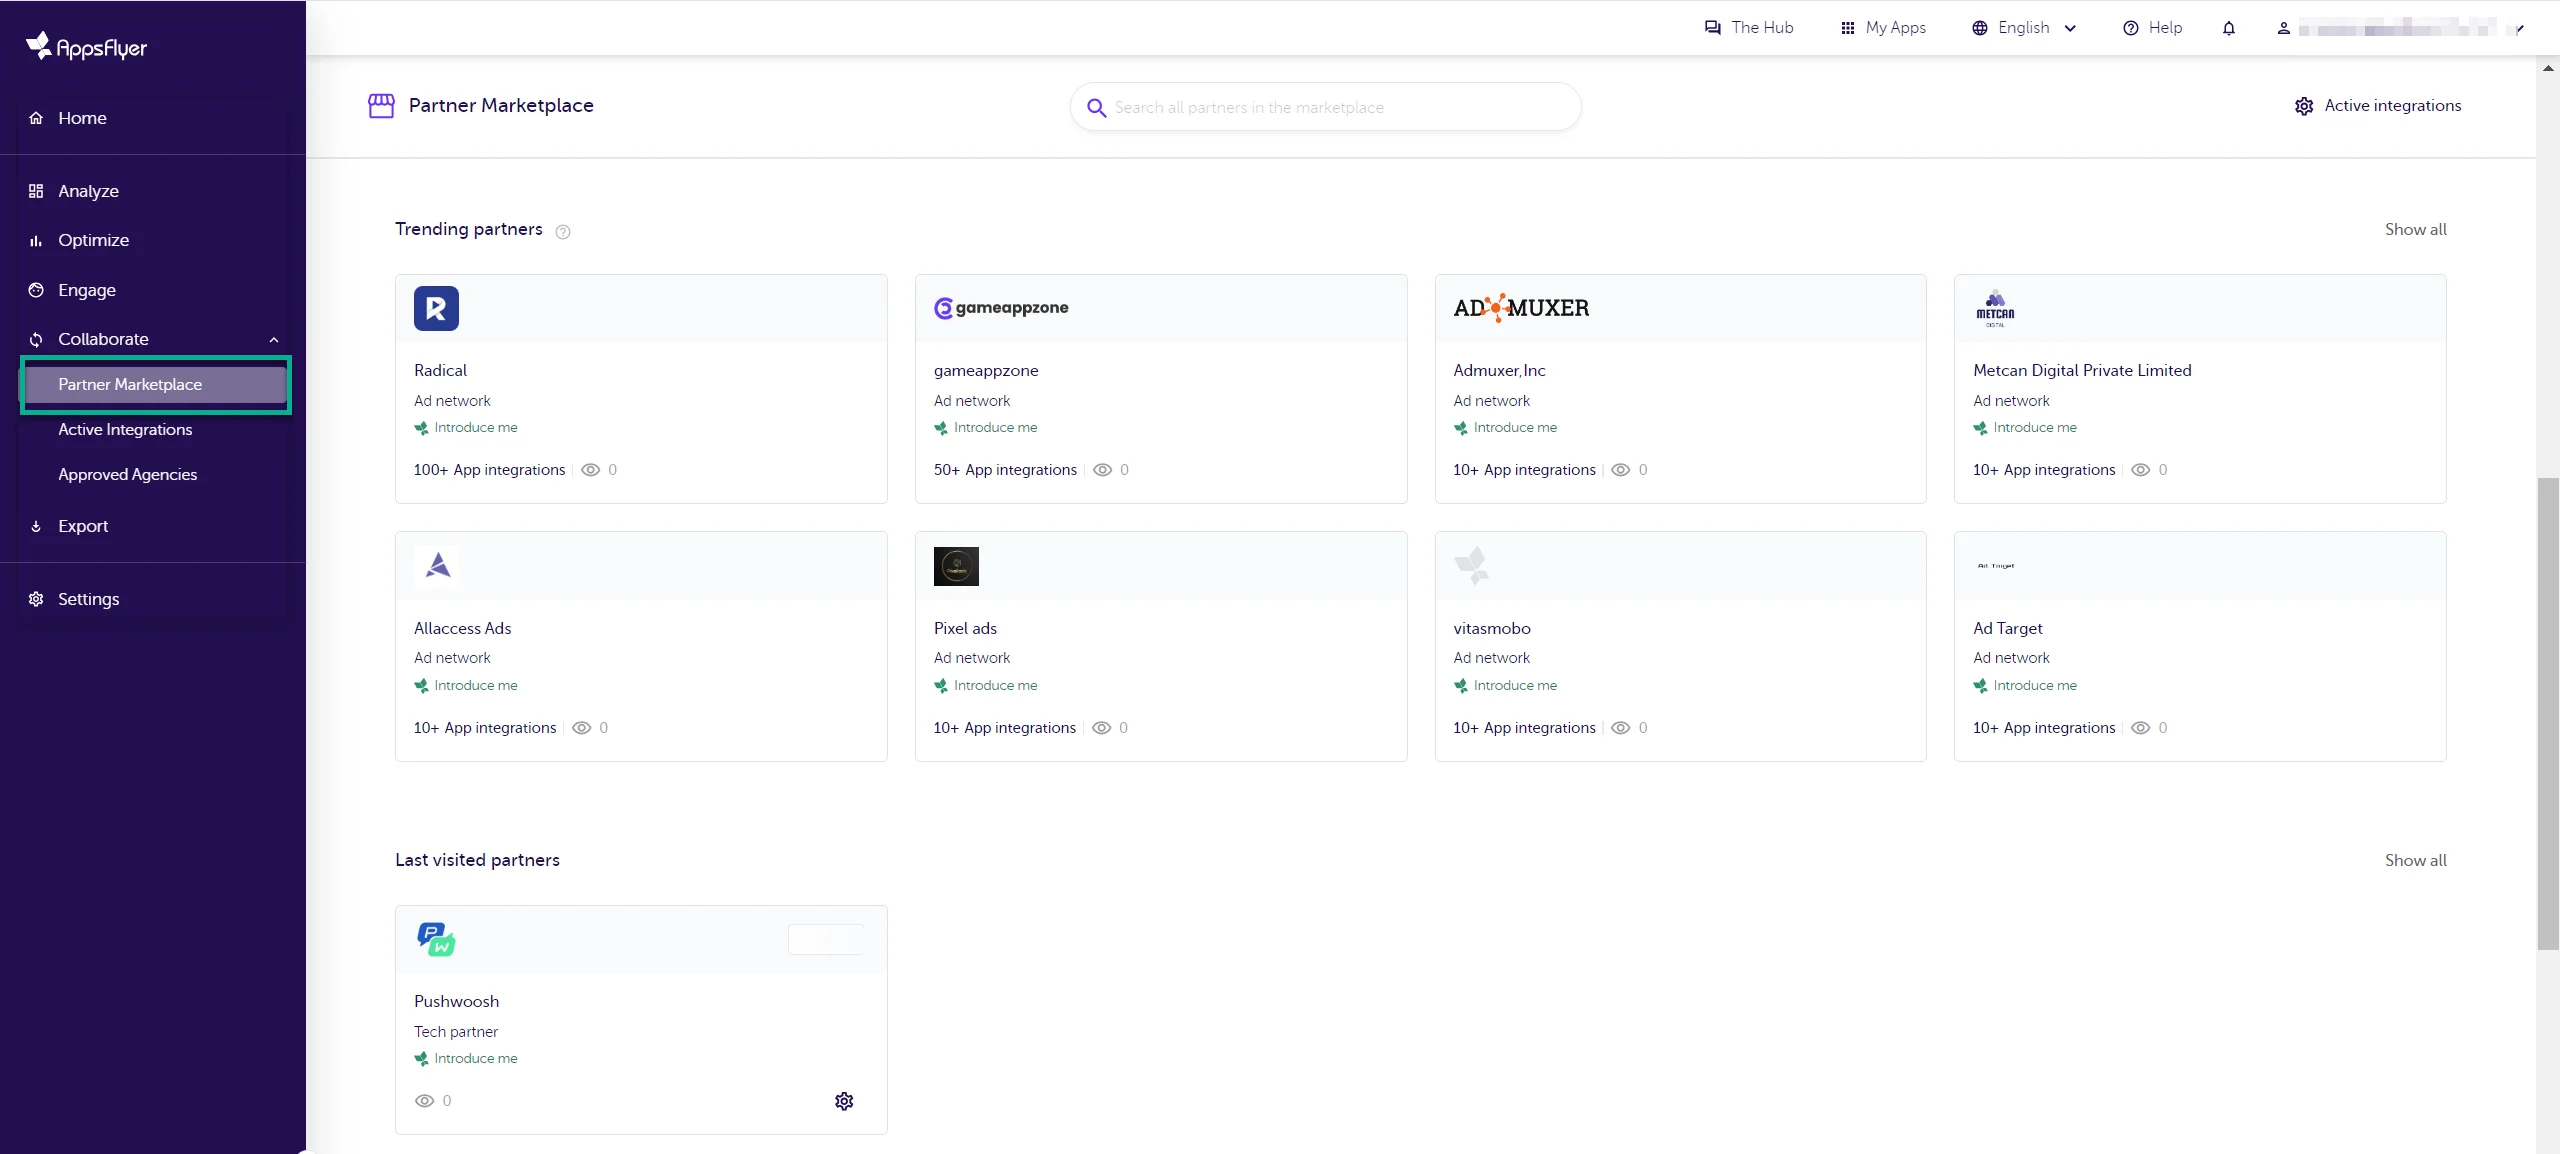 4. Click **Set up integration**. Then you will be directed to the integration setup page. There, enable the **Activate partner** toggle.
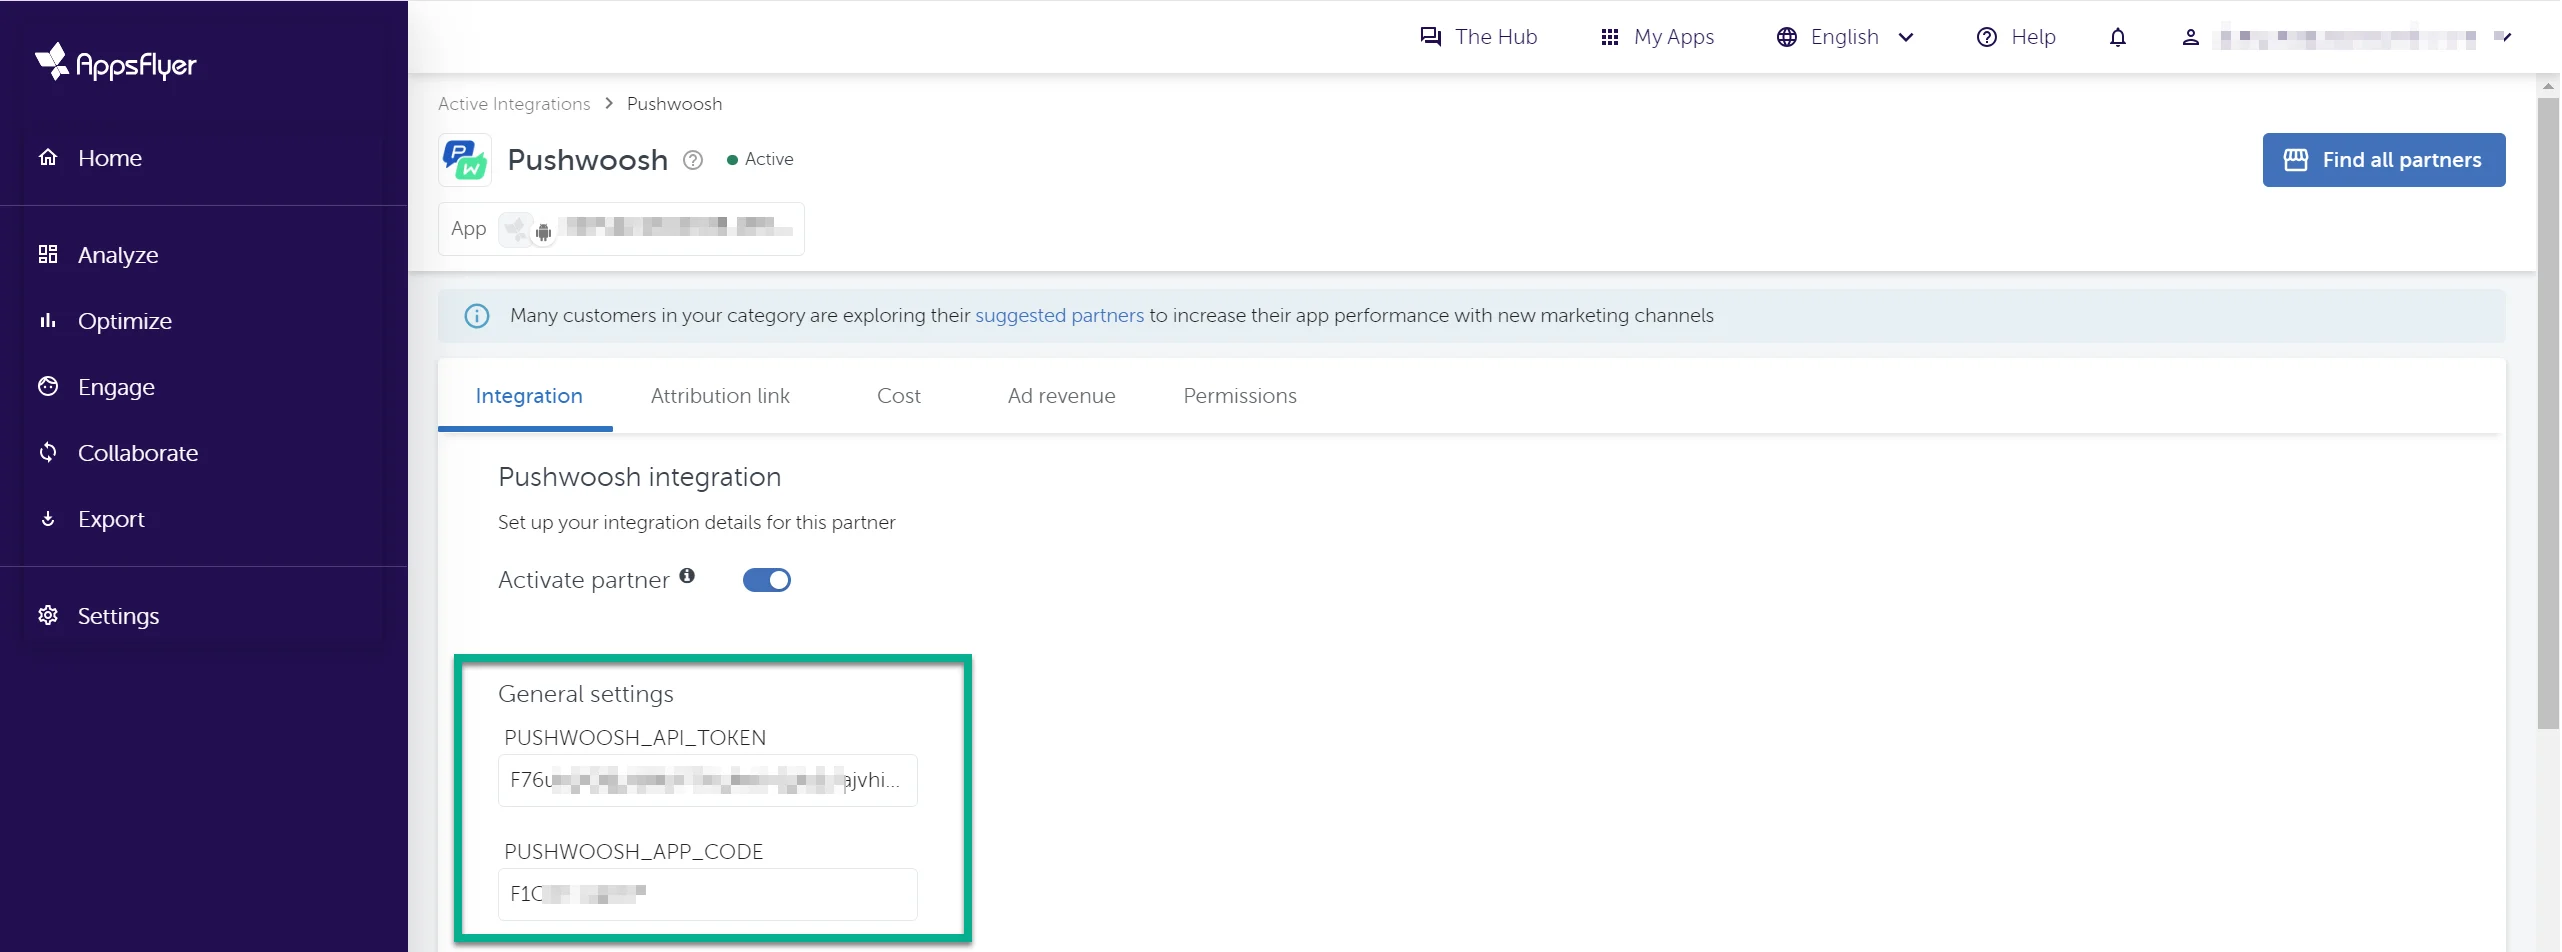
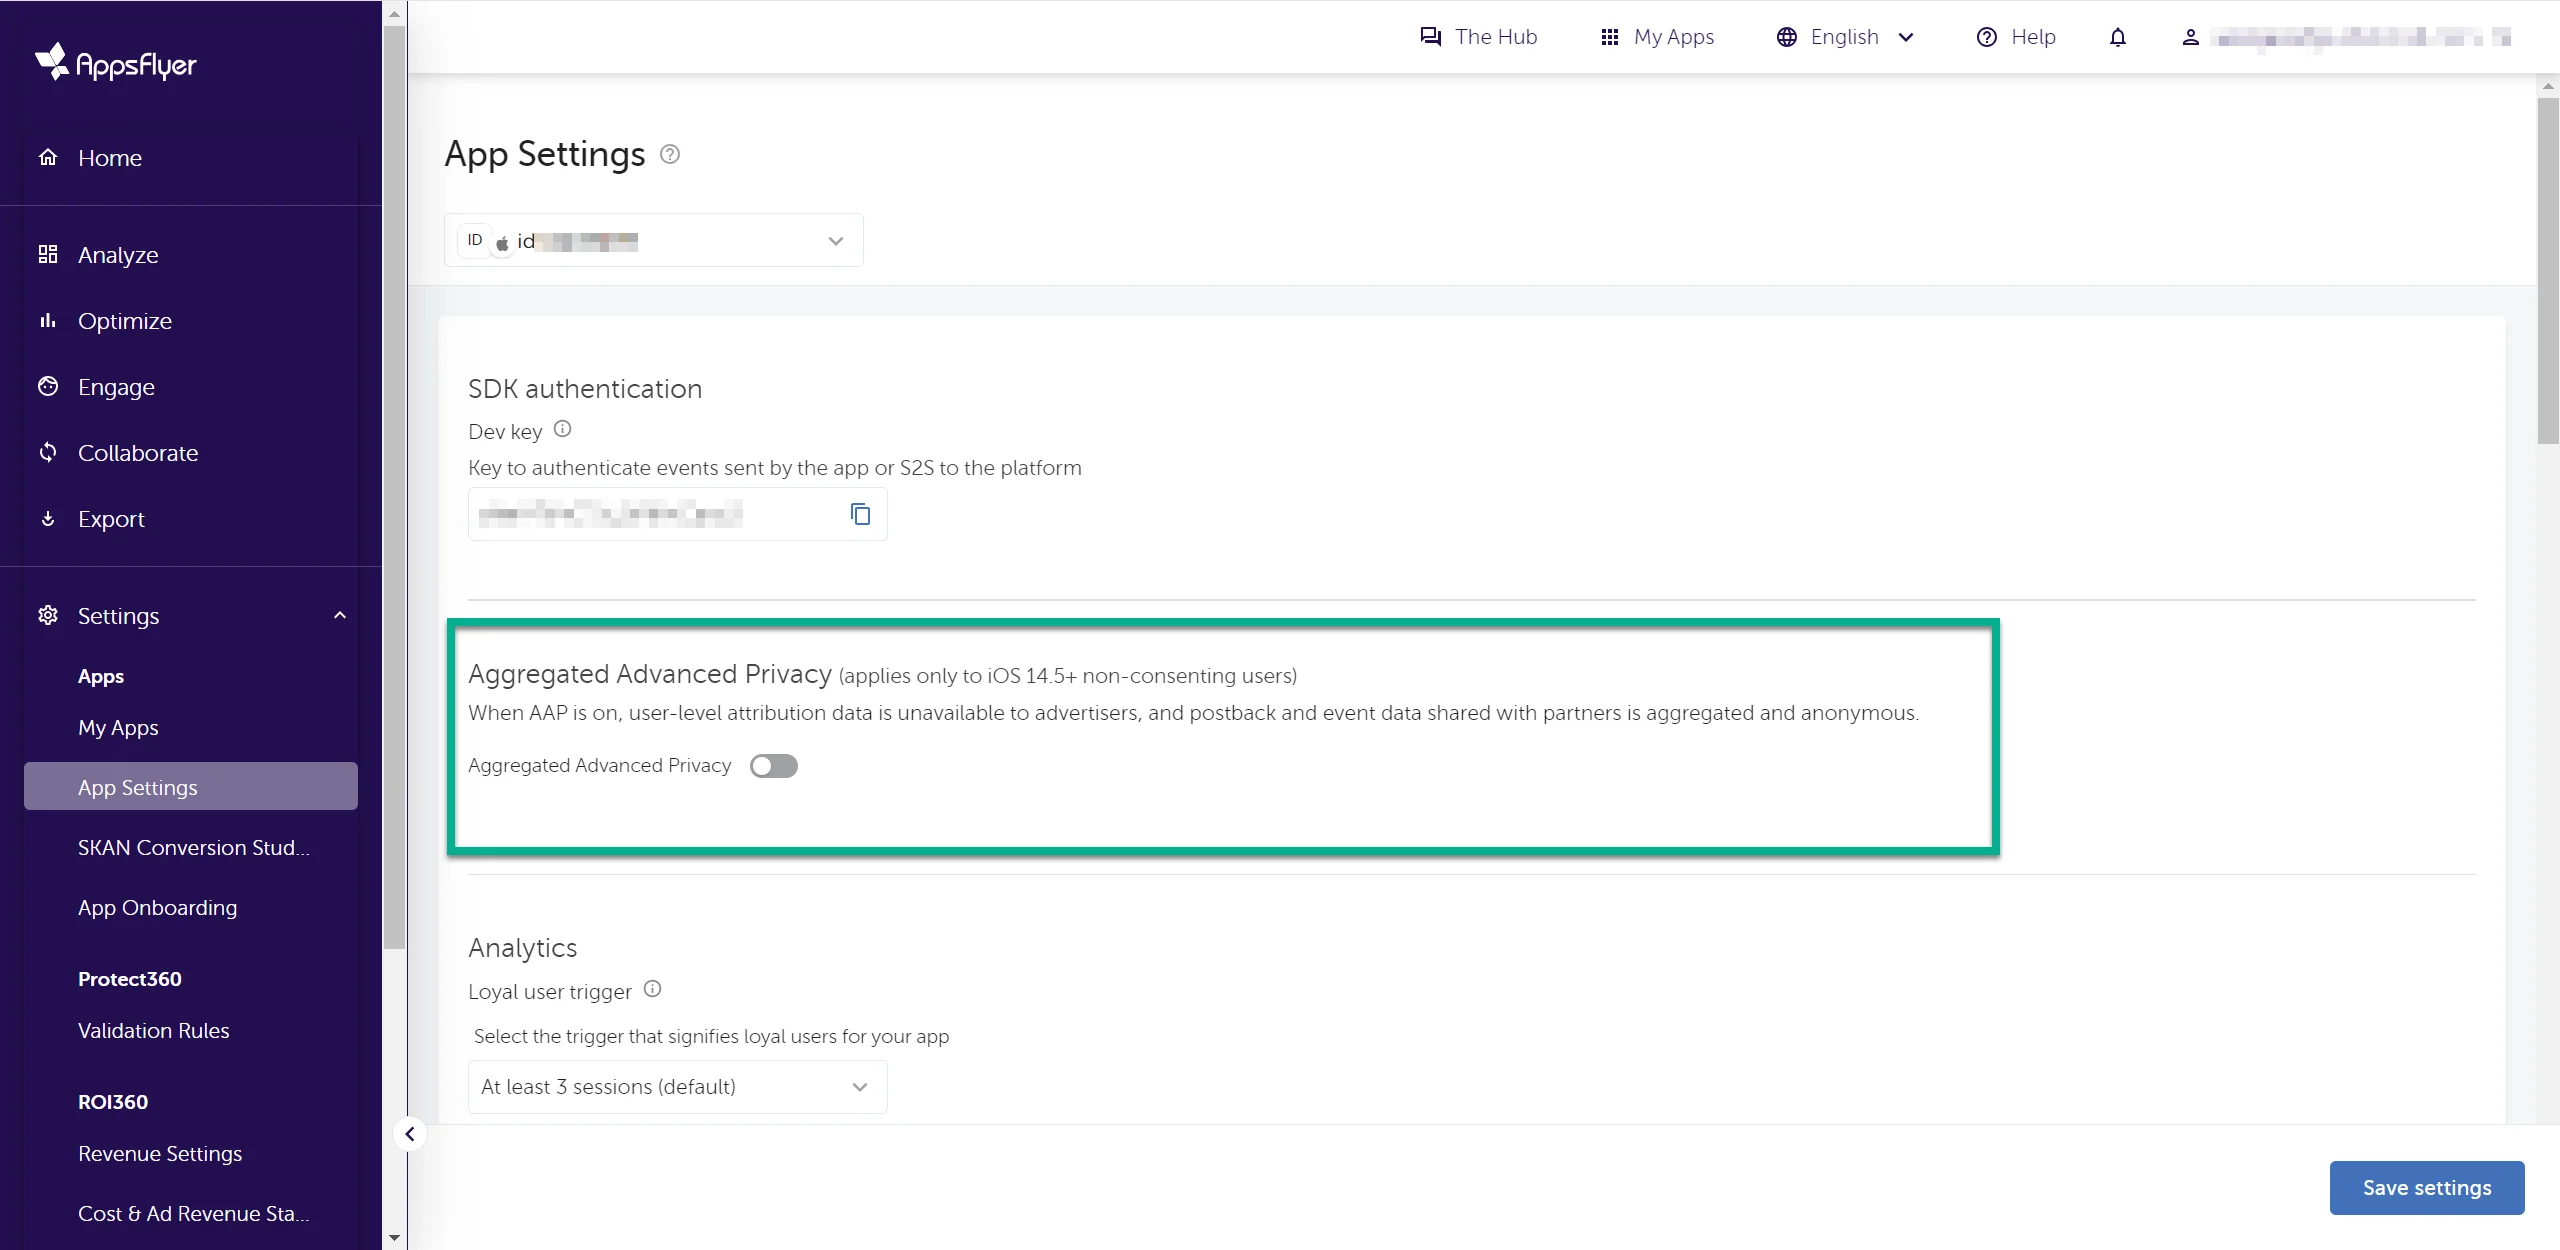 5. In the **General settings** section, enter your Pushwoosh credentials:
* **API Access Token**. To get the token, in your Pushwoosh account go to **Settings > API Access** and copy the code. You can learn more about the API Access Token [in this guide](/developer/api-reference/api-access-token).
* **Application Code** (XXXXX-XXXXX) that you can find below your application name in your Pushwoosh account.
5. In the **General settings** section, enter your Pushwoosh credentials:
* **API Access Token**. To get the token, in your Pushwoosh account go to **Settings > API Access** and copy the code. You can learn more about the API Access Token [in this guide](/developer/api-reference/api-access-token).
* **Application Code** (XXXXX-XXXXX) that you can find below your application name in your Pushwoosh account.
 6. In the **Default postback** section, select **All media sources, including organic**.
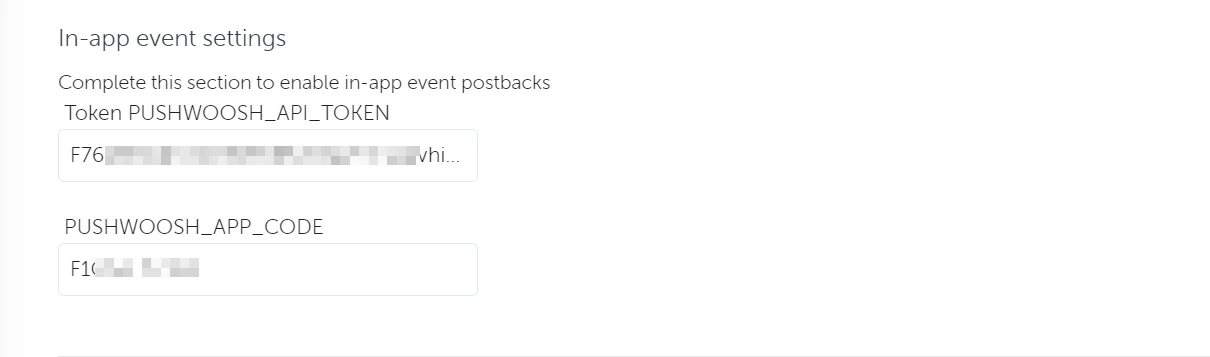
 7. In the **In-app event settings** section, enter your Pushwoosh **Application Code** and **API Access Token**.
 8. Enable the **In-app event postback** toggle and configure the events and data to be included in the postbacks sent to Pushwoosh.
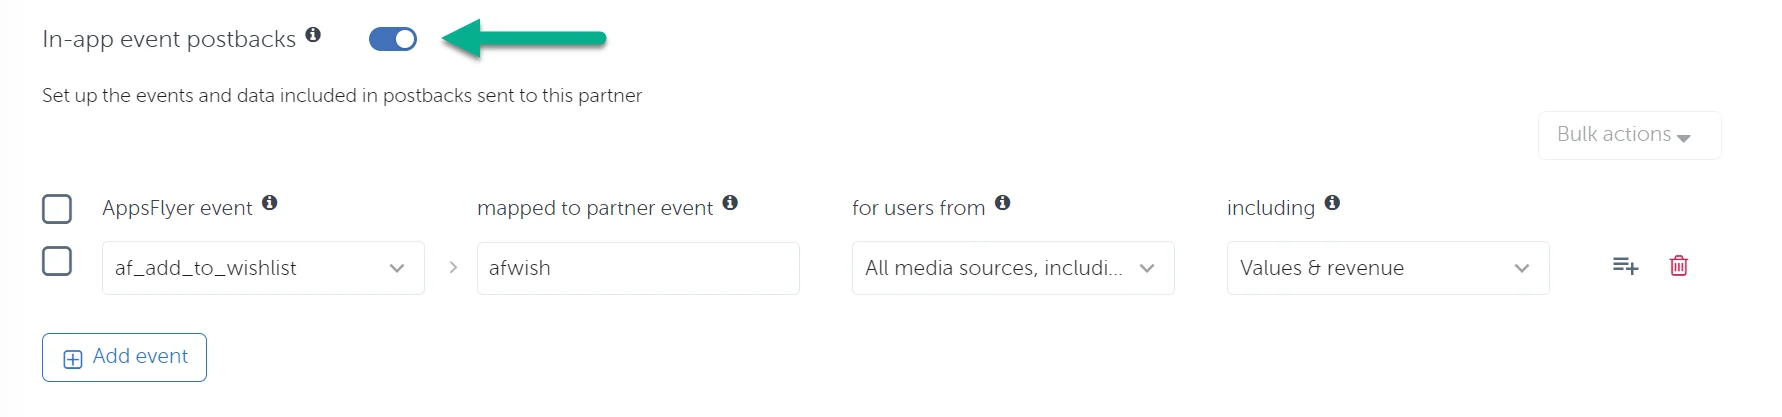 Choose one or more AppsFlyer events to send to Pushwoosh from the drop-down menu, and complete the necessary parameters.
| Parameter | Description |
| ------------------------------- | ------------------------------------------------------------------------------------------------------------------------------------------------------------------------------------------------------------------------------------------------------------------------------------------------------------------------------------------------------------------------------------------------------------------------------------------------------------------------------------------------------------------------------- |
| **the mapped to partner event** | Even though this field is mandatory, don't worry about what you type because it won't change how events are named. Pushwoosh will still get the events with the same names as they appear in AppsFlyer. |
| **for users from** | In this field, select whether postbacks are sent exclusively for users attributed to this partner or for all media sources, including organic. |
| **including** |
Choose one or more AppsFlyer events to send to Pushwoosh from the drop-down menu, and complete the necessary parameters.
| Parameter | Description |
| ------------------------------- | ------------------------------------------------------------------------------------------------------------------------------------------------------------------------------------------------------------------------------------------------------------------------------------------------------------------------------------------------------------------------------------------------------------------------------------------------------------------------------------------------------------------------------- |
| **the mapped to partner event** | Even though this field is mandatory, don't worry about what you type because it won't change how events are named. Pushwoosh will still get the events with the same names as they appear in AppsFlyer. |
| **for users from** | In this field, select whether postbacks are sent exclusively for users attributed to this partner or for all media sources, including organic. |
| **including** | Choose how event data is shared with Pushwoosh: